Any self-respecting crocheter, after finishing each project, is sure to have a healthy stash of left over yarn. Today we suggest you gather up all of your left over cotton yarn hidden in drawers, boxes and bags: we are going to recycle it and show you how to make a practical basket that you can use to decorate your home, to leave your keys, change, and other things when you get home, so they are always handy.
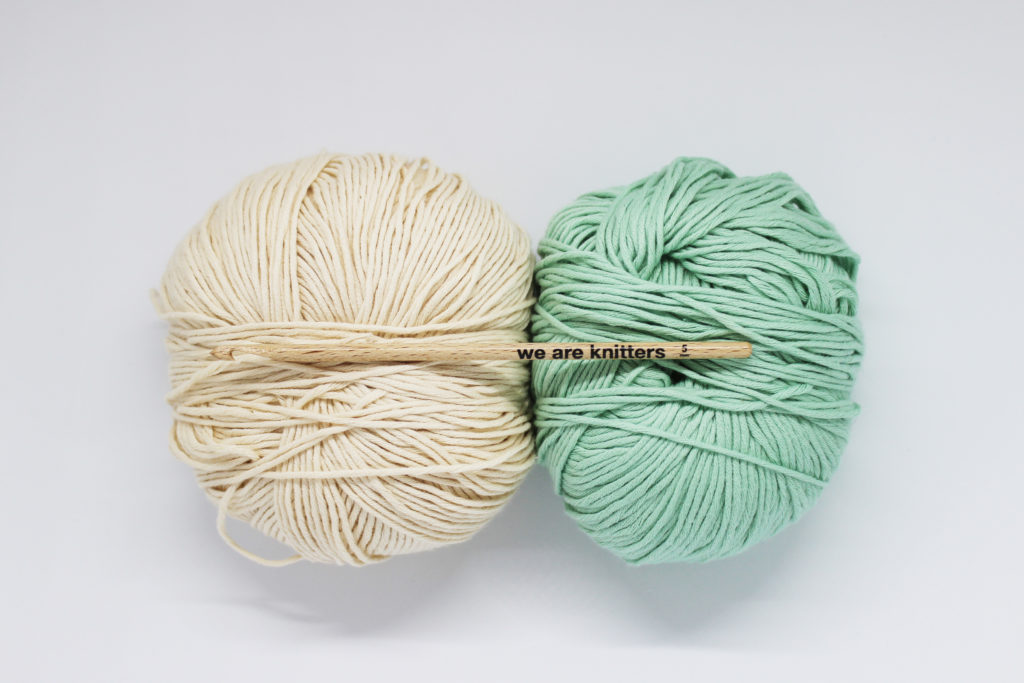
For this step-by-step tutorial we used: a size 8 crochet hook, and a few skeins of our Pima cotton.
Before we begin here is a list of stitches and techniques you should know how to do:
- How to make a magic circle.
- How to chain.
- How to crochet single crochet.
- How to increase.
- How to crochet in a spiral.
- How to change colors in crochet.
We are going to make this design, but you can create your own design and use up your leftover cotton. Now, let’s get started on this step-by-step tutorial:
Base of the basket
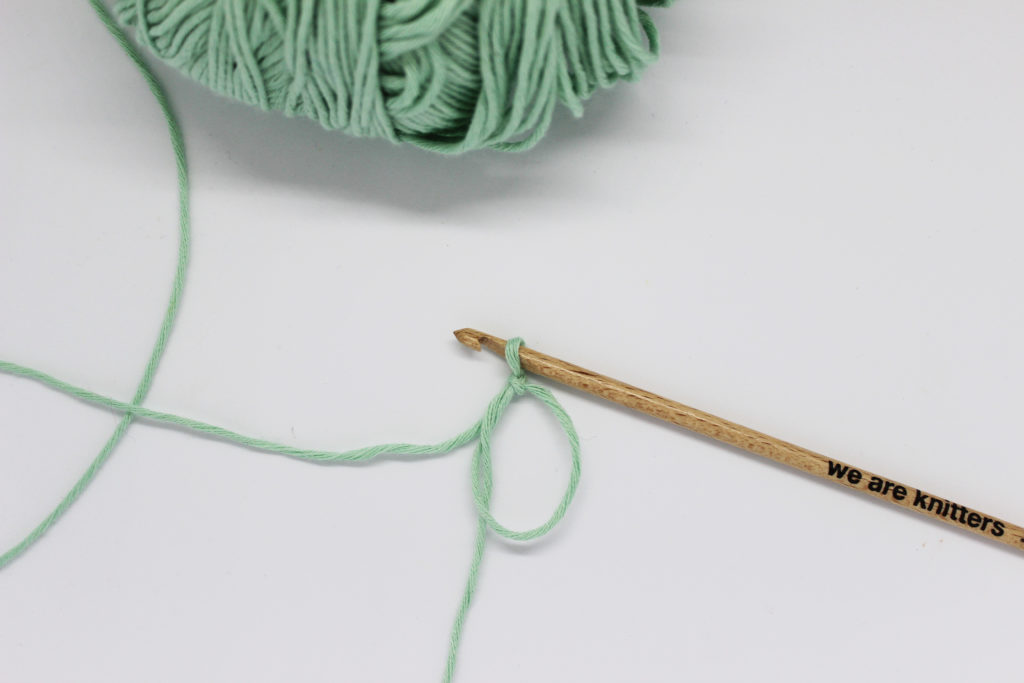
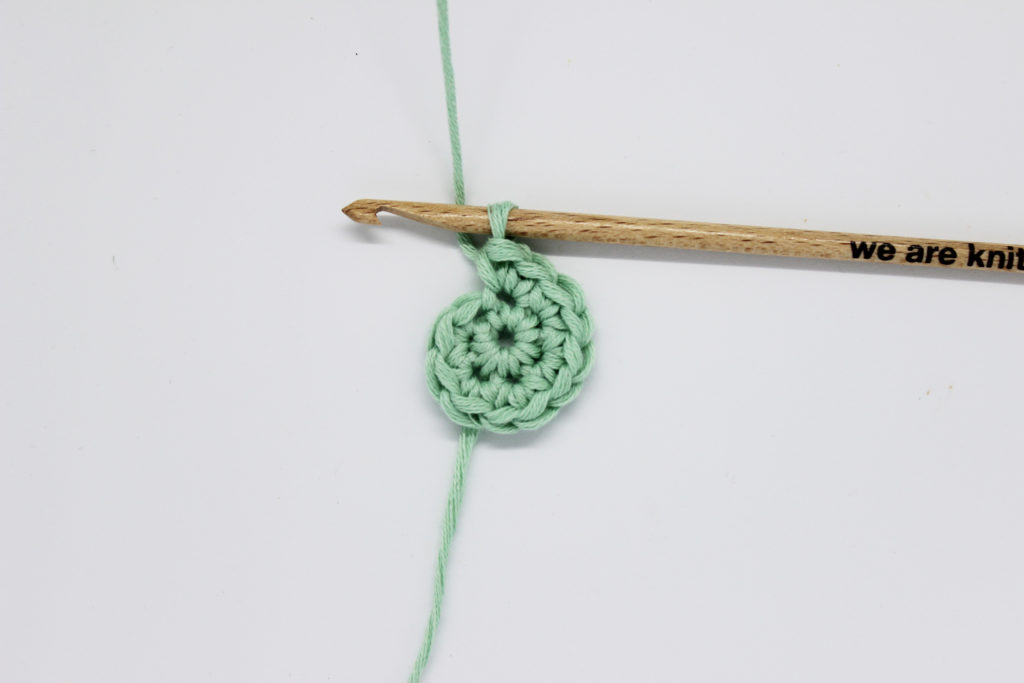
We are going to start our basket by making a magic circle with the color mint.
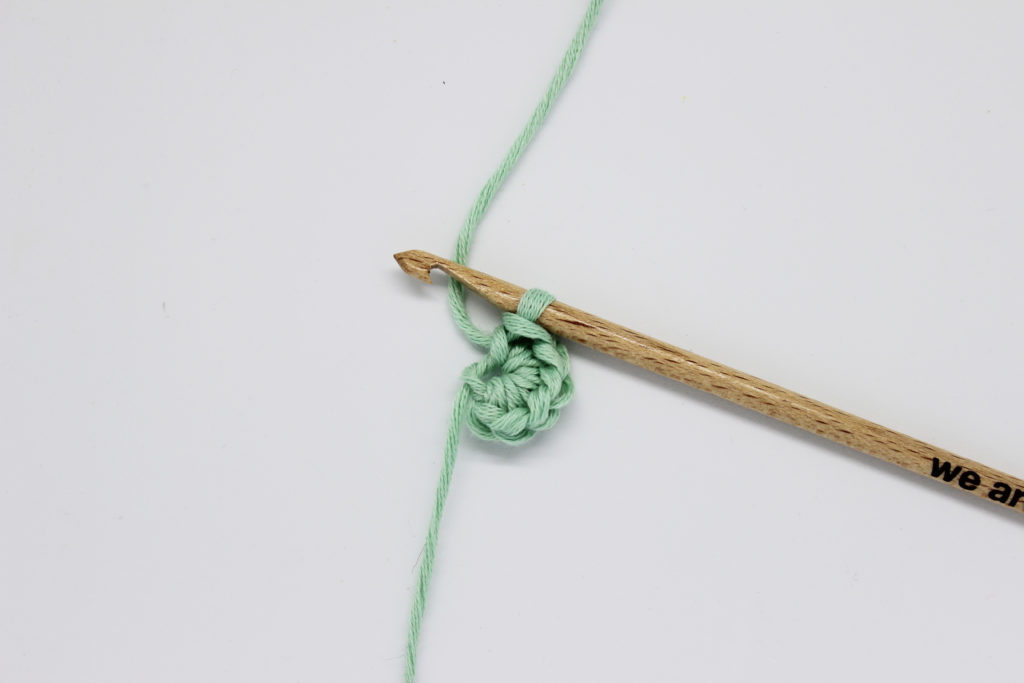
Now work 6 single crochets into the magic circle.
Round 1: increase 1 in each stitch of the previous round (12 stitches in total).
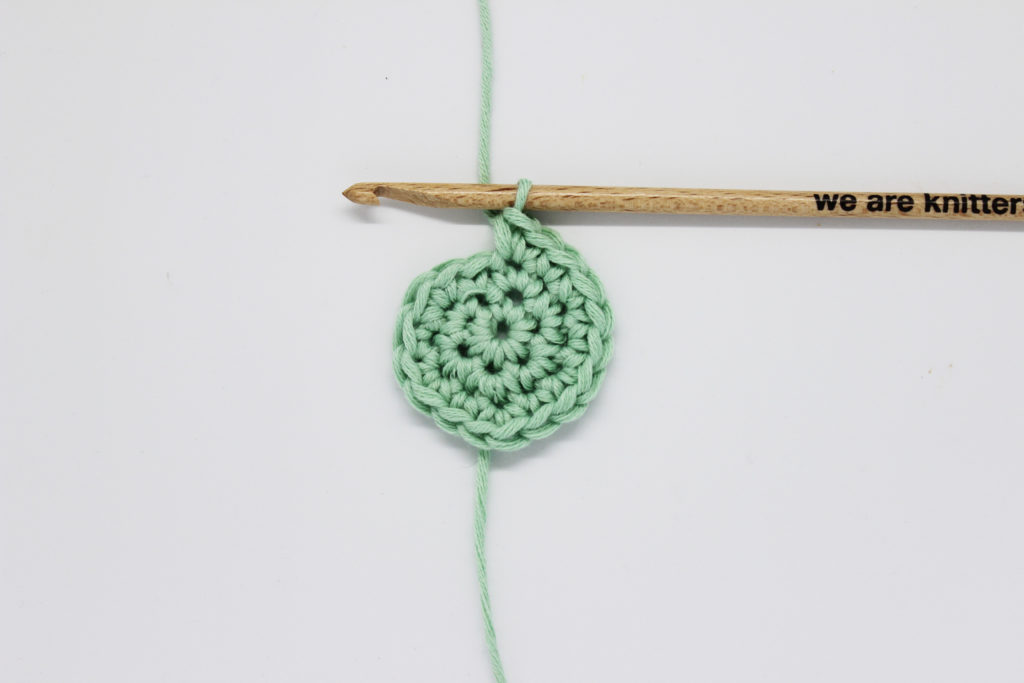
Round 2: * work 1 single crochet and increase 1*. Repeat from * to * 5 more times (18 stitches in total).

The underlined part in the previous step is the distance between each increase, in the next round your have to work 2 single crochets, in the next 3, and so on, until the last round you work 9 single crochets between increase and increase.
Side of the basket
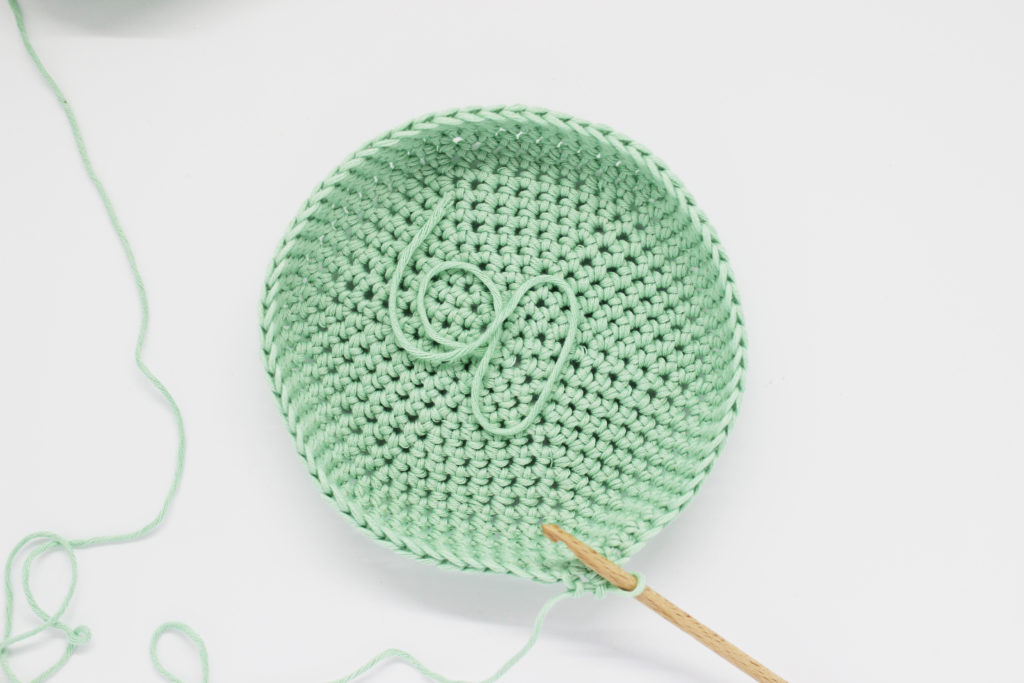
Round 1: work the entire round in single crochet. You will have a total of 66 stitches at the end of the round.
Repeat round 1, two more times.
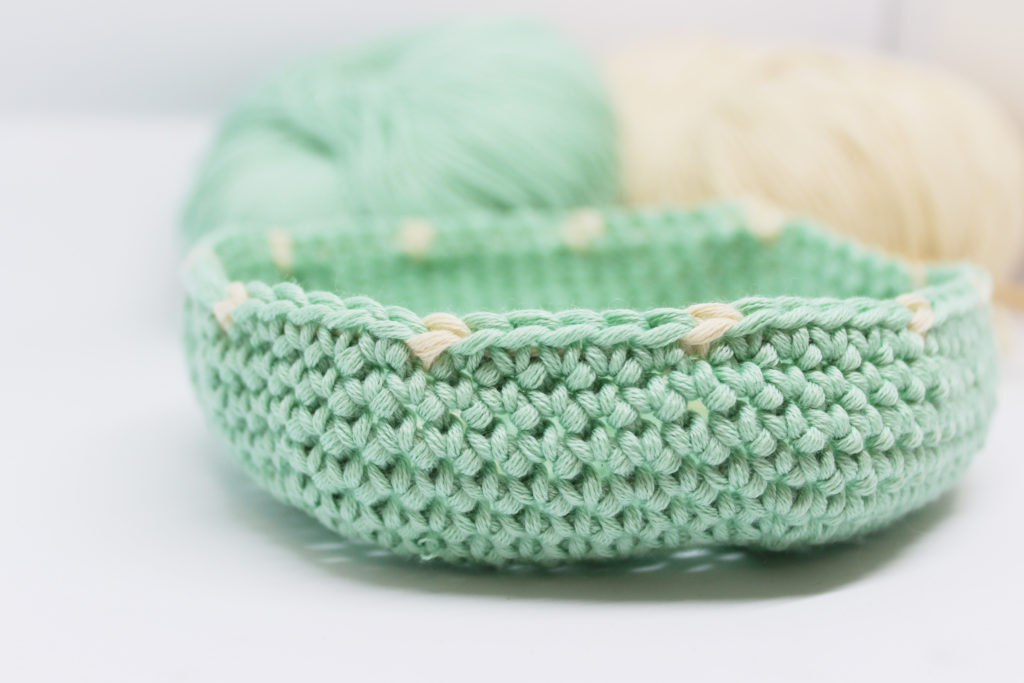
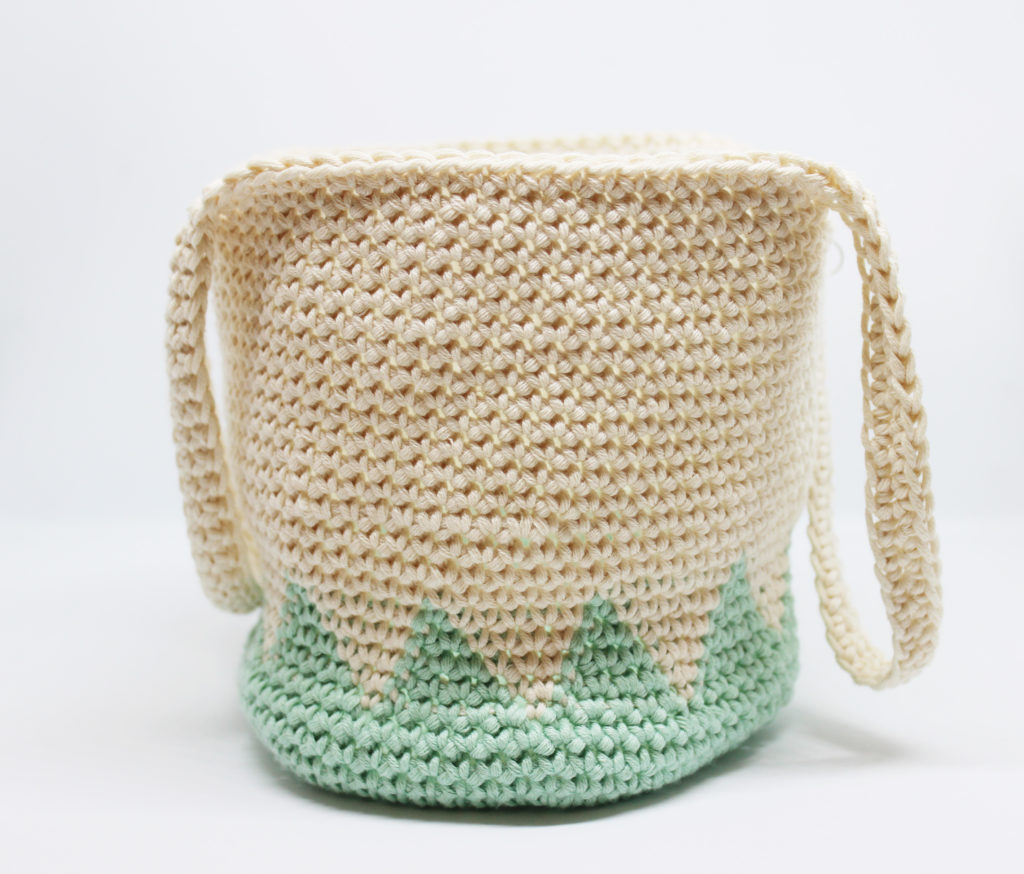
Round 4: start the design on the side of the basket: * work 5 single crochets in mint and 1 single crochet in natural *. Repeat from * to * until the end of the round.
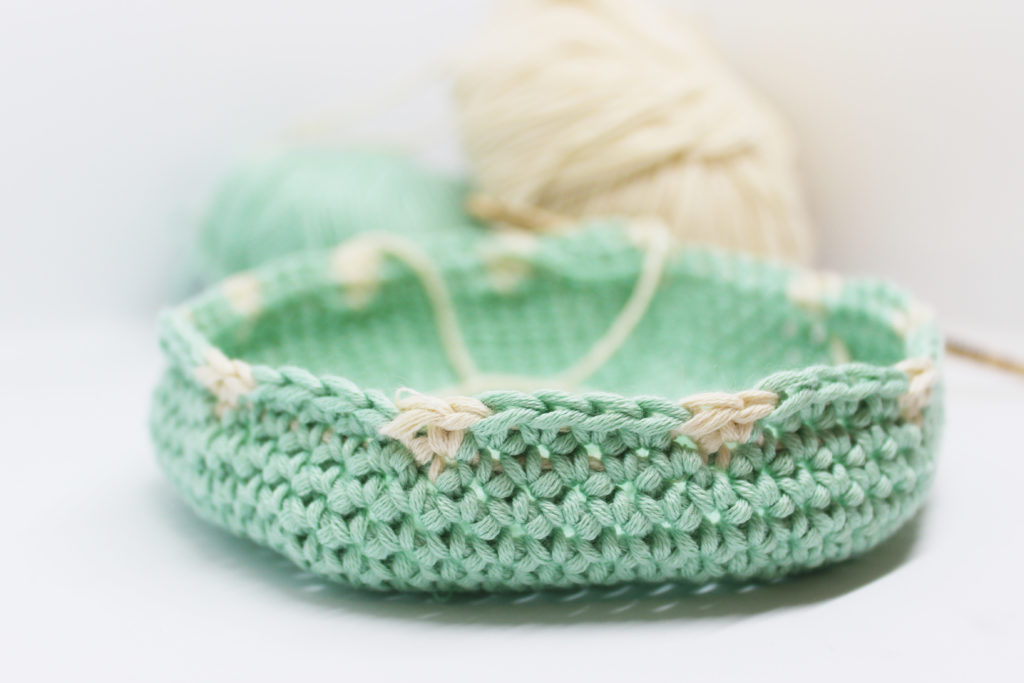
Round 5: work 5 single crochets in mint and 2 in natural. Now work * 4 single crochets in mint and 2 in natural *. Repeat from * to * until there are 5 stitches left. Work 4 single crochets in mint and 1 in natural.
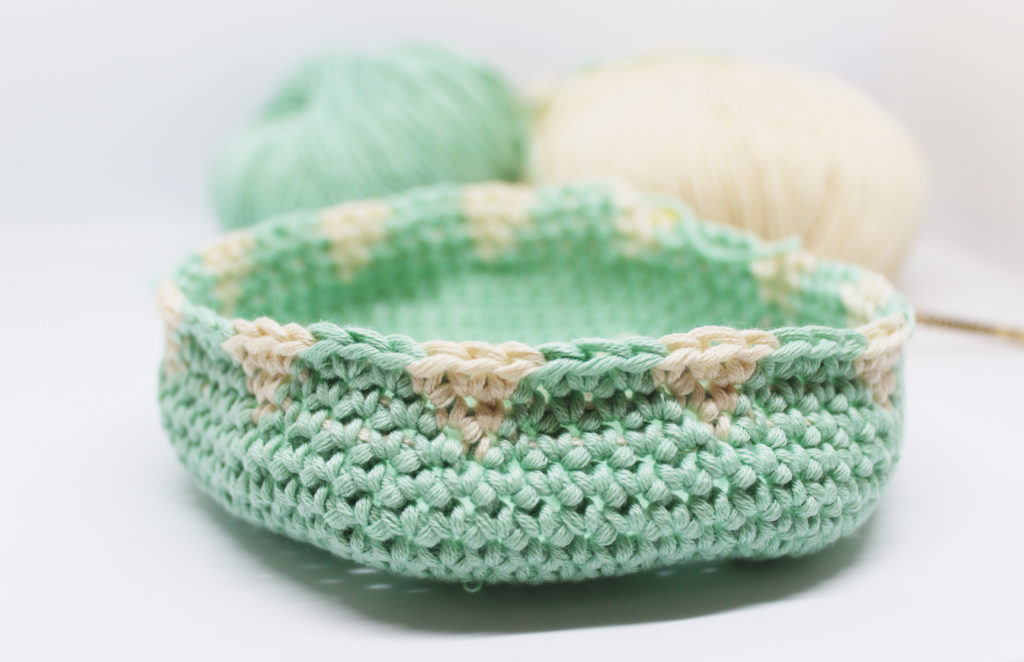
Round 6: start working 1 single crochet in natural and 4 single crochets in mint. Now, * work 3 single crochets in natural and 3 single crochets in mint*. Repeat from * to * until the end of the row. Finish by working 3 singles crochets in mint and 1 single crochet in natural.
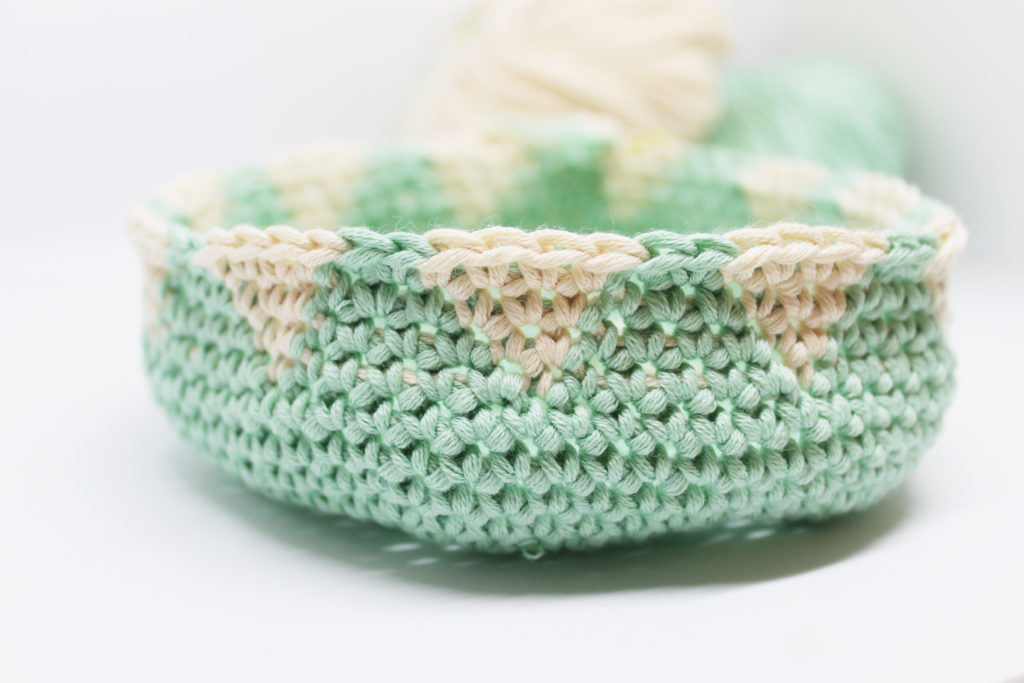
Round 7: work 2 single crochets in natural and 3 single crochets in mint. Continue working * 4 single crochets in natural and 2 single crochets in mint *. Repeat from * to * until there is 1 stitch left. To finish the round work 1 single crochet in natural.
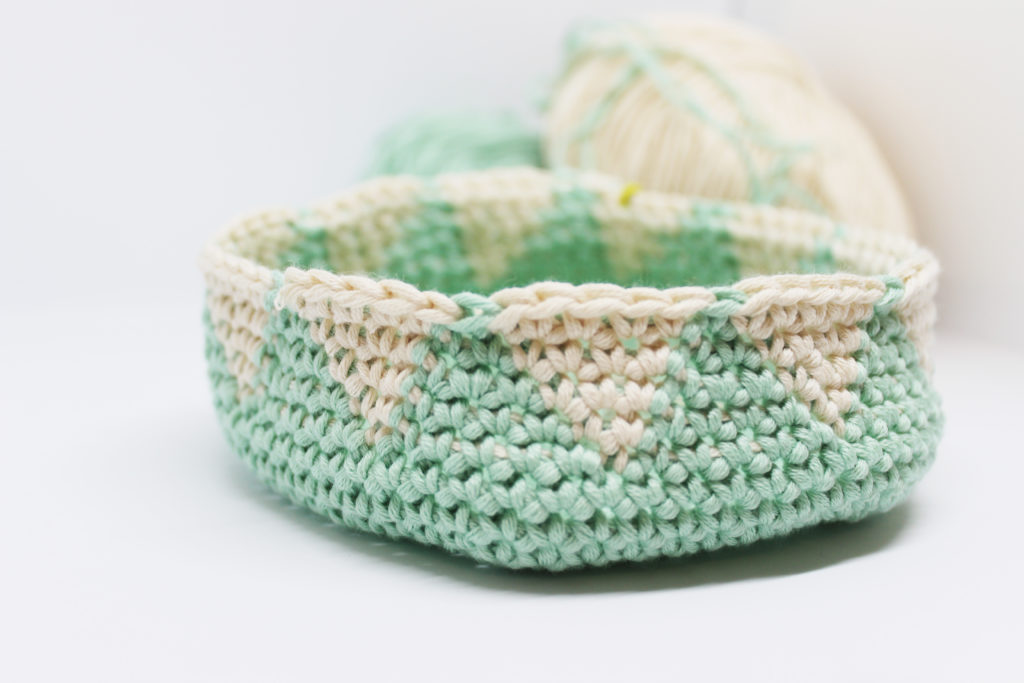
Round 8: work 3 single crochets in natural and 2 single crochets in mint. Now work * 5 single crochets in natural and 1 single crochet in mint *. Repeat from * to * until there is 1 stitch left. Finish the round with 1 single crochet in natural.
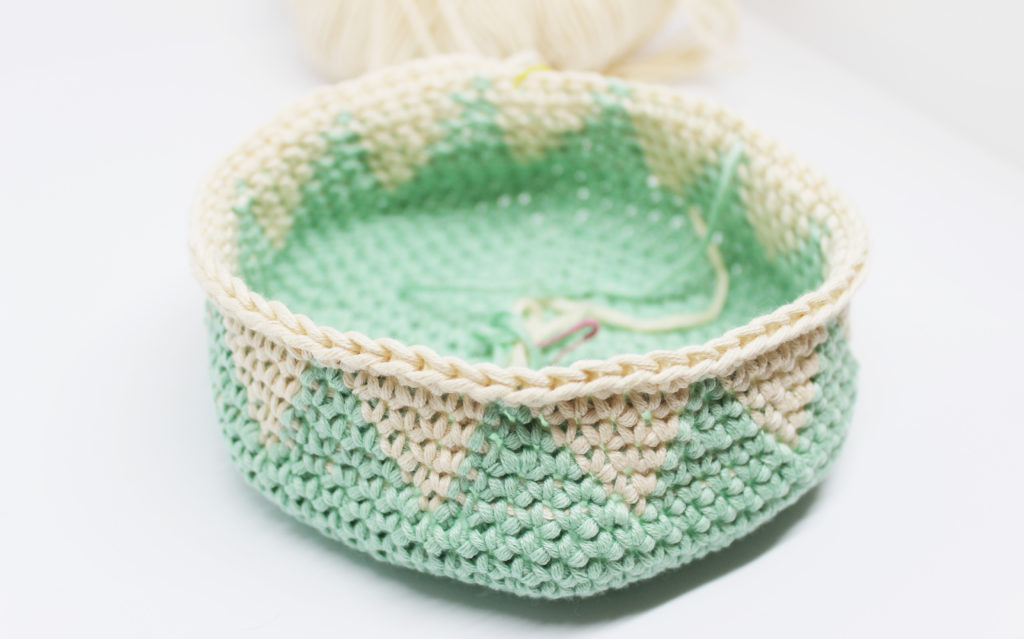
Round 9: begin the round by working 4 single crochets in natural and1 single crochet in mint. Continue the rest of the round in natural.
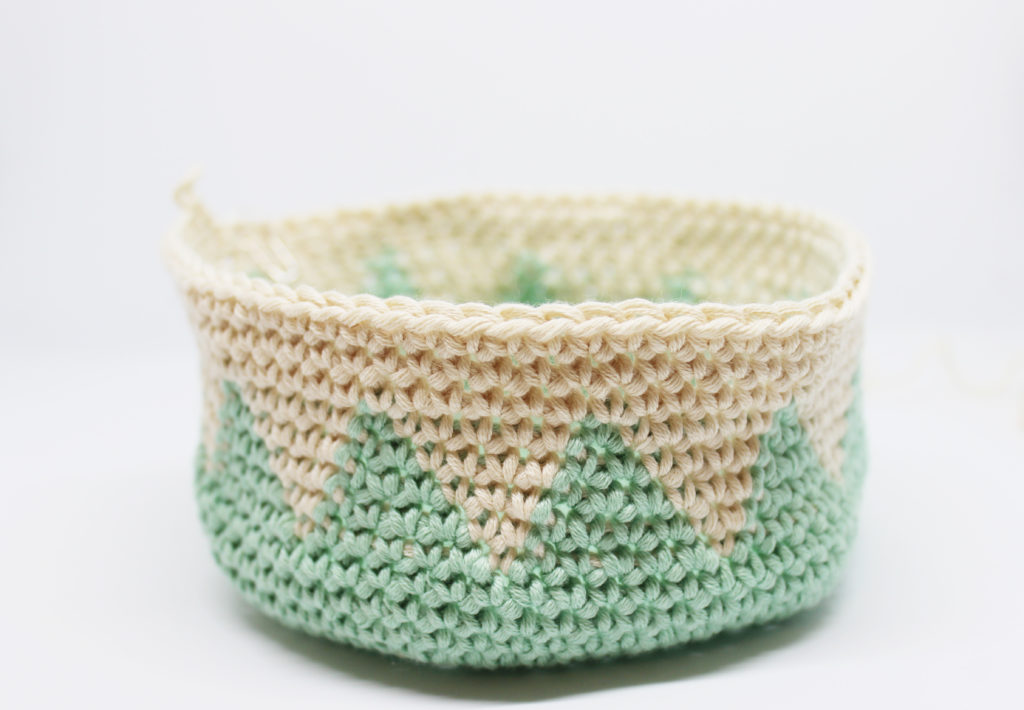
Round 10: work the whole round in single crochet with natural.
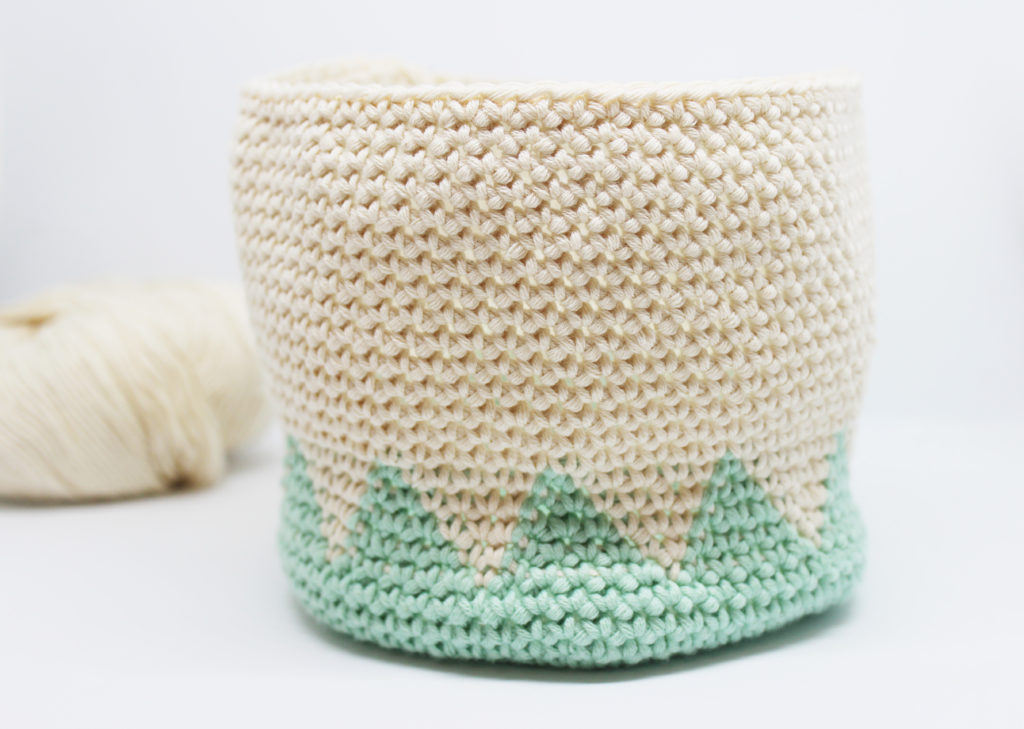
Repeat the previous row 12 more times.
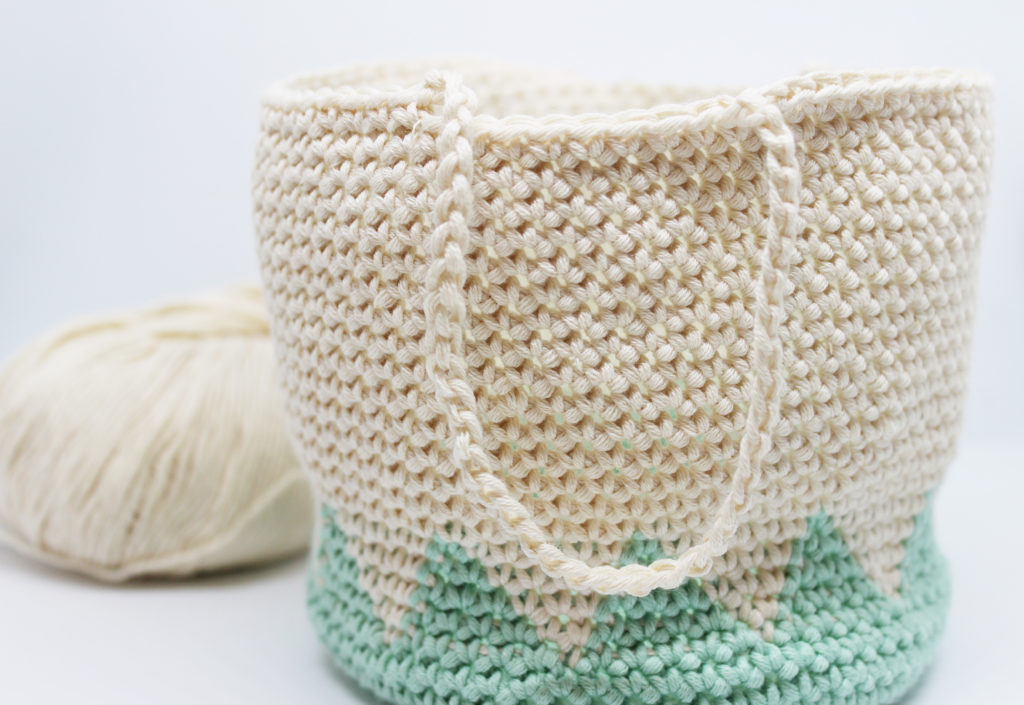
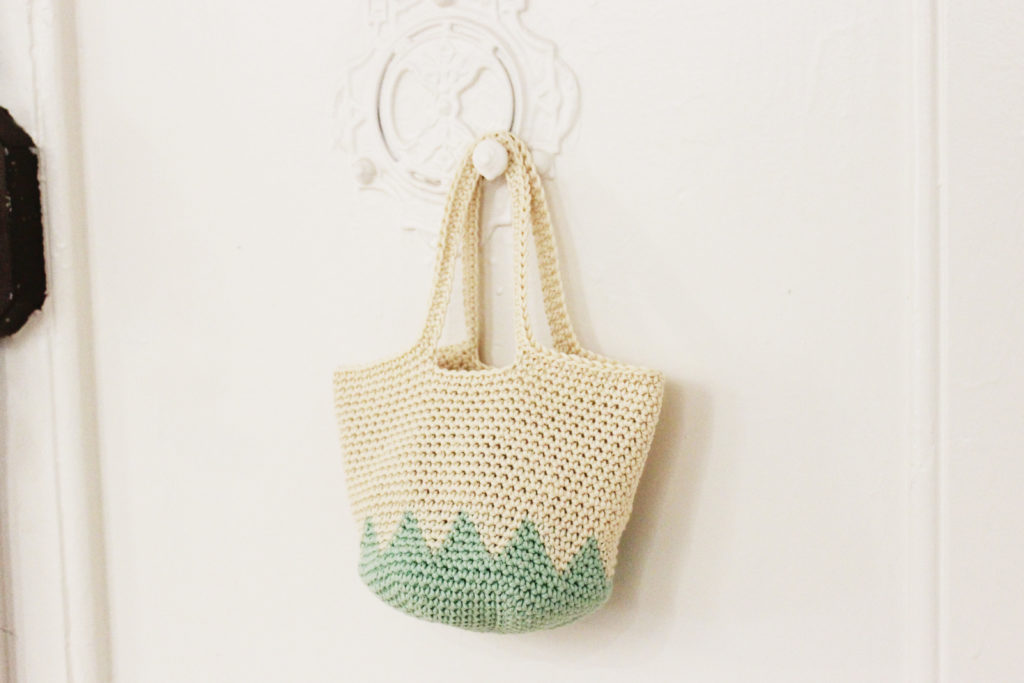
Now we are going to make the handles for the basket so that you can hang it up. To do so: *chain 40, skip 8 stitches and work 25 more single crochet*. Repeat from * to * to make the second handle.
Work two more rounds in single crochet.
Using a tapestry needle, weave in any extra threads so that your basket doesn’t have any loose ends.
That’s it! Your basket is ready! You can use it anywhere and hang it where you are most likely to see it: a hanger or a doorknob.
We hope you liked this step-by-step pattern and that you share your catch-all basket on social media using the #weareknitters.com.