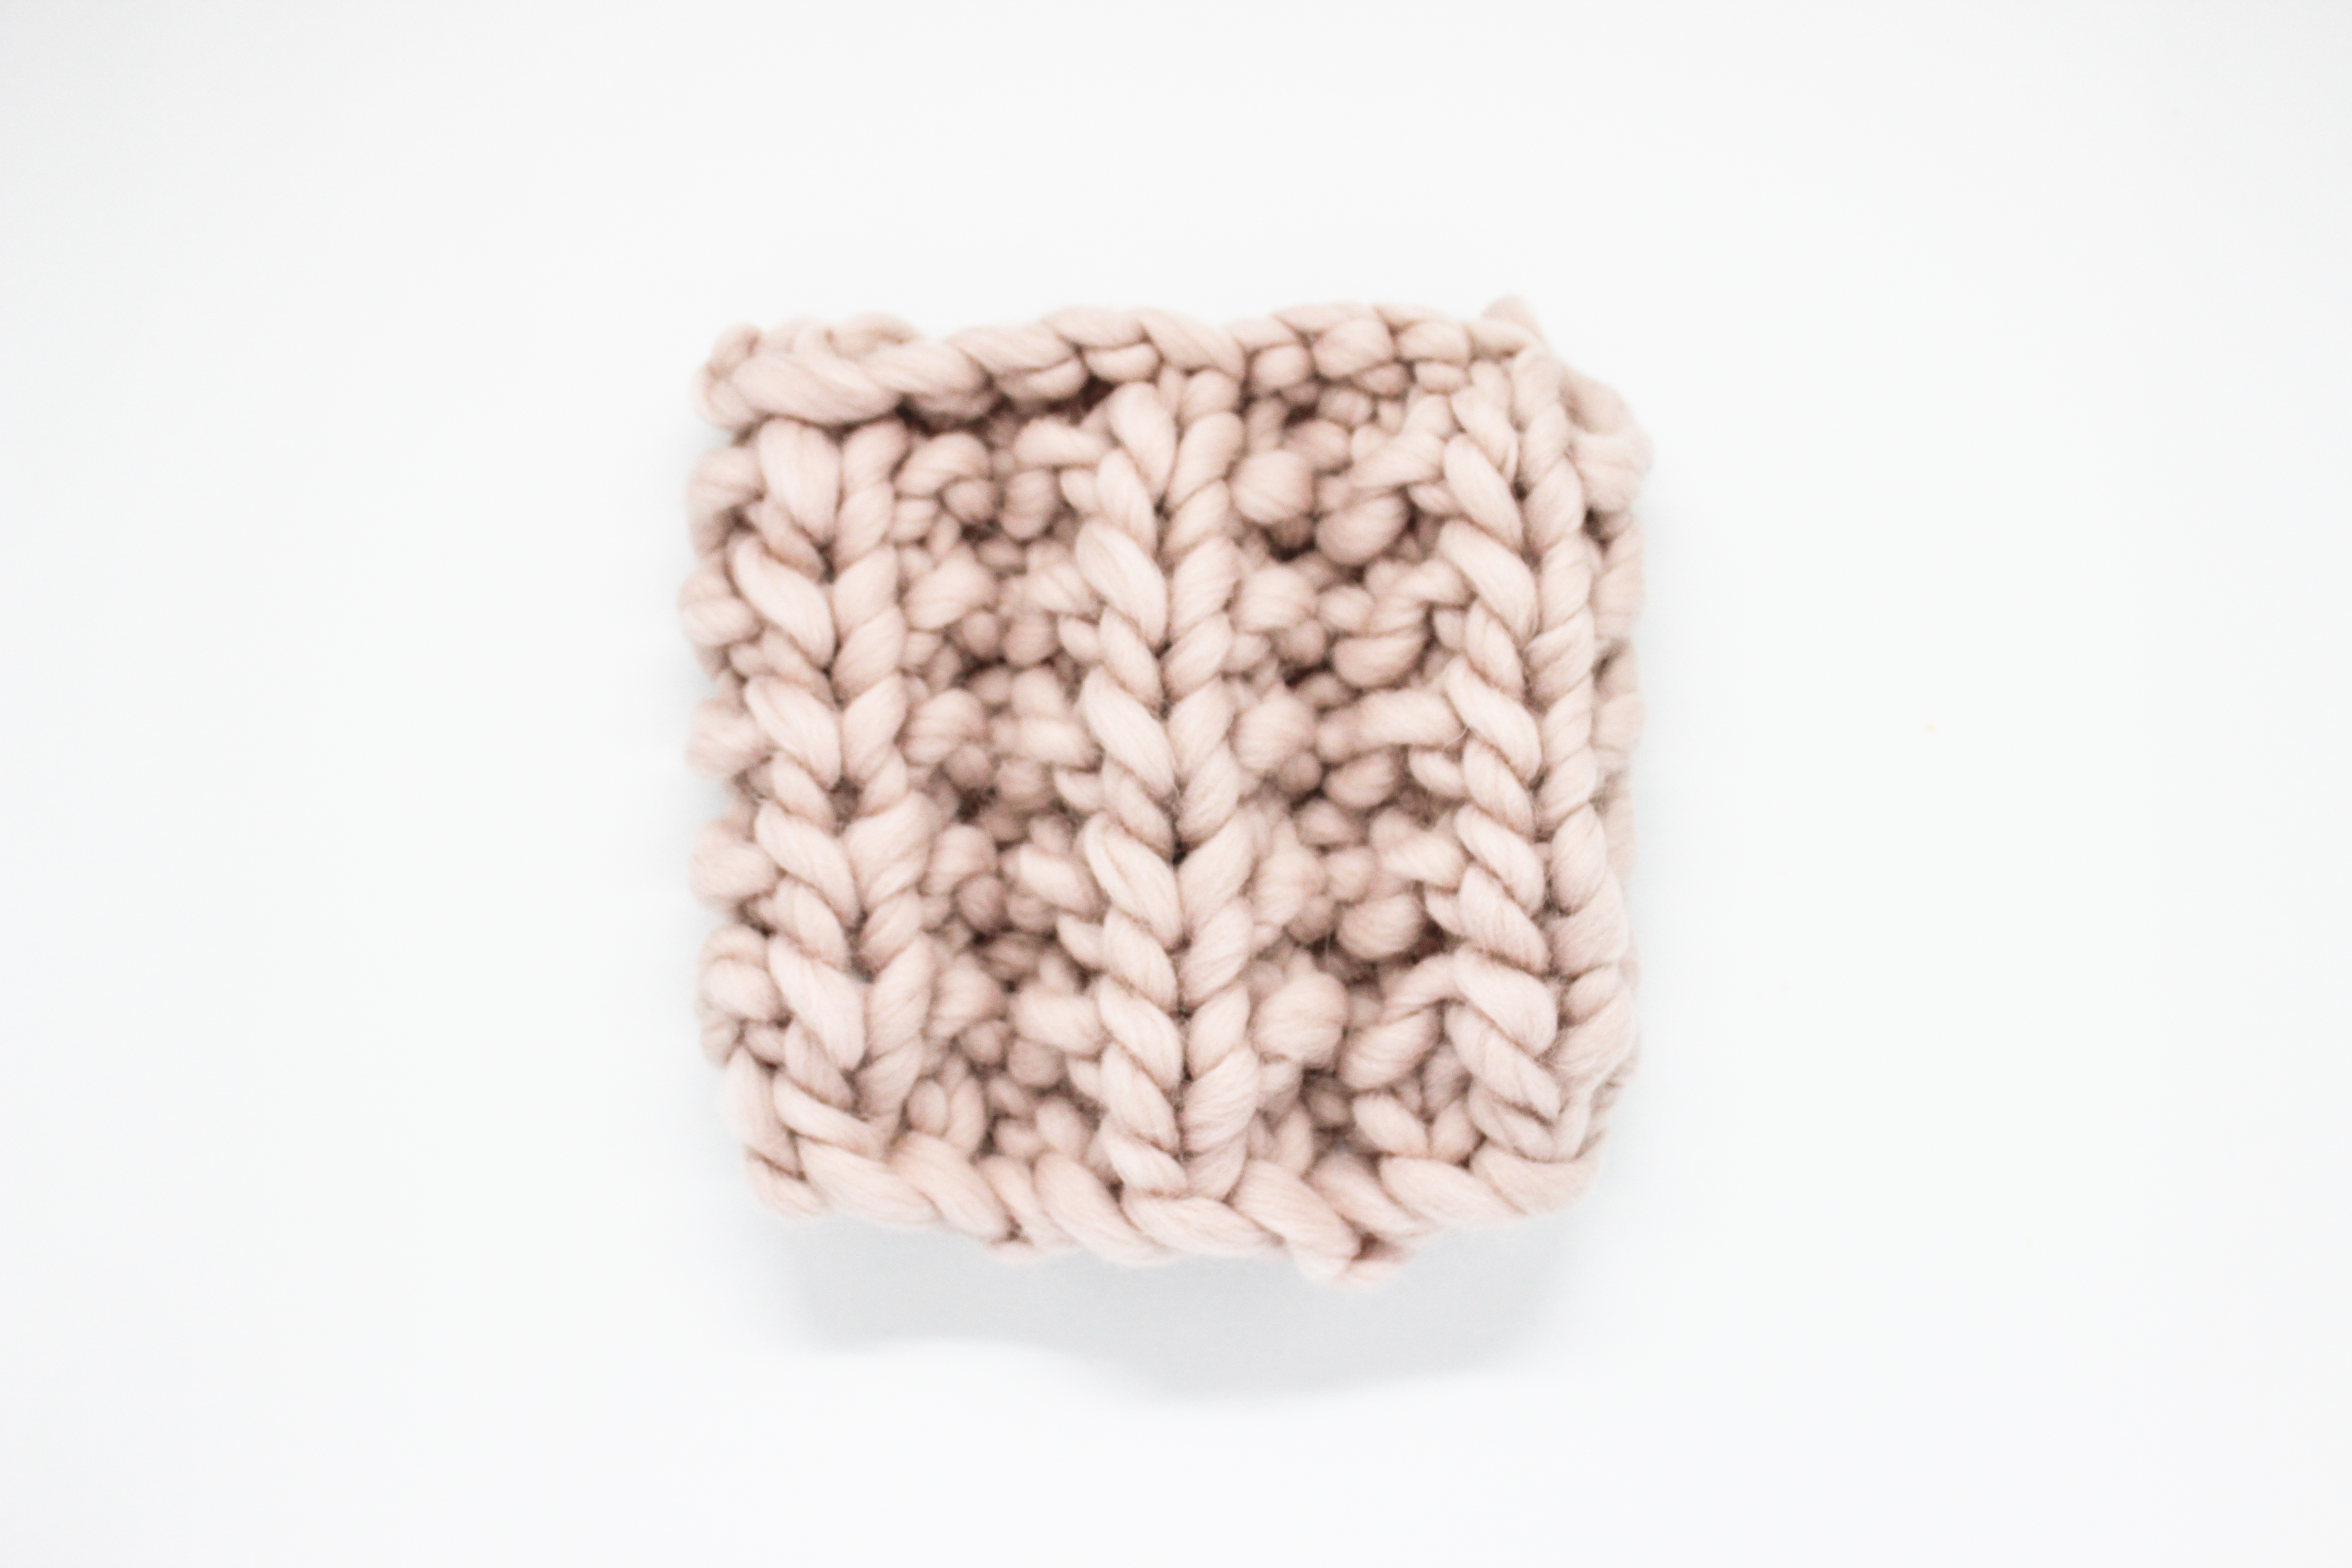
We love cool textures; they are our weakness. Today we teach you how to work the crossed puff stitch, which will do wonders in home items such as cushions or blankets for the Winter. It’s very easy to work, and it feels amazing to the touch. Do you want to try it?

Para este tutorial hemos utilizado uno de nuestros ovillos de lana fina y agujas de tejer de 8 mm.
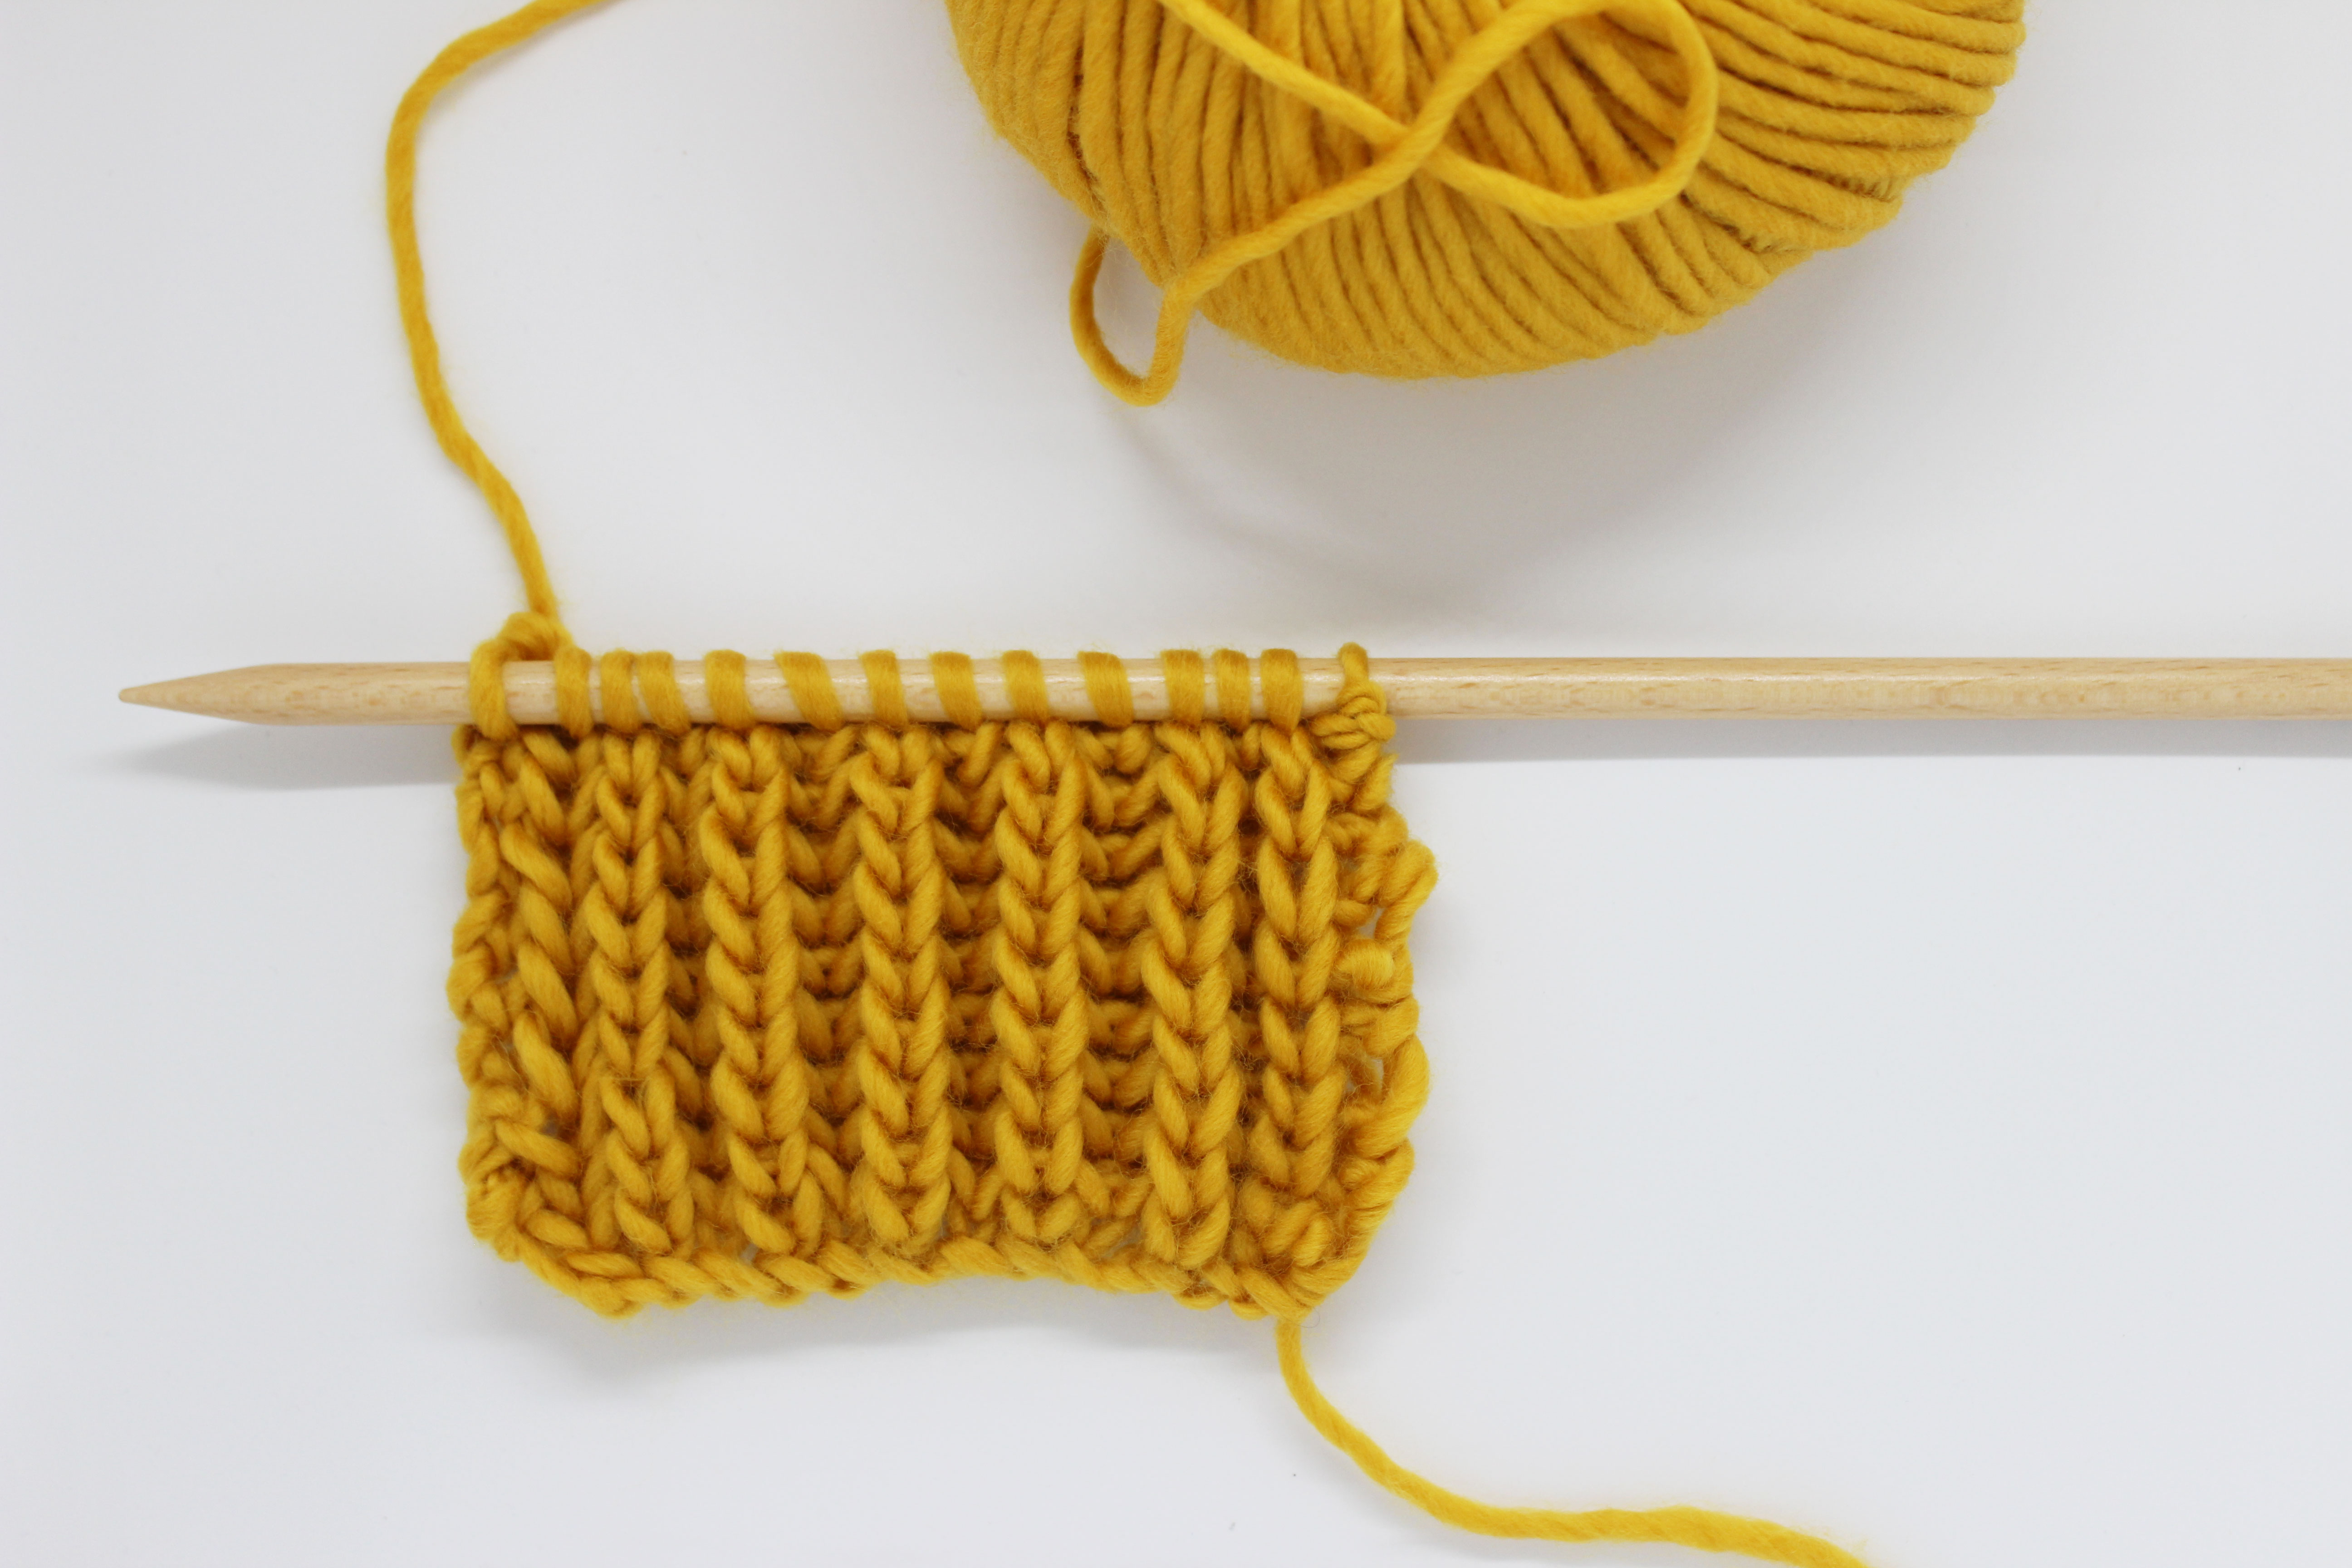
For this tutorial we used one of our Petite Wool skeins and size US 11 (8 mm) knitting needles.

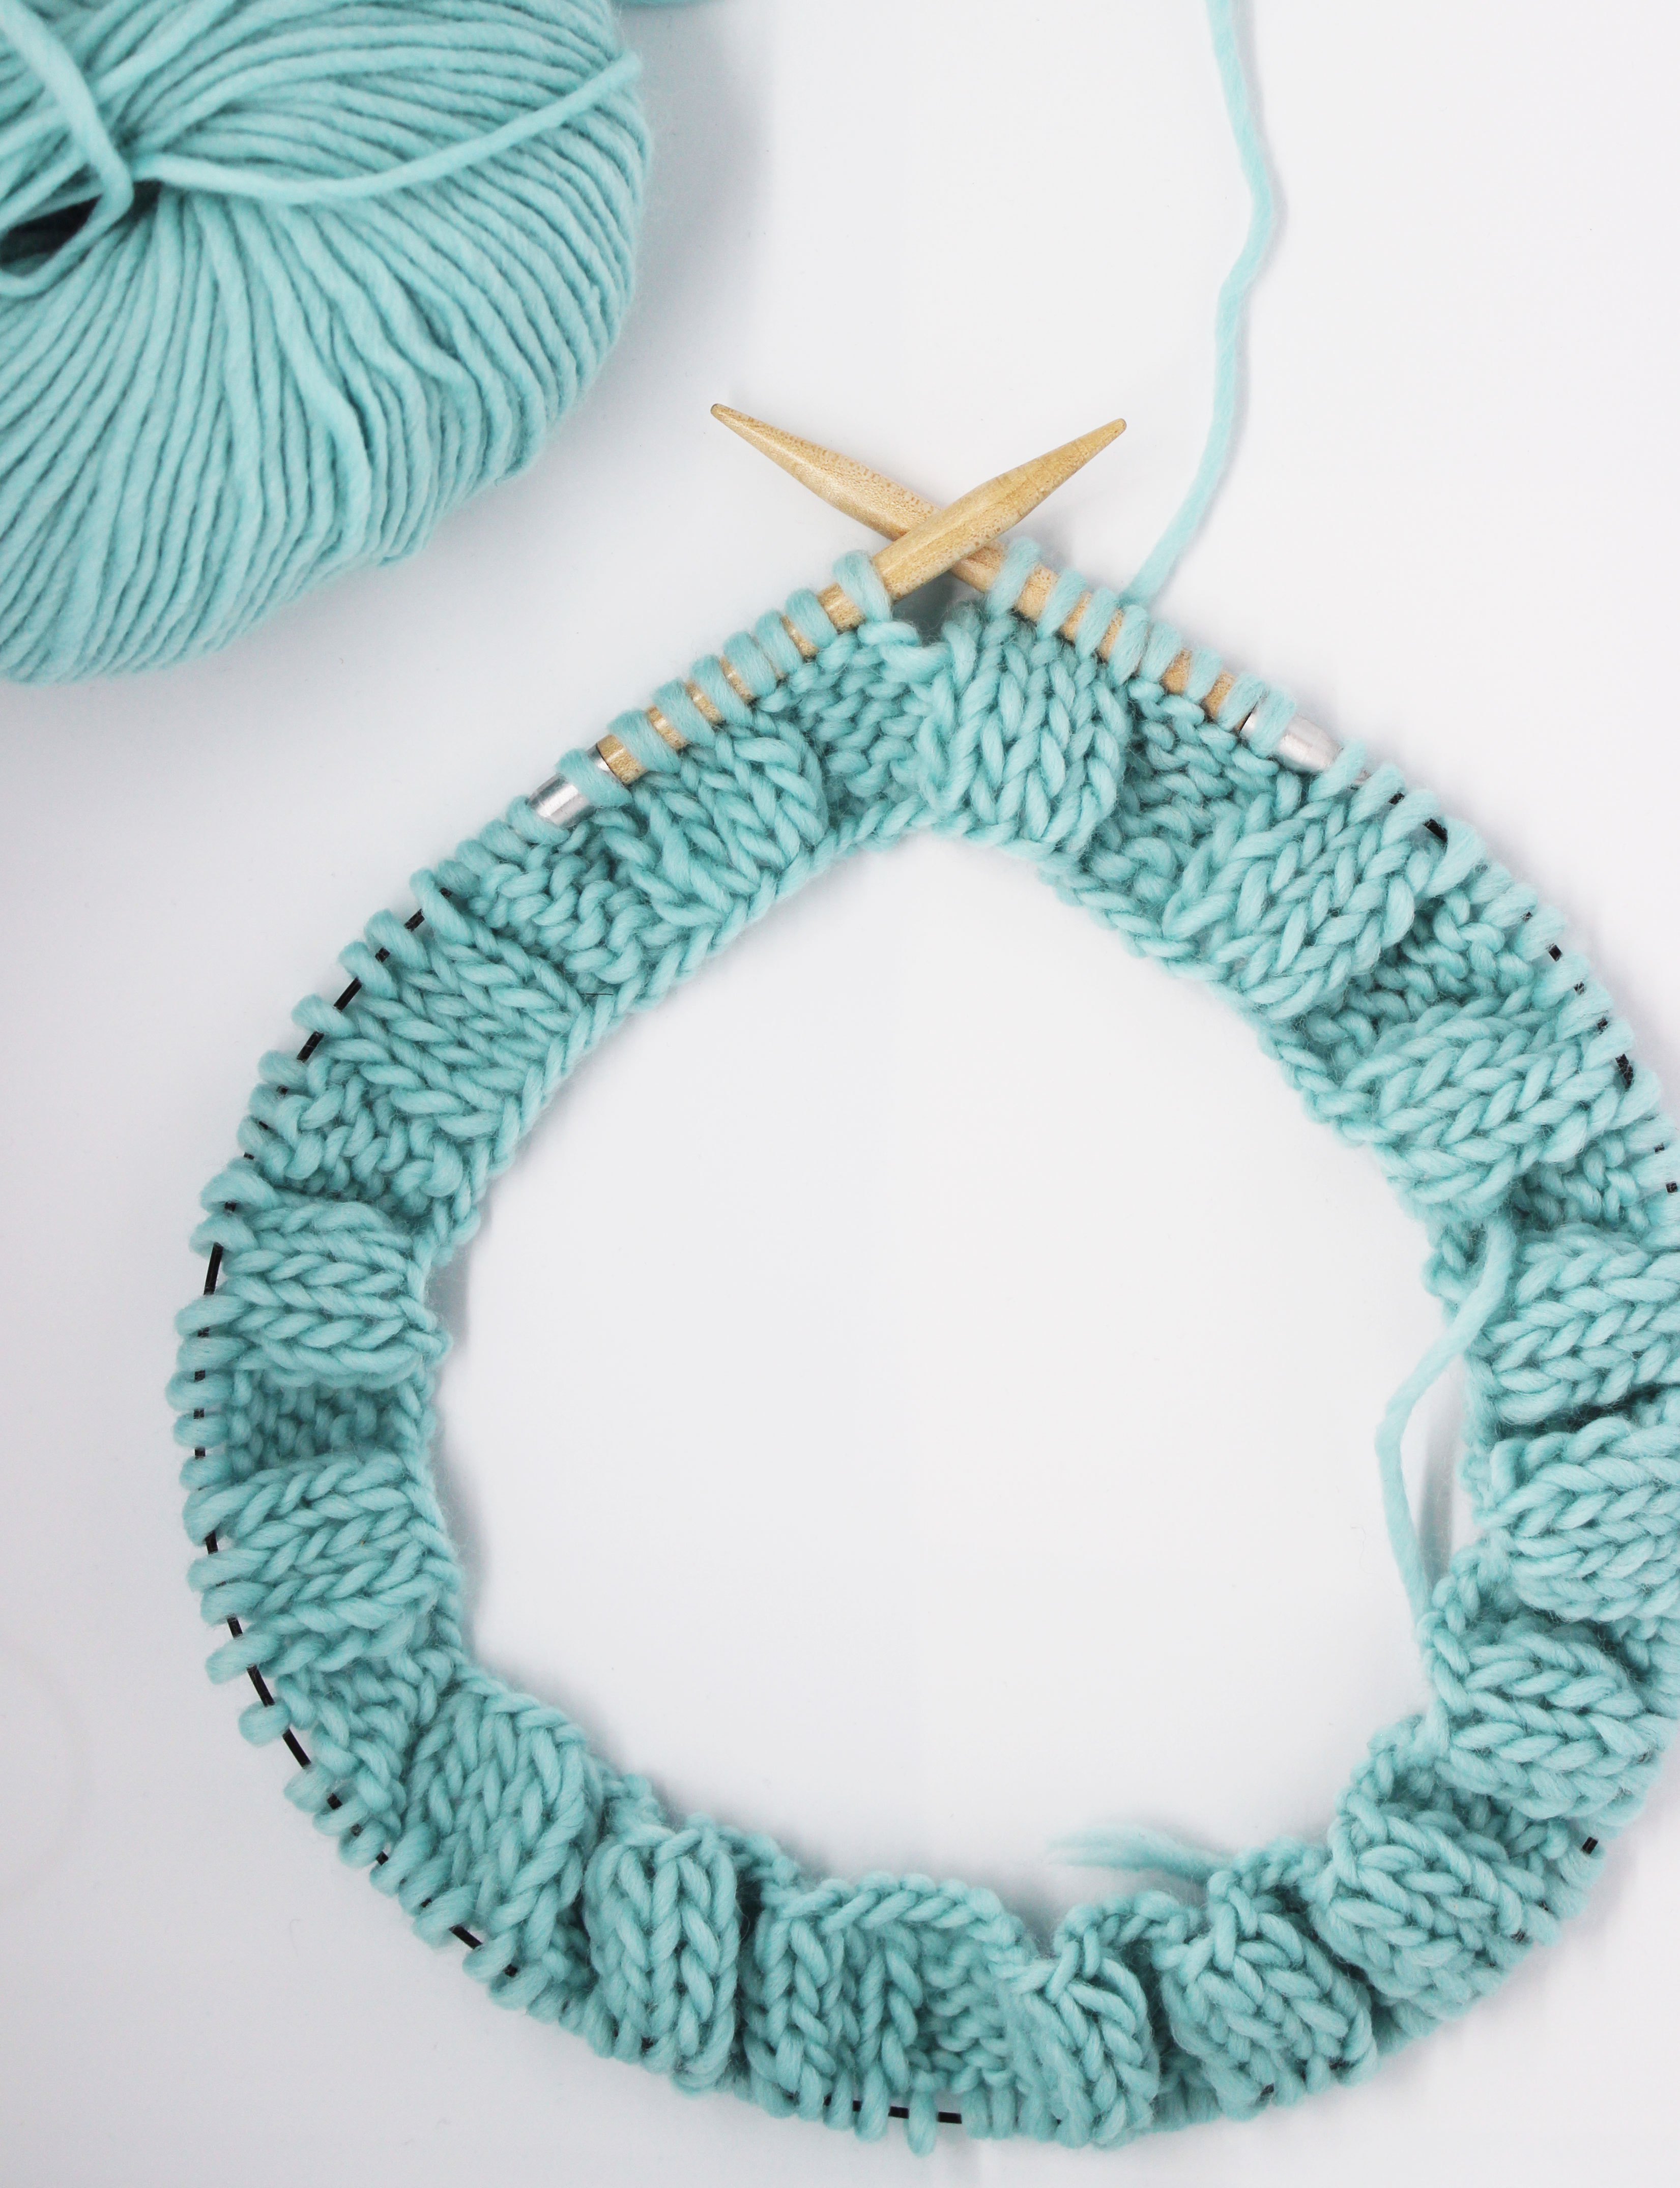
Start by casting on a number of stitches multiple of 2.

Row 1: *slip 1 stitch purlwise with the yarn in the back of the work, purl 1*. Repeat from * to * until the end of the row.

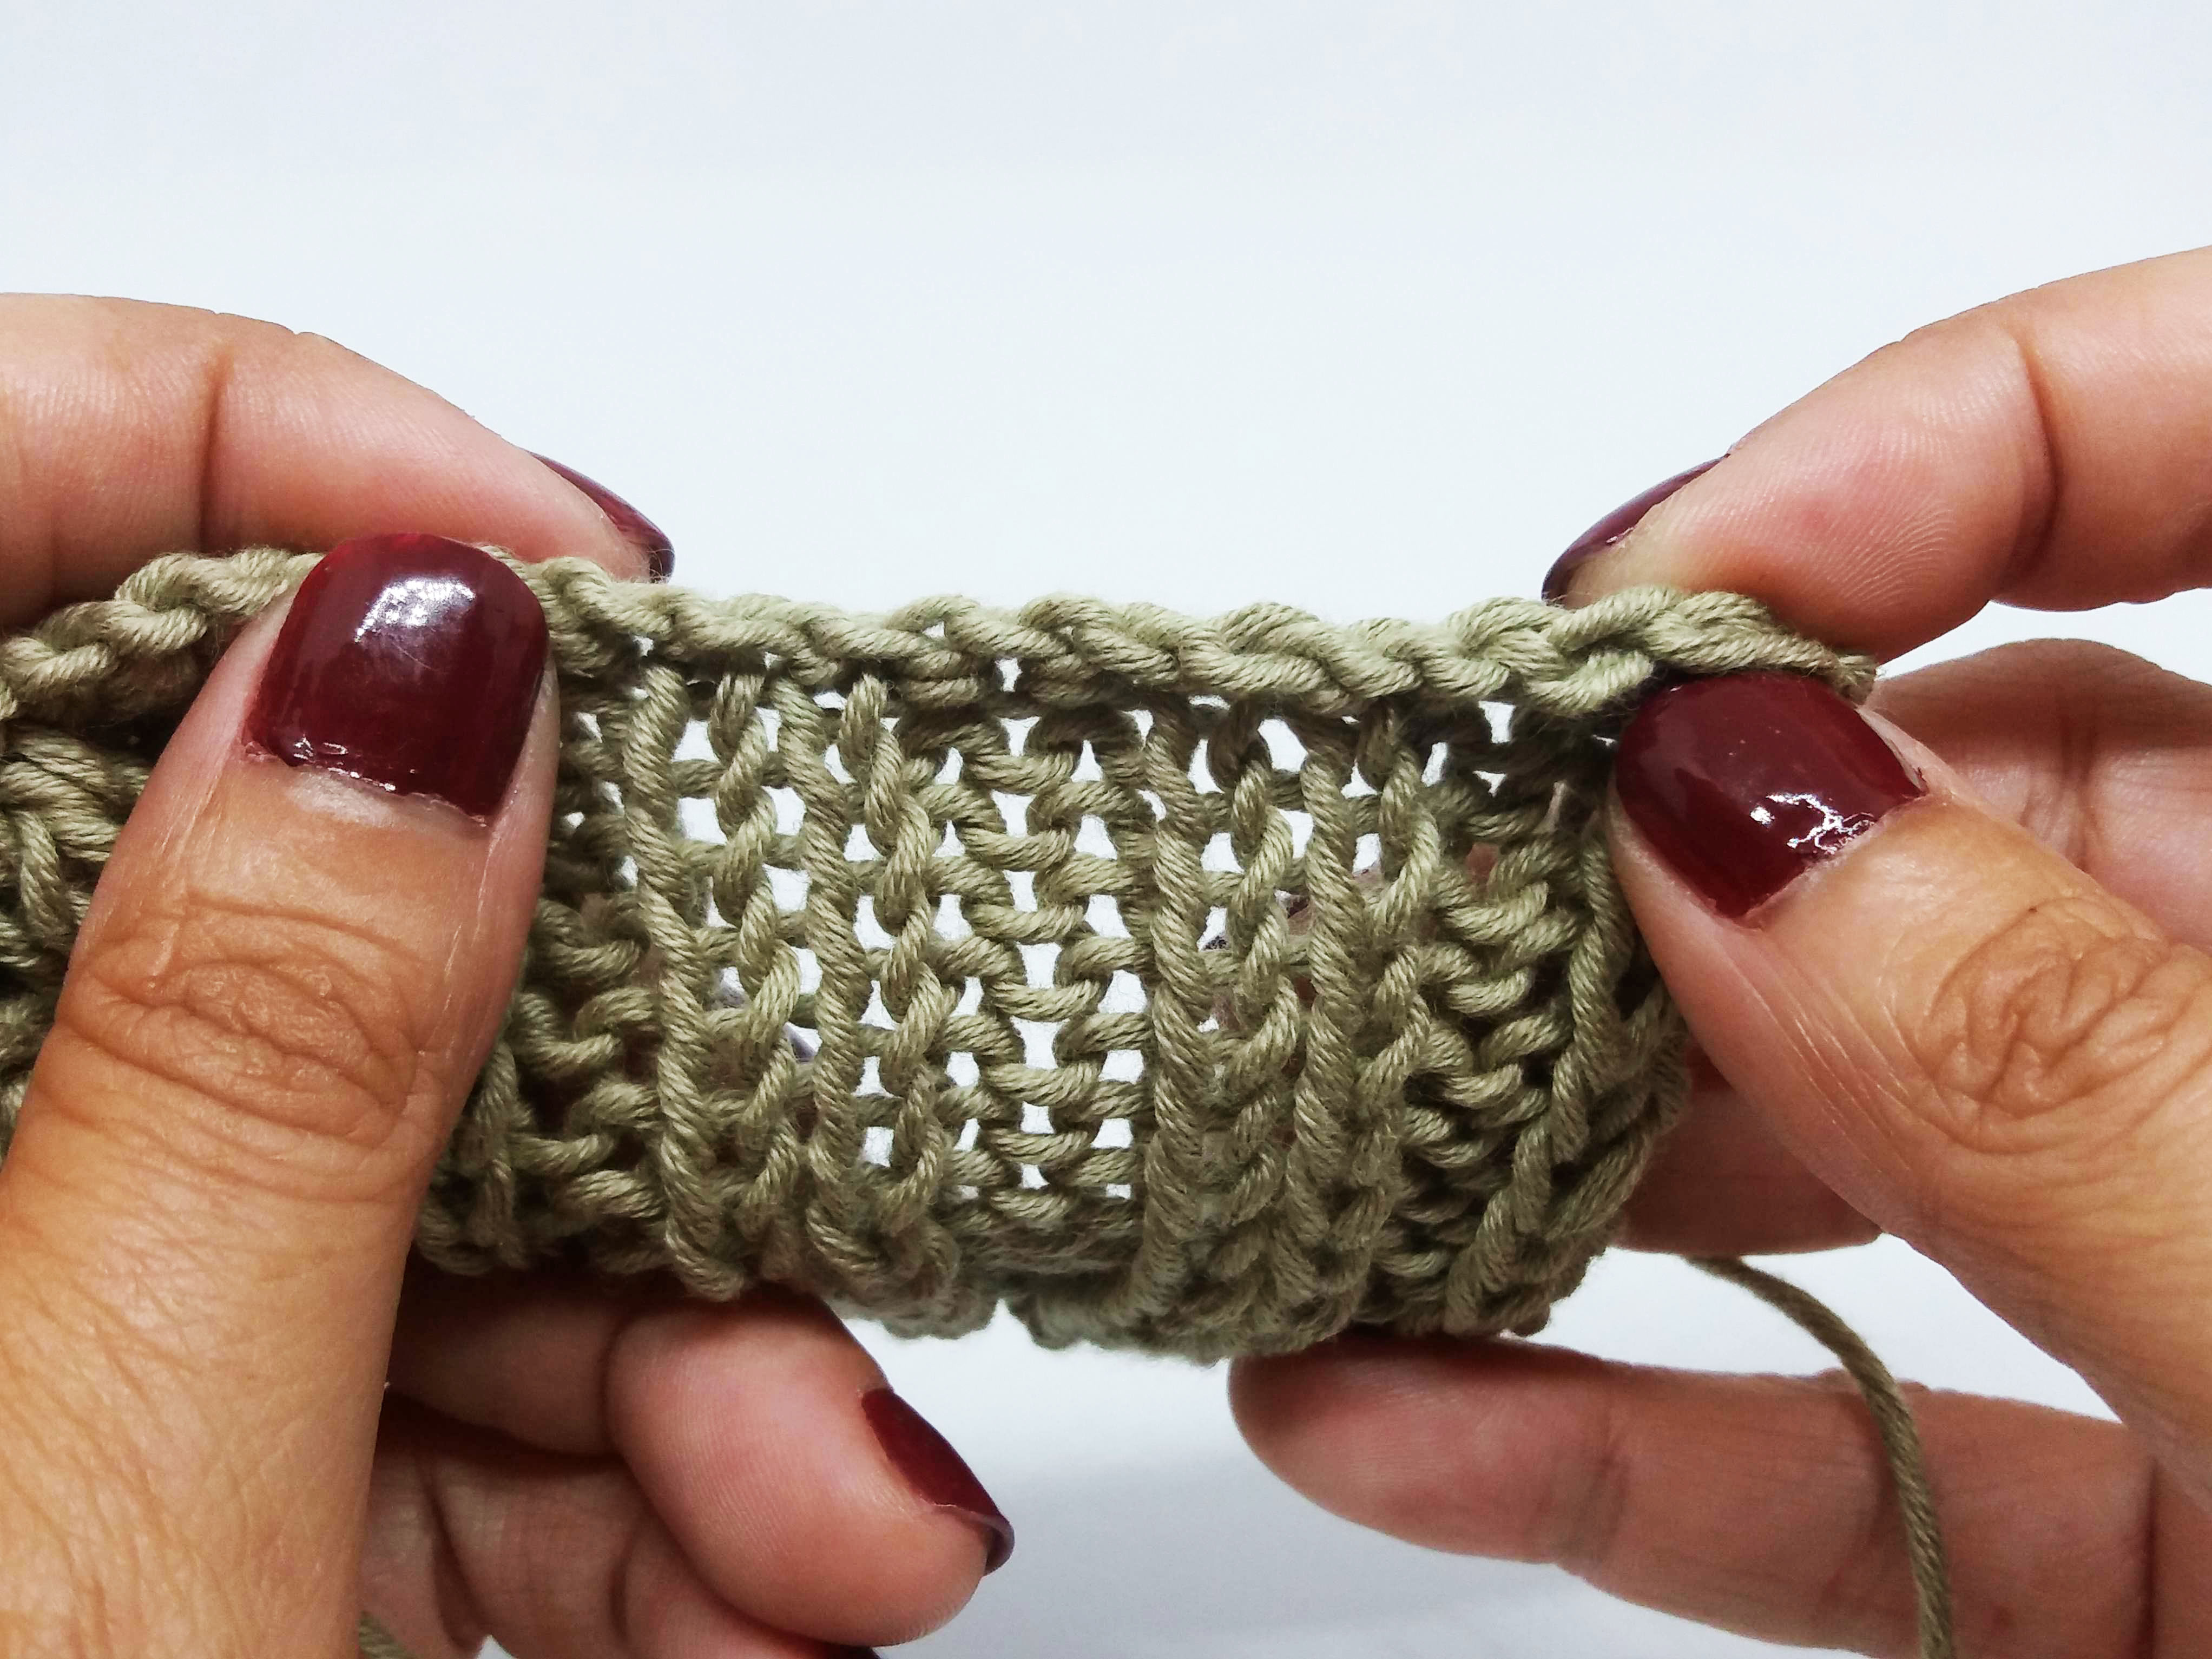
Row 2: knit 1. *Purl 2 together and without dropping them off the needle, yarn over. Purl together the 2 stitches again. Purl the first stitch and drop the 2 stitches on the left-hand needle*. Repeat from * to * until there is 1 stitch left, purl it.
This row may look a bit difficult but here is a quick video showing the most difficult part (which we underlined here in the written instructions):
Once you finish working this row, continue with the next J

Row 3: slip the first stitch with the yarn in the back of the work. *Purl 1, knit 3 together through the back loop*. Repeat from * to * until there is 1 stitch left, purl it.

Row 4: Knit 1. *Slip 1 stitch purlwise with the yarn in front of the work, knit 1*. Repeat from * to * until there is 1 stitch left, purl it.

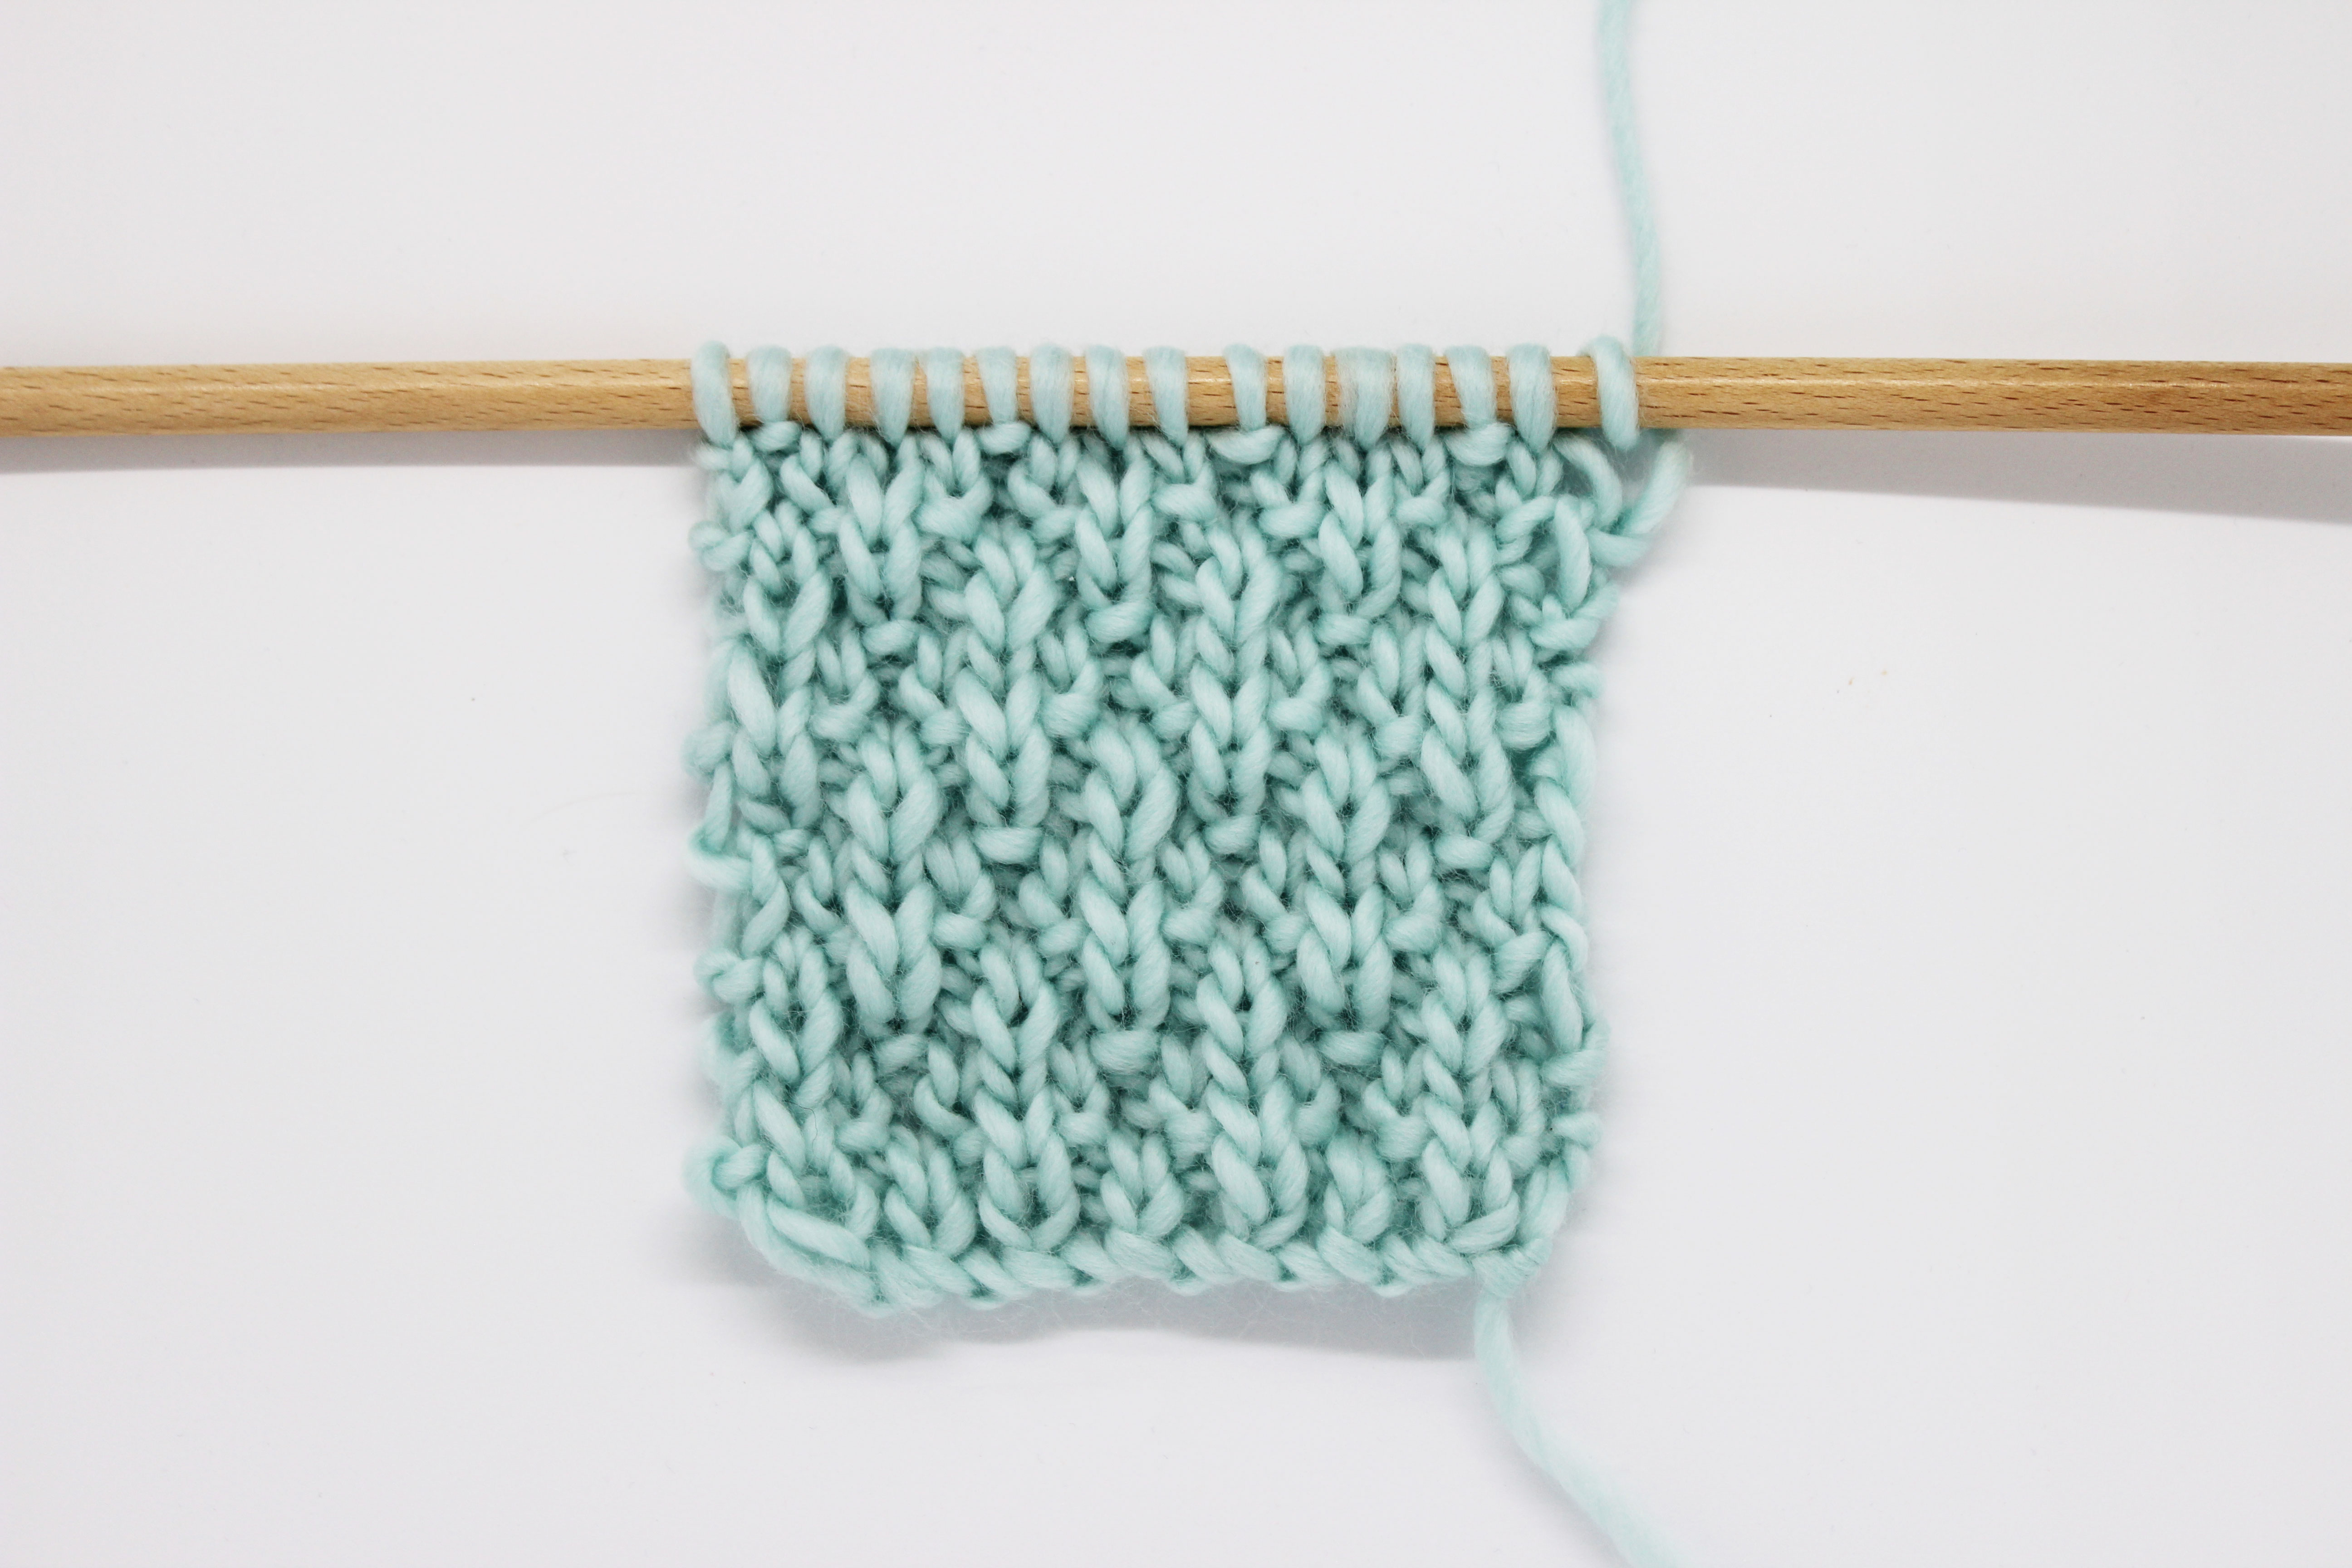
Repeat rows 1 to 4 until you reach the desired length.
As you can see, it’s worked very fast, and once you get it, there will be no stopping you. We will love it if you to share your next projects with it in social media with the hashtag #weareknitters Until next time!