Sometimes we just feel like doing crochet, a simple stitch, a quick project, we curl up on the couch and sink into our world full of yarn. Today we bring you a really easy stitch, the kind that will surprise you with its texture as you go along. We are going to learn how to crochet the wicker stitch.
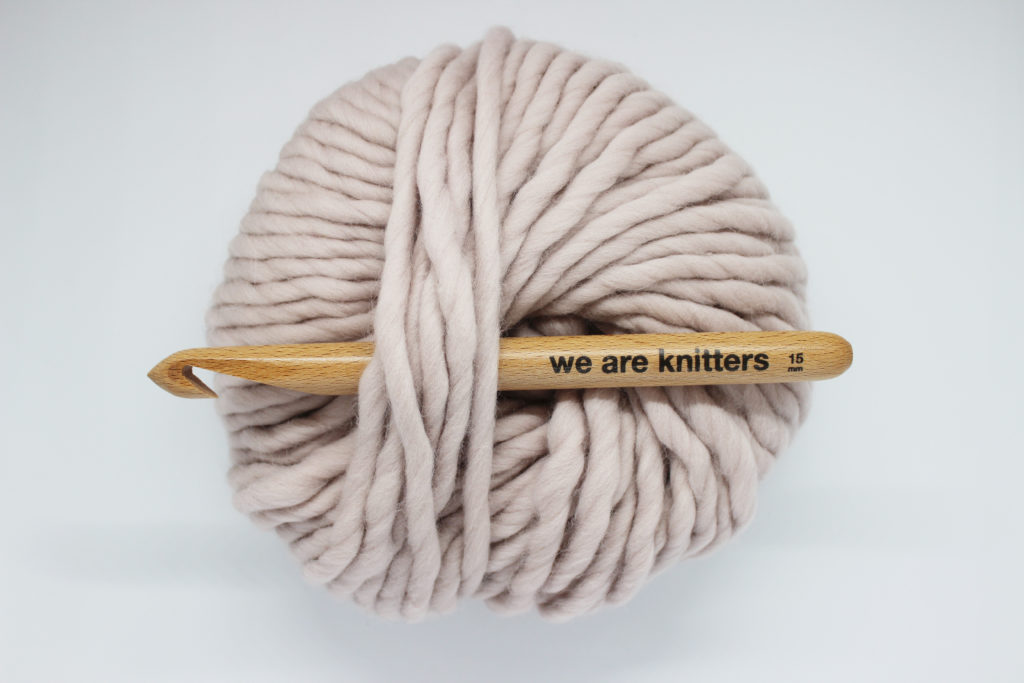
For this step-by-step tutorial we are going to use a skein of our chunky wool and a size 19 crochet hook.
These are stitches you need to know how to do before beginning:
Let’s see how it’s done!
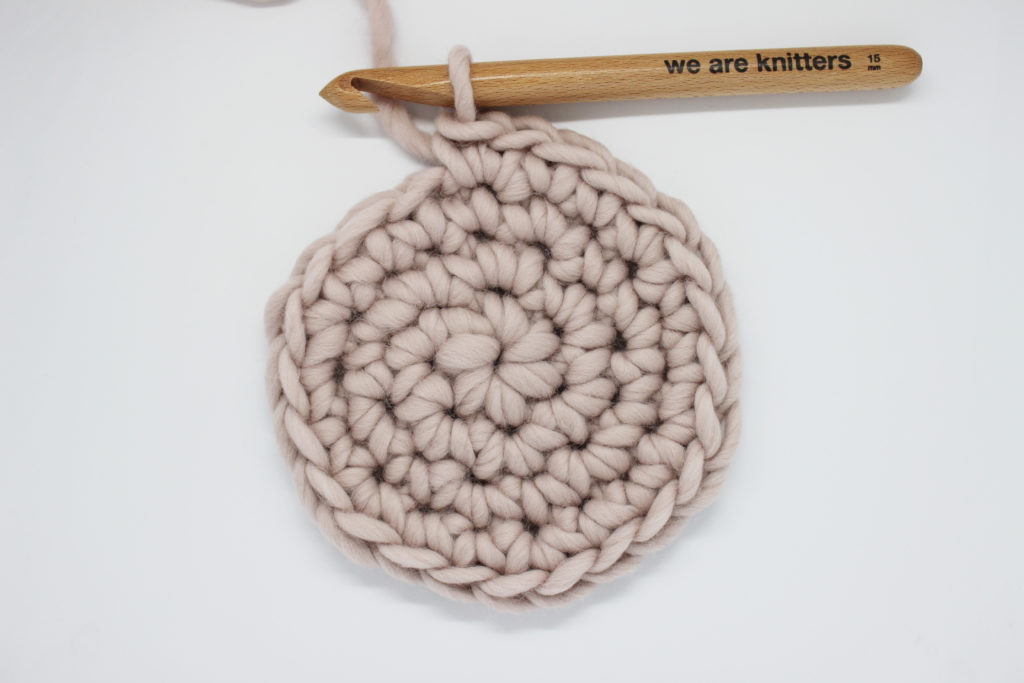
The first thing you need to know about this stitch is that it is worked in the round, without turning your work. So, prepare your base to start working. You can make the diameter any size you want, as big or as small as your project is going to be. You can make the base with any stitch you like, but a simple single crochet will do.
We will divide the work into two parts:
First round
In the first round we are going to set up the base of our stitch, it’s a little different then the rest of the rounds. We made a video so you don’t get lost:
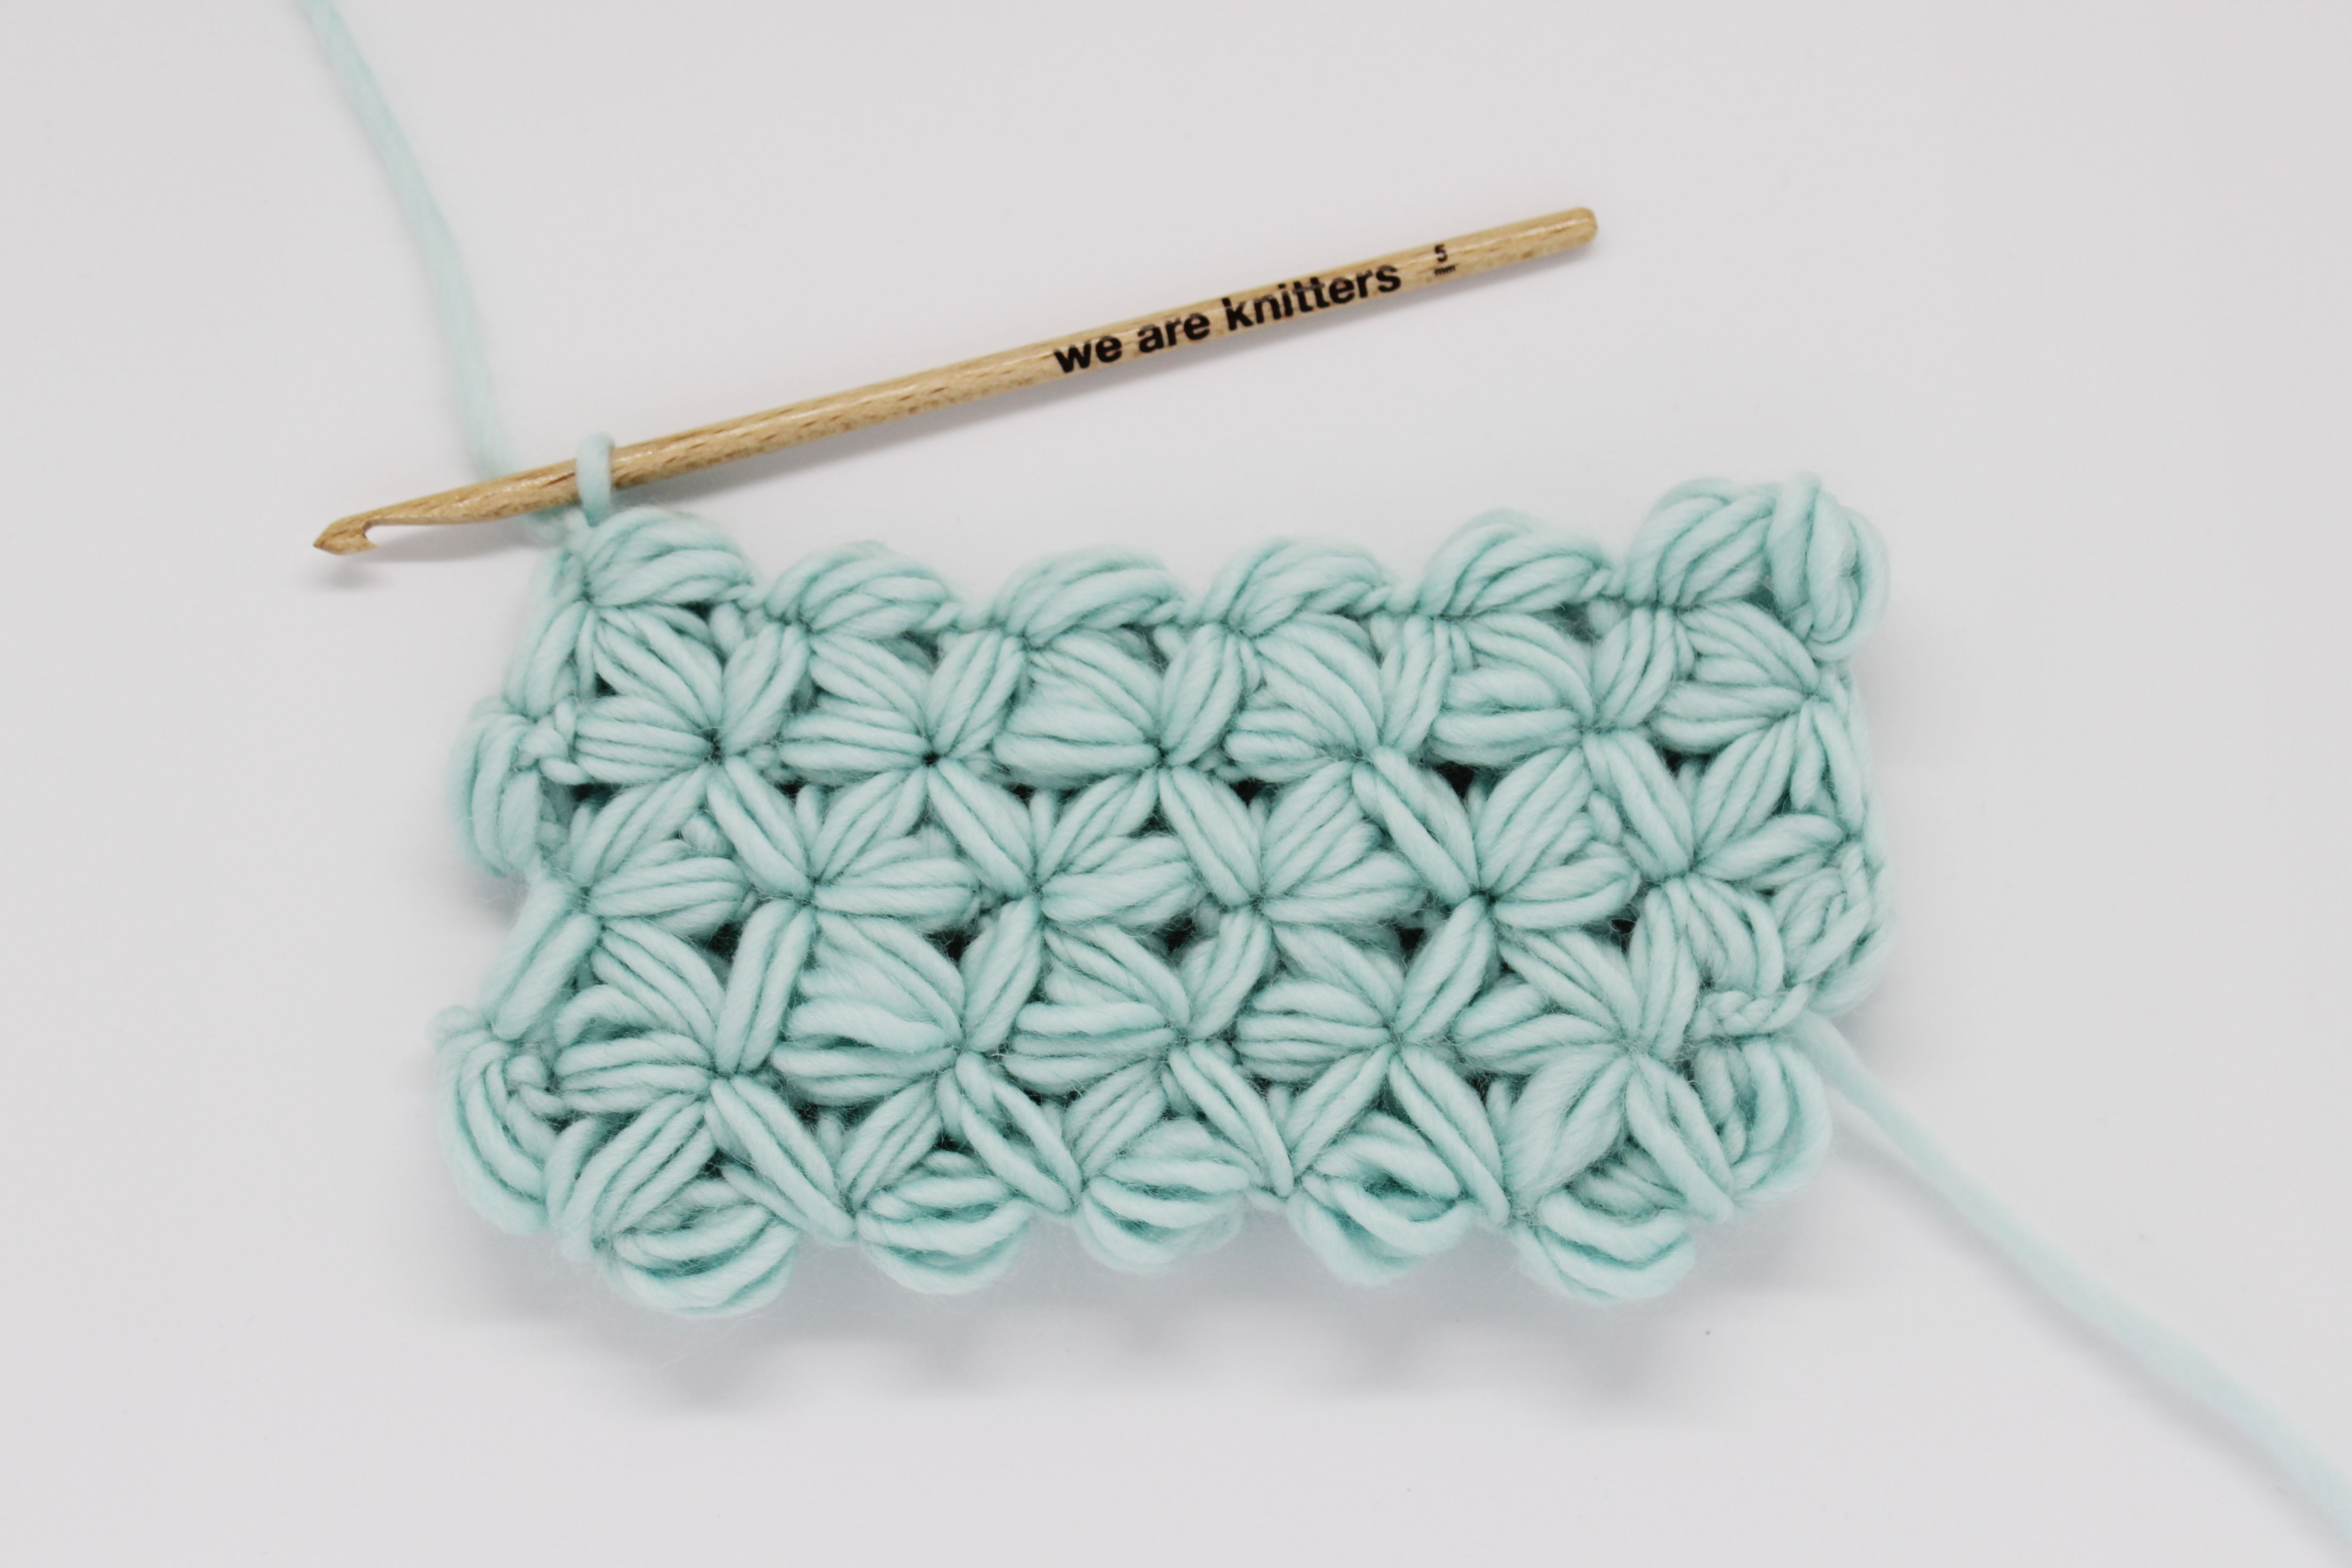
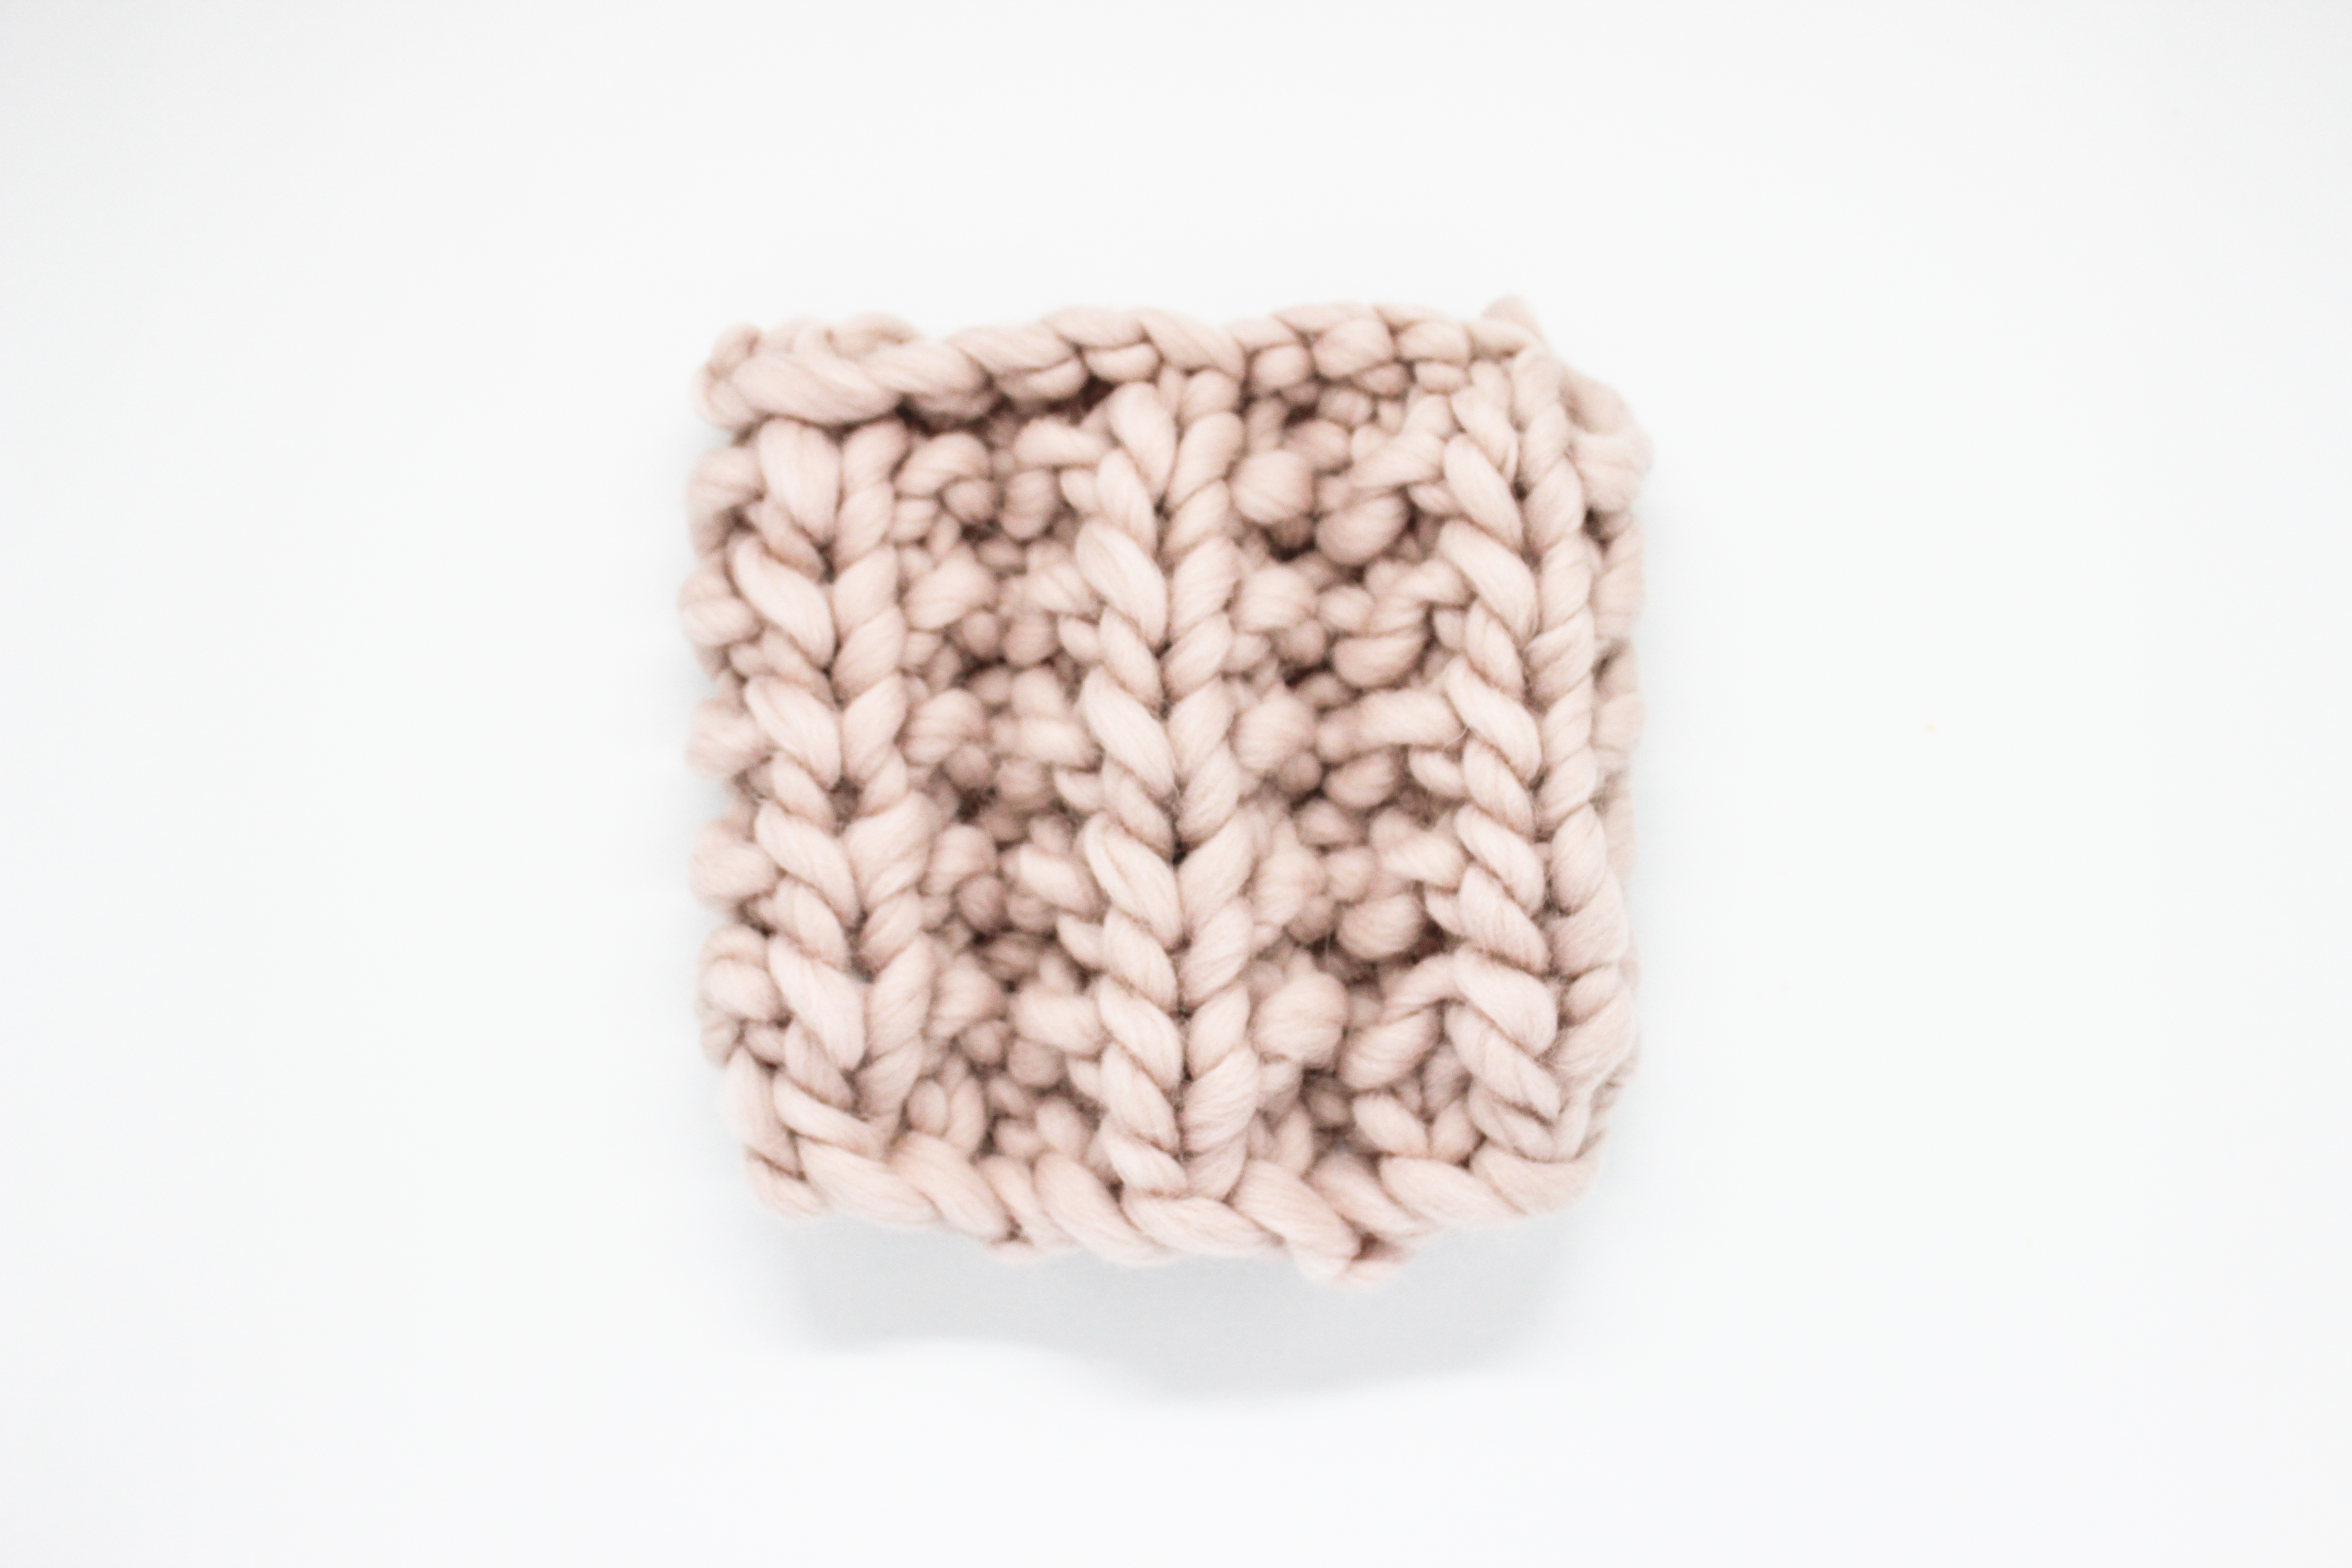
Can you start to see the texture? As you saw in the video, you have to crochet twisted single crochet stitches, chain 1, skip a stitch in the base, and repeat. You continue this way until the end of the round.
The trick to doing twisted single crochet is to leave the working yarn a little loose, don’t pull tightly, or it will be harder to work.
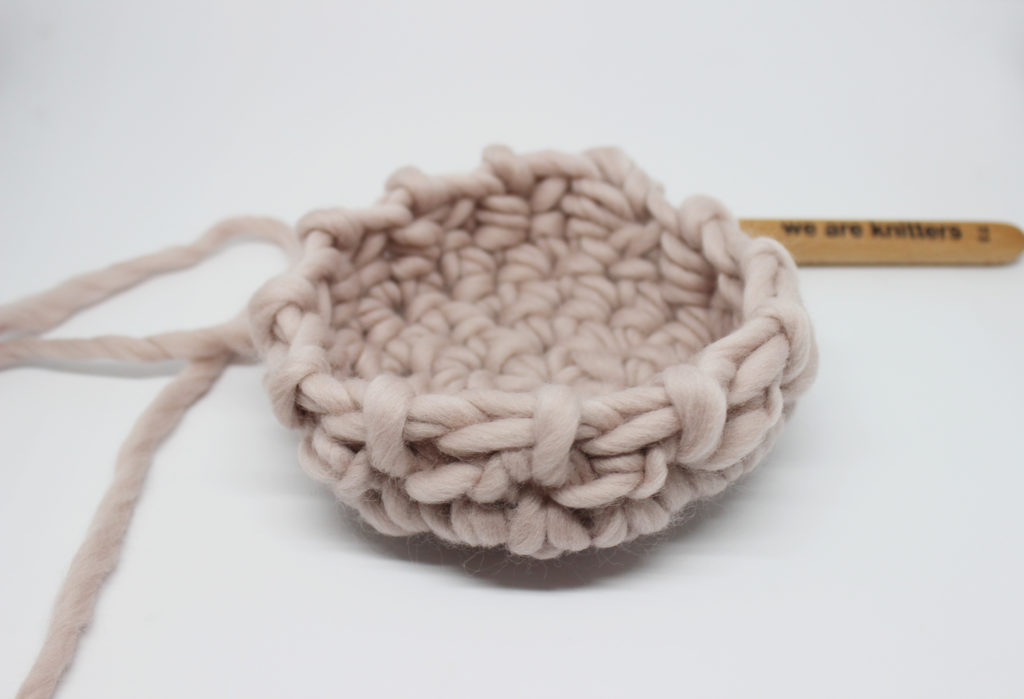
This is how the first round will look. You can place a stitch marker at the beginning of the round so you know where each round starts and ends.
Remaining rounds
Now we are going to see how the remaining rounds are worked in wicker stitch. Action!
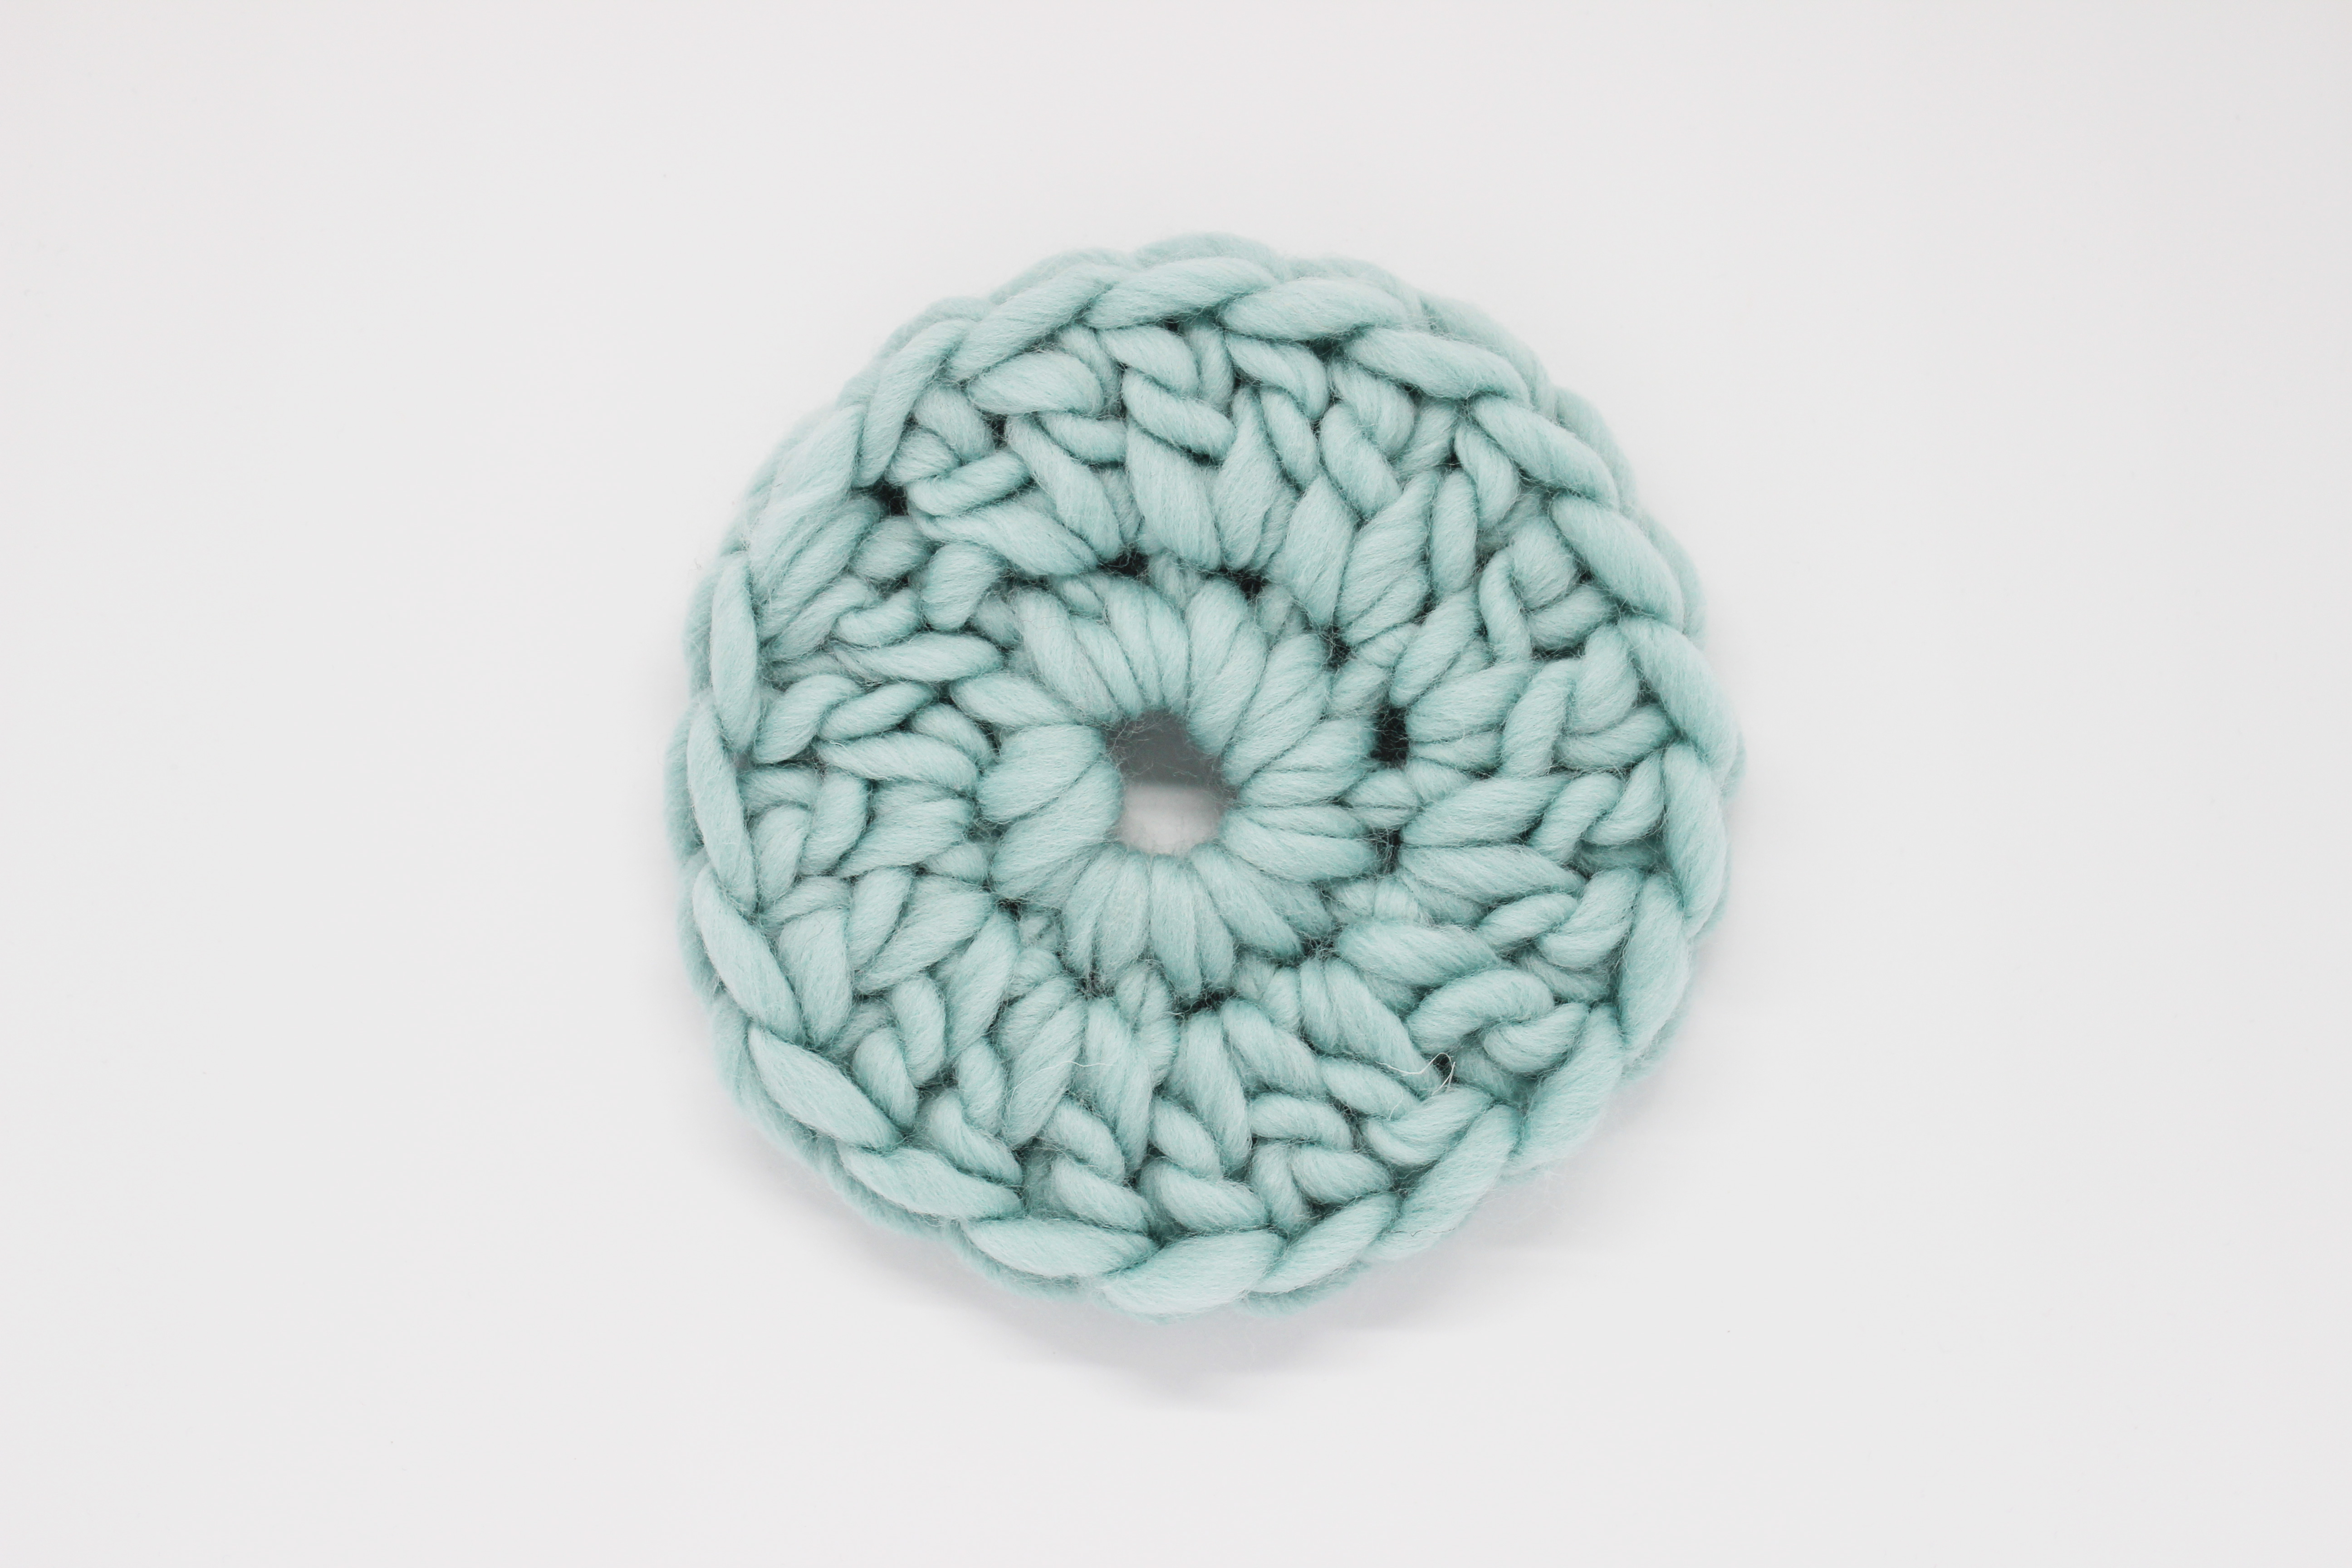
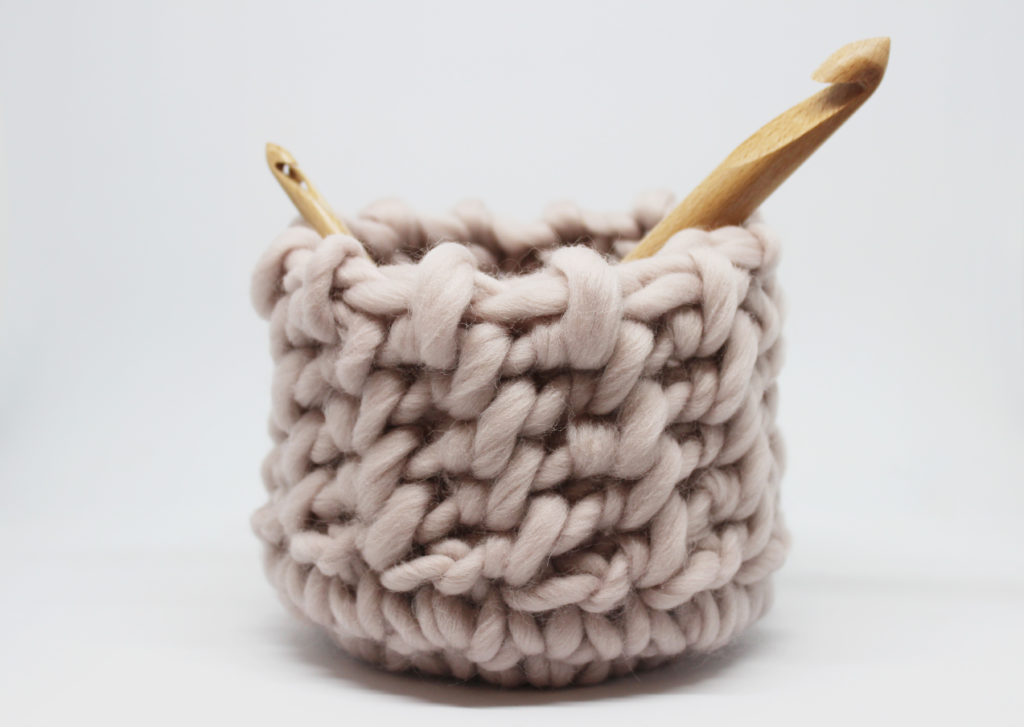
The remaining rounds will be easier to see where to make the twisted single crochet, since you have to insert your hook into the chain of the previous round. You’ll soon see how quickly this project works up.
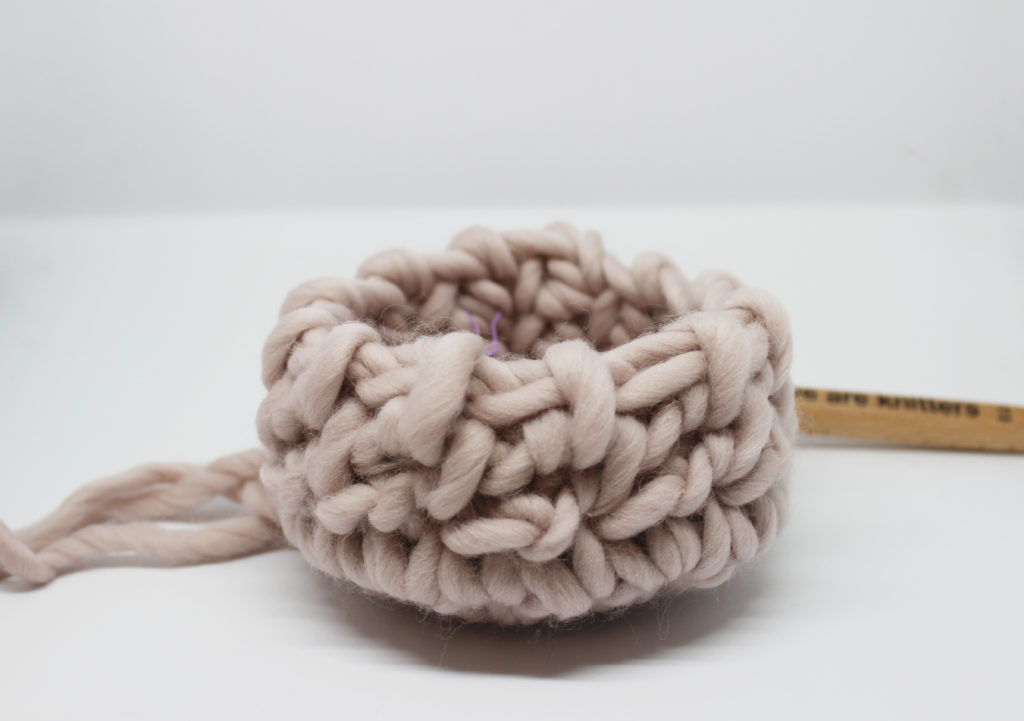
As you continue your project will start to look like the image above. Now you can see the wicker stitch texture much better. Keep repeating this round, just like you saw in the video, until you finish your project.
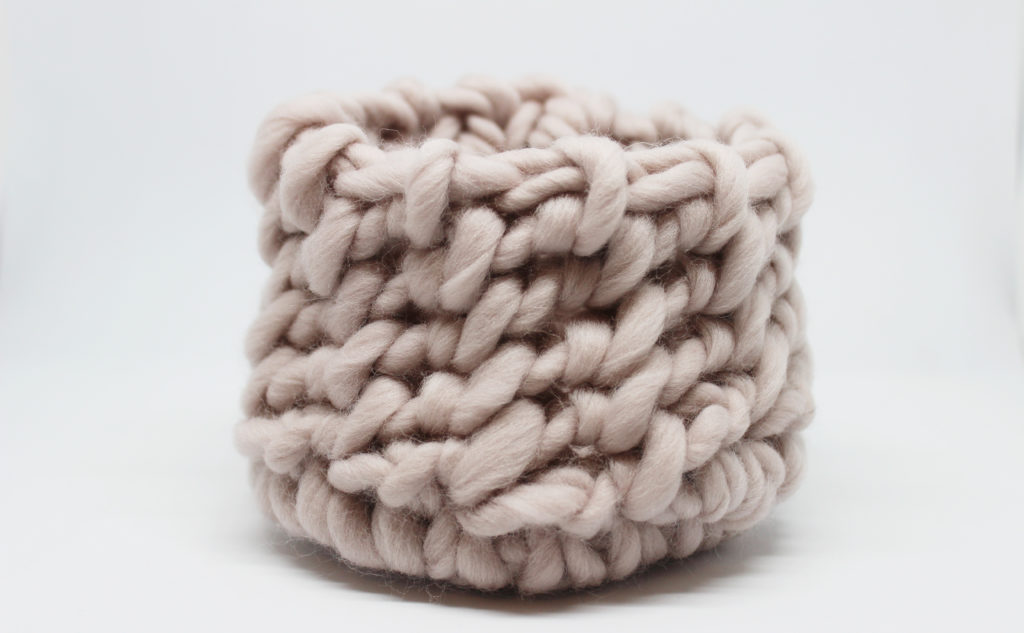
This stitch is perfect for your little baskets, and you can combine it with more colors and textures. Will you give it a try? Share your projects using this stitch on social networks using the hashtag #weareknitters. We love to see your imagination fly using the stitches we share with you on our blog.