Garments with fringe never go out of style no matter what the season, and in 2019 they came back in full force. Fringe helps to slim your figure, and it adds impact to all of your garments to create a personal and casual style.
In this post you are going to learn how to make fringe in crochet. This technique is a lot easier than it looks so even beginners can do it.
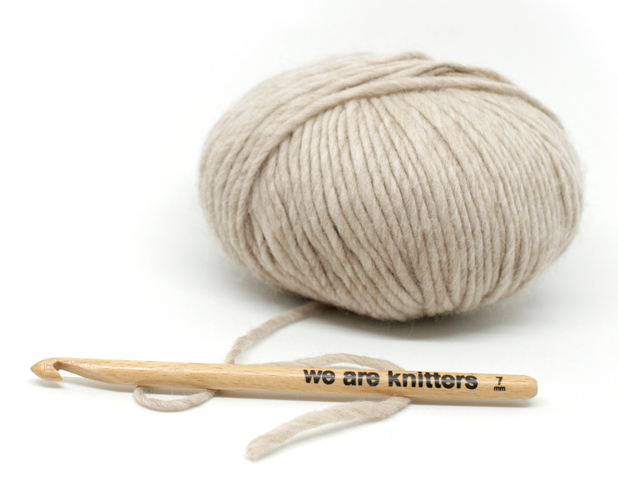
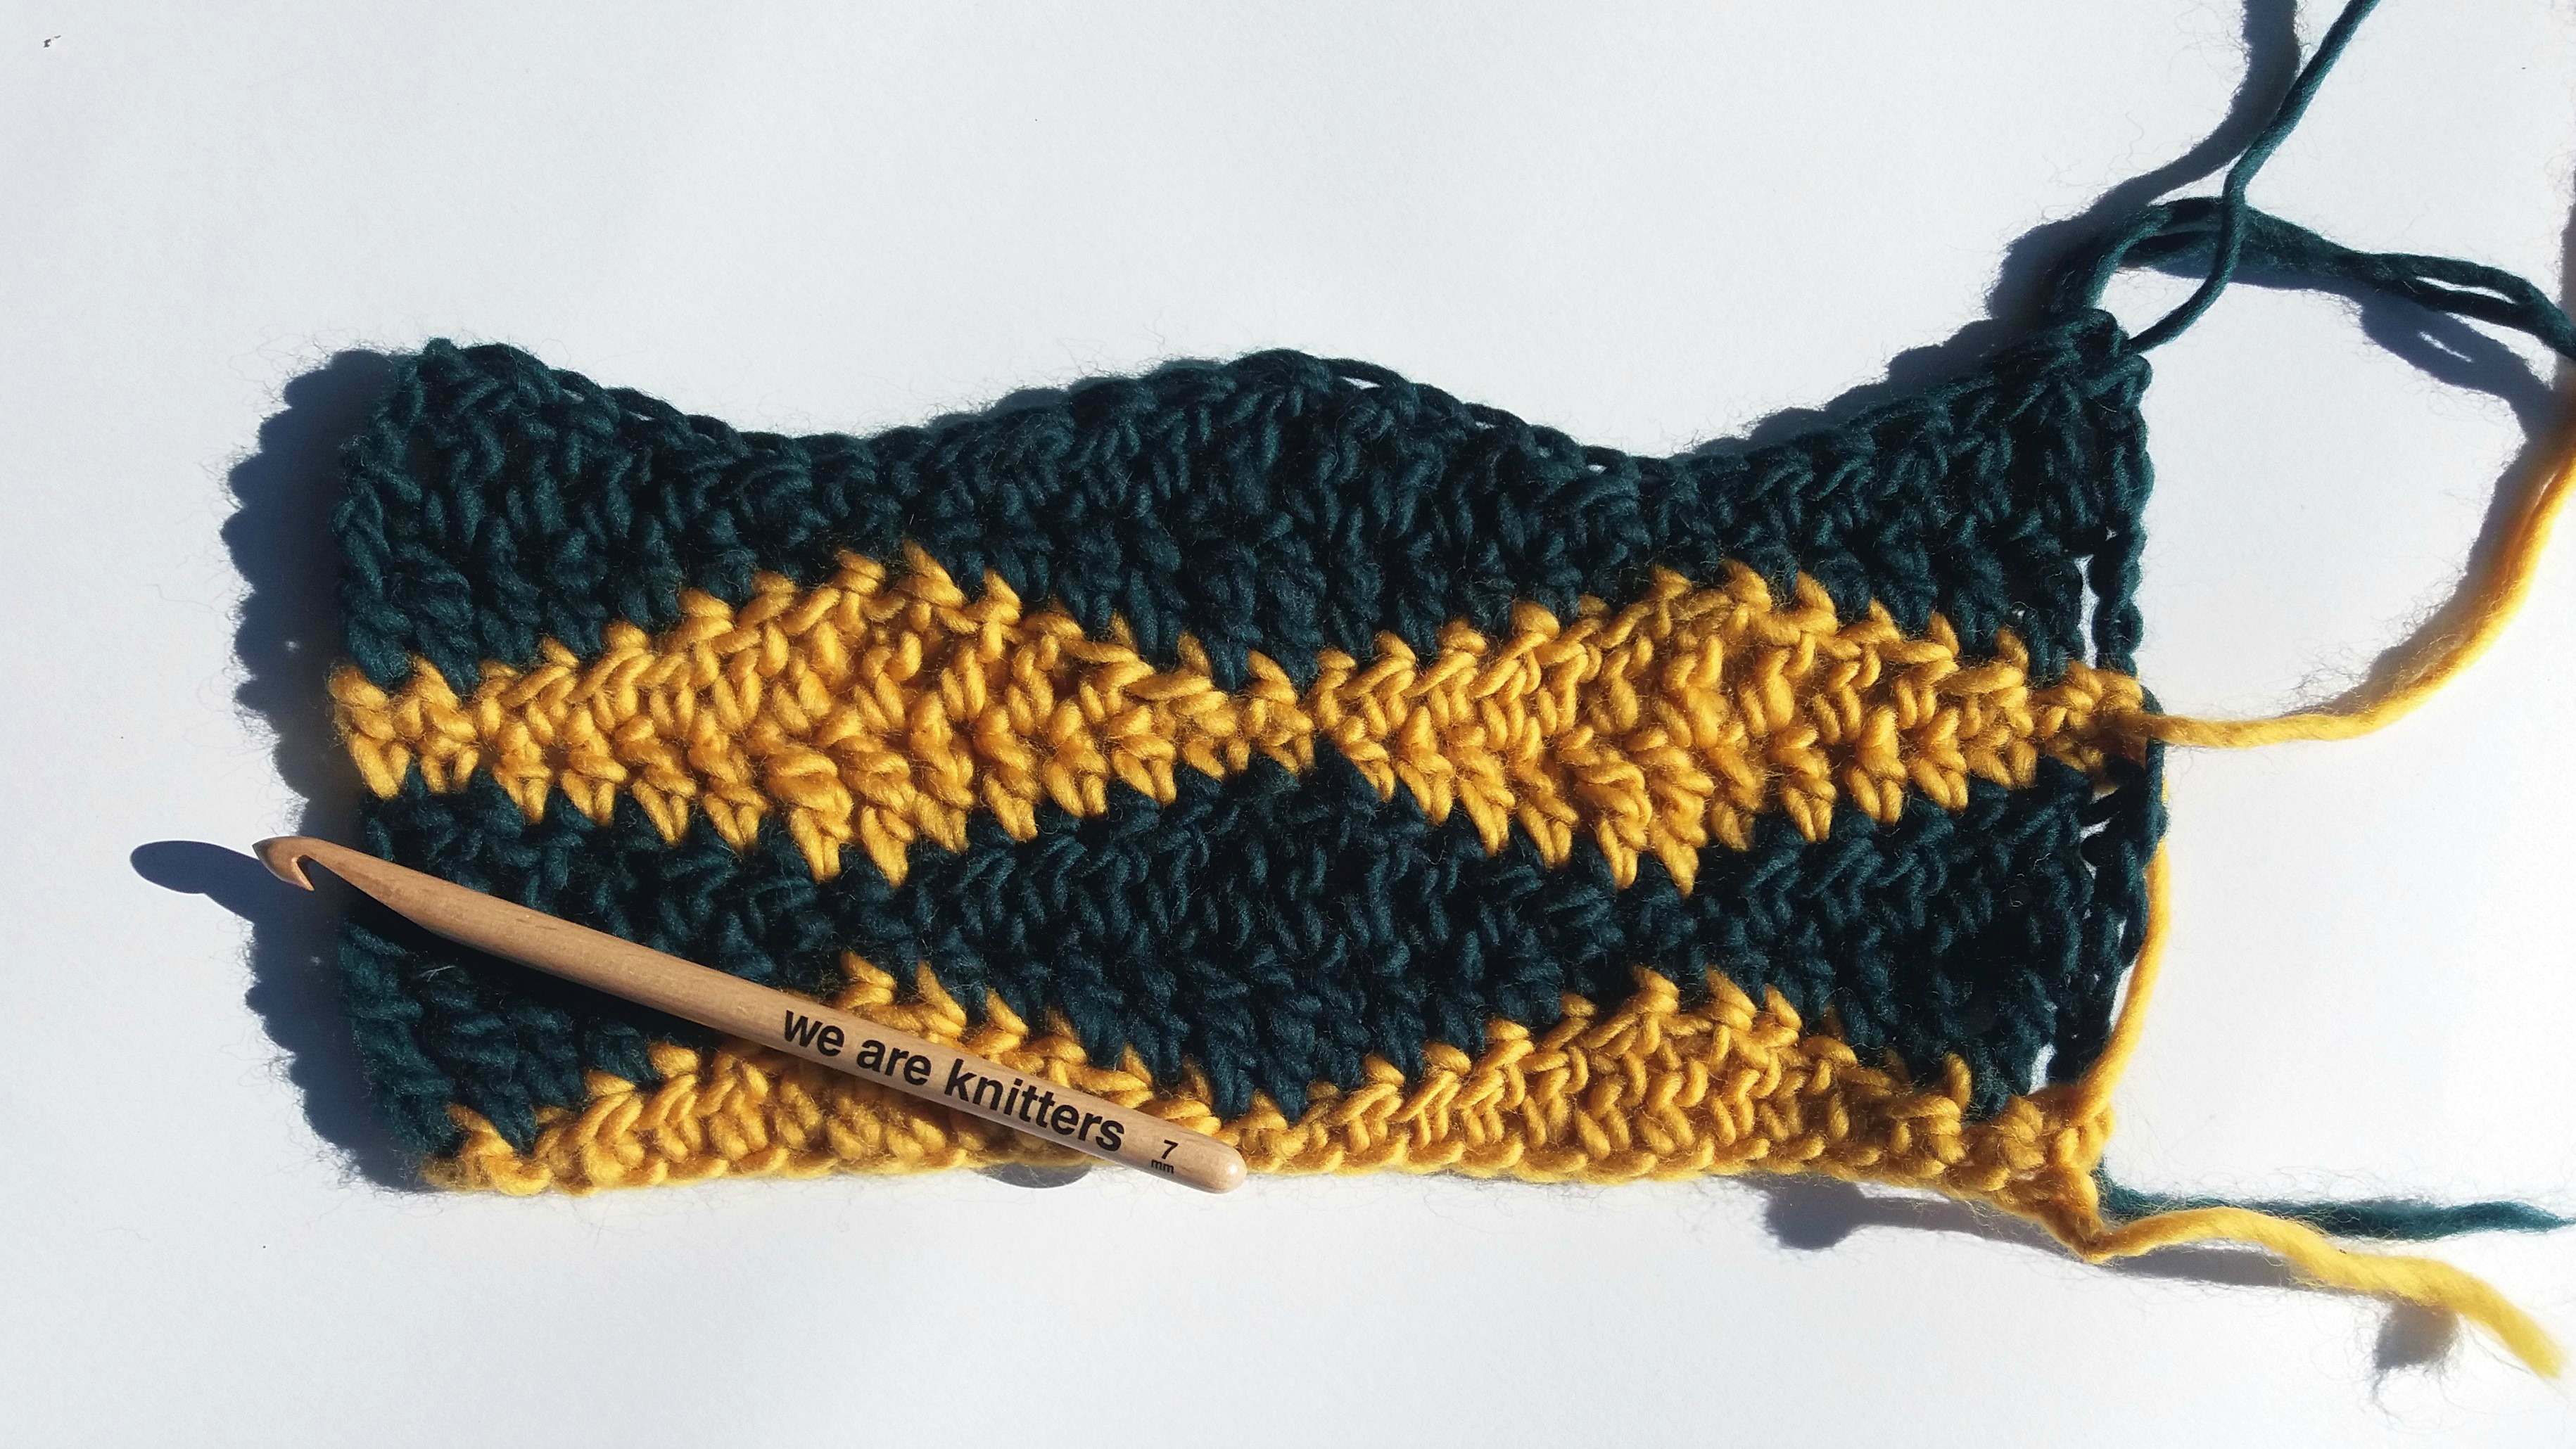
This time we used a skein of our Peruvian Petite Wool, a US size 10.75 / UK size 2 / 7mm crochet hook and a pair of scissors.
To make fringe in crochet you just have to know how to make:
If you want to make fringe on every row you will need to know how to do reverse single crochet so that the fringe comes out on the same side of your work. In our blog post “How to work reverse single crochet” you can find a step-by-step explanation.
Make a foundation chain as long as needed for your project and start to crochet.
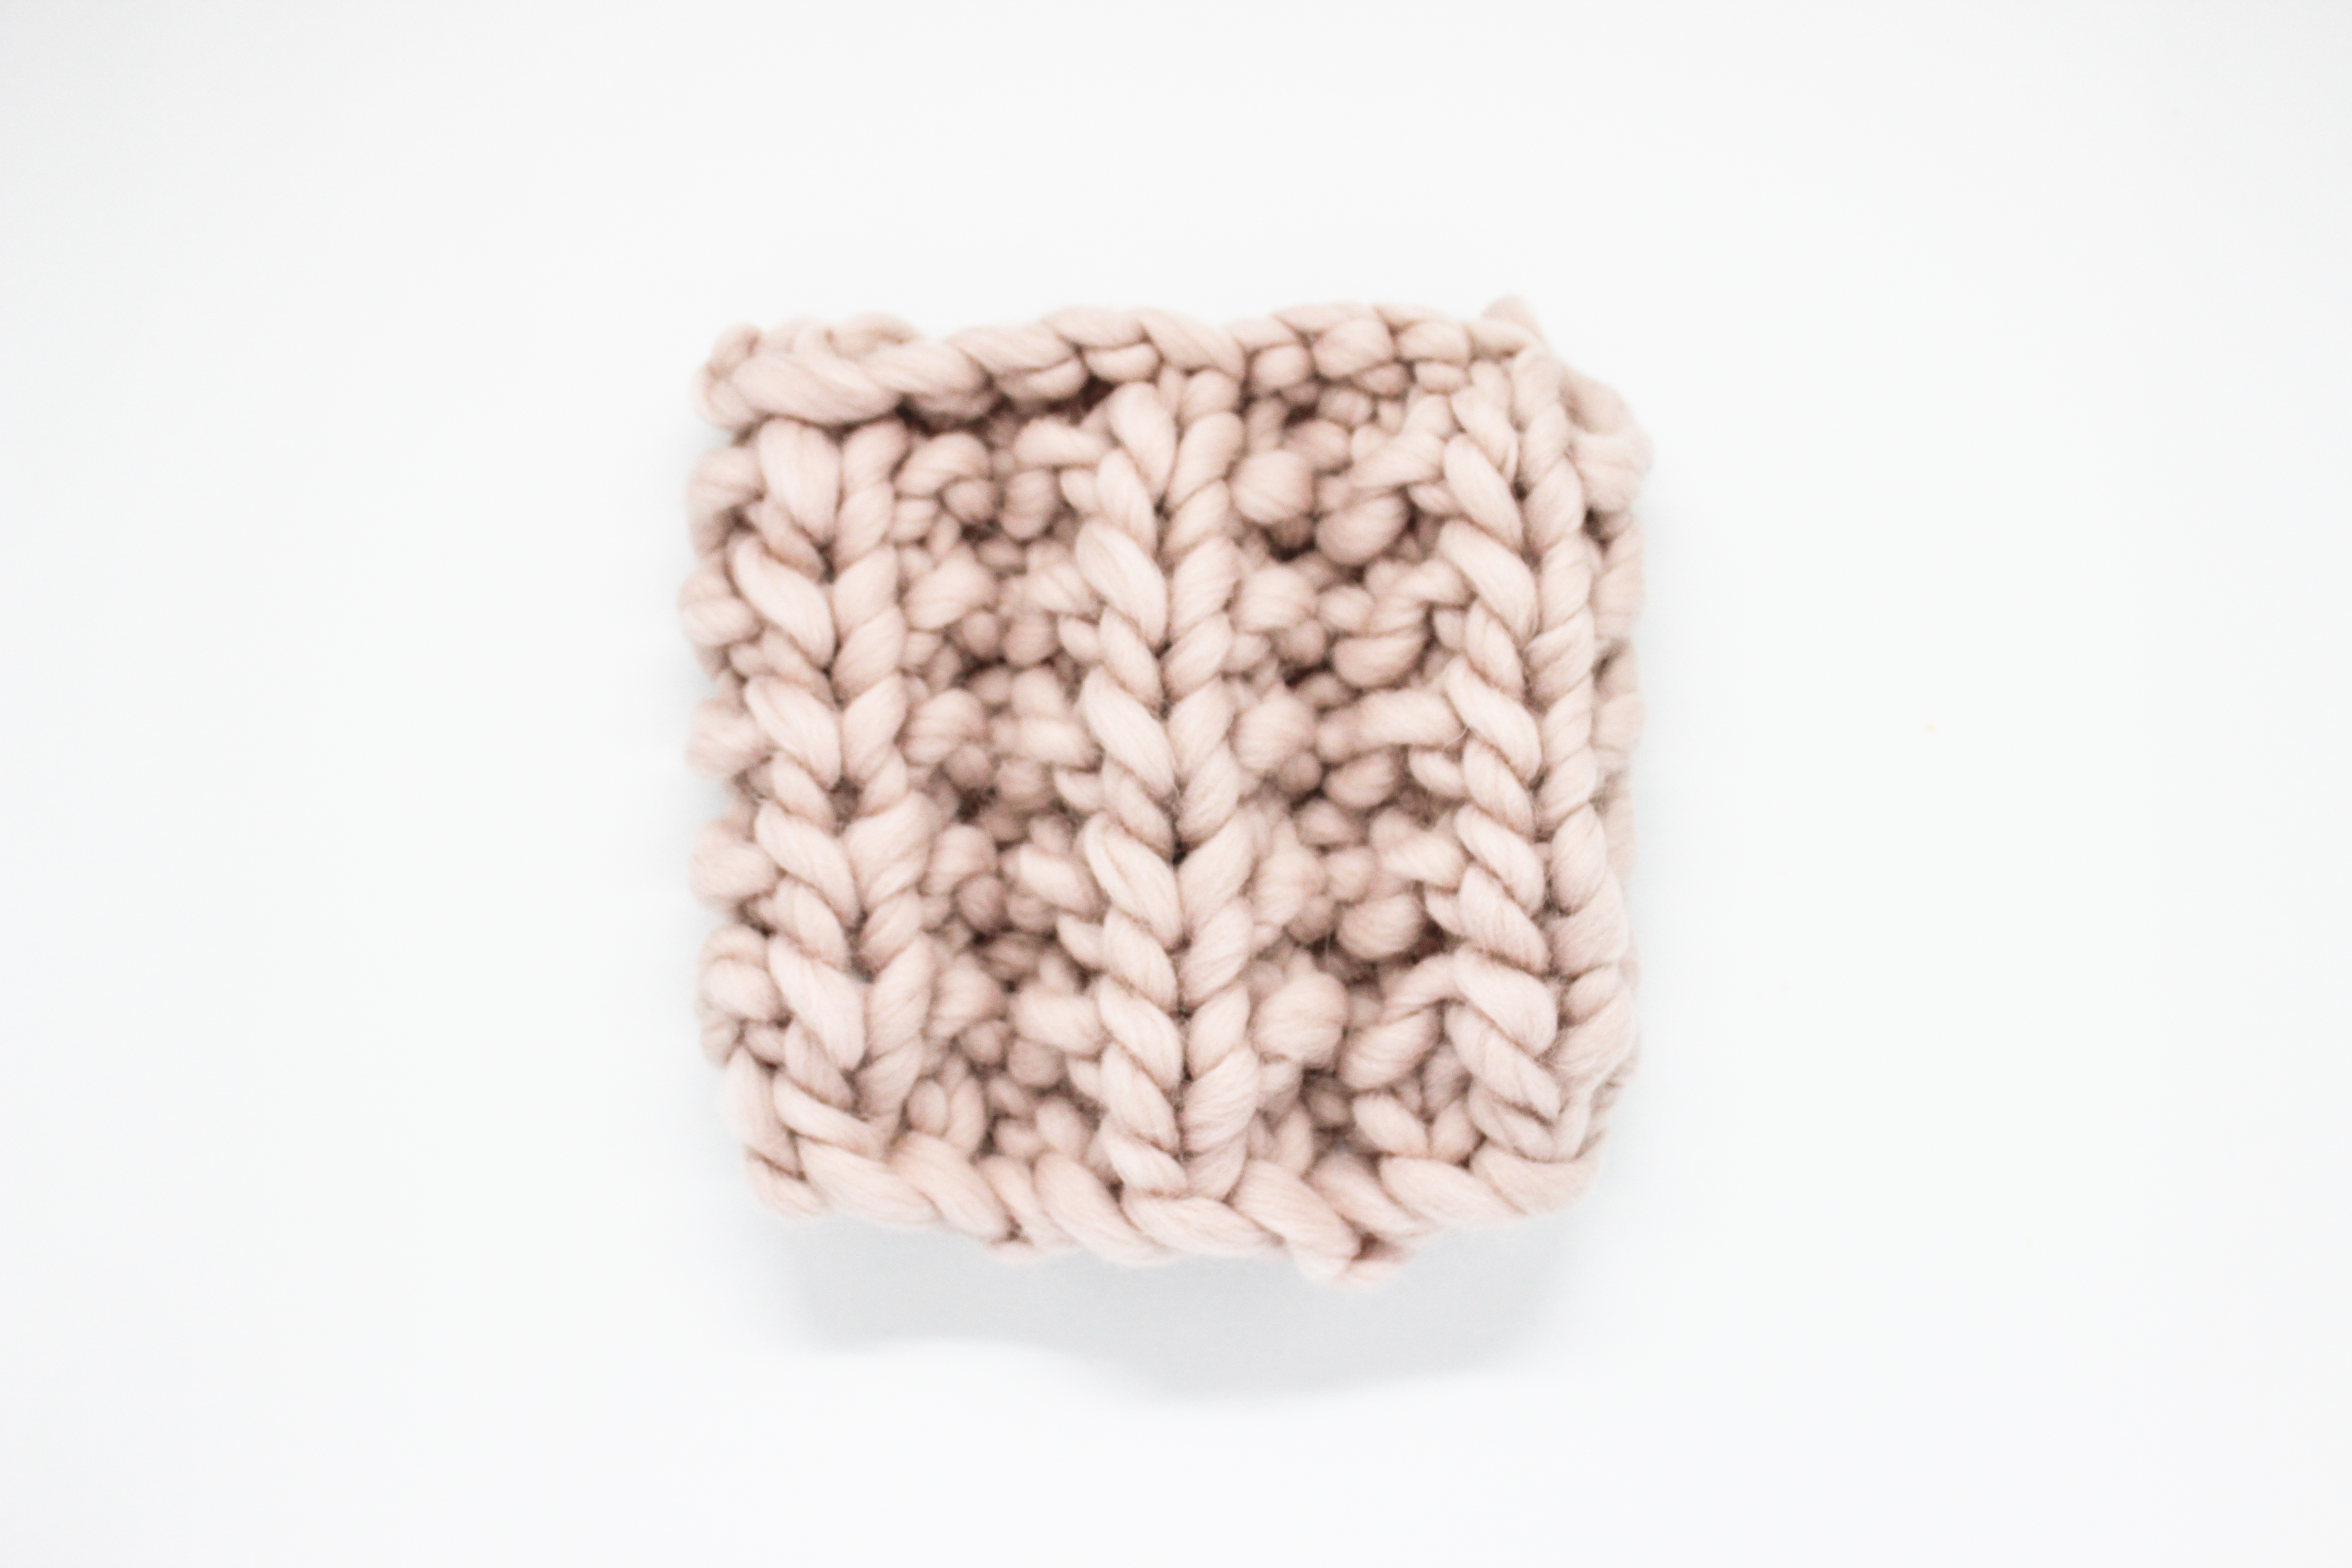
Row 1: chain 1, then work single crochet into each stitch.
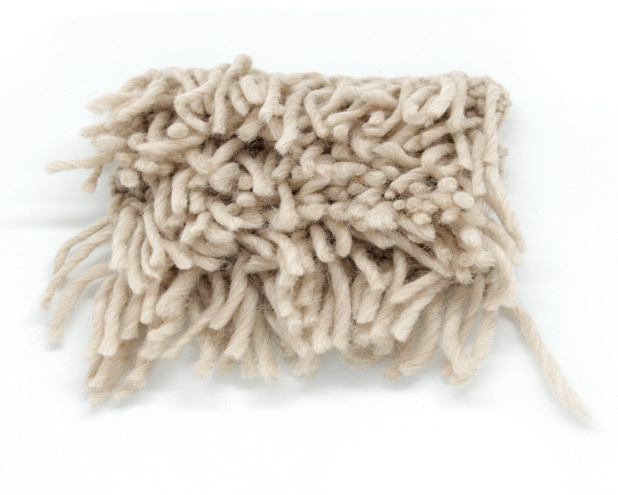
Row 2: chain 1, then work loop stitch into each stitch.
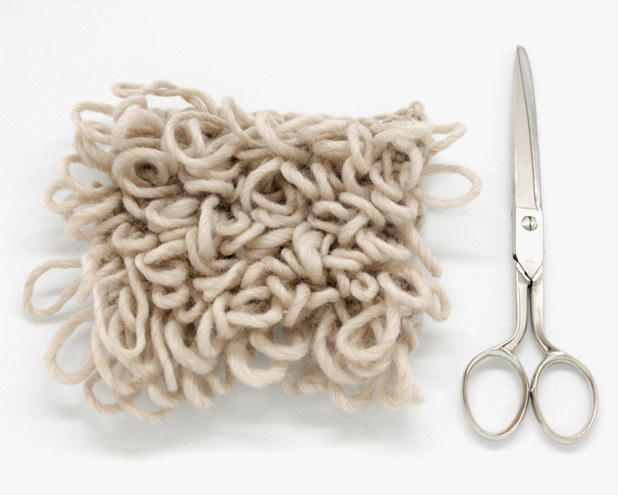
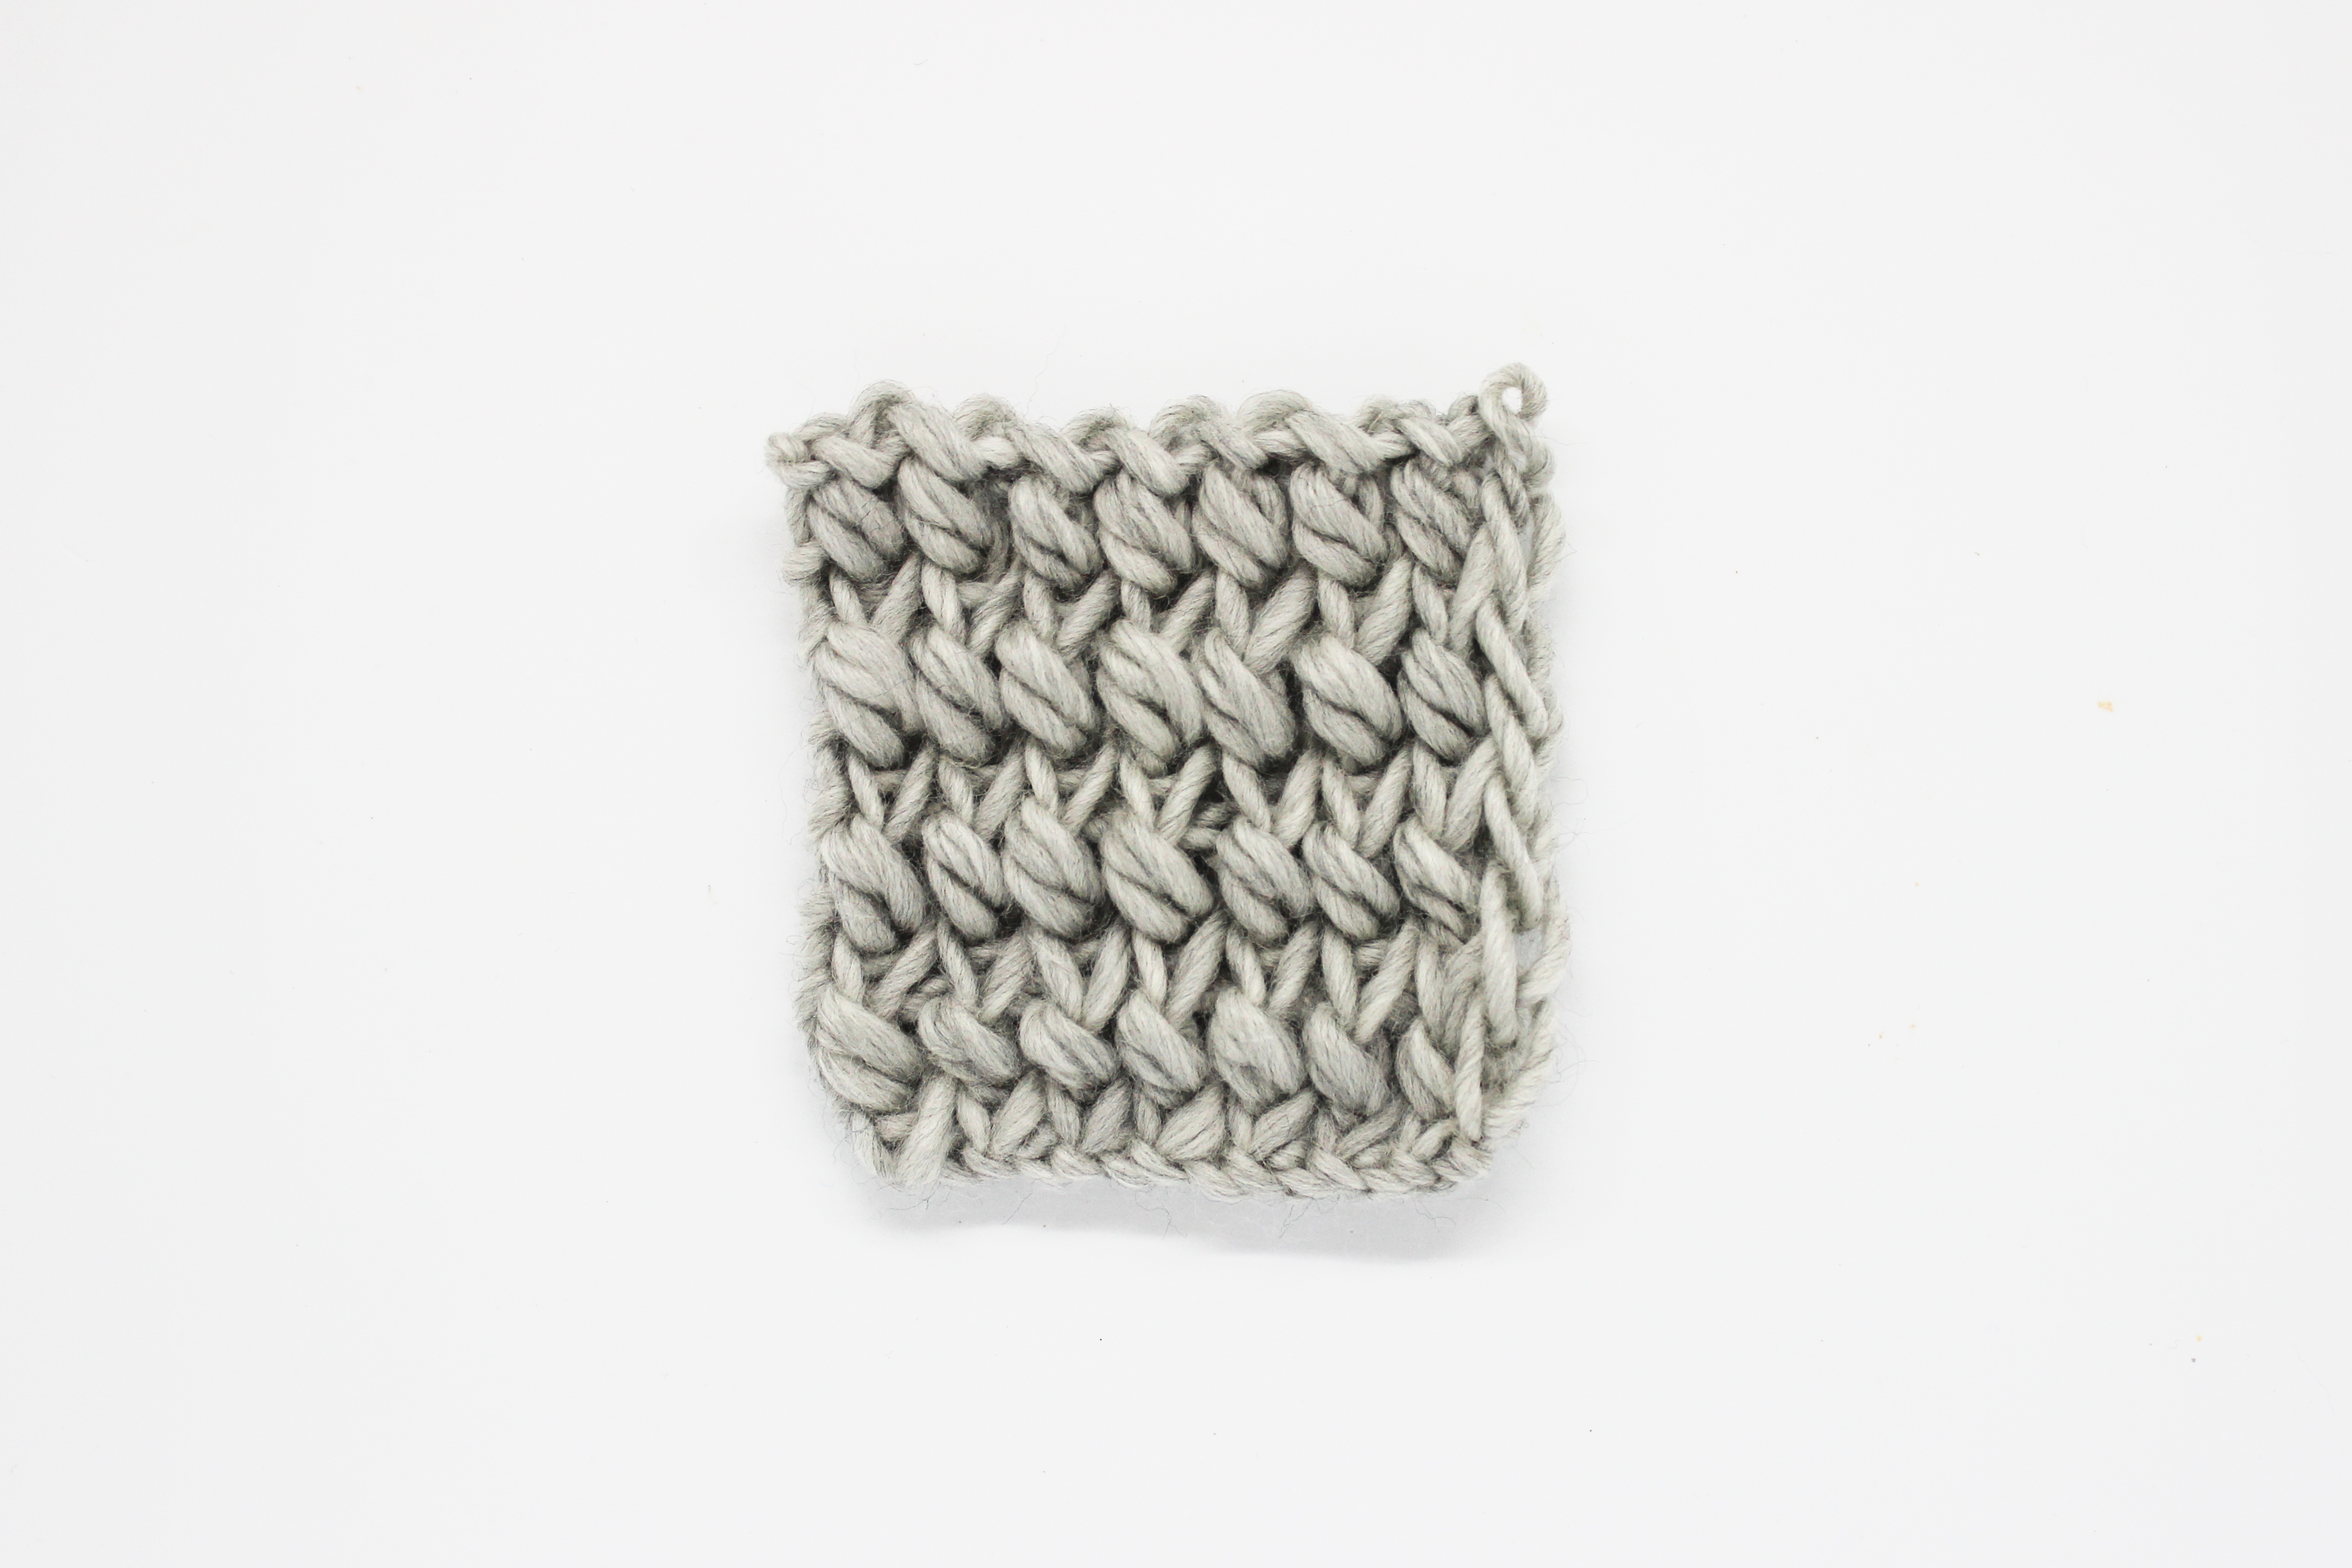
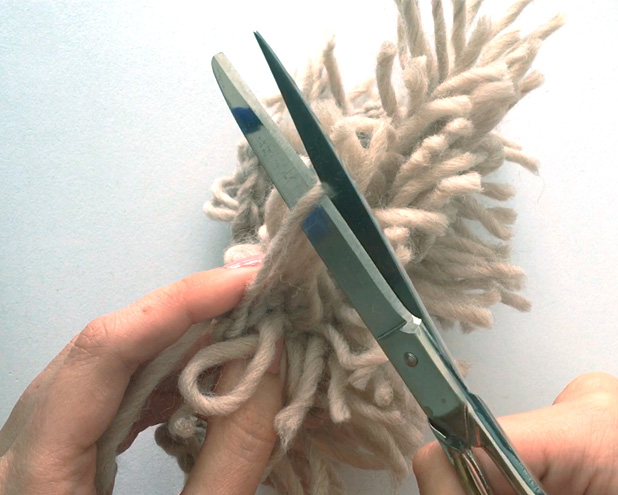
Repeat rows 1 and 2 until you finish your project. When you are done you just have to cut the loops in half to make fringe.
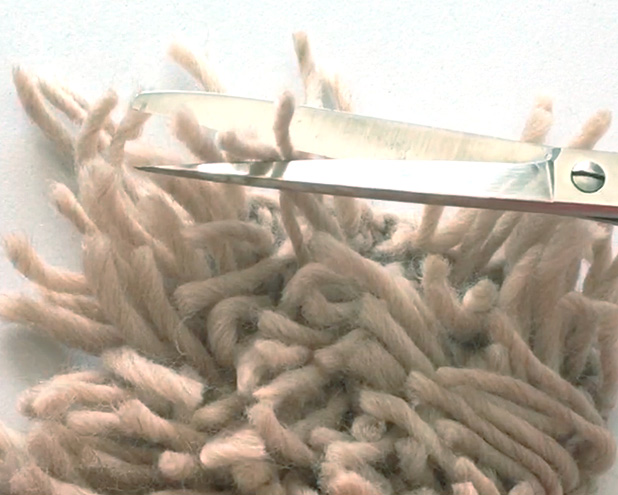
You can trim any strands that are too long so they all have the same length, and check to make sure that you have cut all of the loops.
Now you’re all set to crochet fringe on cardigans, tops, bags, sweaters, dresses…. We hope to see lots of fringe on social media using the hashtag #WeAreKnitters.