En this new post we keep exploring easy and quick textures, able to create those projects “for an evening in the couch” that we love so much. Today we will teach you to work, step by step, the slanted wicker stitch. Find your crochet hook and your favorite yarn. Here we go!
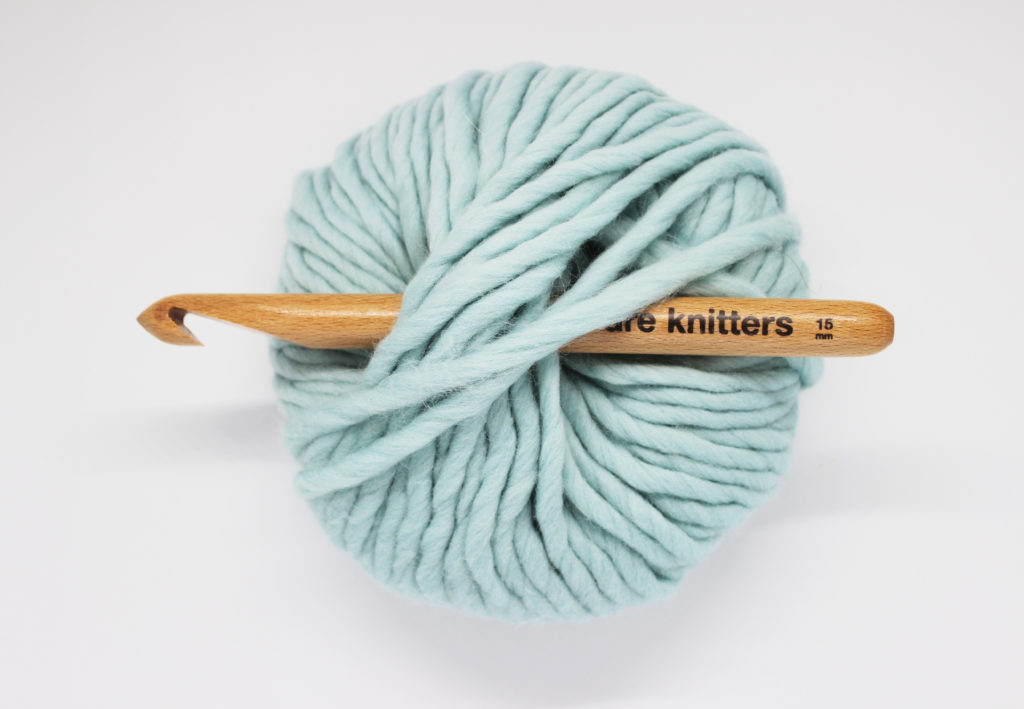
For this step-by-step we will use one skein of The Wool and one size US 19 (15 mm) crochet hook.
Before beginning, here’s the stitches you need to know and that we’ll use in this tutorial:
The first thing you need to keep in mind before beginning your project with this stitch is that is worked in the round. You won’t have to turn your work. And so, before beginning, get you circular base ready to work.
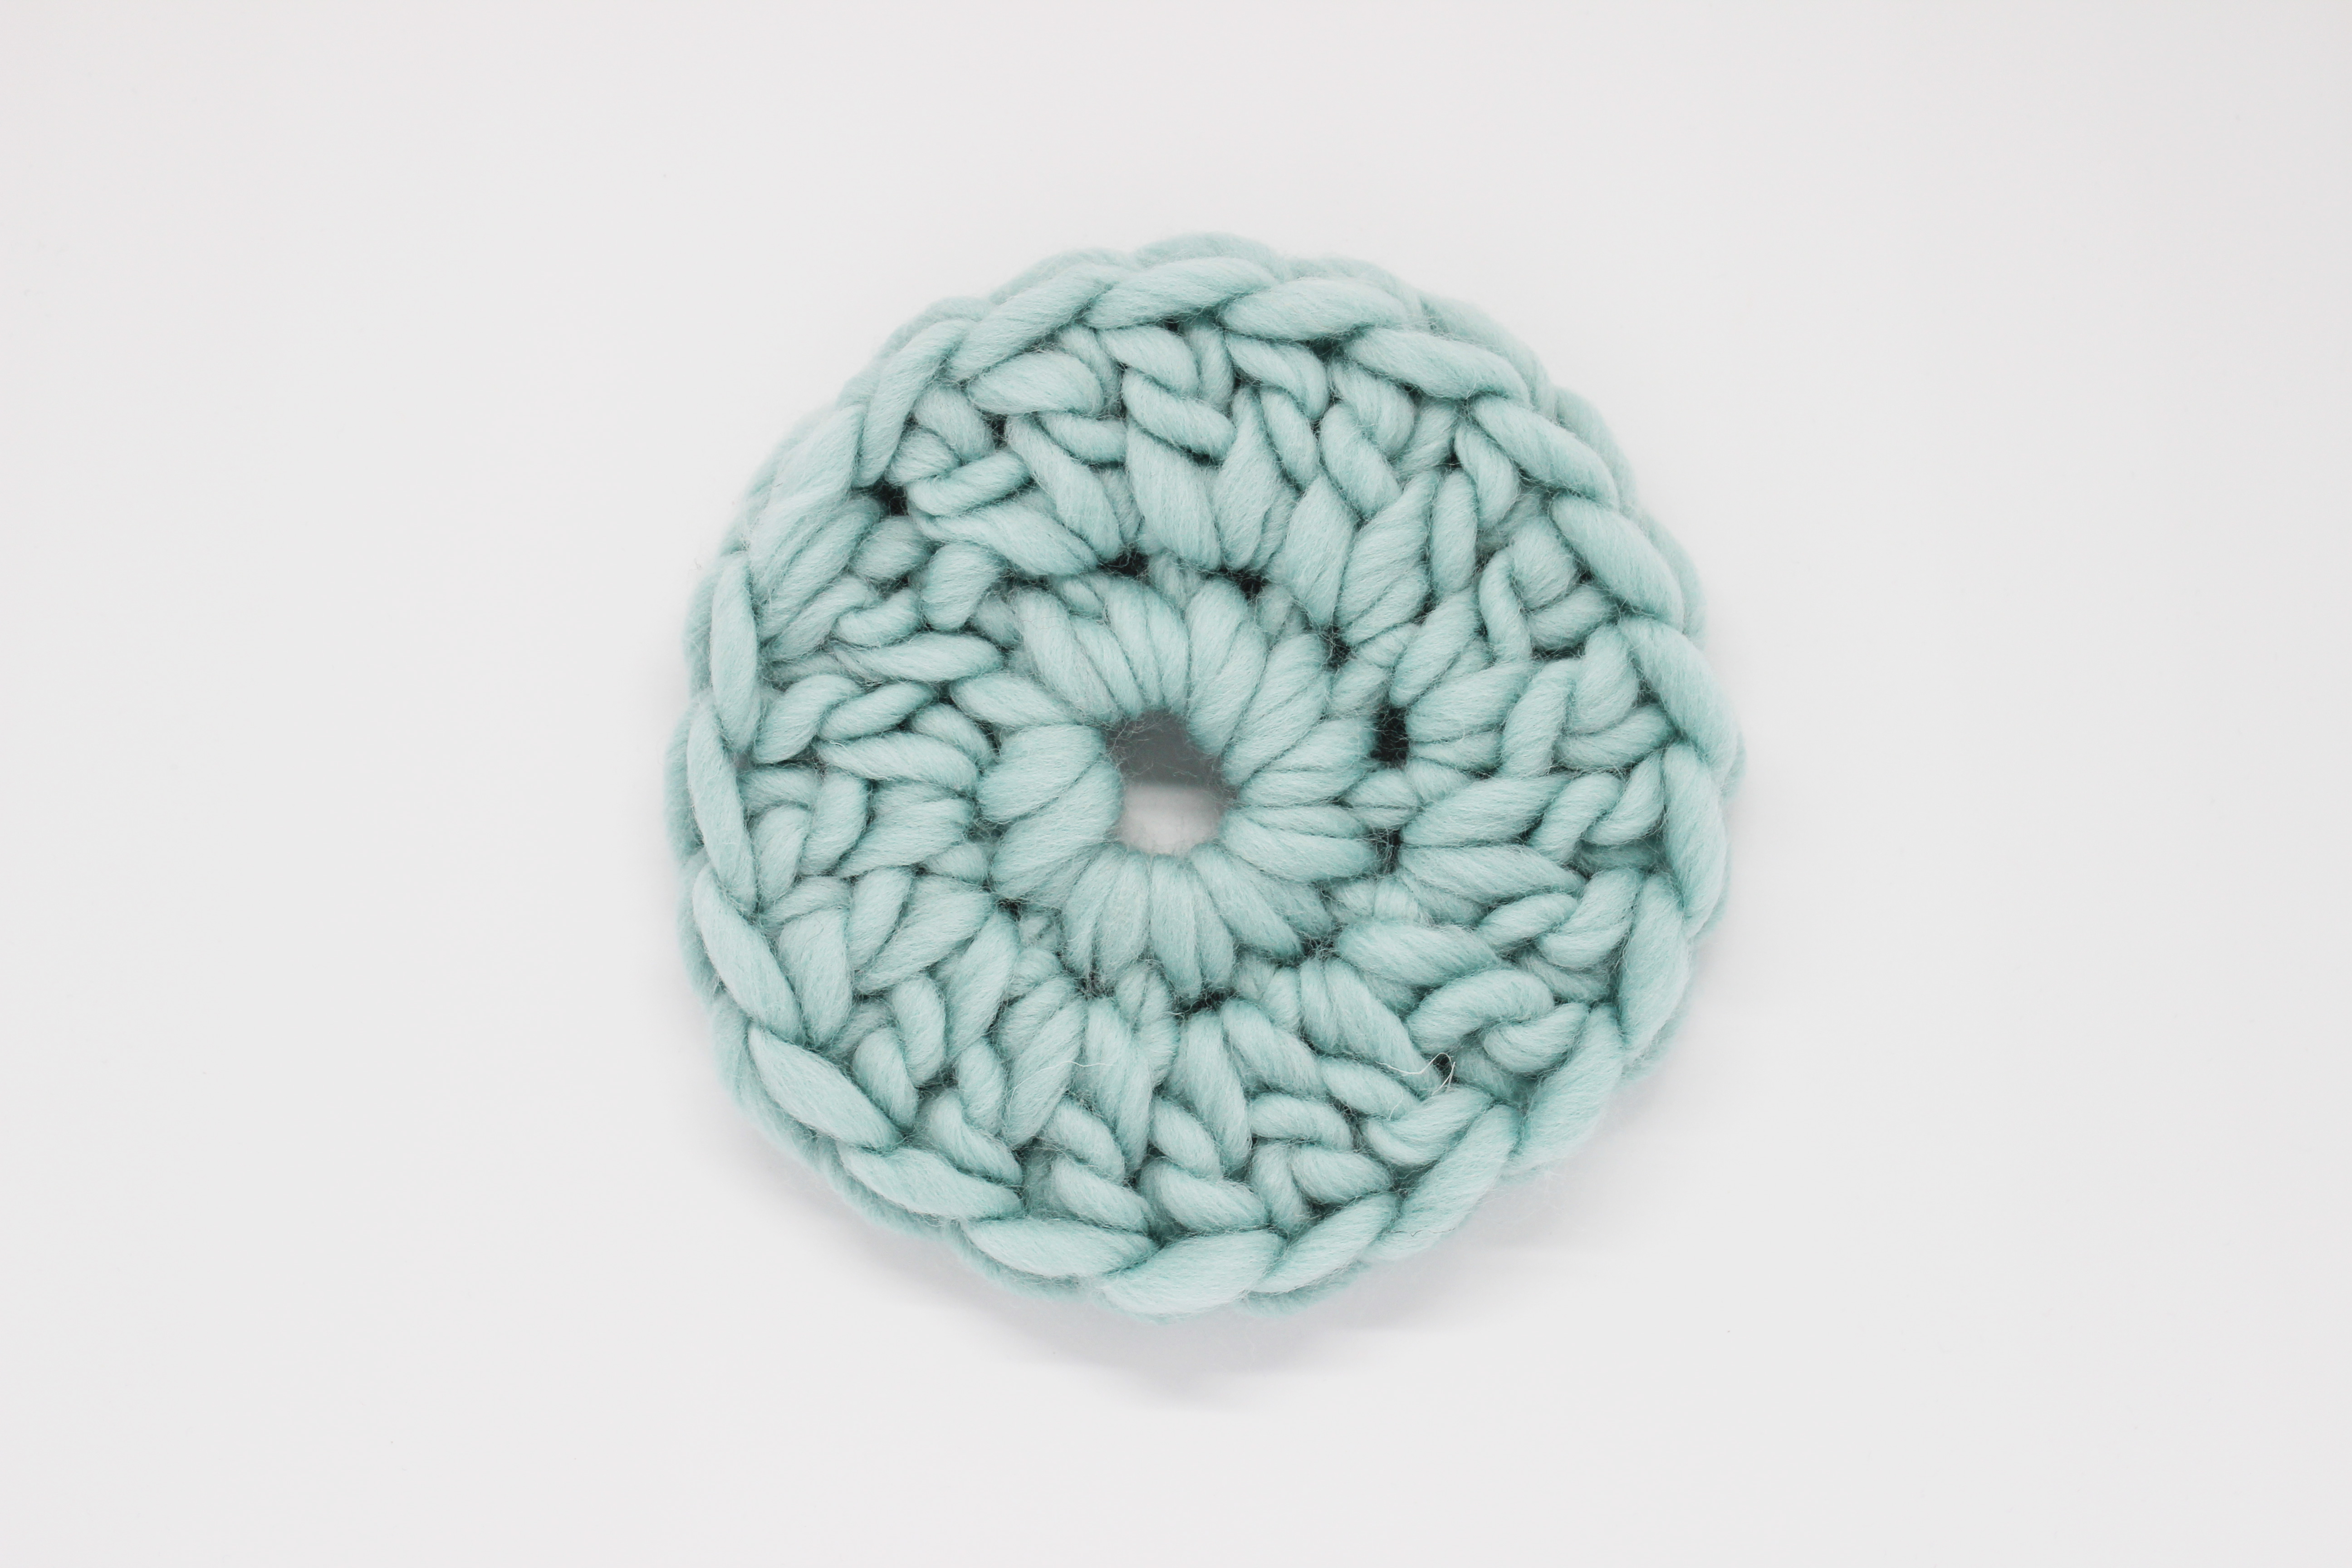
You can use a base like the one in the picture above, and it can be of the diameter you prefer. As big or as small as you want your project to be.
Now let’s see how this step-by-step goes:
Starting round
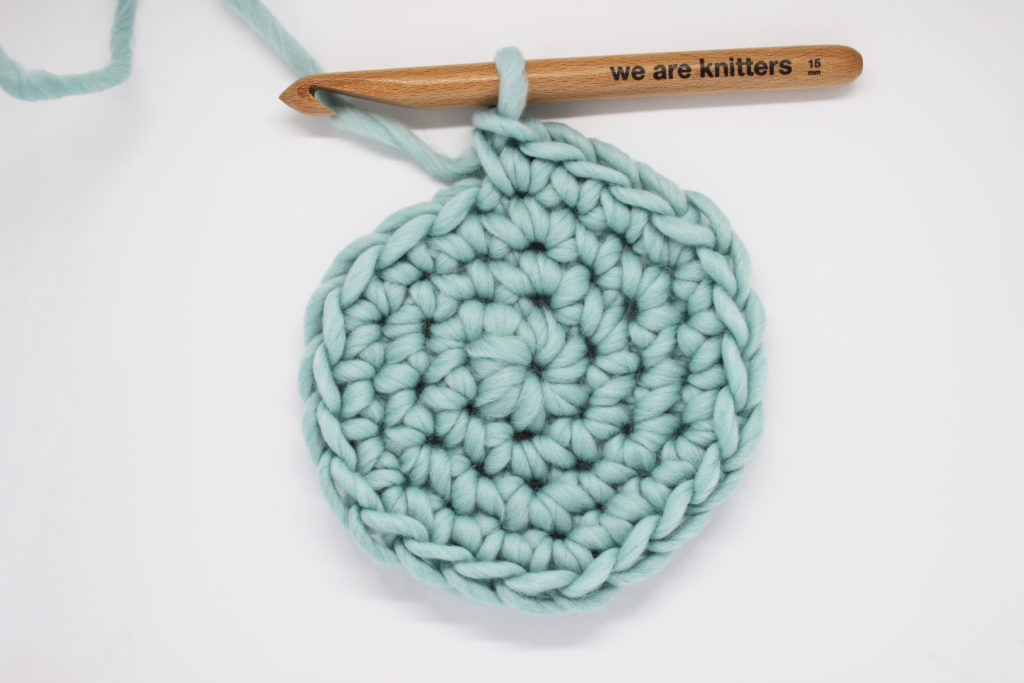
Once your base is ready, to begin with the stitch we need a starting round. We have prepared a video so you don’t miss any detail:
The only thing you need to keep in mind when working this round is to insert the hook in the middle of the stitch of the previous round, only taking the back of it, and then remember to skip 1.

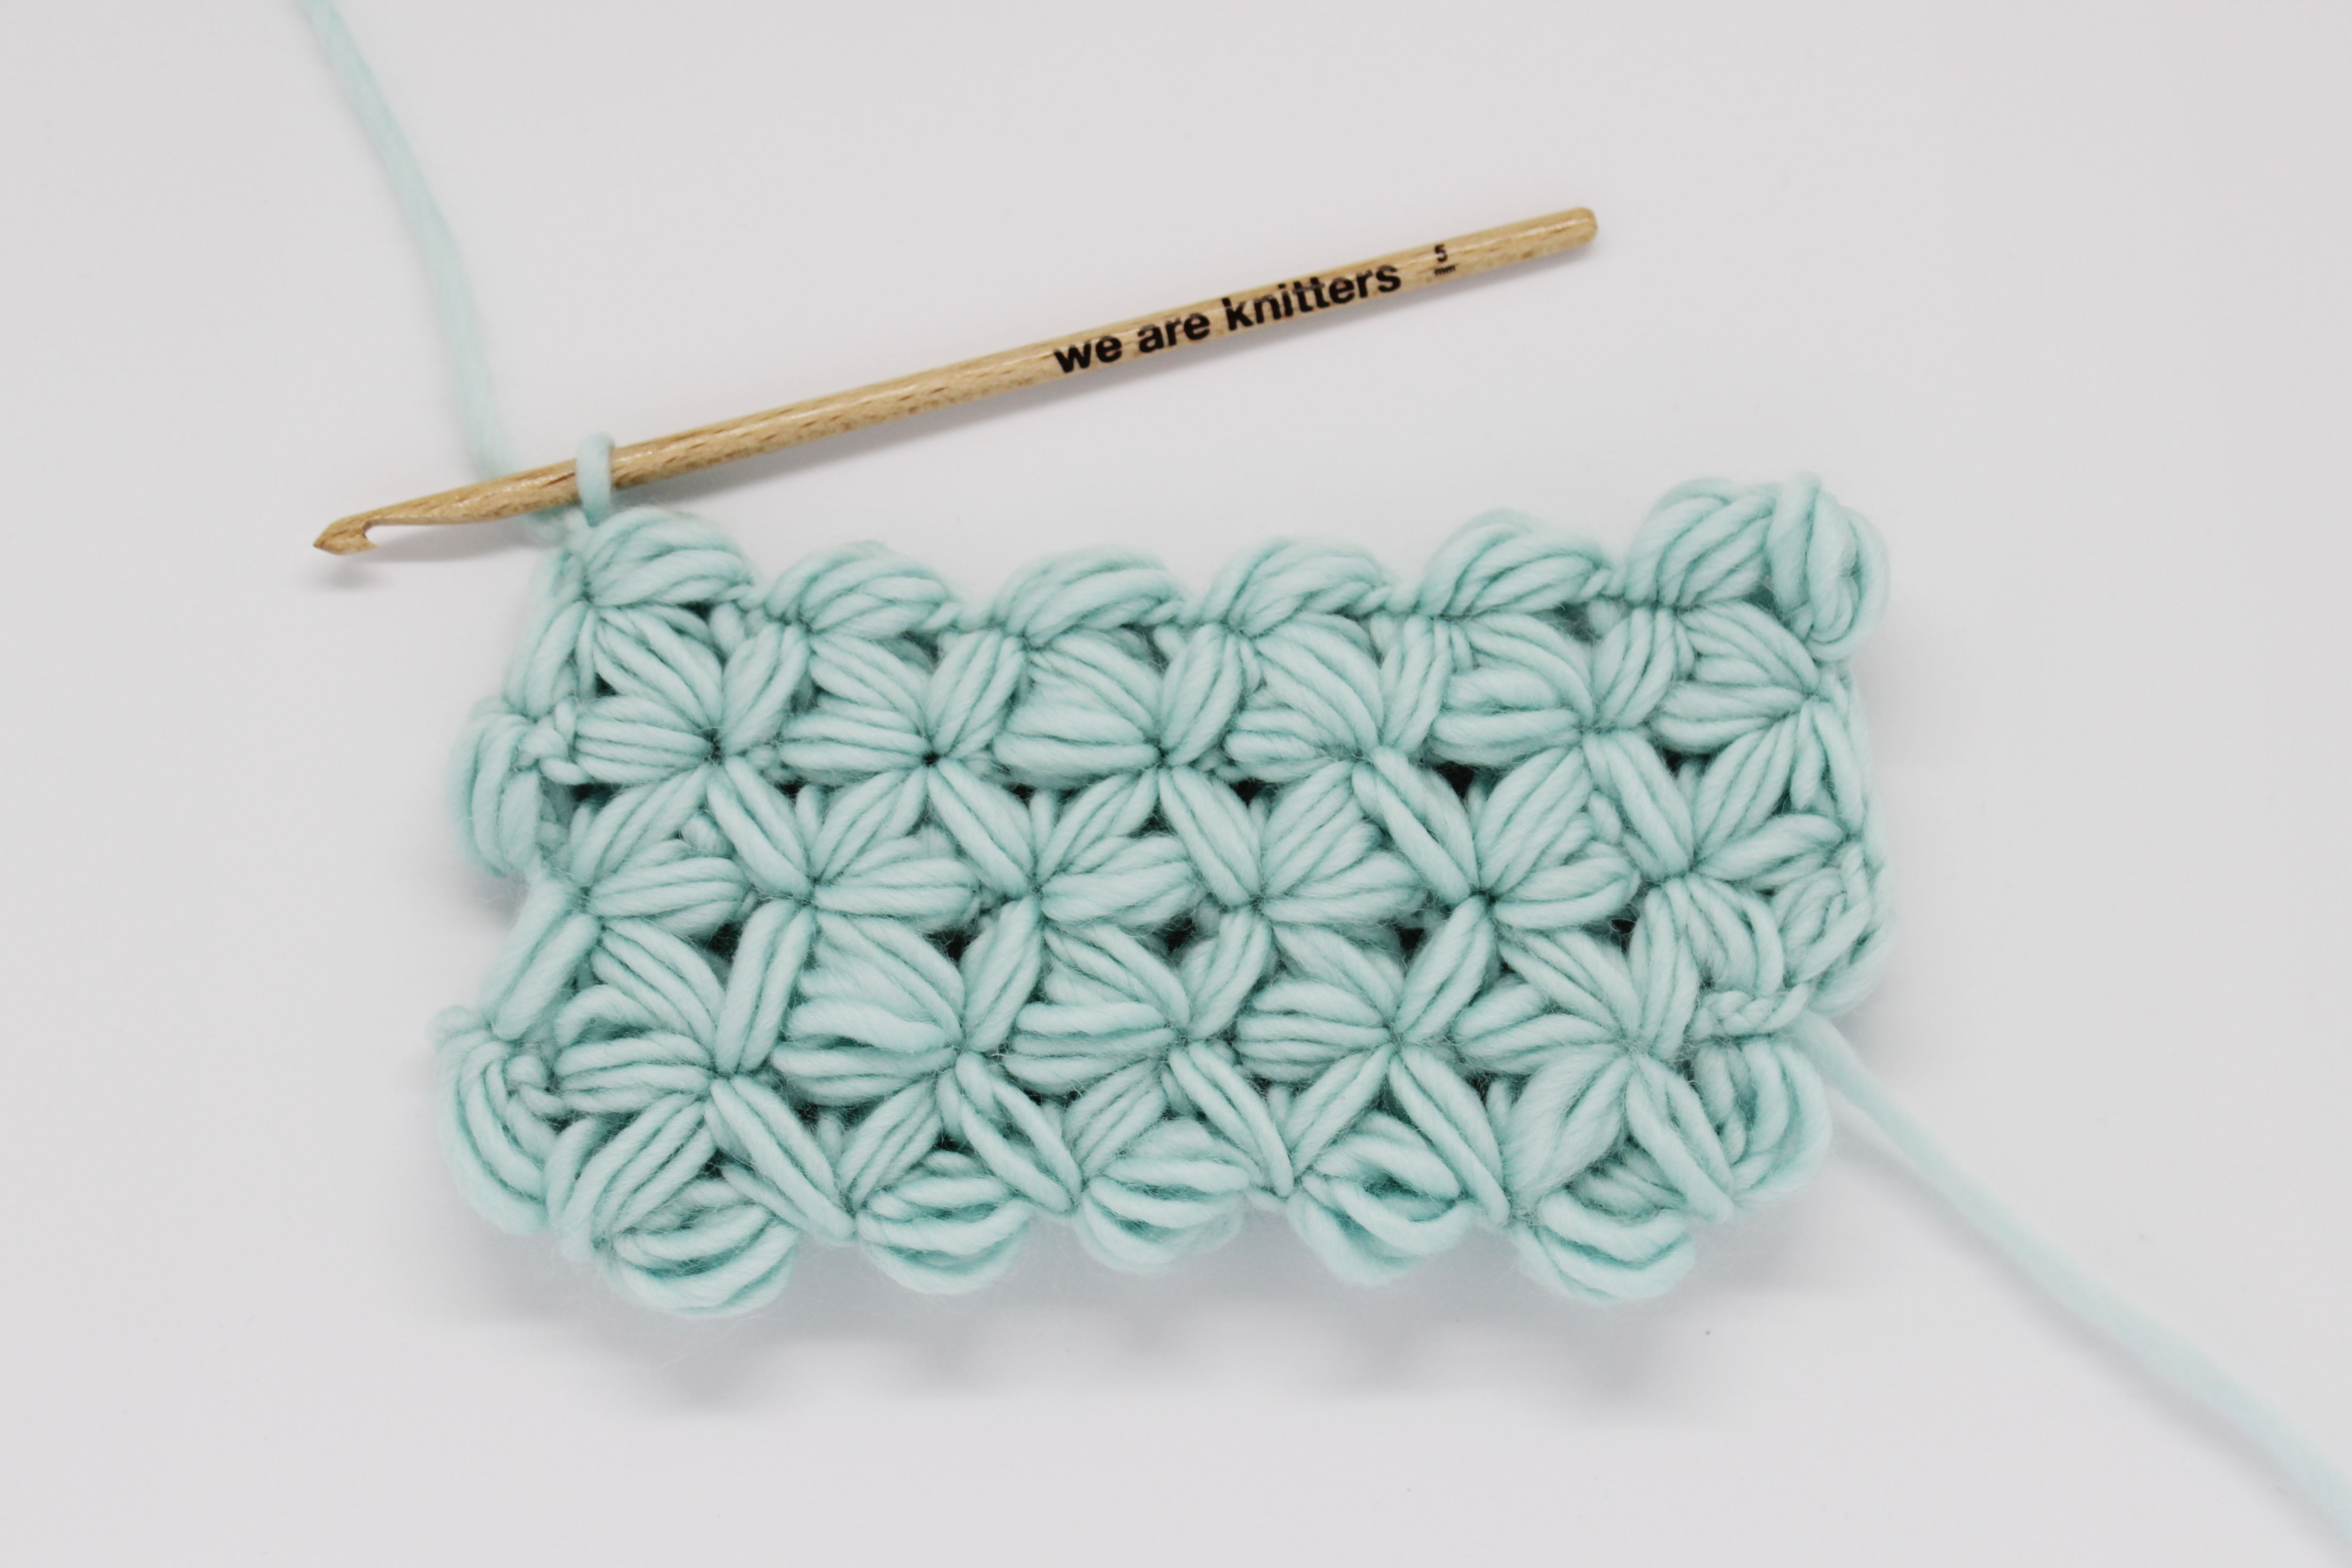
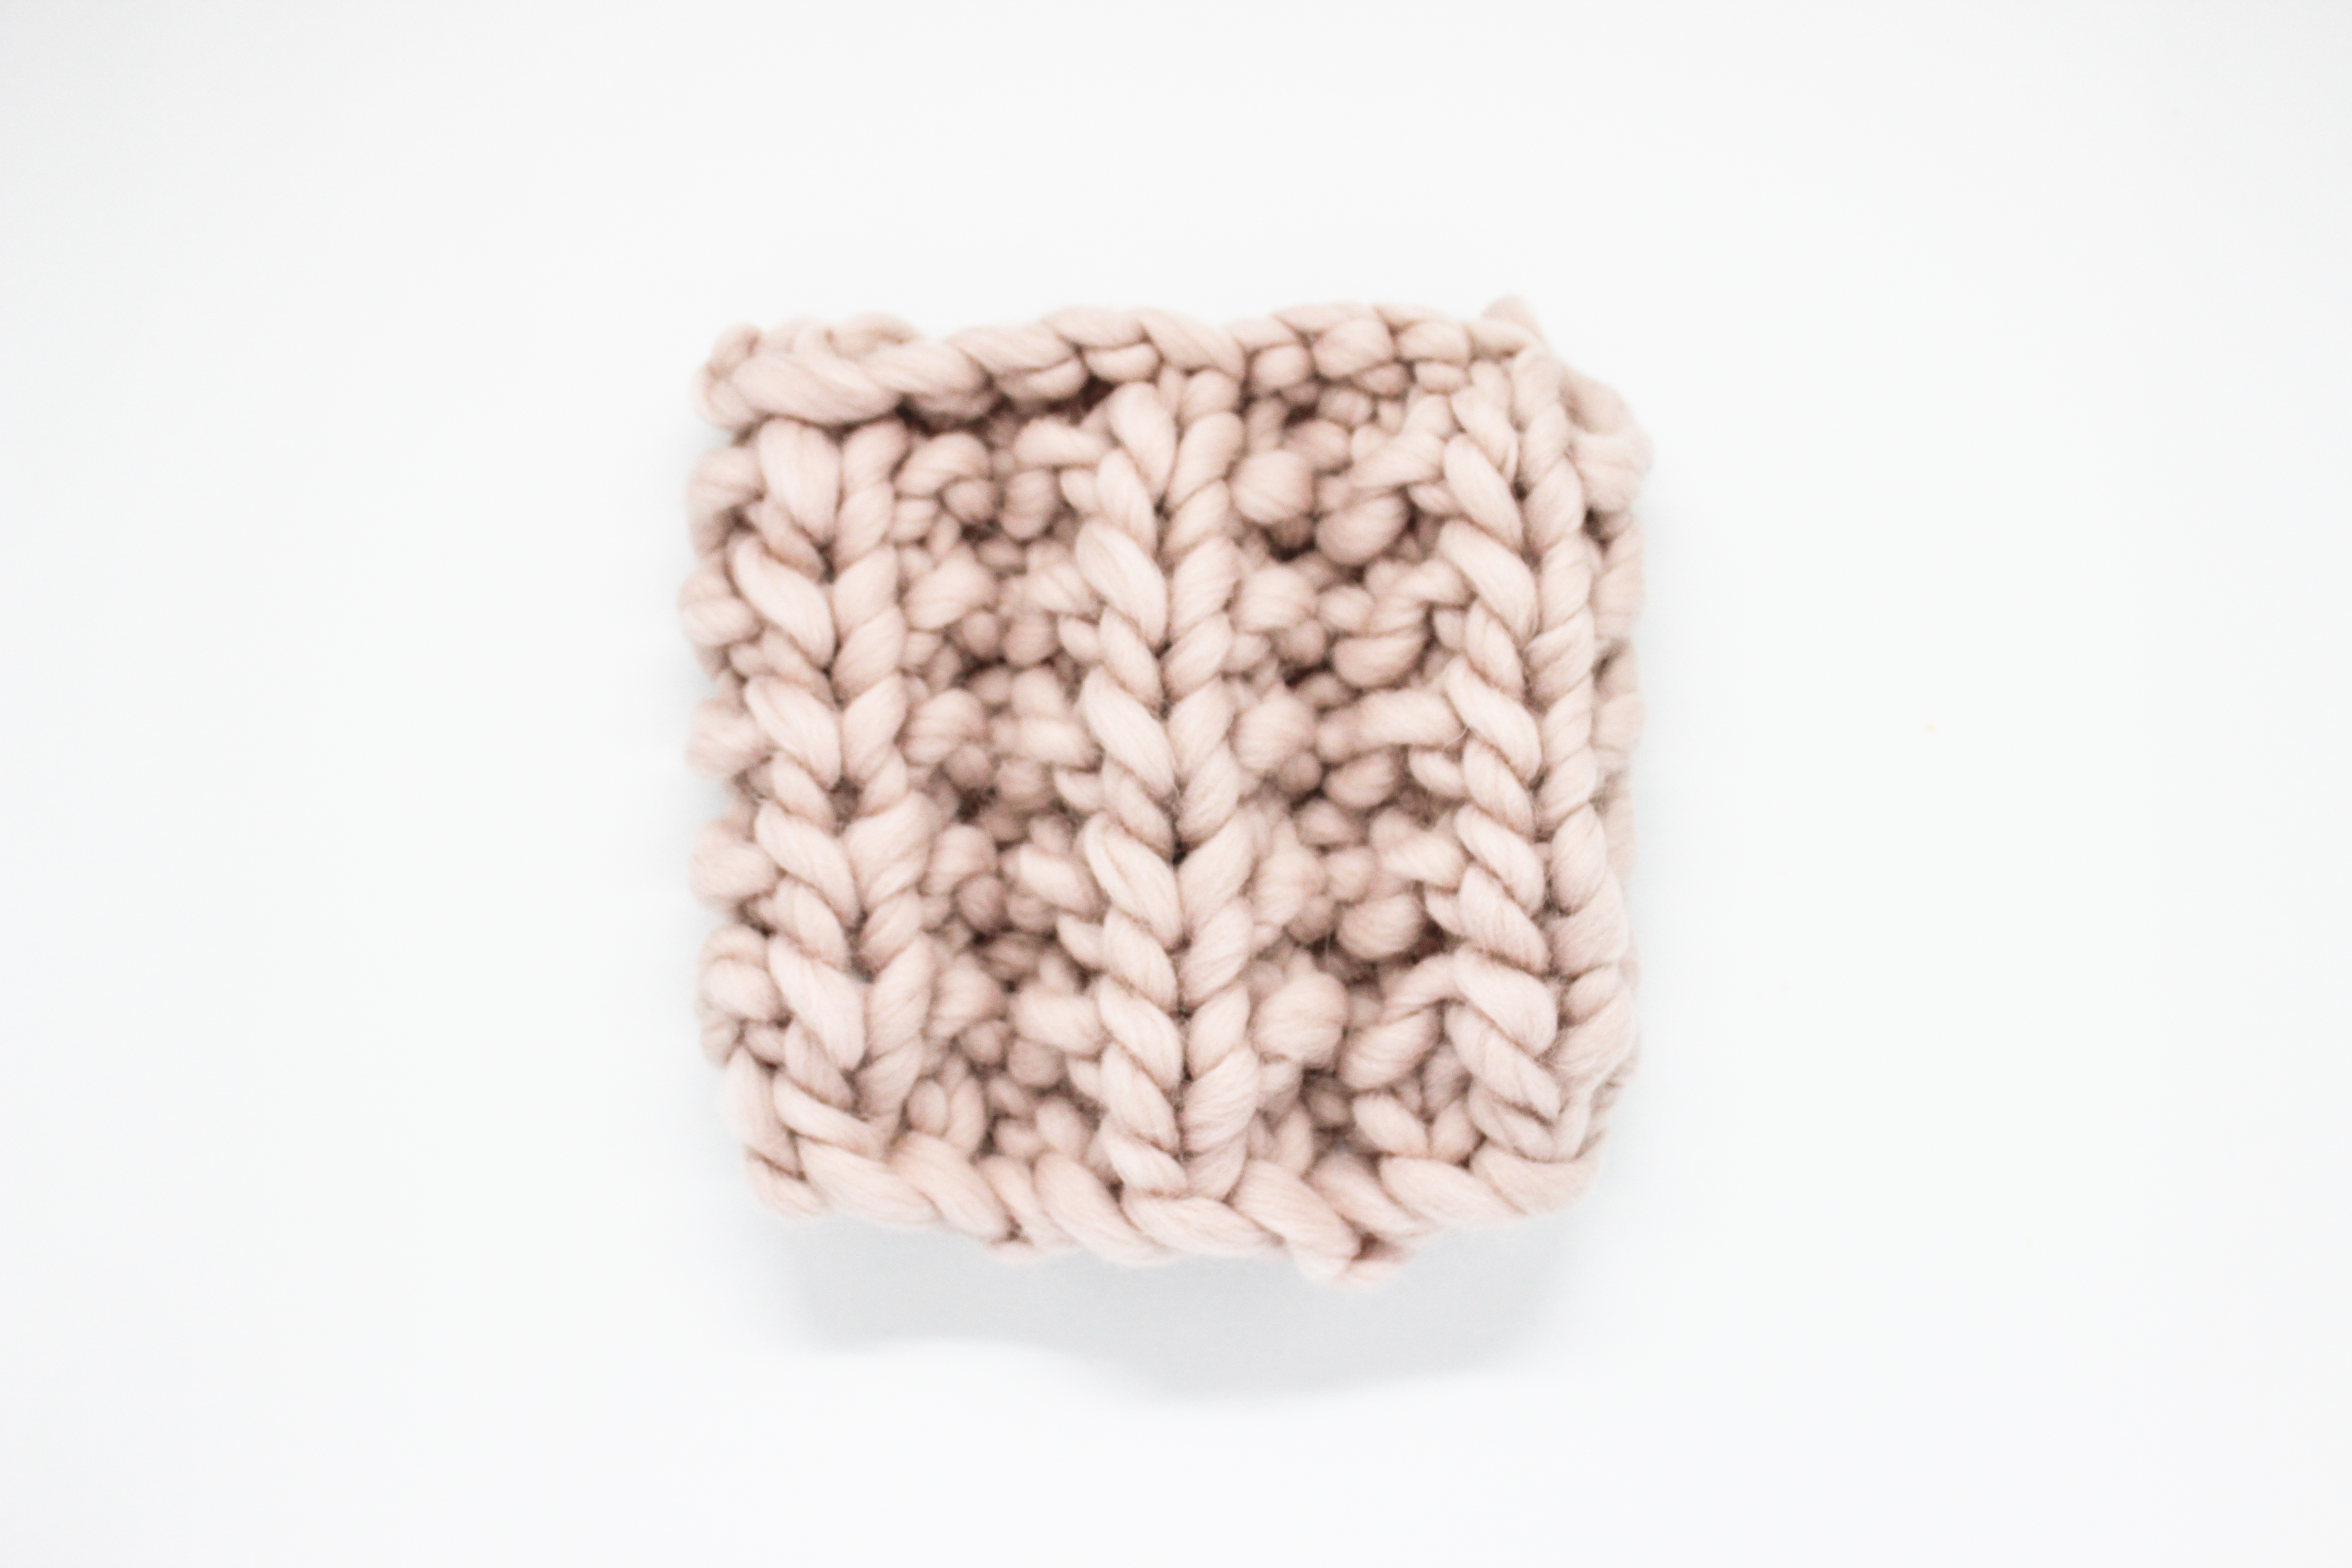
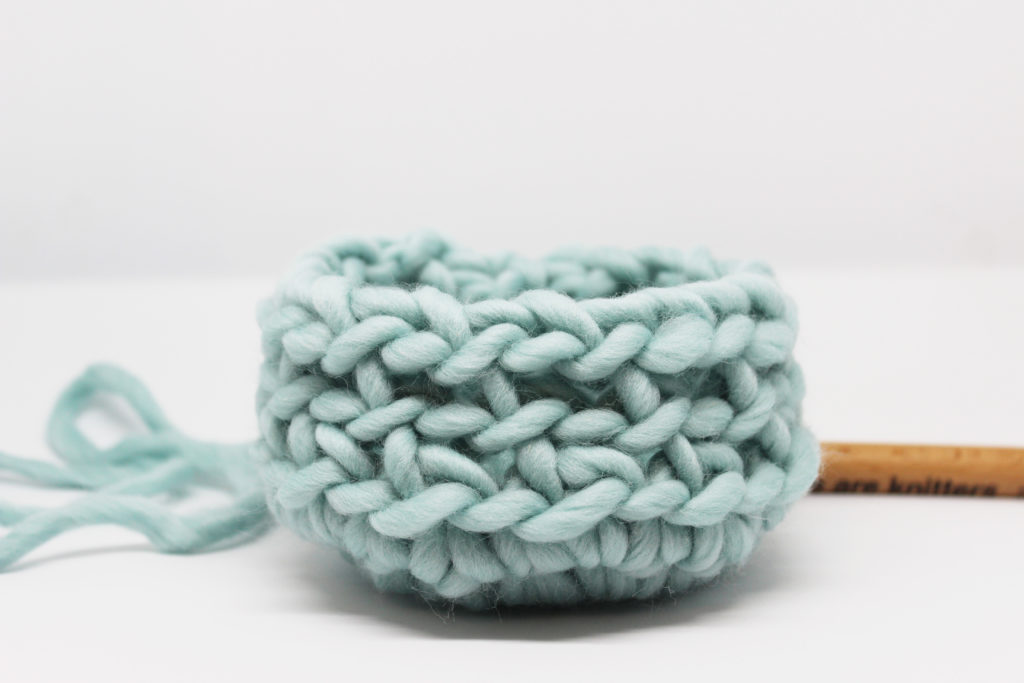
Once you have worked this round, your project will look like the picture above.
Remaining rounds
Now we will show you how to keep working your project. The round we will describe now is the one you need to keep repeating to create the body of the project, until it reaches the desired length. Play it! 🙂
This round is very similar to the starting one, right? You won’t get lost, and reaching this point, your project is going on without problems.
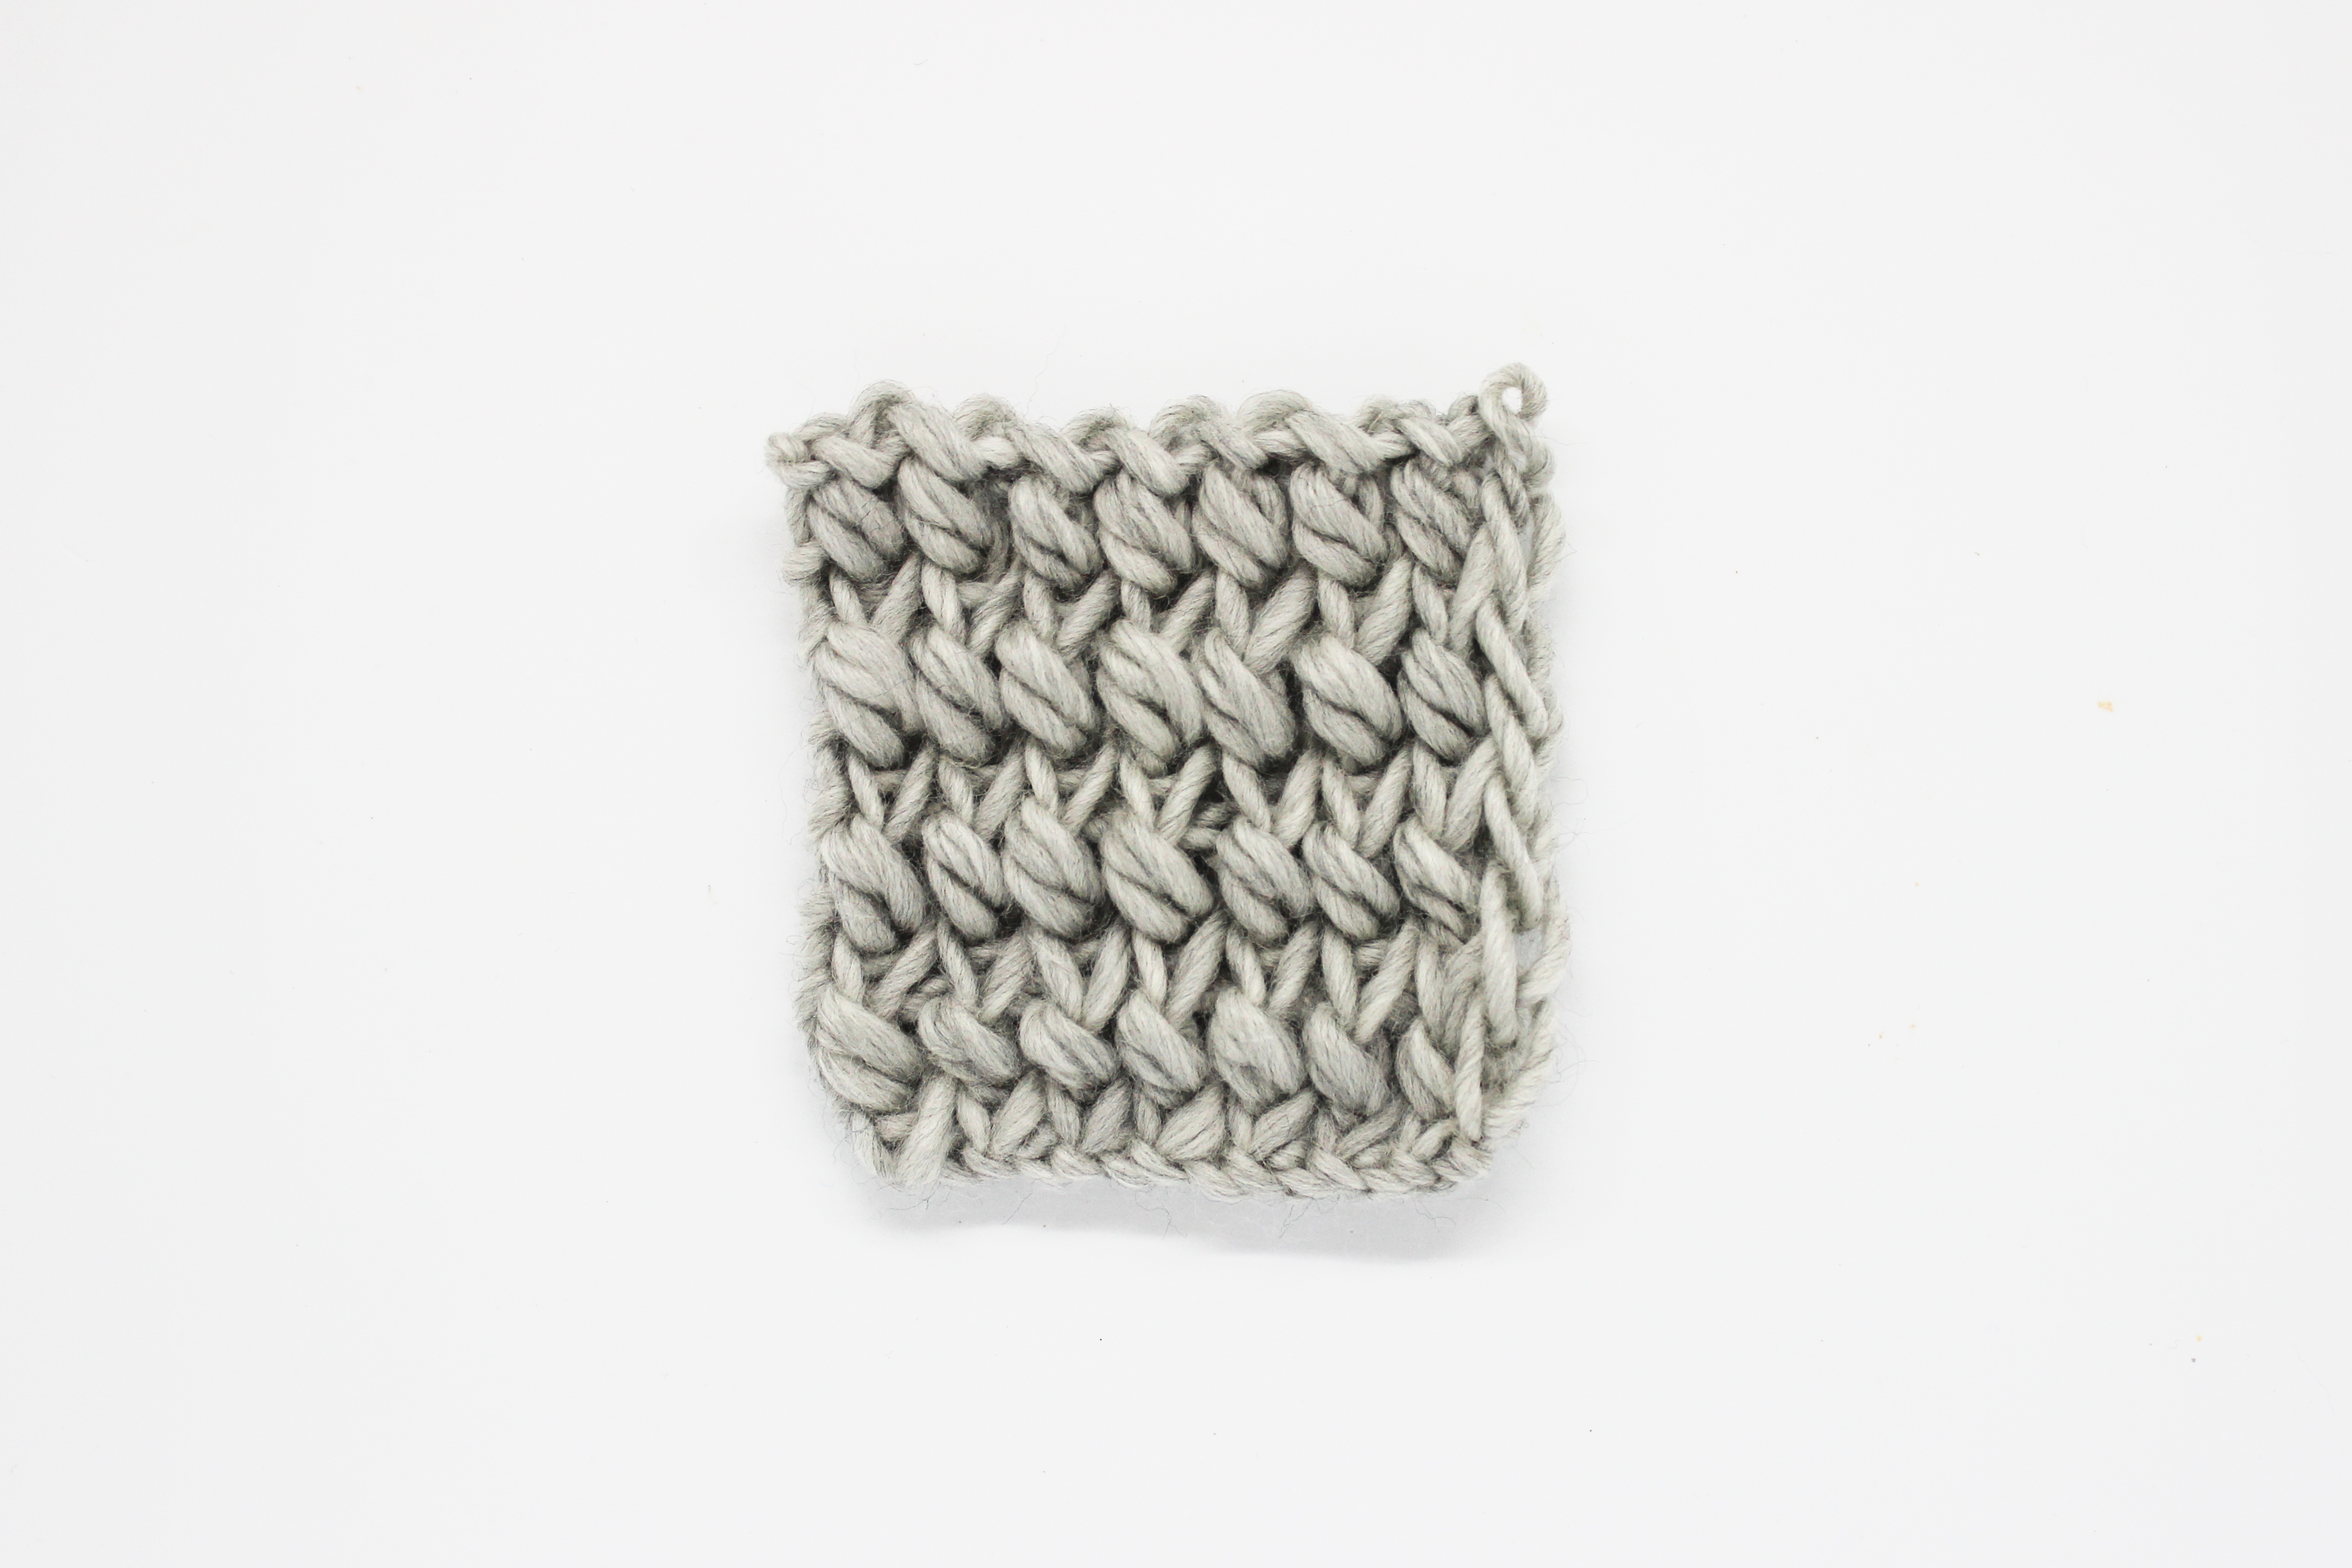
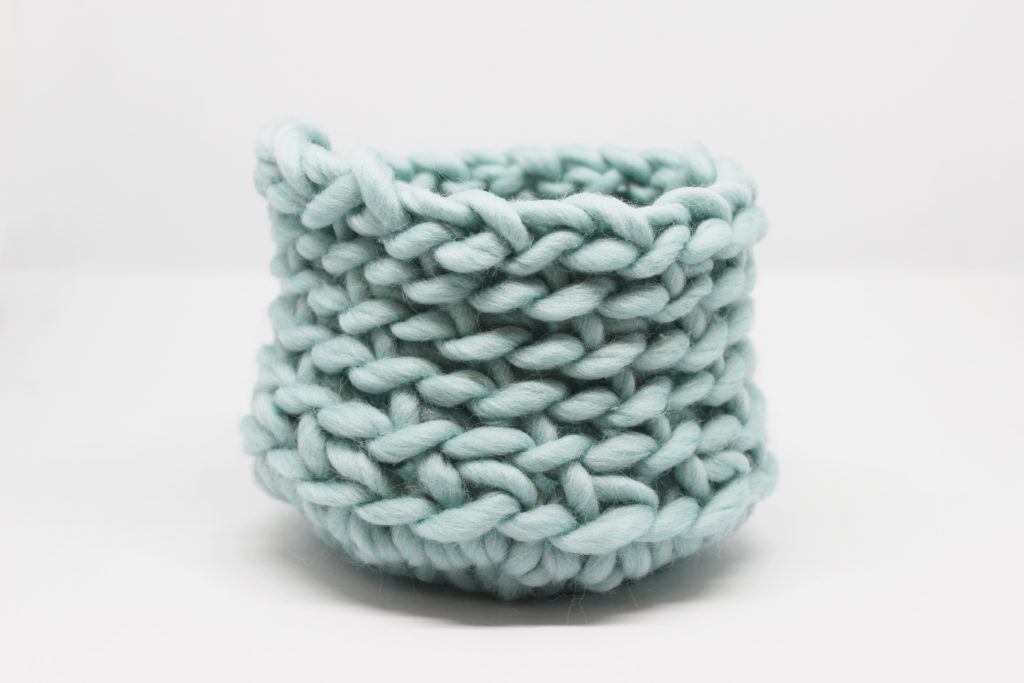
As you work each round, your project will look like the picture above, and you’ll be able to appreciate better the texture being created.
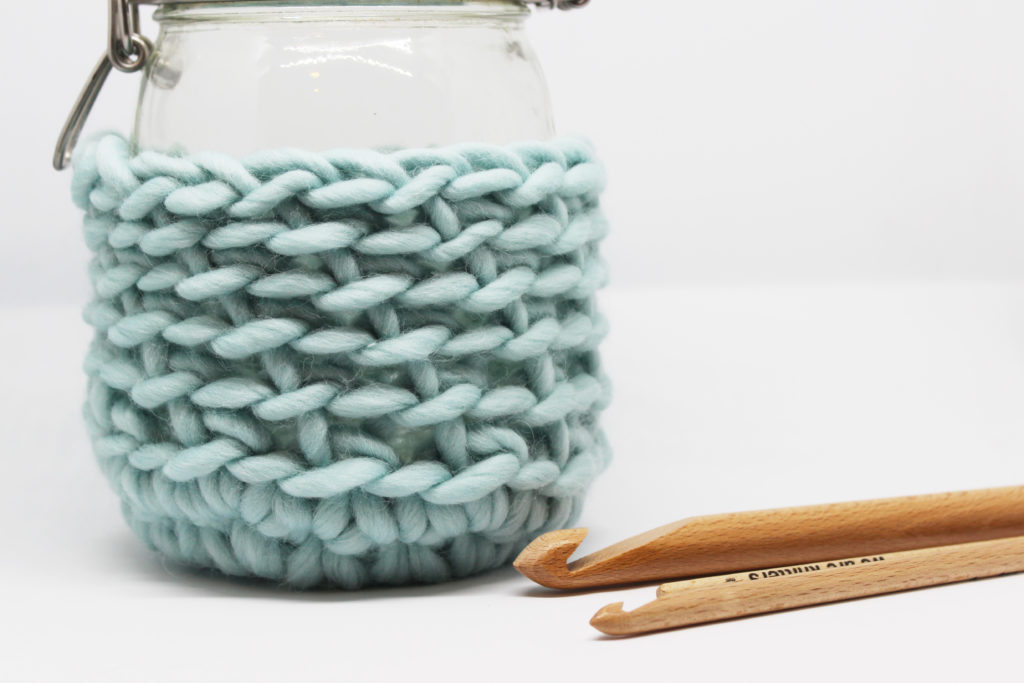
This stitch will be perfect to make your most summery baskets, to organize your bathroom, your needles, skeins, etc. We hope this inspires you and, remember! We love when you share your projects with us on social networks with the hashtag #weareknitters . Till next time!