We always like to share new techniques with you. Today we are focusing on a type of bind off that’s very elastic. No more rigid bind-offs. This finishing will give your garments a much more natural shape.

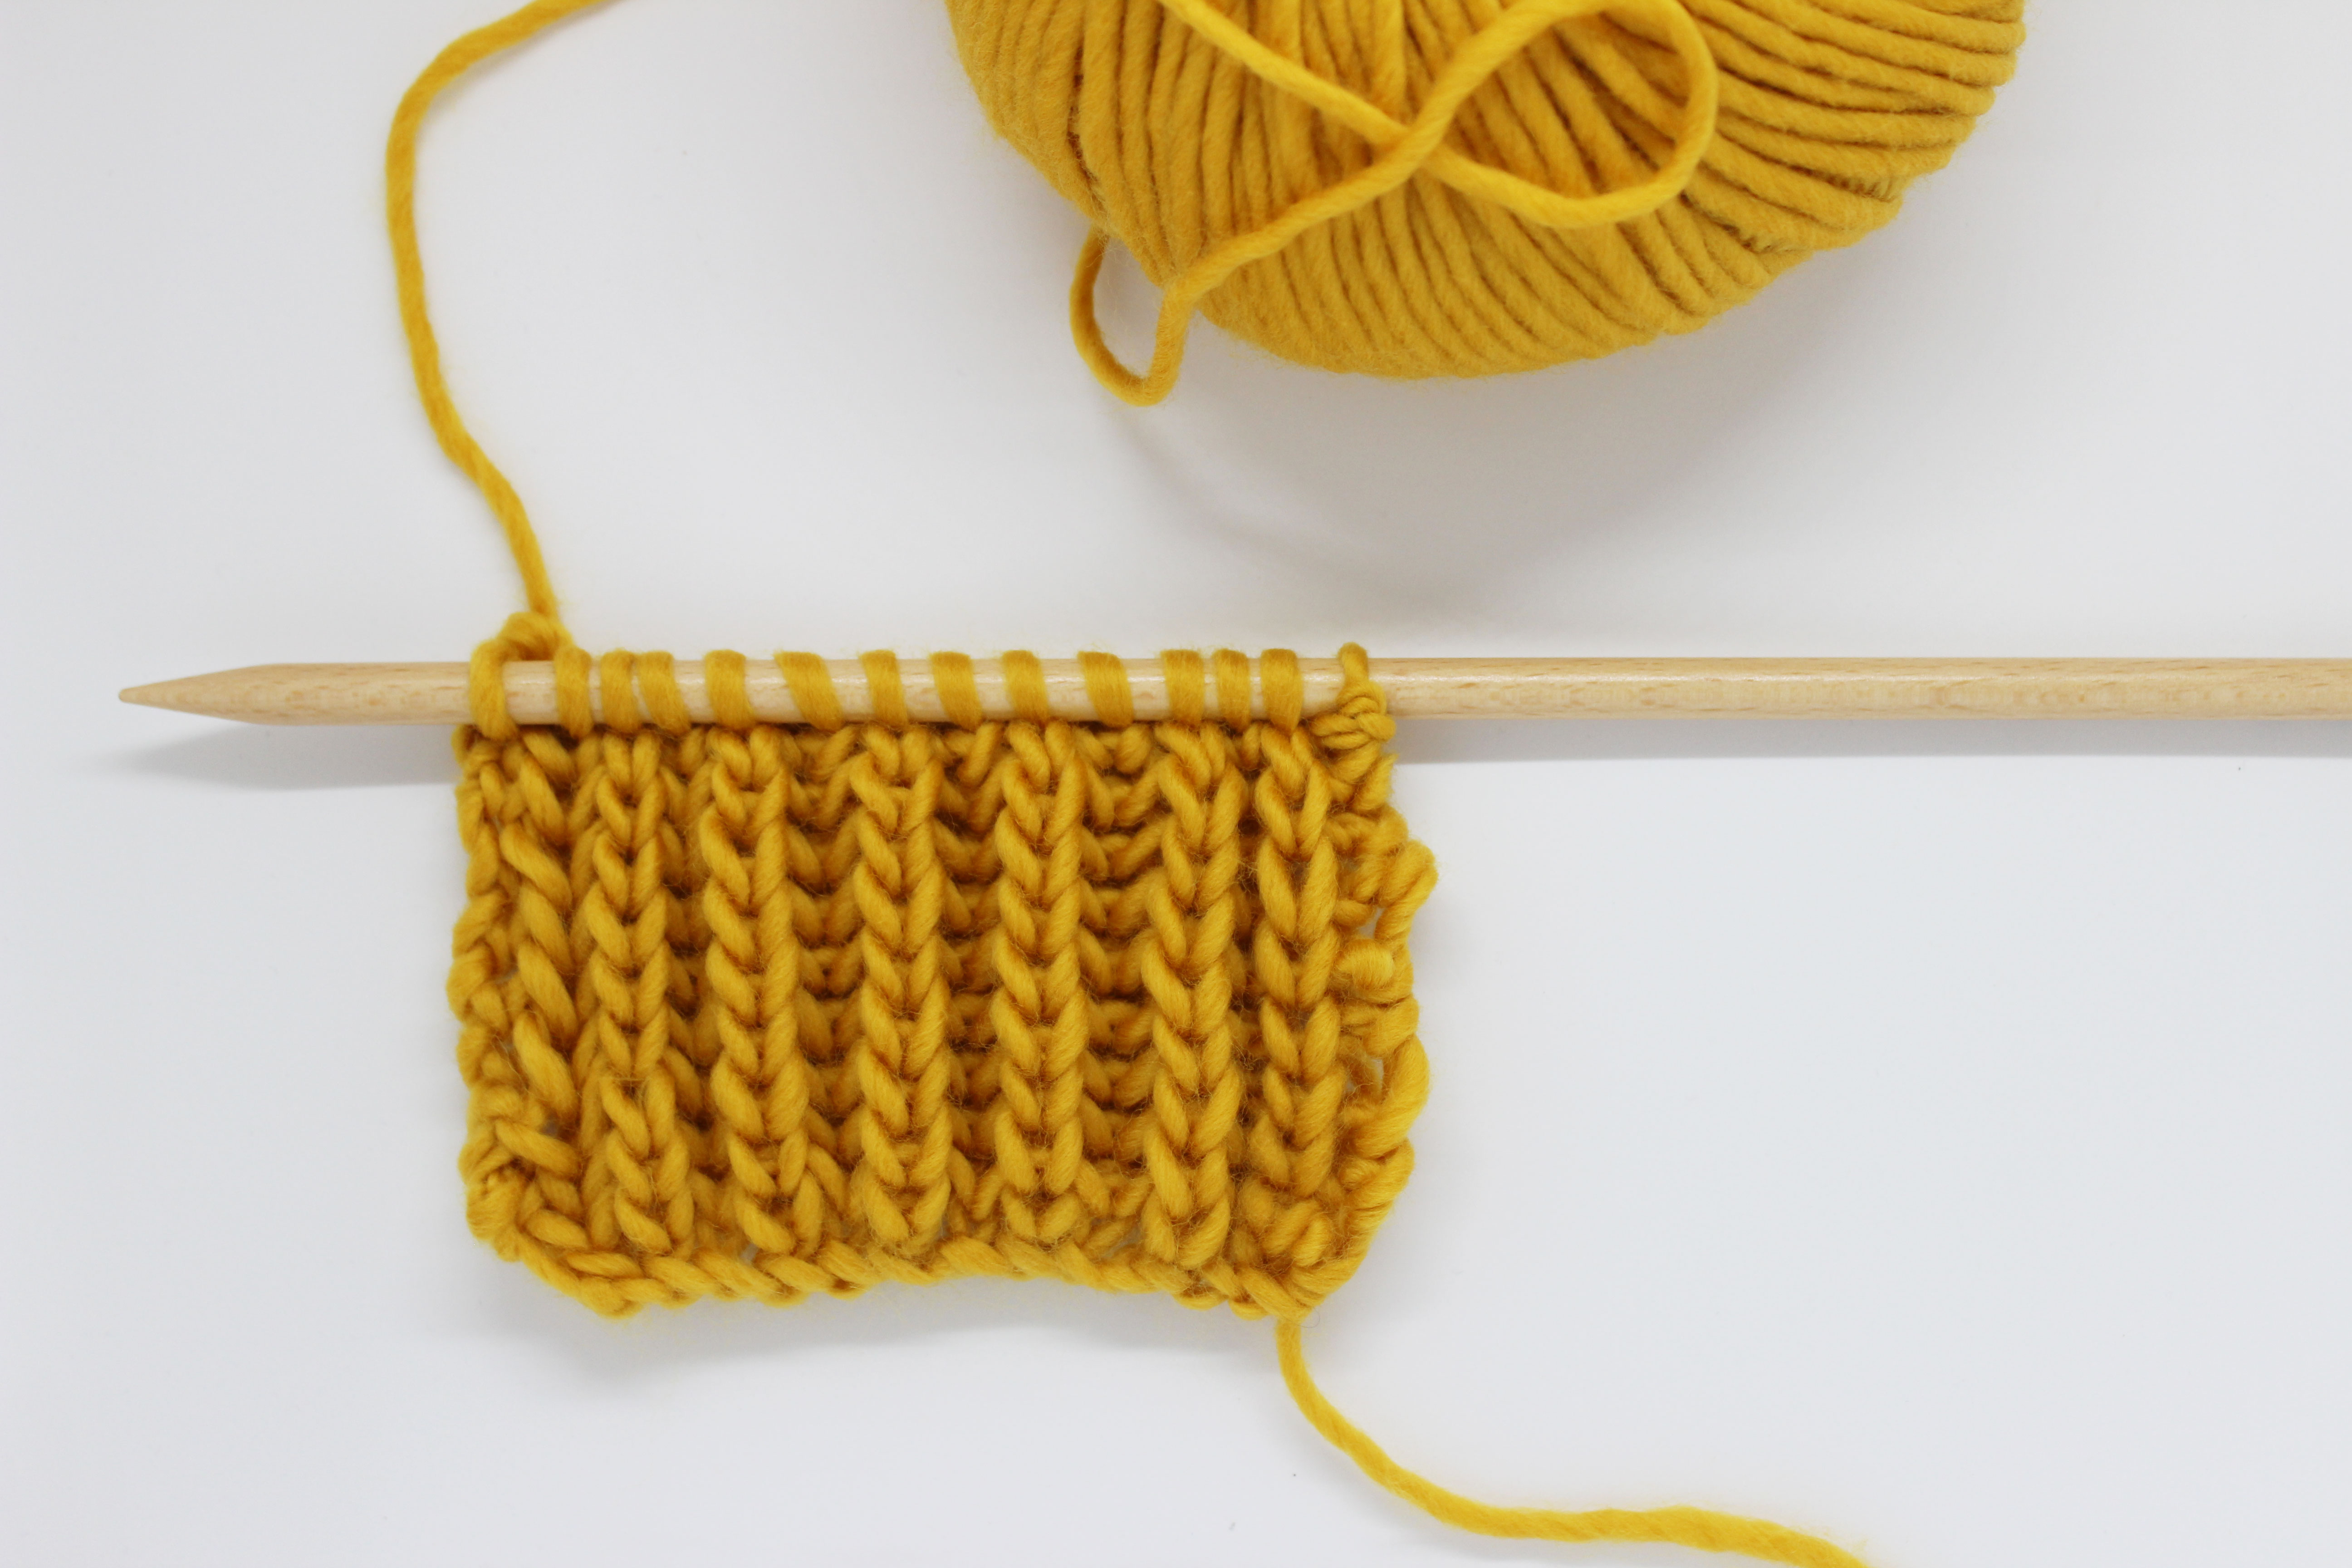
For this step-by-step we have used one of our Petite Wool skeins and size US 11 (8 mm) knitting needles.

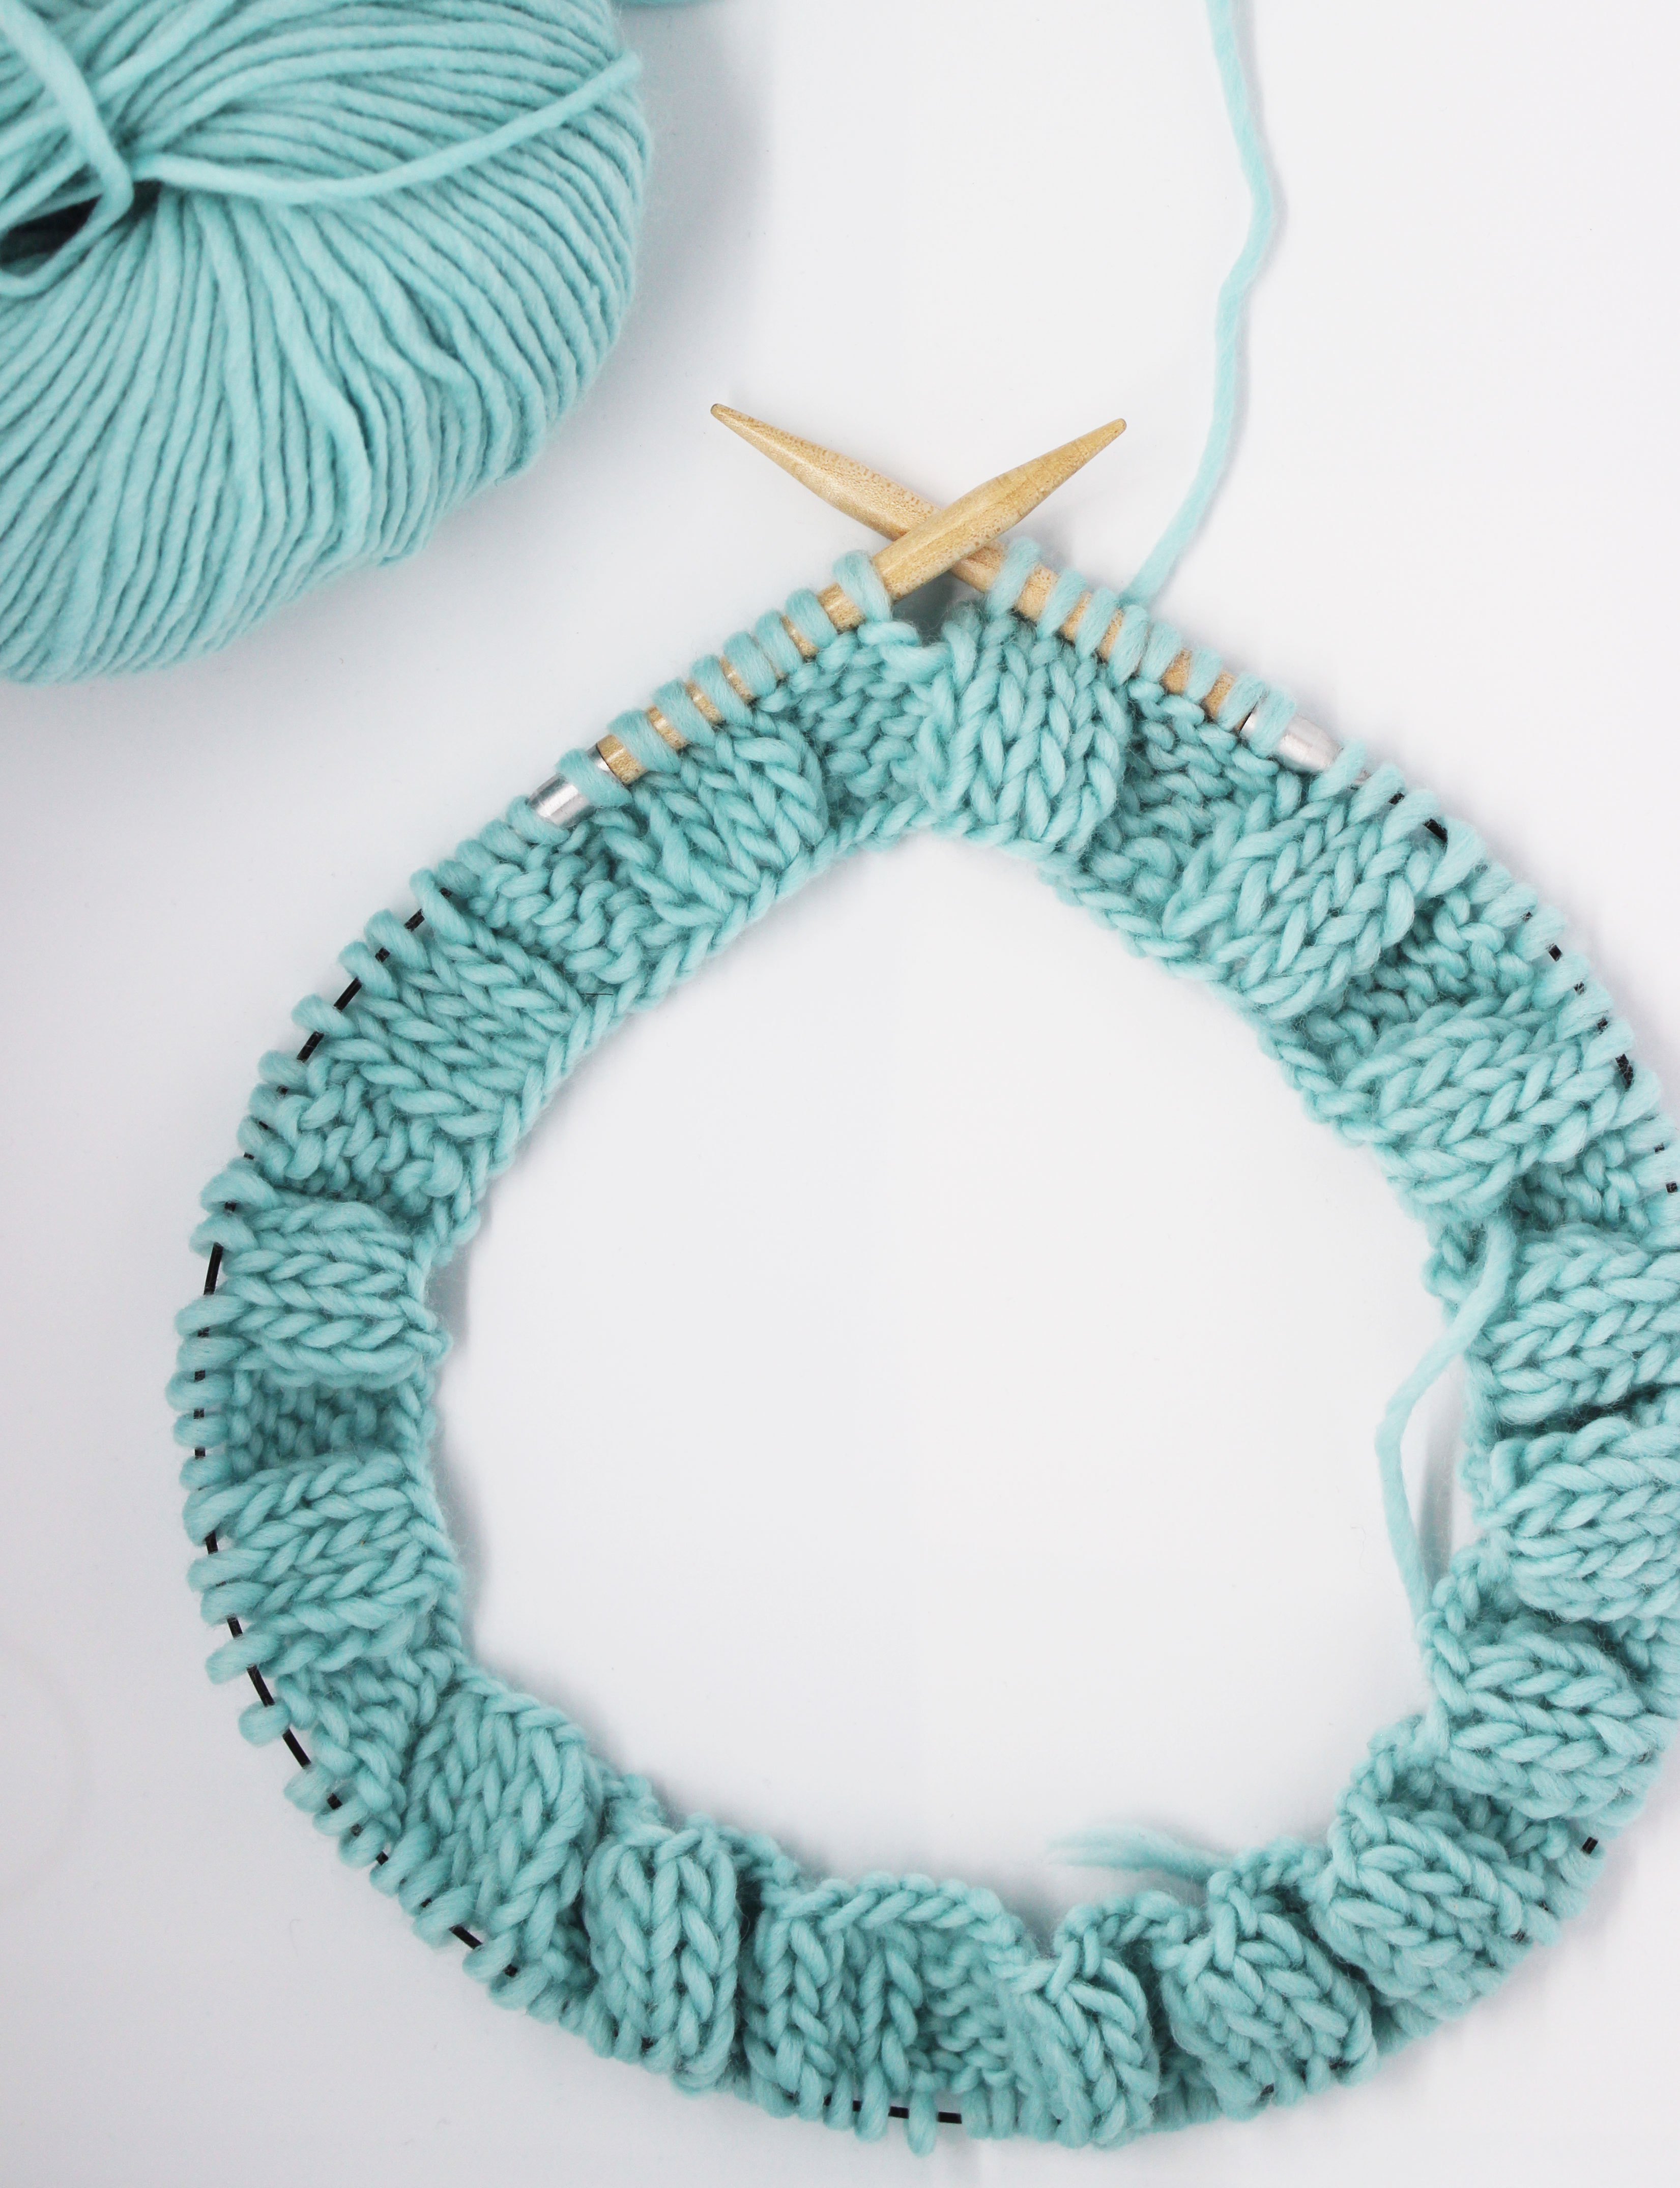
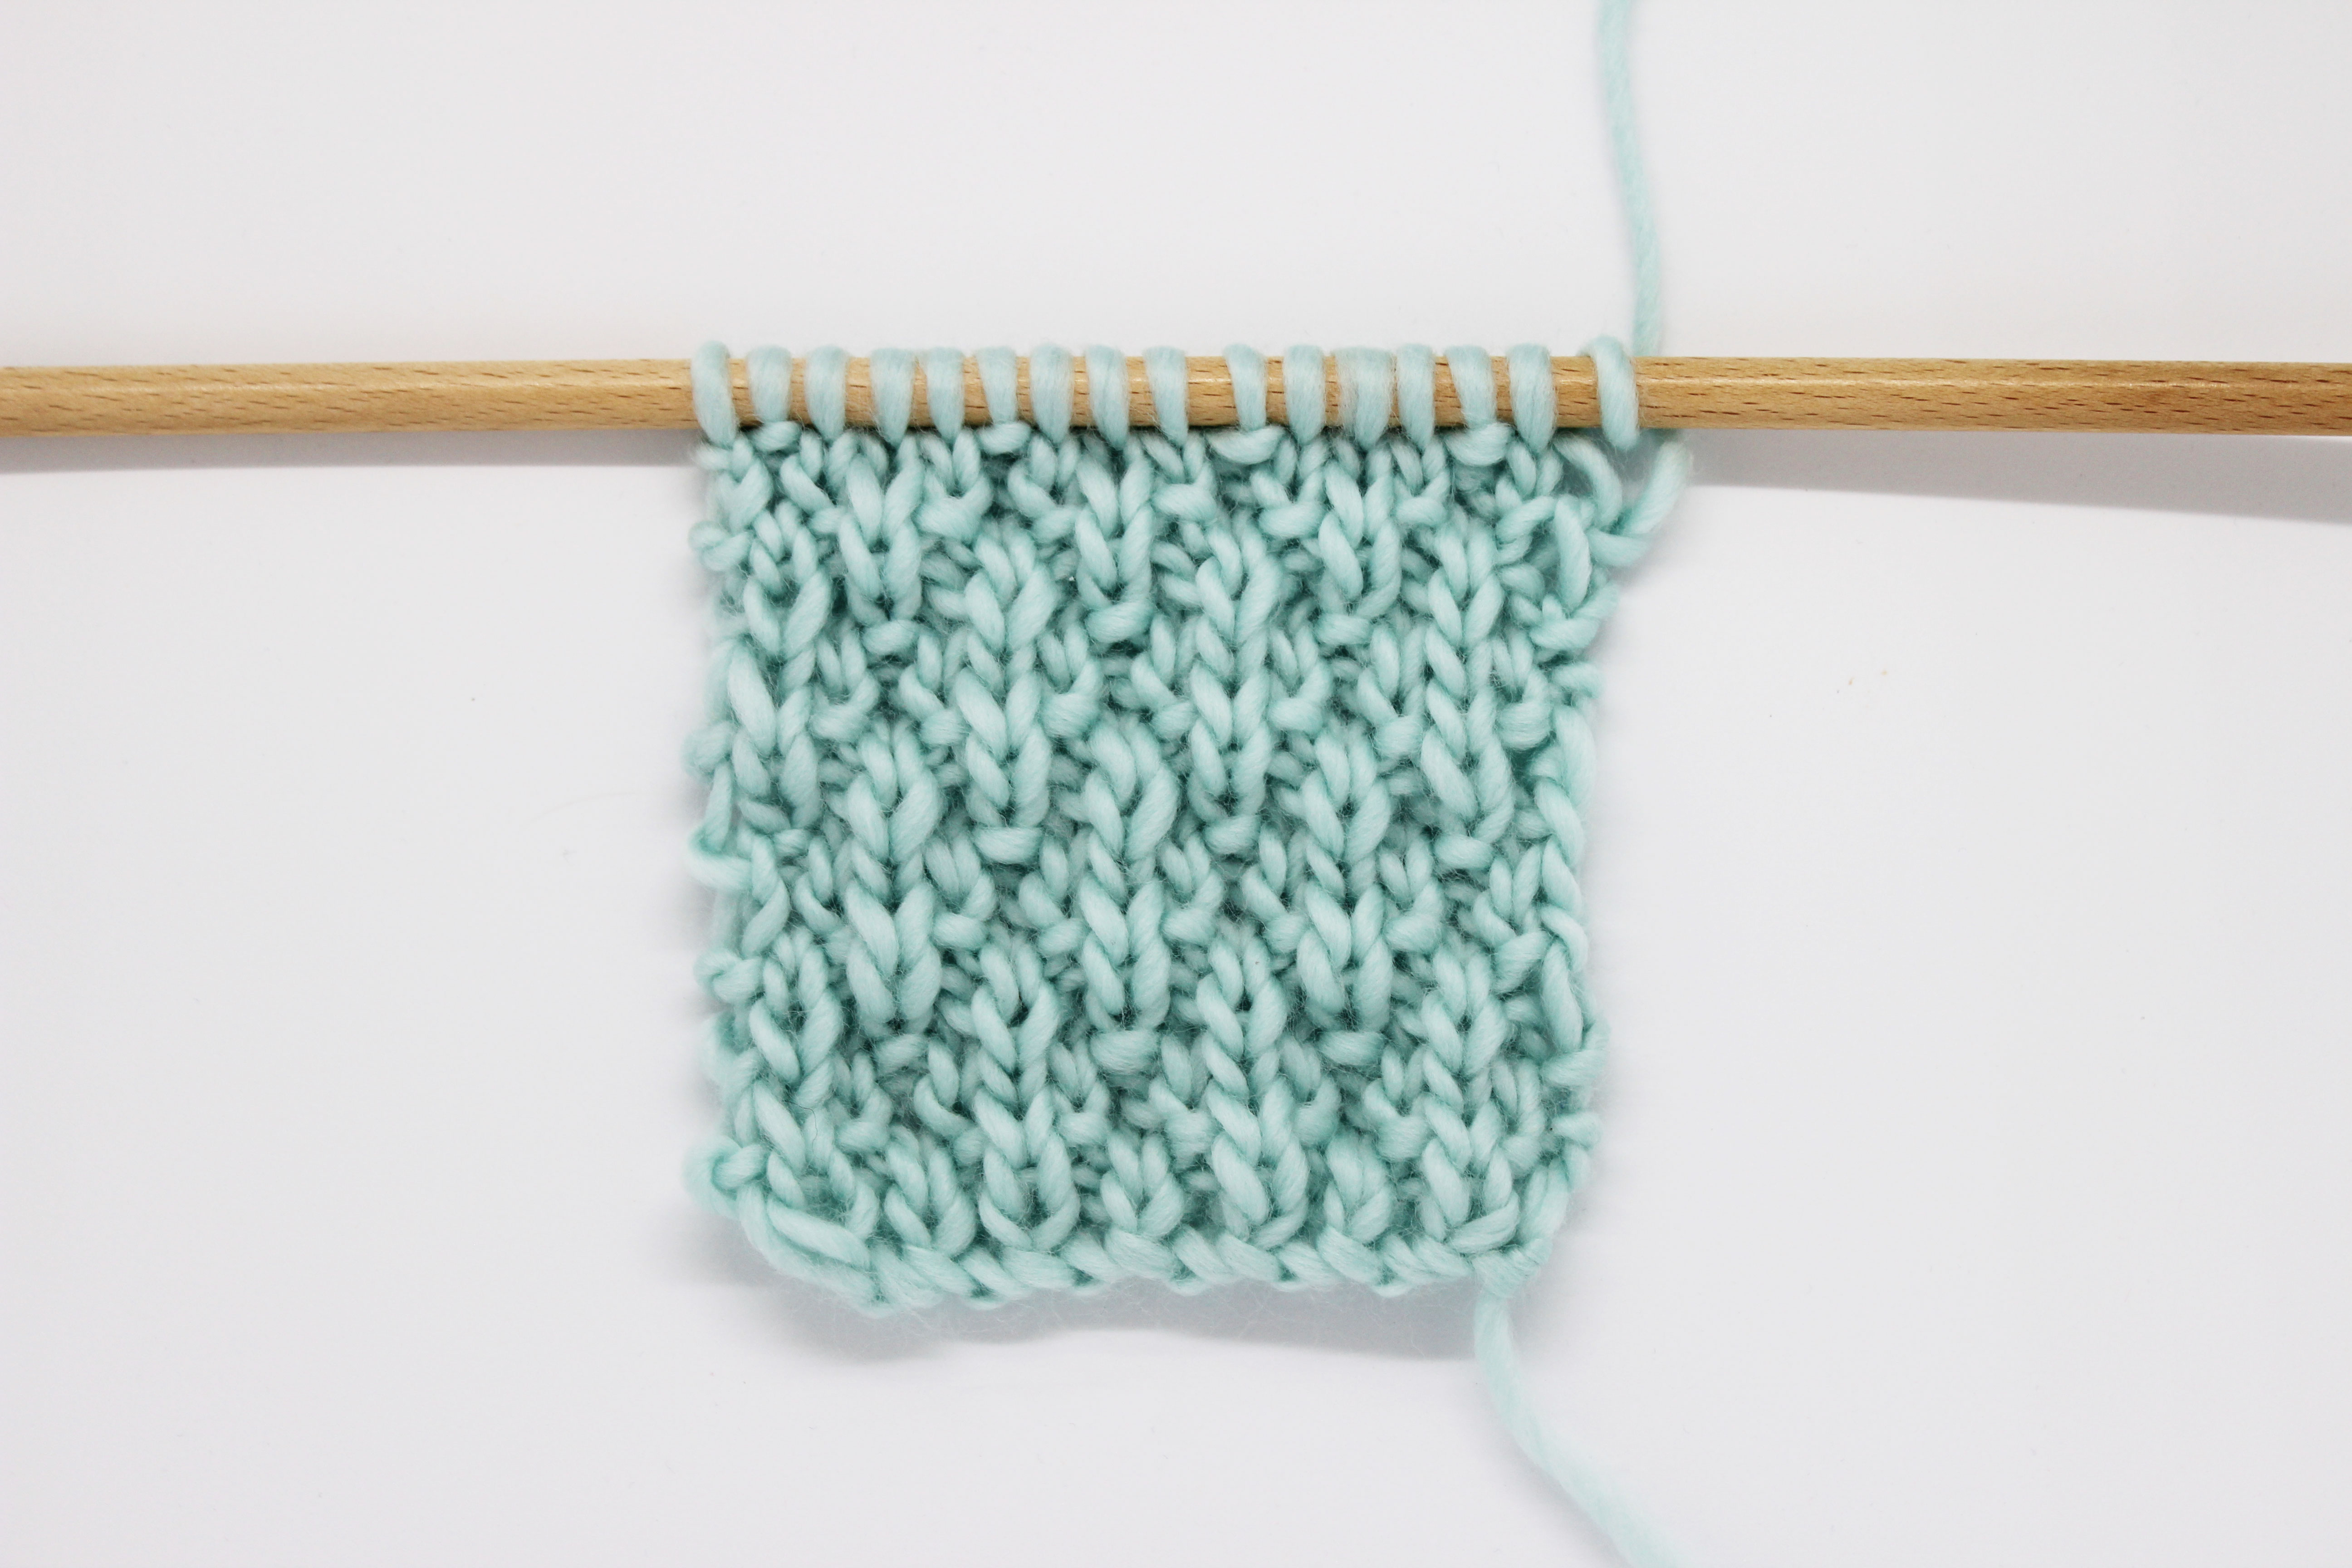
We will begin with the stitch pattern in which you worked your project, and it’s time to begin the bind off. We have made a small sample in Stockinette stitch so you can see the whole process.

Step 1
We start our bind off by knitting the first two stitches.

Step 2
Next, insert the left-hand needle through the stitches you knitted in the previous step.

Yarn over the right-hand needle and knit them together (you will have 1 stitch on your right-hand needle).

Step 3
Knit the next stitch (you will have 2 stitches on your right-hand needle).

Step 4
Insert the left-hand needle through the two stitches you have on your right-hand needle.

Knit them together (you will have 1 stitch on your right-hand needle).
In order for you too see the whole process live, we have prepared a short video:
Easy and very quick, right?
Remember that bind off successive stitches you must repeat steps 3 and 4 until the end of the row.

We hope this new technique it’s very useful for you to bind off your new projects. We wish to see where do you use it, so don’t forget to share your results in social media with the hashtag #weareknitters.