Hi knitters!
Today we are going to show you a new stitch that you can add to your projects for a new look! With just this simple trick, you can transform your pieces into a completely new design.

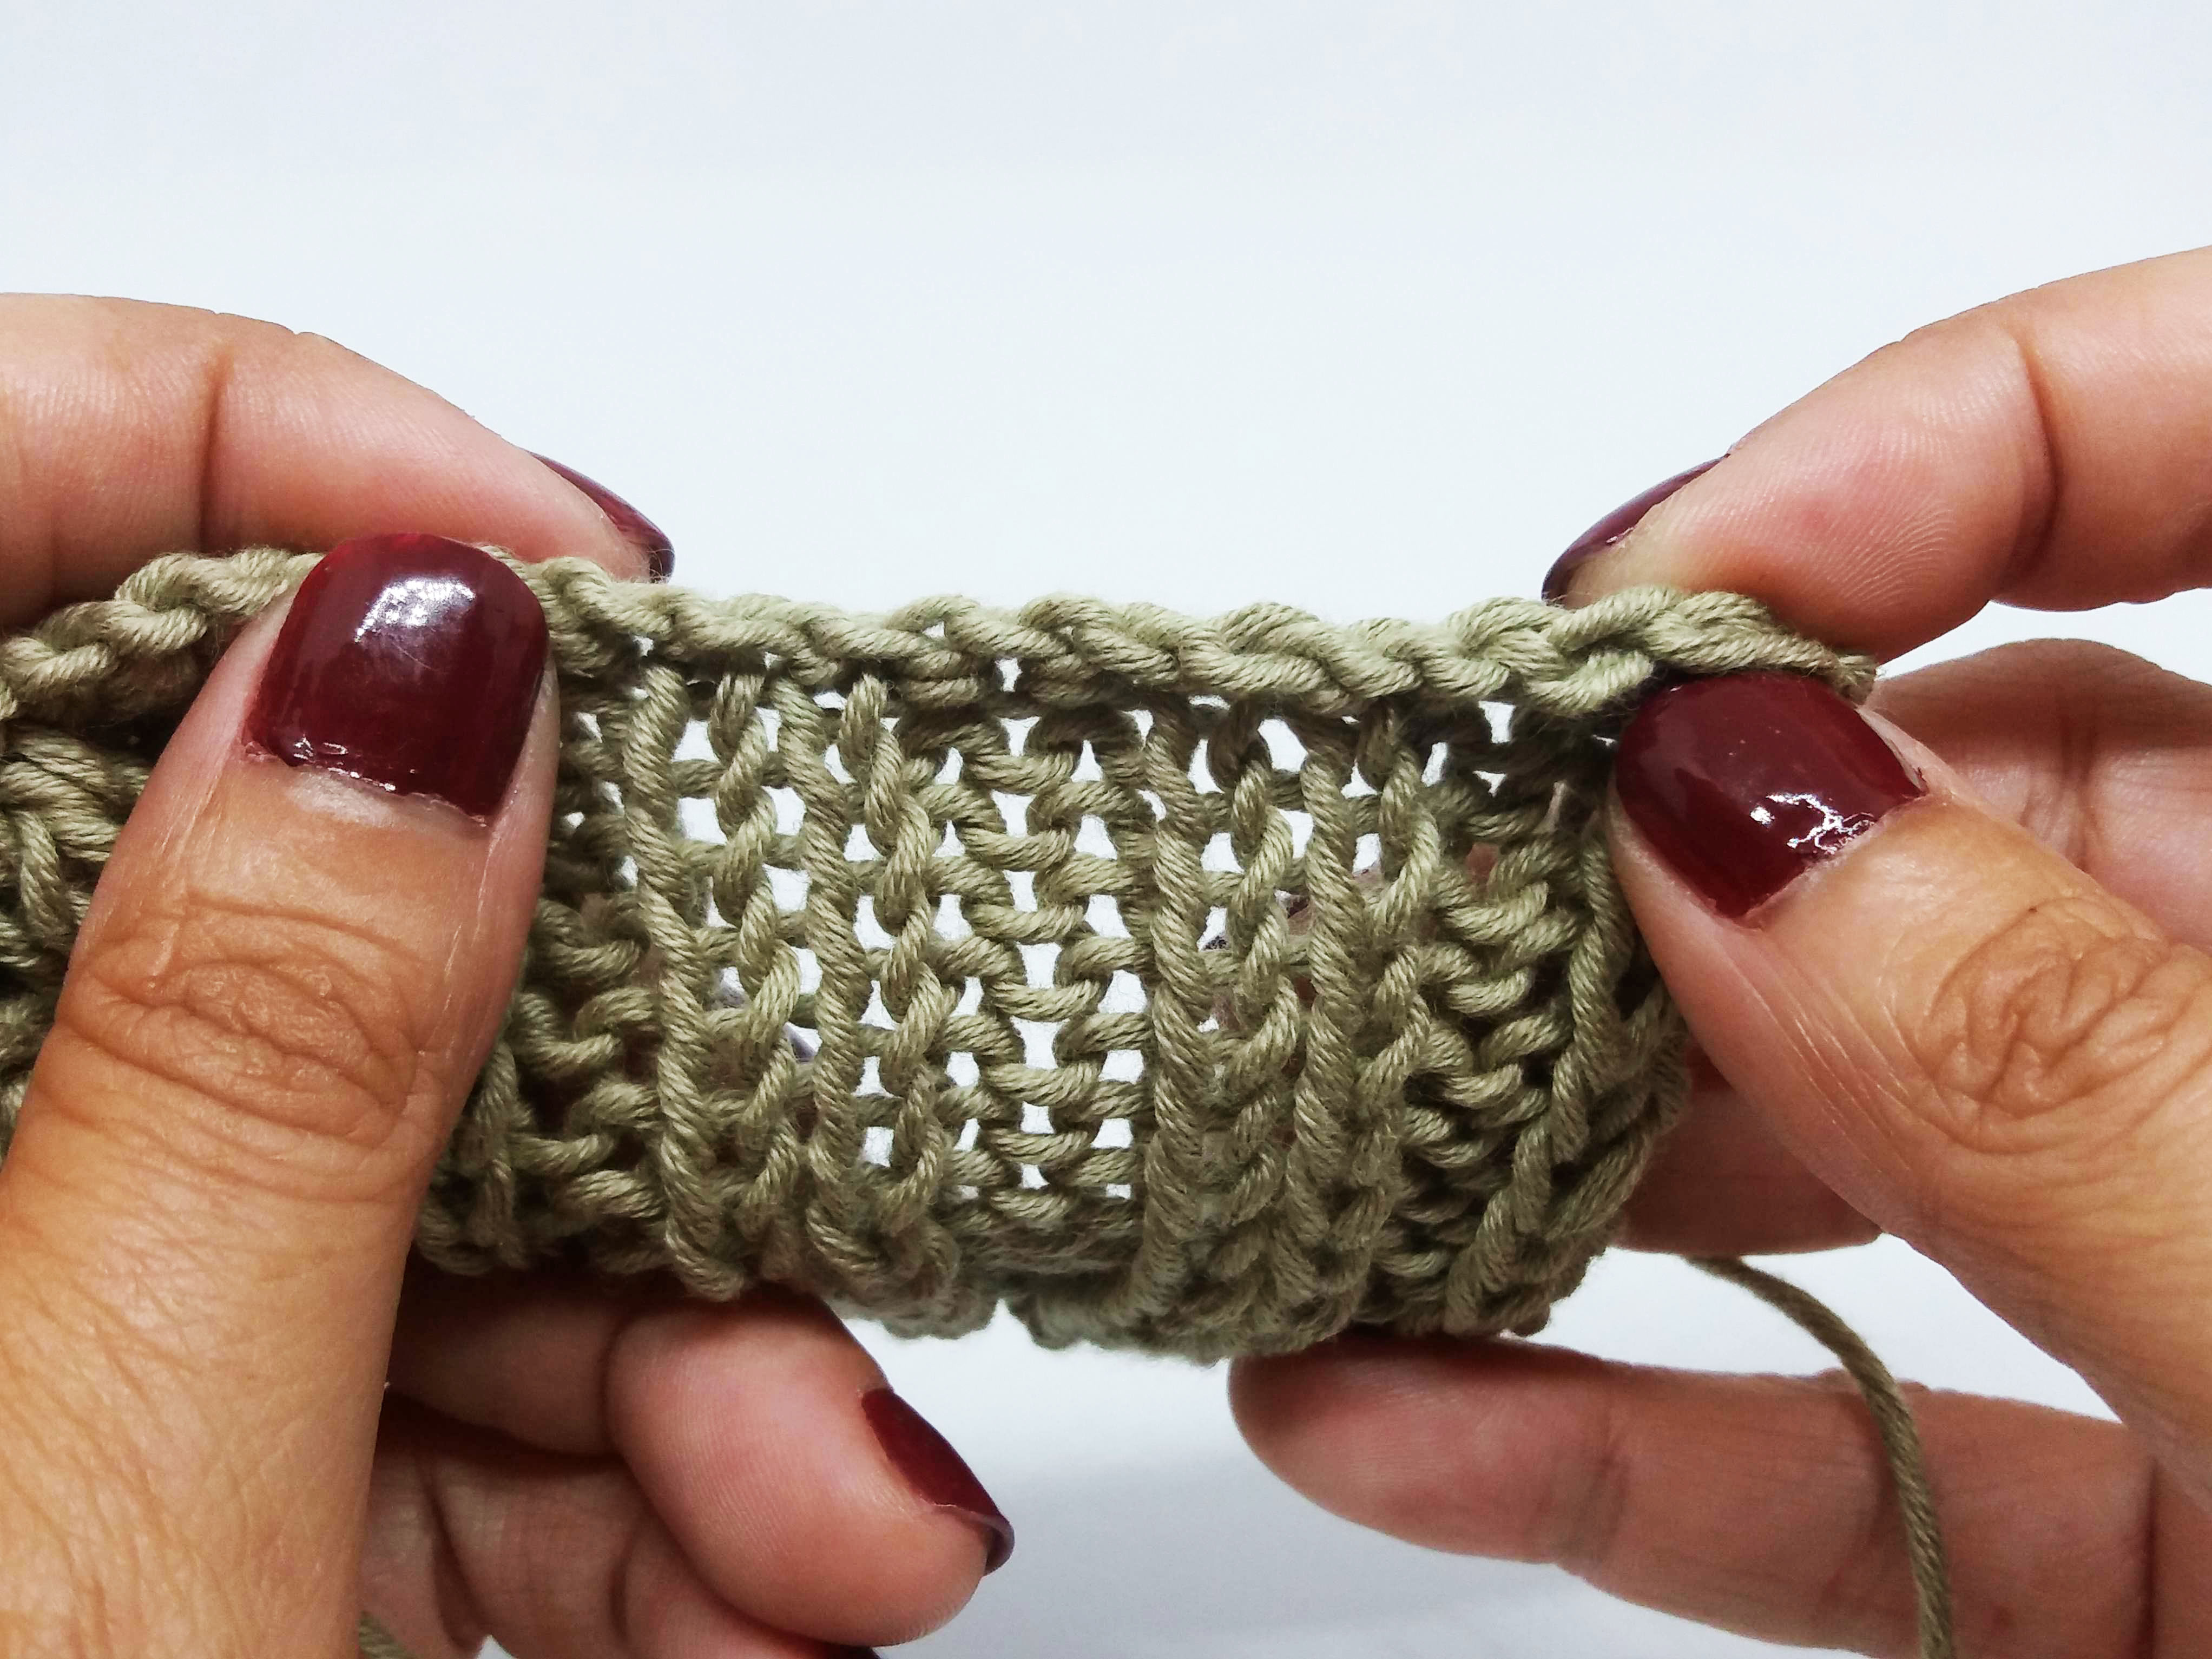
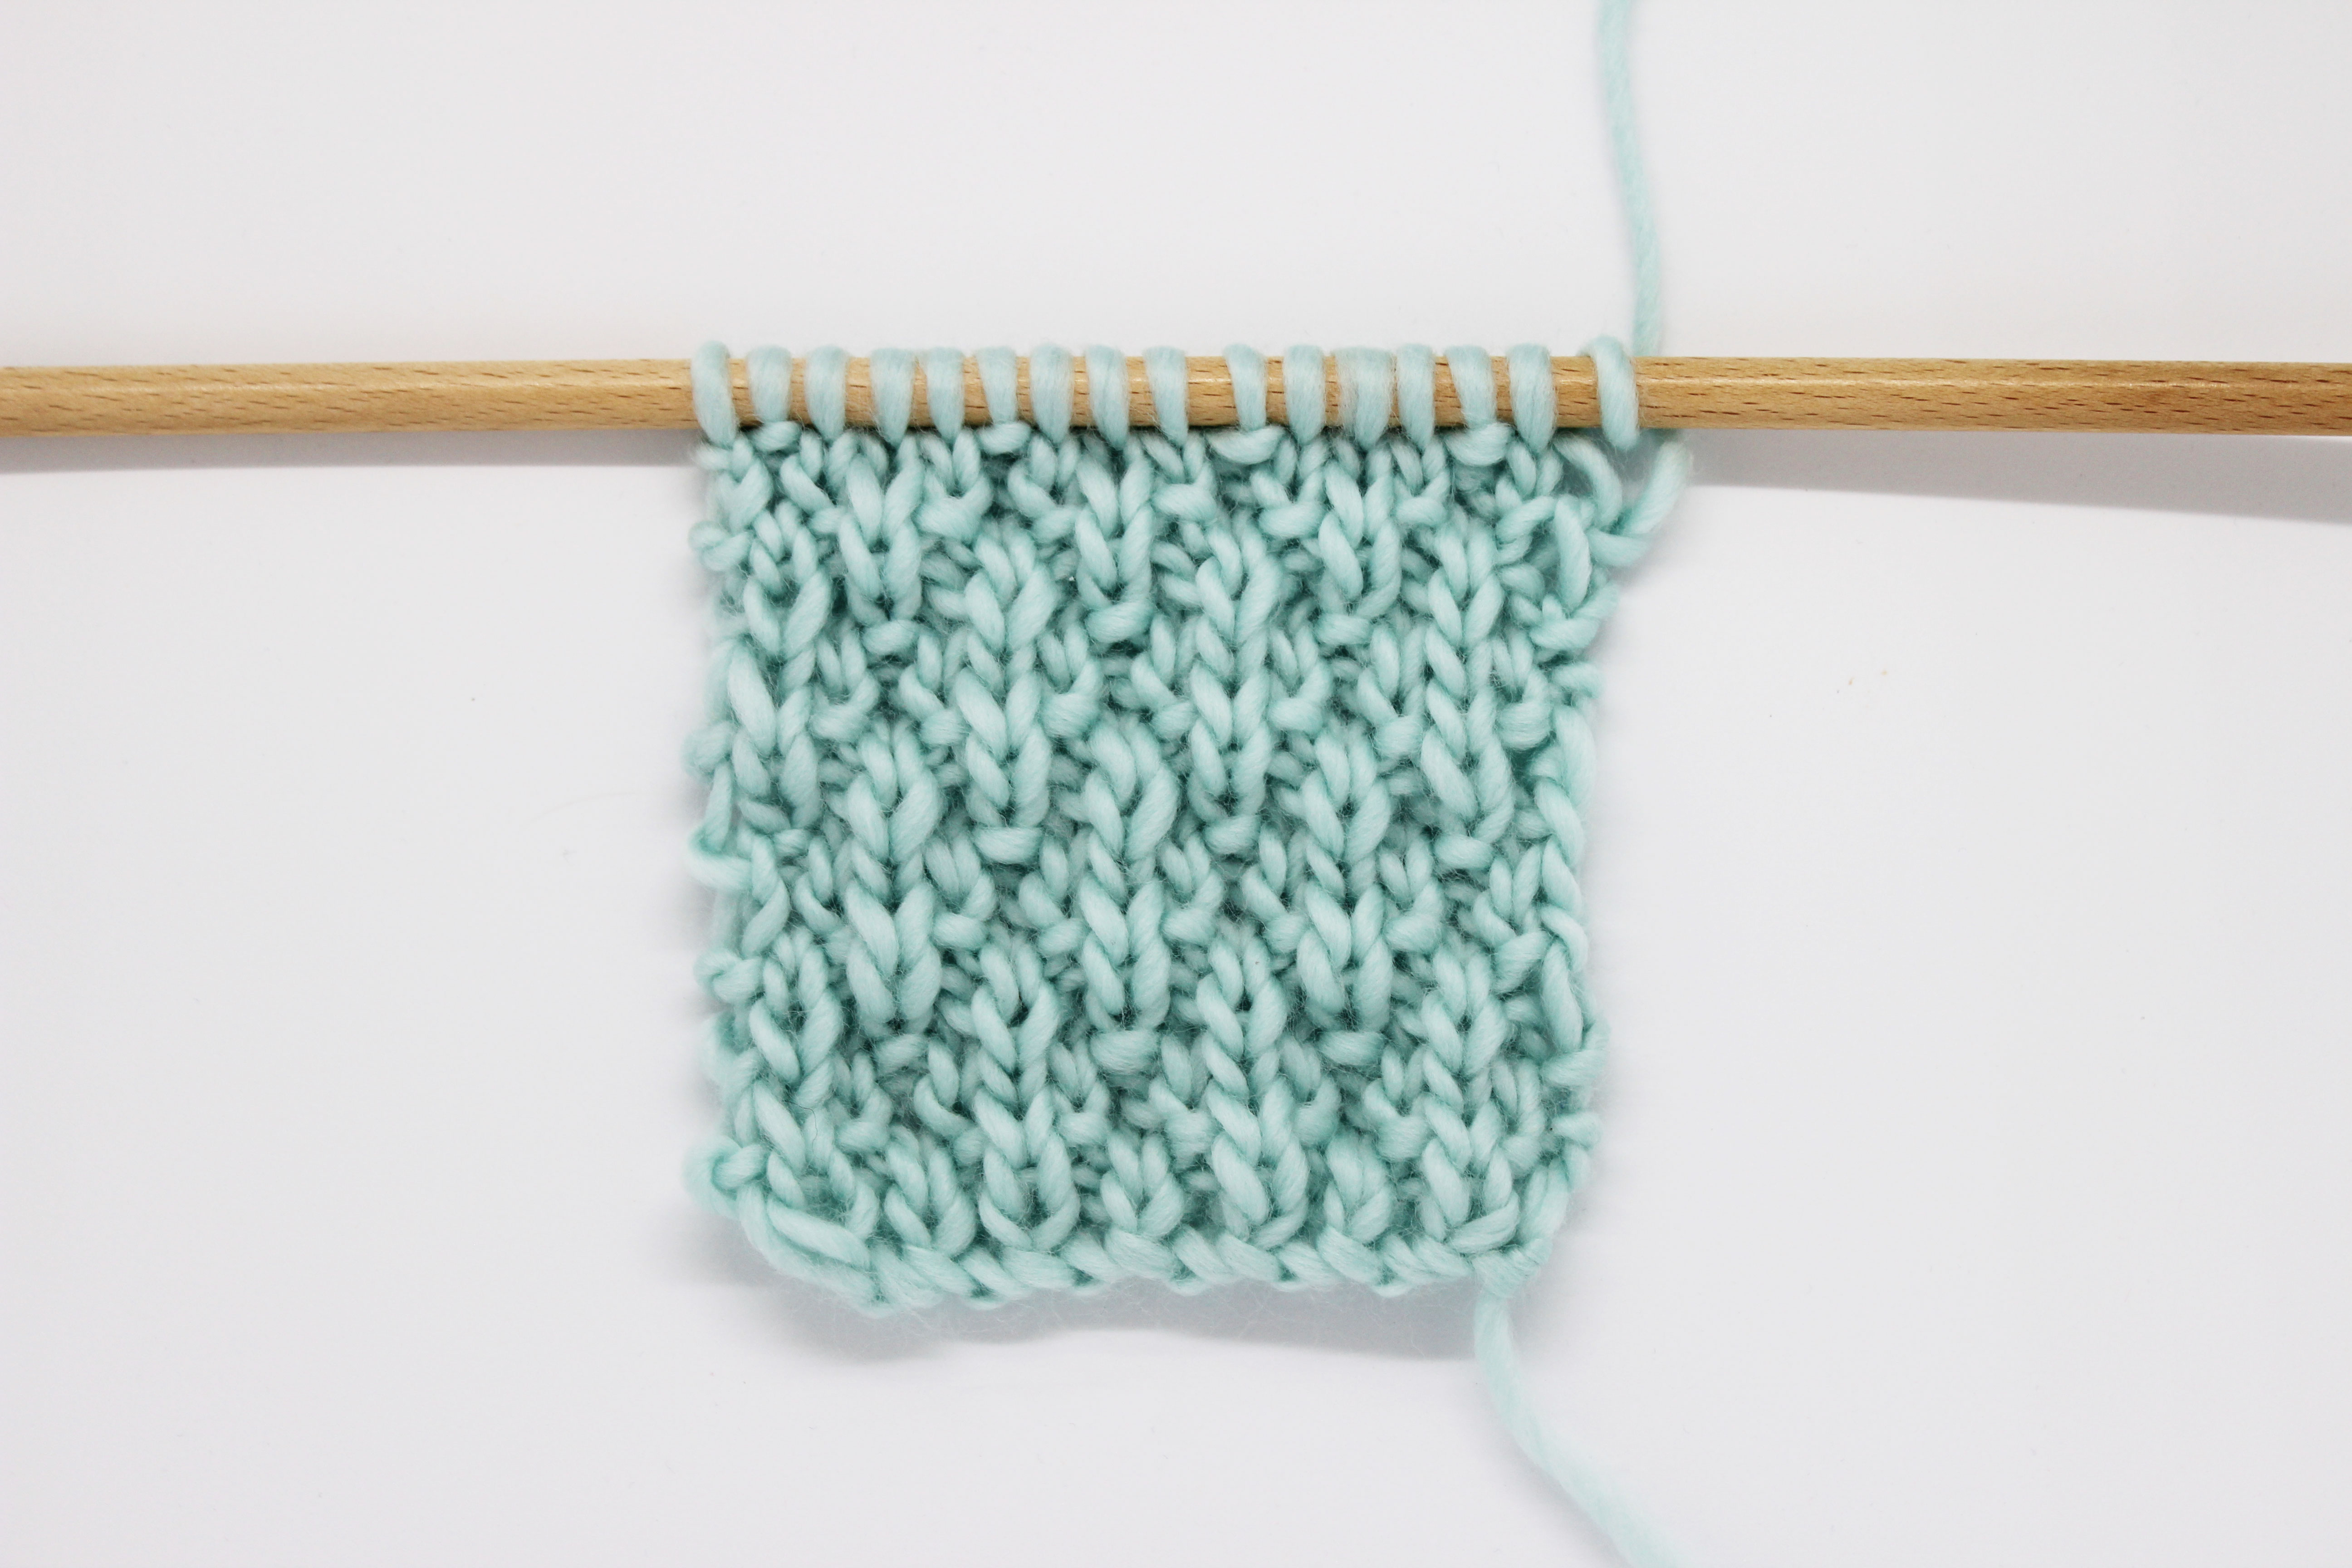
This variation of the traditional rib stitch gives a whole new touch to our projects. In order to knit it, all you have to do is to vary where you insert the needle using the thread behind each stitch. That way we obtain an elastic and reversible stitch with an aspect a little different from the traditional rib stitch as the stitches are a little twisted.
This stitch is a multiple of 4 + 2 extra stitches for the edge. It is reversible.
Row 1: Knit 1 stitch, *knit 2 stitches through the back loop (thread behind the stitch) and purl 2 stitches through the back loop (thread behind the stitch)*, repeat from * to * until you get to the last stitch and knit it.
Repeat this row in all the rows until you have reached the desired length.
As you can see you can completely change the look of a stitch just by changing the thread through which you knit the stitches. We assure you that the back-loop rib will change the elastic aspect of your project and that it will turn it into a true eye-catcher.
In the example we have used 100% Pima Cotton in light yellow (of course you can use whatever color you prefer) and 5 mm wooden needles.
Now, you can watch the video-tutorial:
[youtube http://www.youtube.com/watch?v=4YE-Ishdu1g]
No matter if you are an expert in this technique or if you have just started knitting it, you know we always love to see your creations. You can share them with us on Instagram with the hashtag #weareknitters.


