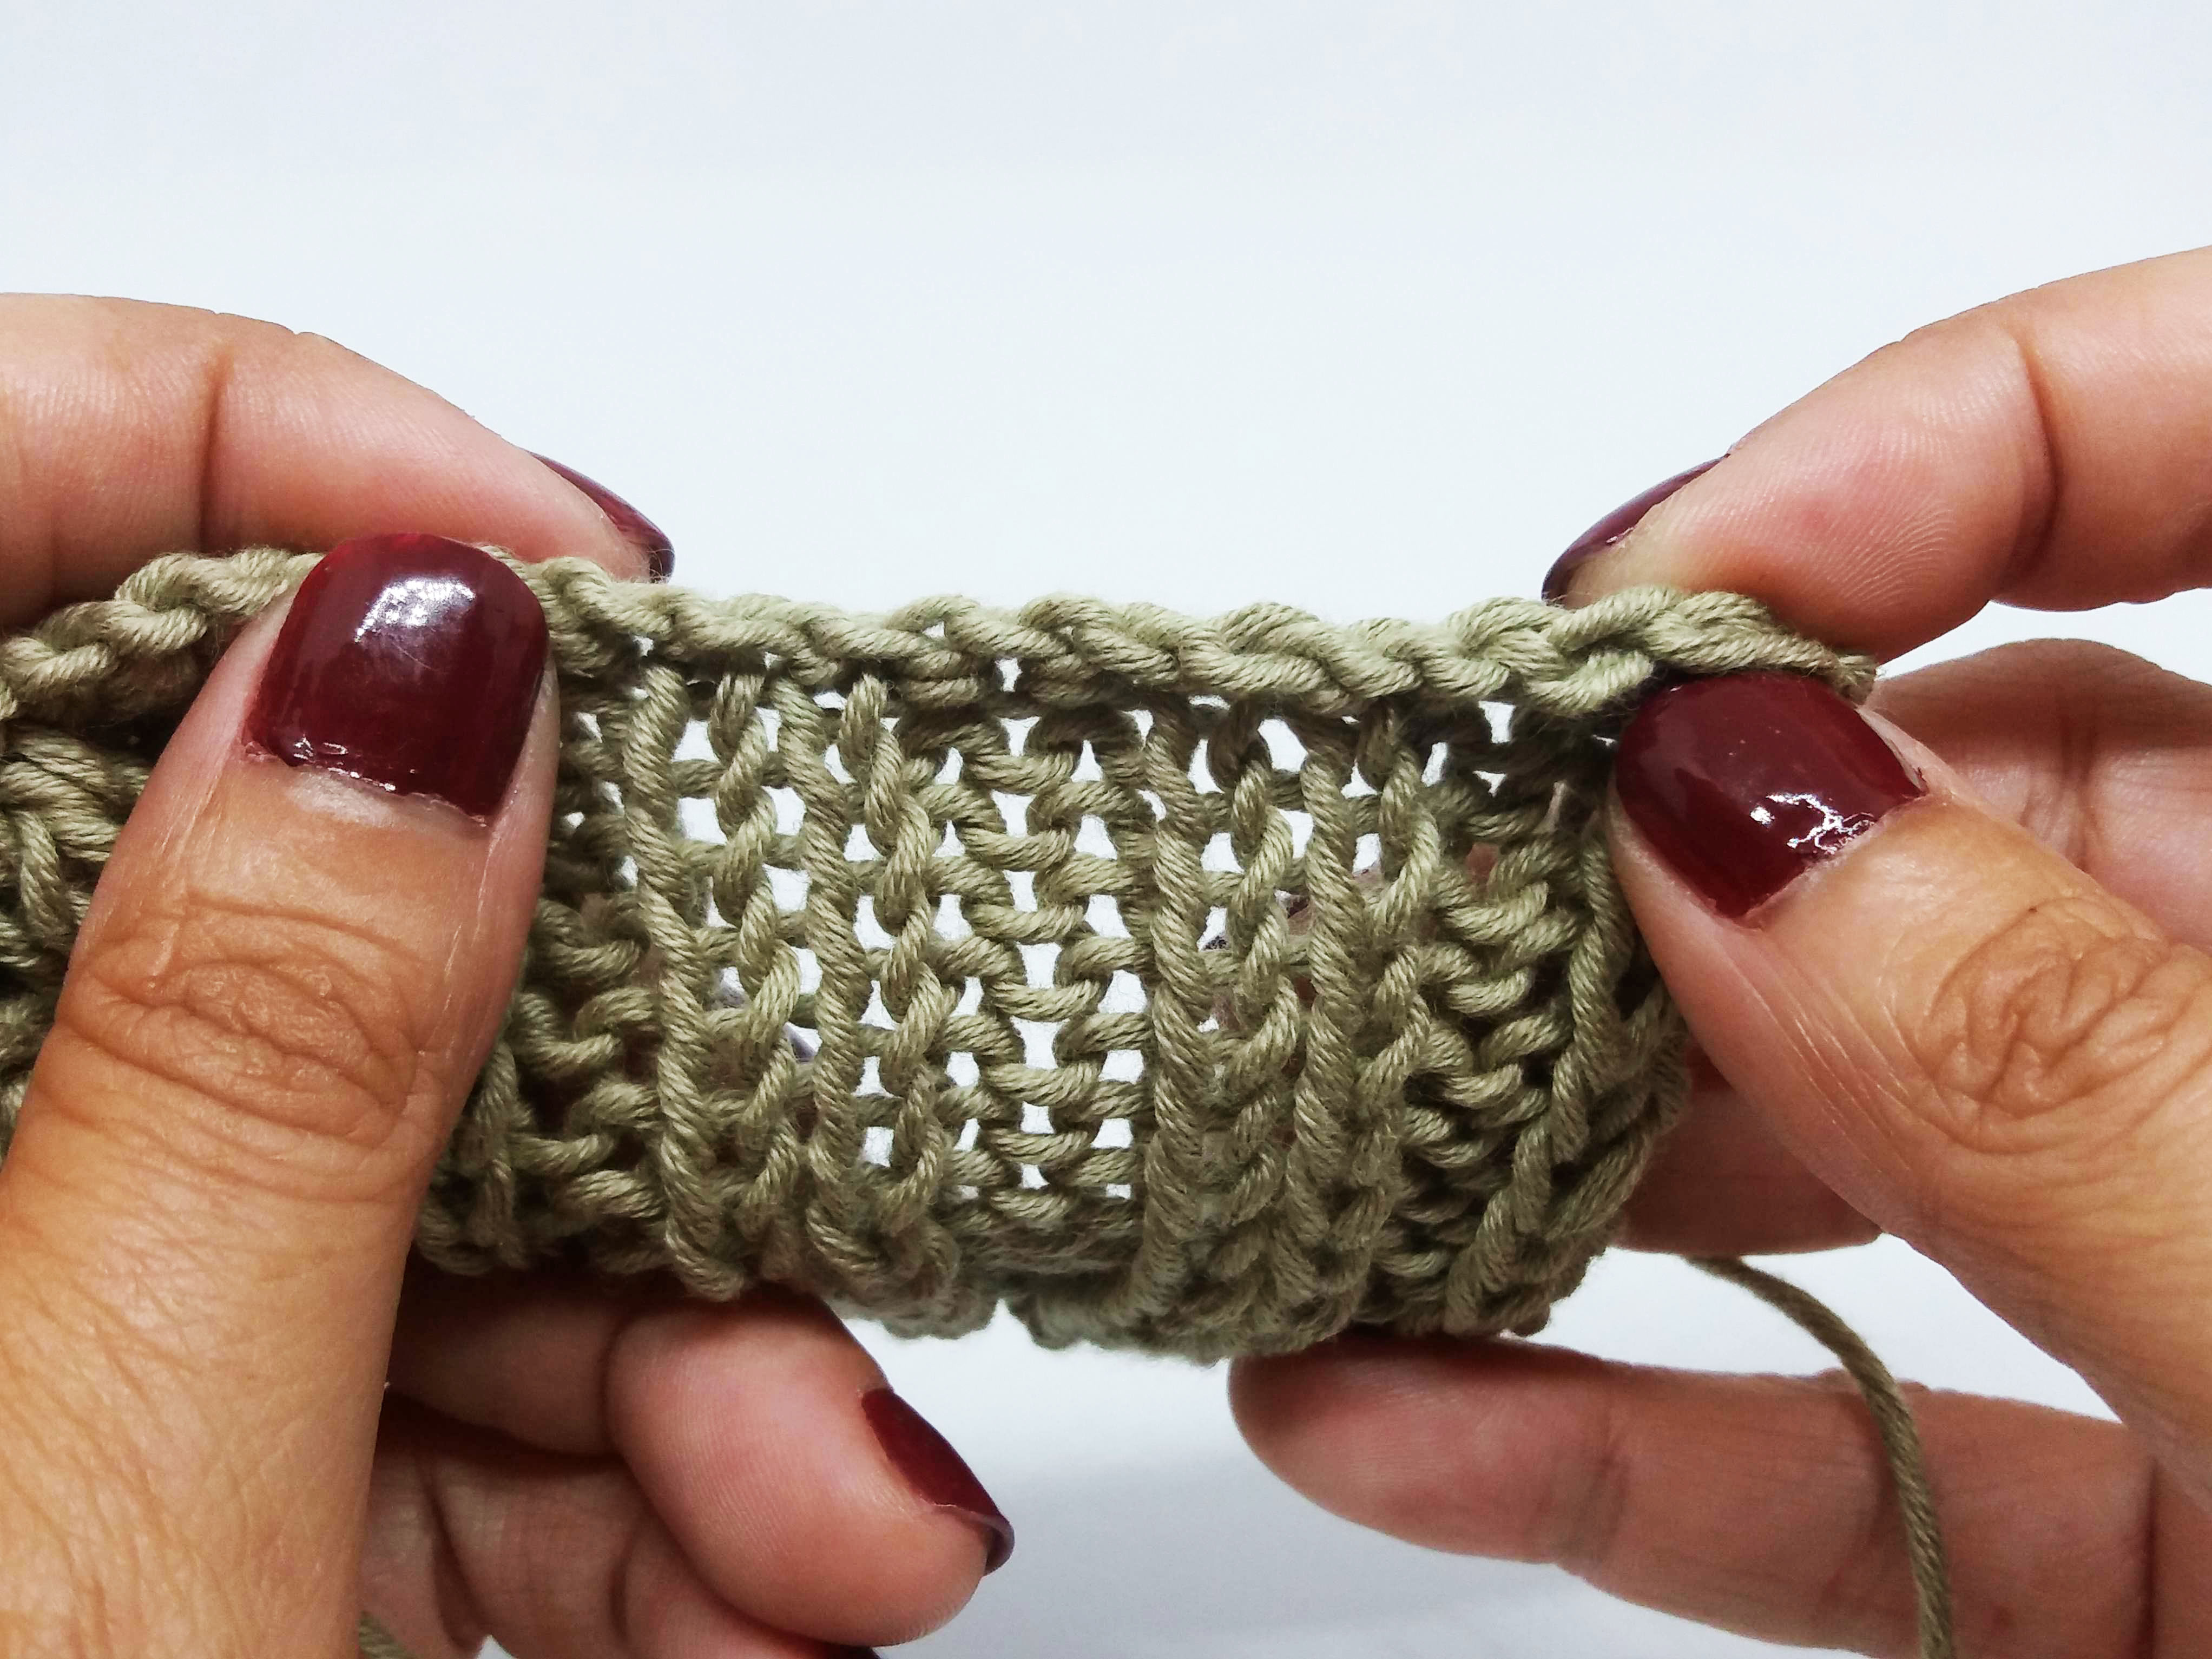
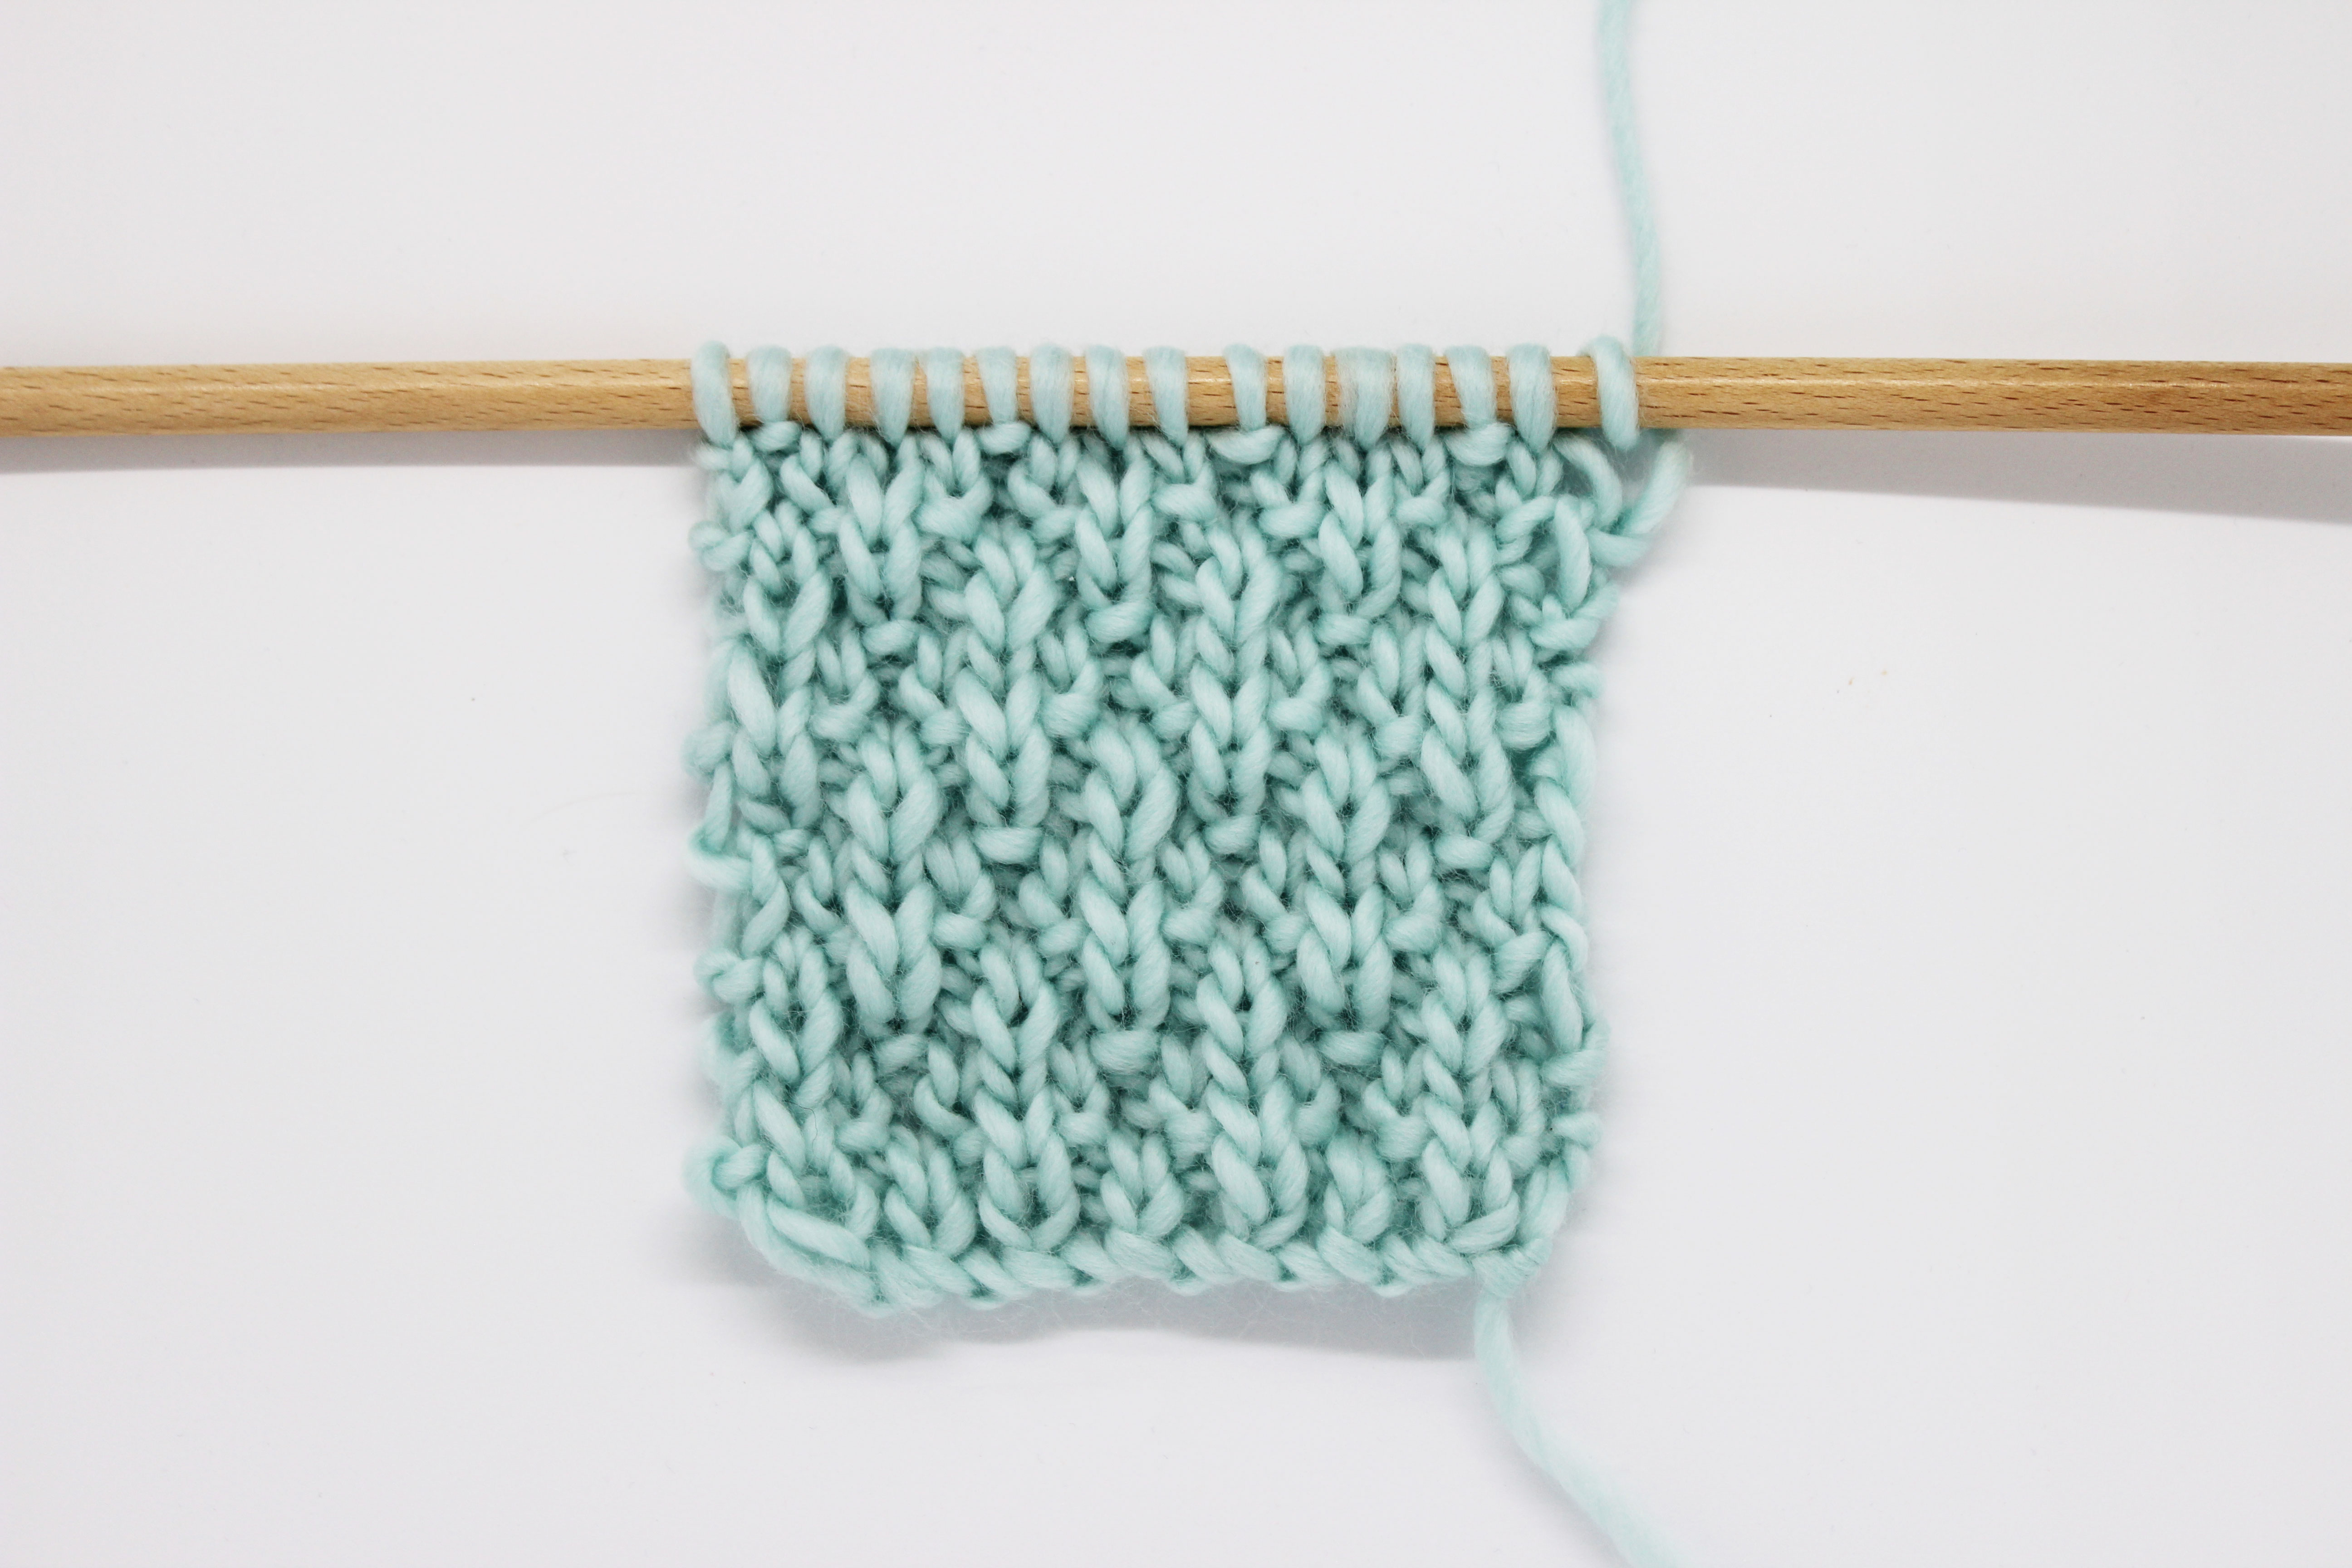
This very delicate stitch forms little flowers separated by vertical columns. Depending on your preference, you can use it on any of the sides. The flowers look exactly the same on the outside and on the inside while the background changes from stockinette stitch to reverse stockinette stitch, whatever you prefer! And the best thing is: it is knitted simply by knitting and purling stitches, so even though it looks quite complicated it is ideal for beginners who want to try out something new.

Watch the video here to follow the steps:
[youtube http://www.youtube.com/watch?v=TxWtdqxnUnQ]
You can use this stitch on either side even though it is not totally reversible. It is a multiple of 8 +7.
Row 1: knit 3 stitches, *purl 1 stitch, knit 3 stitches*, repeat from * to * until you have completed the row.
Row 2: purl 3 stitches, *knit 1 stitch, purl 3 stitches*, repeat from * to * until you have completed the row.
Row 3: knit 2 stitches, purl 1 stitch, knit 1 stitch, *purl 1 stitch and knit 2 stitches two times, purl 1 stitch, knit 1 stitch*, repeat from * to * until you only have 3 stitches left, purl one and knit the last 2 stitches.
Row 4: purl 2 stitches, knit 1 stitch, purl 1 stitch, *knit 1 stitch and purl 2 stitches two times, knit 1 stitch, purl 1 stitch*, repeat from * to * until you only have 3 stitches left, knit one and purl the last 2 stitches.
Row 5: knit 1 stitch, *purl 1 stitch, knit 1 stitch*, repeat from * to * until you have completed the row.
Row 6: purl 1 stitch, *knit 1 stitch, purl 1 stitch*, repeat from * to * until you have completed the row.
Row 7: like row 3.
Row 8: like row 4.
Row 9: like row 1.
Row 10: purl 3 stitches, *knit 1 stitch, purl 3 stitches*, repeat from * to * until you have completed the row.
Repeat these 10 rows until you have reached the desired length.
So, what do you like more, outside or inside?
In our example we have used the cotton in natural, but you can of course use any color you like and 5MM wooden needles.
Don’t forget to share your projects with us on Instagram with the hashtag #weareknitters!


