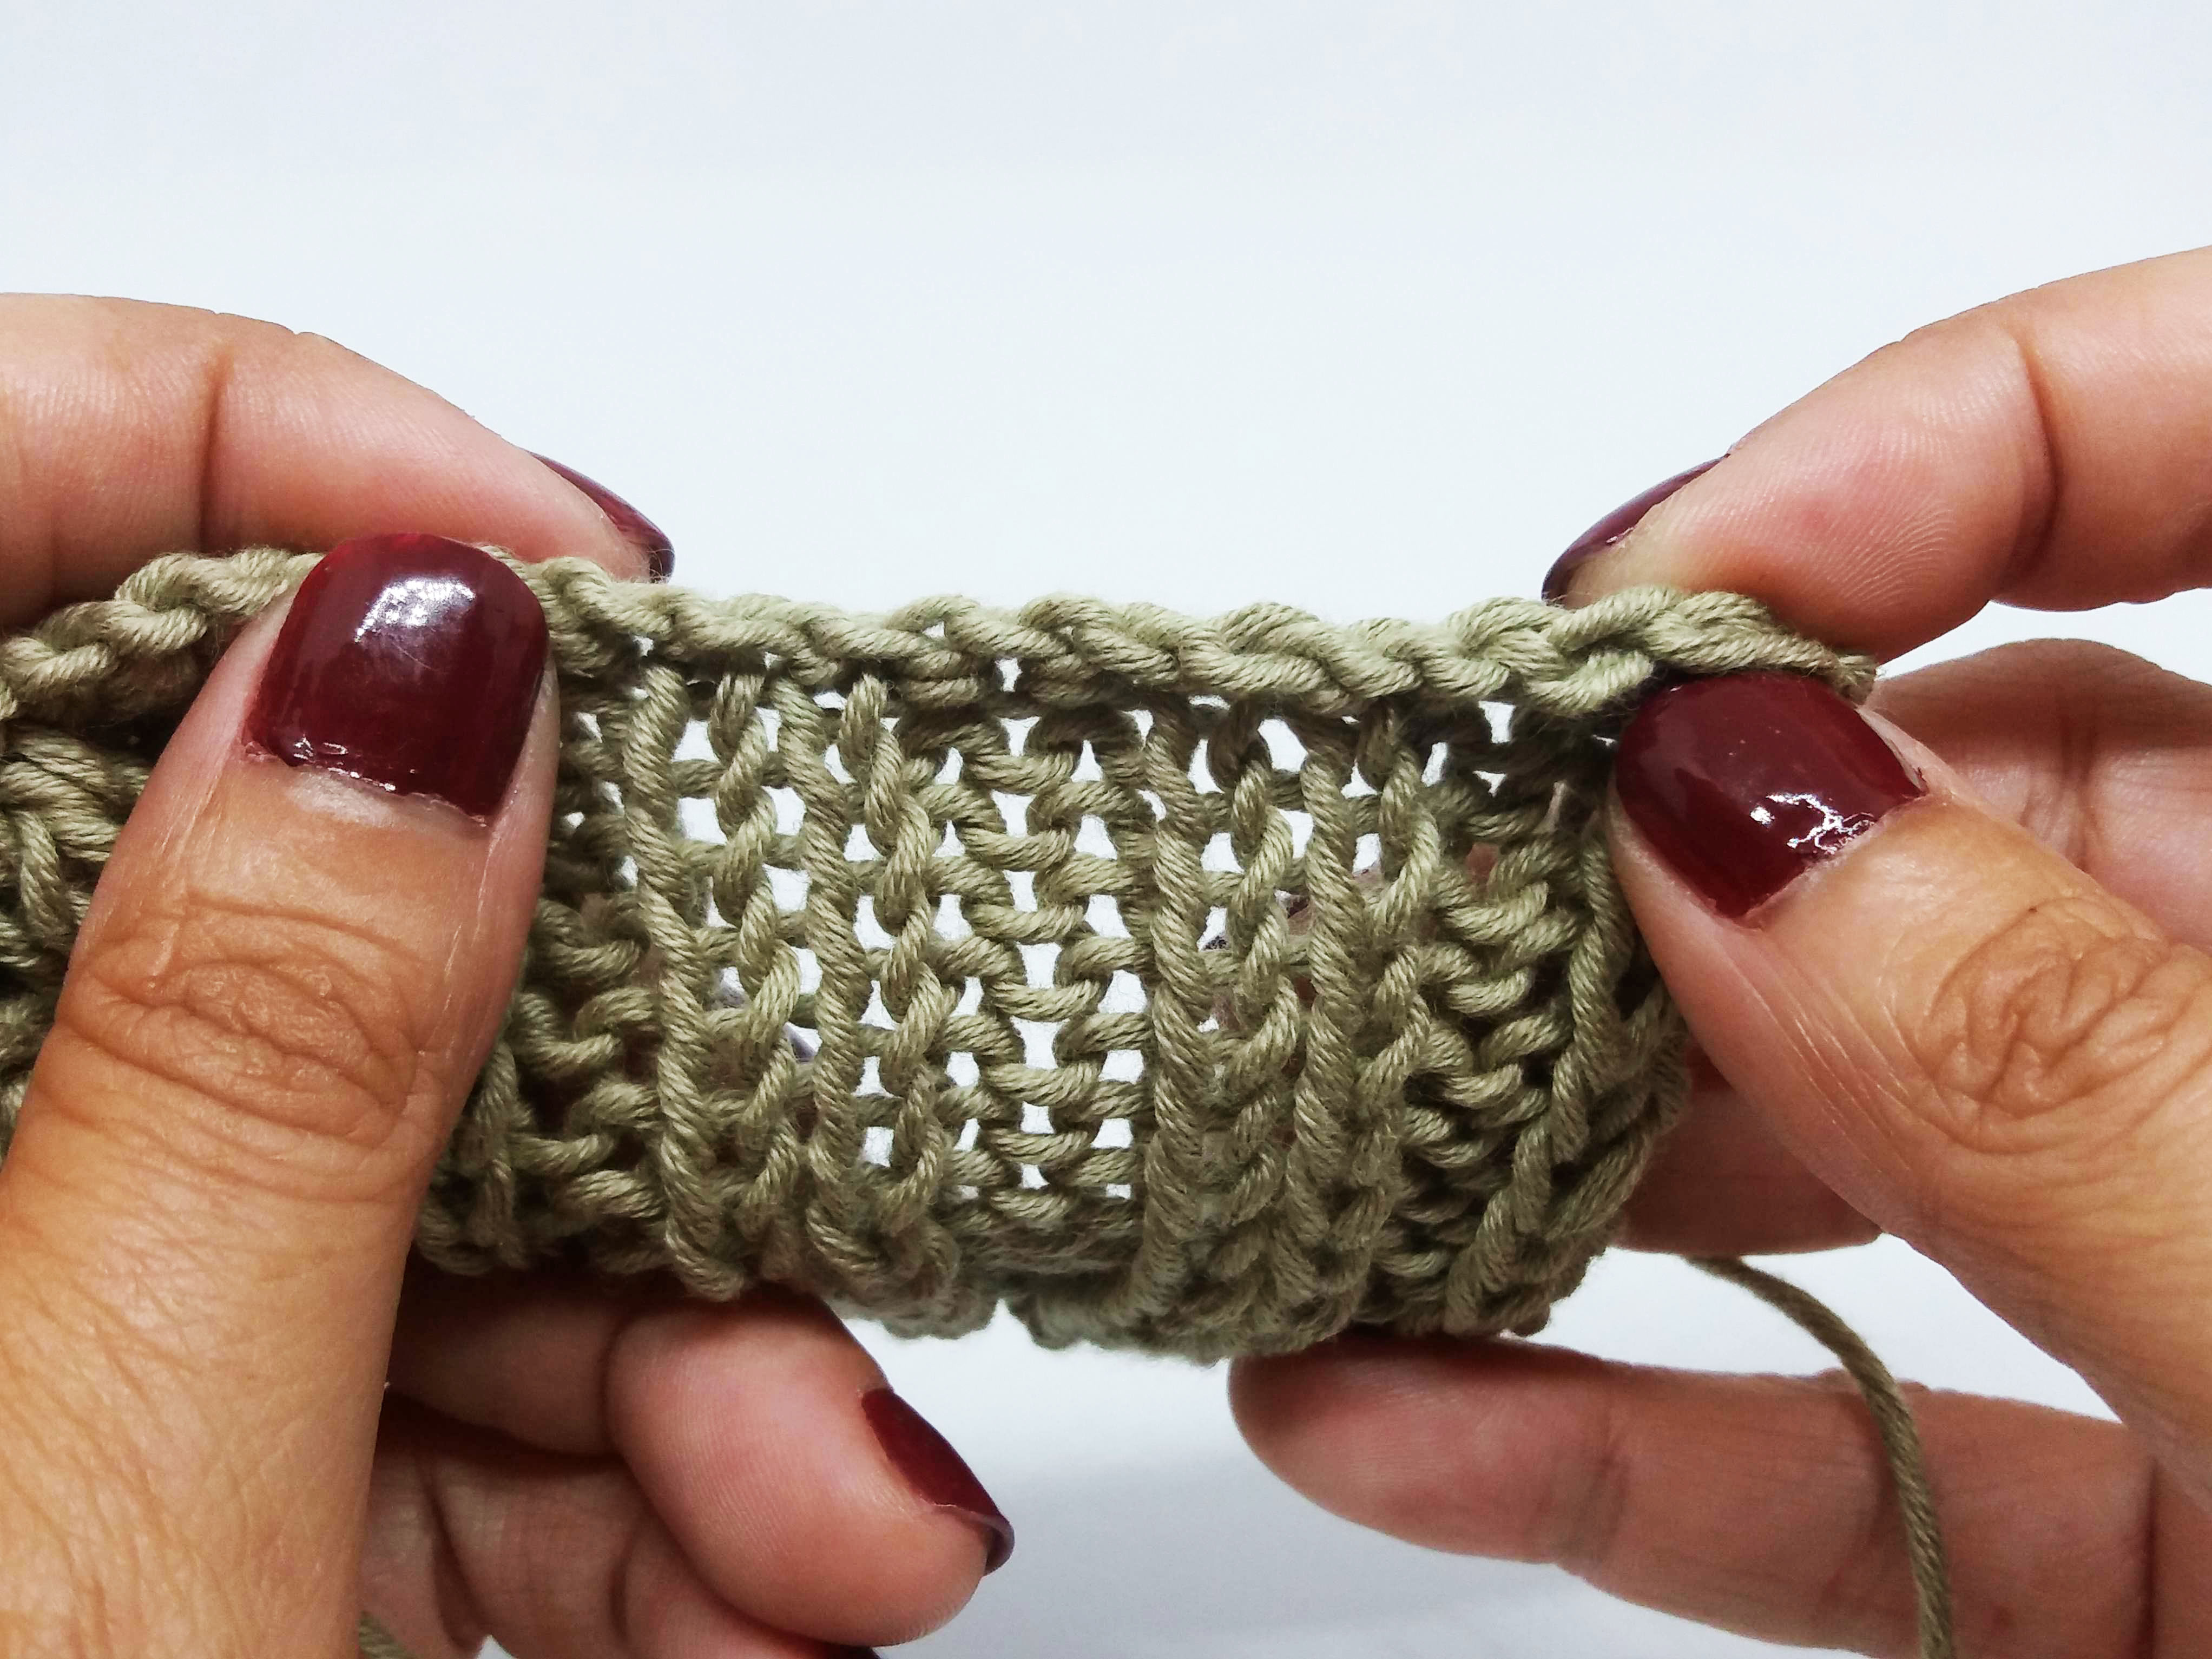
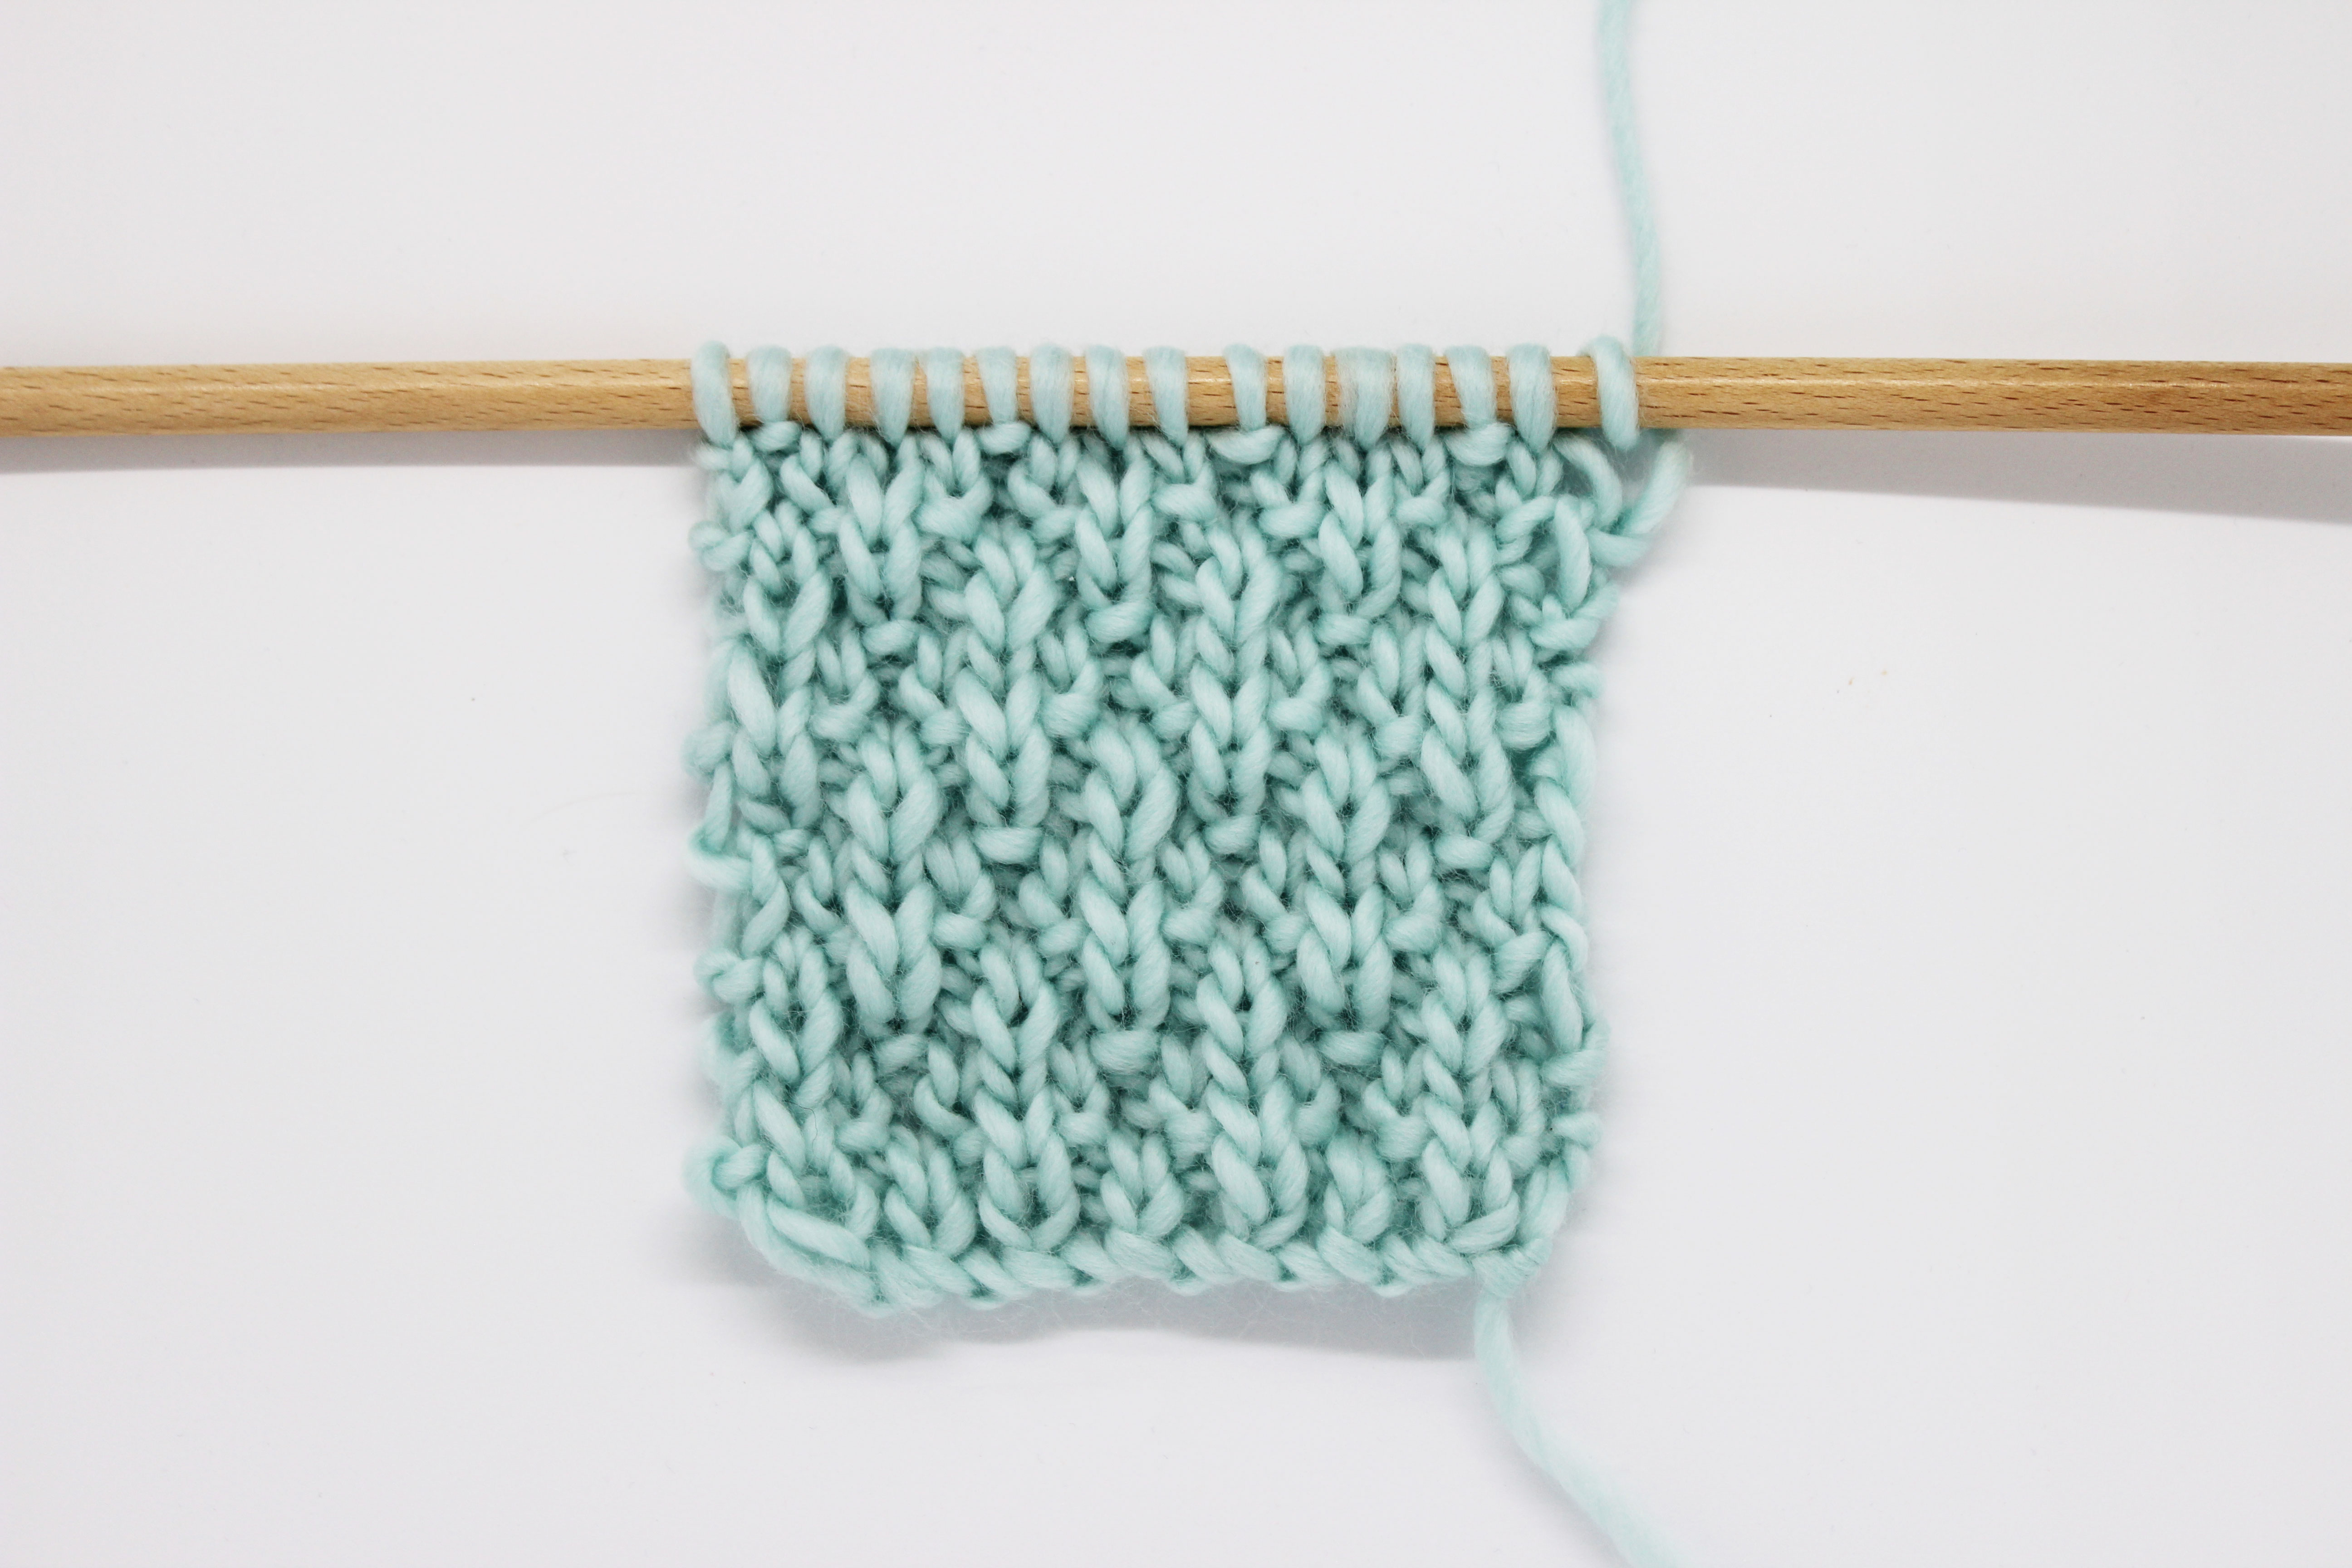
Ah, brioche stitch, it makes us swoon!
Haven’t you heard of it? It’s the trending stitch, you can knit it in one or two colors, whichever you prefer.
You can use it to make just about any accessory you can imagine. But, can you knit Brioche stitch on two needles?
Of course you can. Today we’re going to show you how:

Knit Brioche stitch on two needles
Materials required:
- 1 ball of petite wool, we’ll use yellow, we’ll call it Main Color (A)
- 1 ball of petite wool, we’ll use purple, we’ll call it Contrast Color (B)
- A pair of US size 11 knitting needles
Cast on an odd number of stitches onto one of the needles. (Cast on using A)
Row 1: Knit the first stitch with color B. Bring the yarn to the front of your work and slip the next stitch.
Now, wrap the yarn from the ball of yarn over the stitch you just slipped, the yarn will lay over the slipped stitch.
Repeat the same pattern for the whole row: knit 1 stitch, bring the yarn to the front, slip the next stitch, and wrap the yarn over the slipped stitch.
At the end of the row, slip all stitches from one needle to the other, in the same order.
Row 2: With color A, knit the first stitch, purl together the next stitch with the wrapped yarn. Bring the yarn to the front and slip the next stitch.
Now, wrap the yarn from the ball of yarn over the stitch you just slipped, the yarn will lay over the slipped stitch.
Repeat the same pattern for the whole row: purl together the next stitch with the wrapped yarn from the previous row, bring the yarn to the front, slip the next stitch and wrap the yarn over the slipped stitch. Turn your work.
Row 3: With color B, slip the first stitch, *slip the next stitch, bring the yarn to the front, and wrap the yarn over the needle.
Purl together the next stitch with the wrapped yarn from the previous row*. Repeat from * to * until the end of the row and knit the last stitch.
At the end of the row, slip all stitches from one needle to the other, in the same order.
With color A, slip the first stitch, *knit together the next stitch and the wrapped yarn. Bring the yarn to the front and slip the next stitch.
Now, wrap the yarn from the ball of yarn over the stitch you just slipped, the yarn will lay over the slipped stitch*. Repeat from * to * until the last stitch and knit it. Turn your work.
Row 4: With color B, slip the first stitch, *slip the next stitch, bring the yarn to the front and wrap the yarn over the needle.
Knit together the next stitch and the wrapped yarn from the previous row*. Repeat from * to * until the end of the row and knit the last stitch.
At the end of the row, slip all stitches from one needle to the other, in the same order.
With color A, slip the first stitch, *purl together the next stitch and the wrapped yarn. Bring the yarn to the front and slip the next stitch.
Now, wrap the yarn from the ball of yarn over the stitch you just slipped, the yarn will lay over the slipped stitch*. Repeat from * to * until the last stitch and knit it. Turn your work.
Repeat rows 3 and 4 until you have the desired length.
To bind off in brioche stitch, we’ll do it in the usual manner, but only using color A.
Here is a tutorial video to learn how to do two color brioche stitch on two needles step by step:
What do you think? It could be a fun way to add a second color in the ribbing of a sweater and use up yarn from your stash. What would you make with brioche stitch?
Our petite wool is perfect for knitting brioche stitch and is available and lots of colors.
Don’t forget to share your photos with us and the whole WAK community on Instagram using hashtag #weareknitters 🙂


10 comments
Wouldn’t just be easier to do this on DPNs?
if that’s what you would prefer 😉
I don’t see the link for the tutorial video….
here you go: https://www.youtube.com/watch?v=BTlnZdJuN6A 🙂
Thank you. This is so helpful
you are welcome!
Where is the link mentioned above to the video demonstration of this?
here you go: https://www.youtube.com/watch?v=BTlnZdJuN6A
Is there a pattern for this? Is it a scarf or something?….I don’t want to buy yarn without knowing what it is for….It looks like the tutorial will make a scarf if I continue…Correct?
hi!
thanks for your question! the purple and yellow image that you see in this post is just a sample so that we could show you the technique – there isn’t necessarily a full “pattern” that accompanies it.
however, if you were to continue using brioche stitch for long enough, eventually you would have something scarf like!