There are easy techniques that are very versatile when finishing your garments. The technique we will teach you today is one of them: how to seam garter stitch facing different directions. You’ll be able to apply it when you have to join sleeves or other pieces of your garment when you want them to have a different texture or finish.
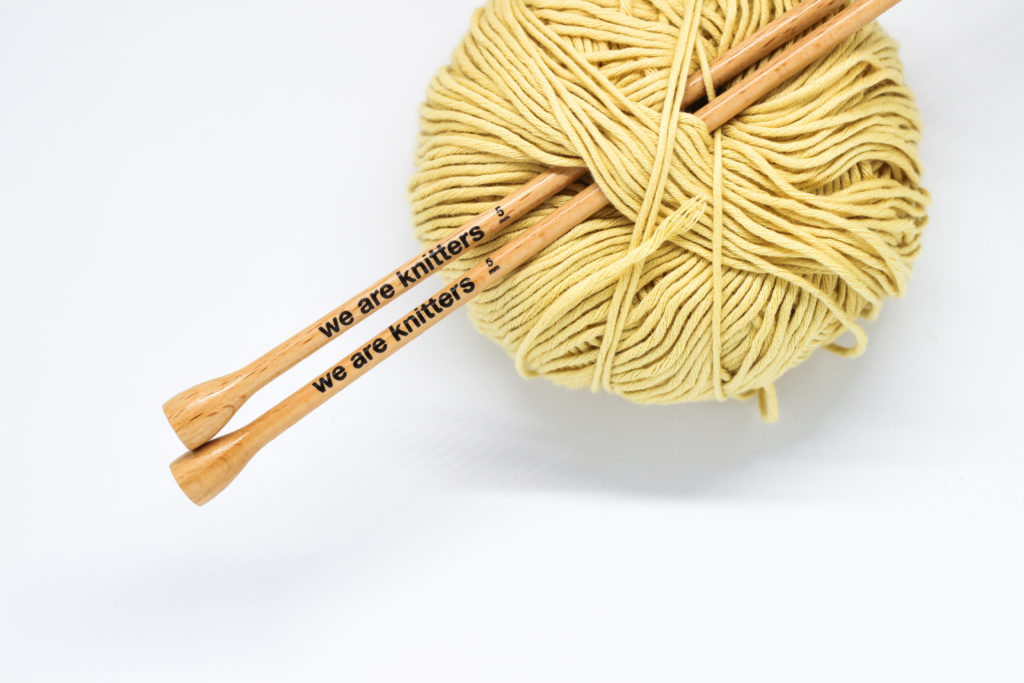
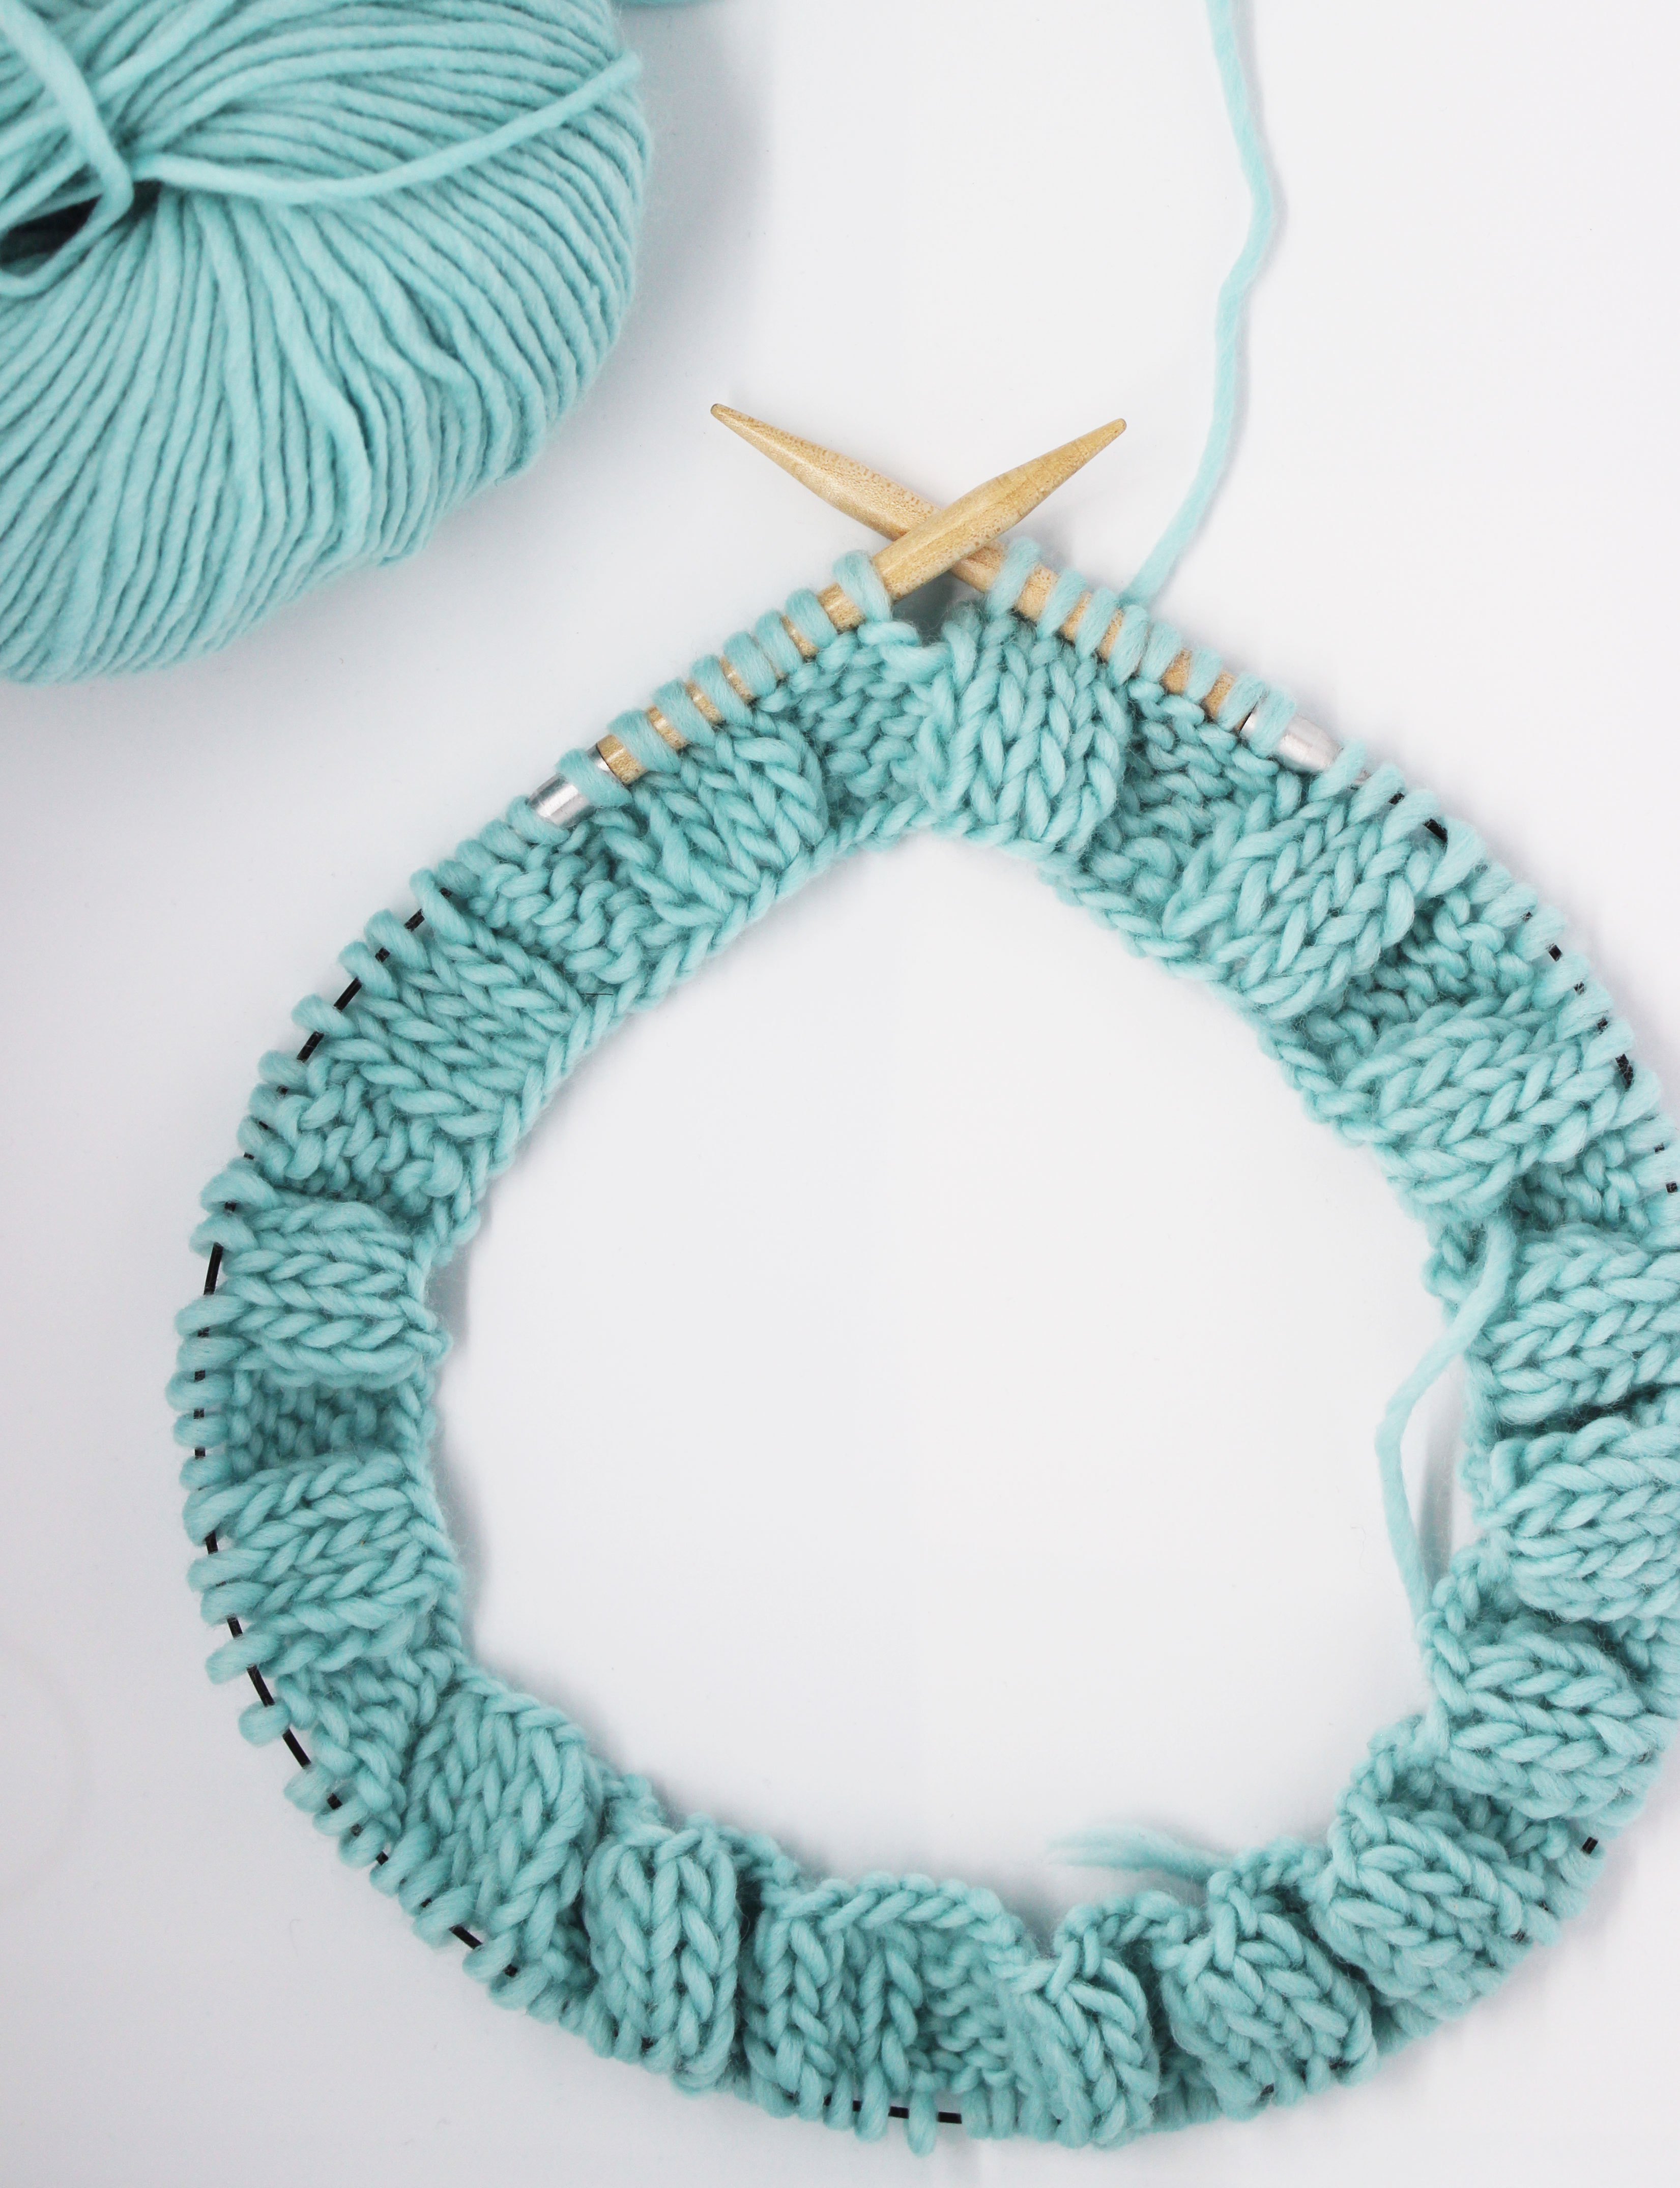
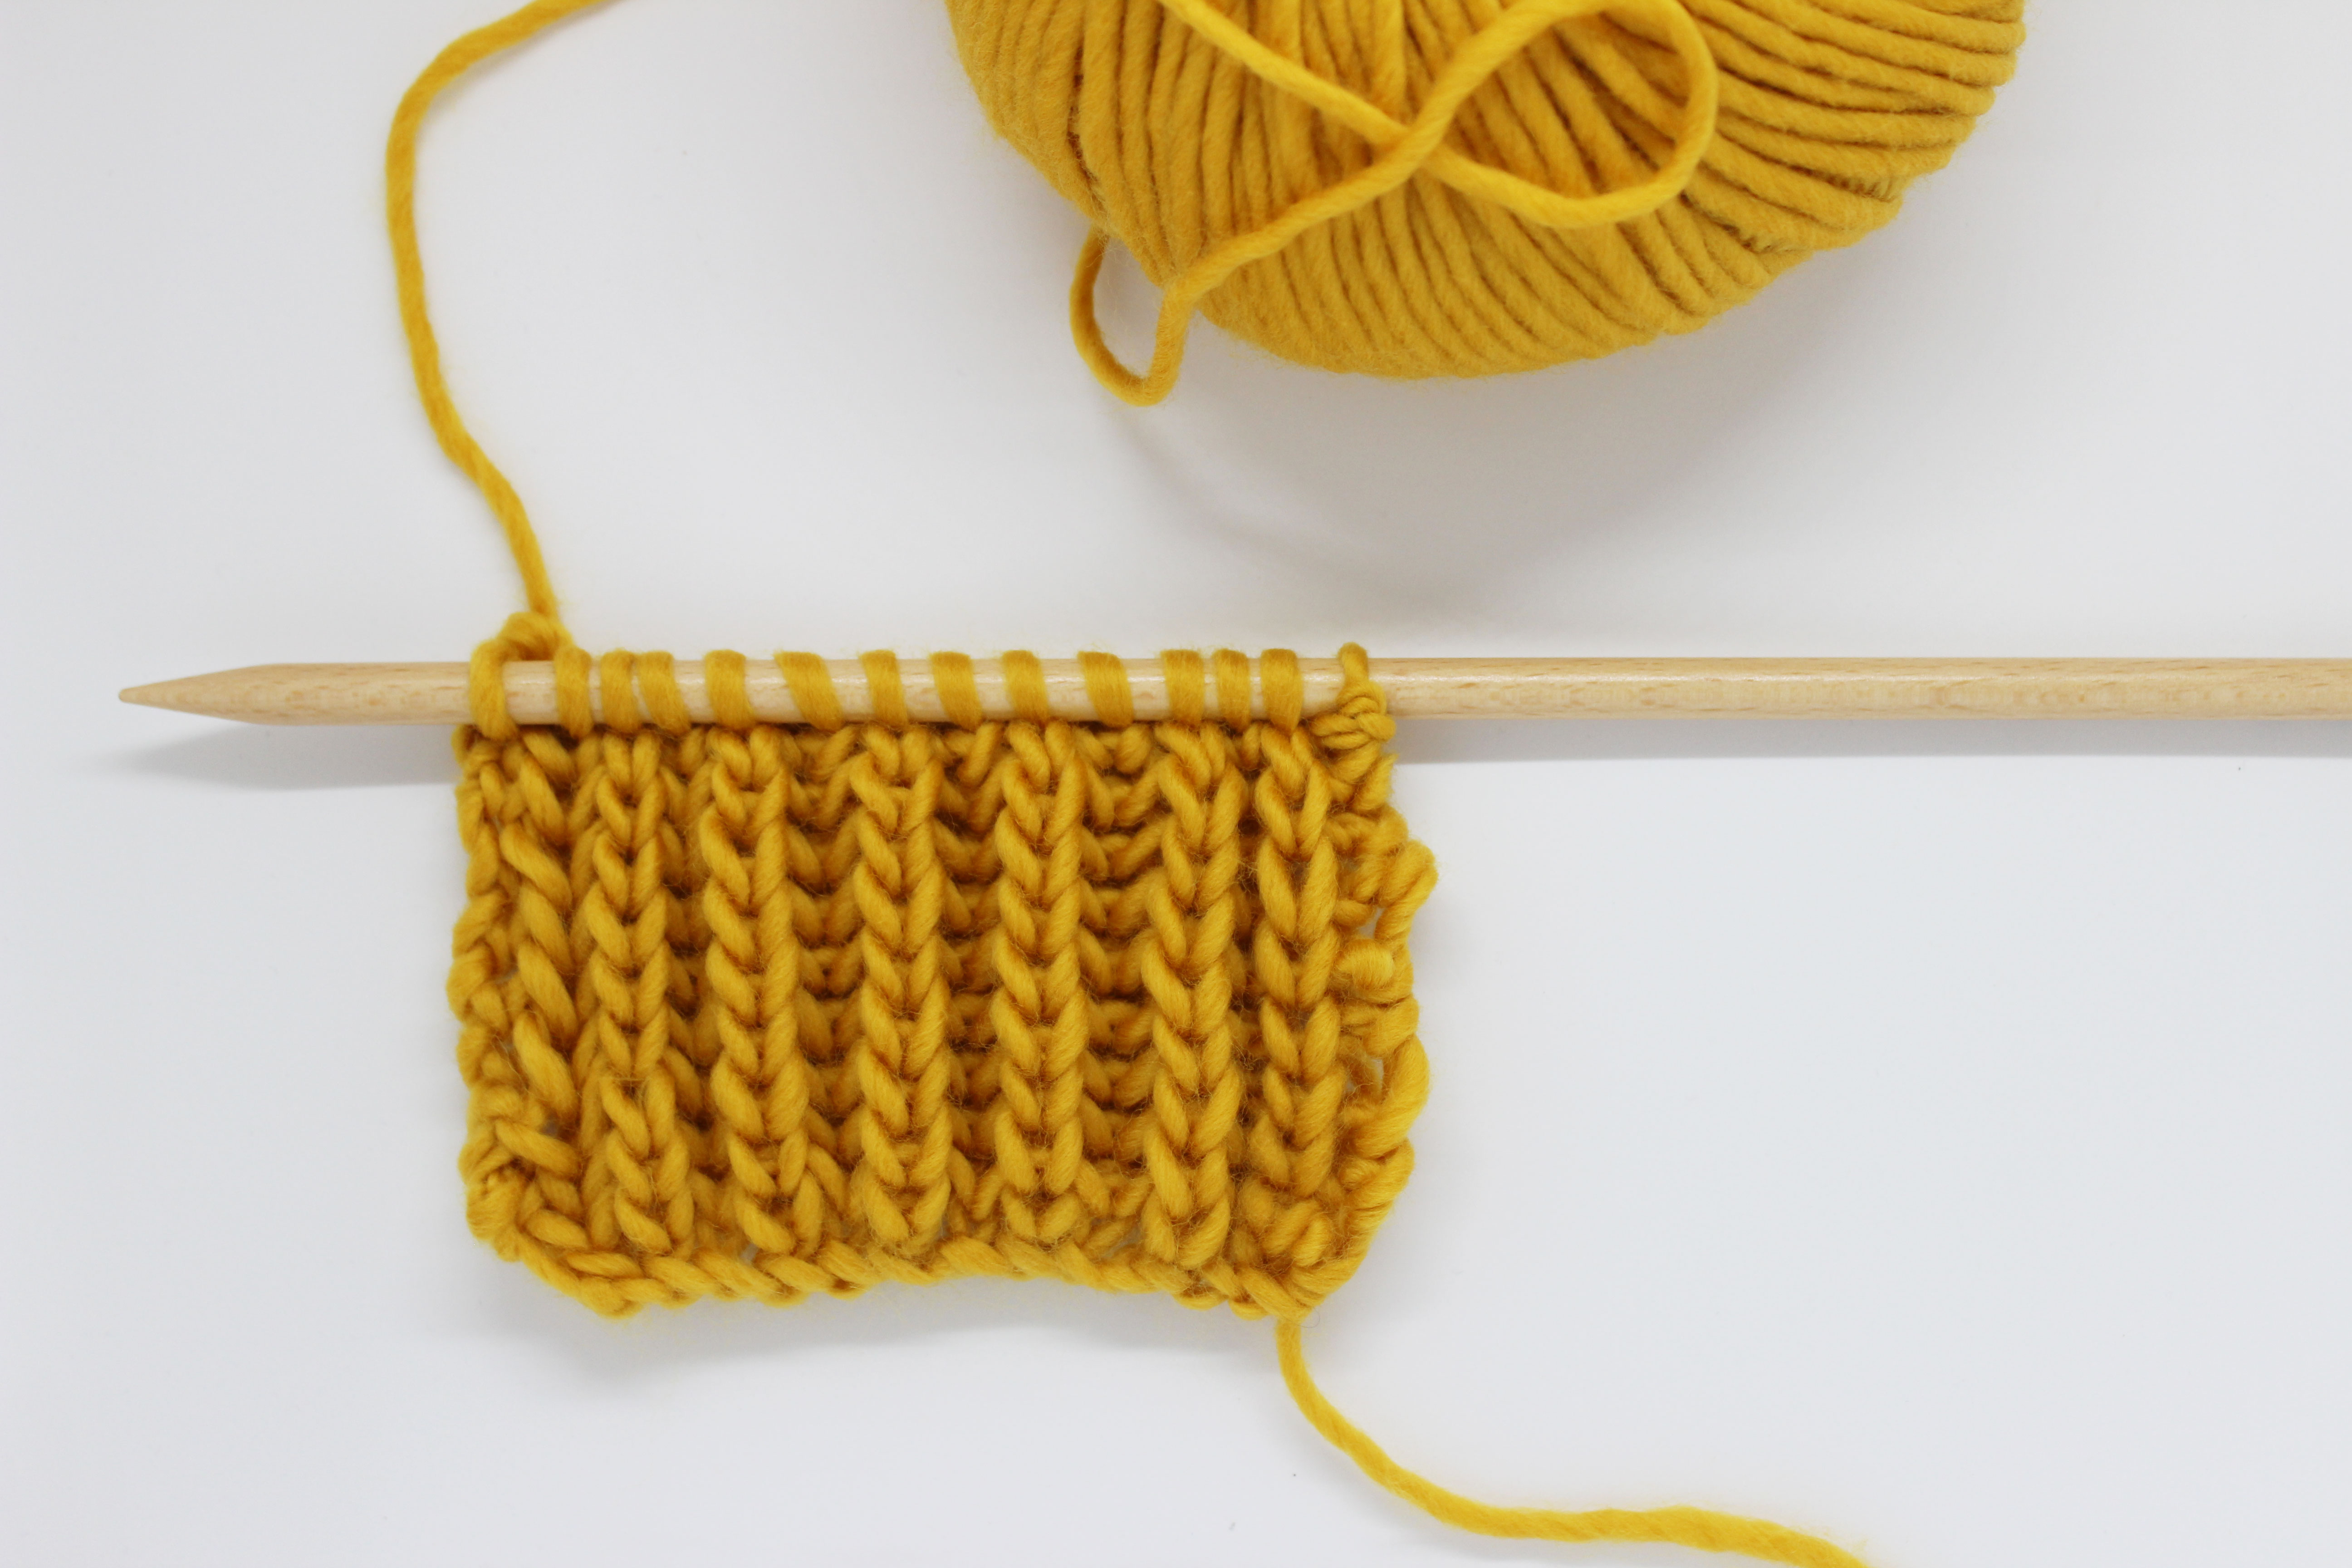
For this step-by-step we will use one of our Pima cotton skeins and beechwood knitting needles in size US 8 (5 mm).
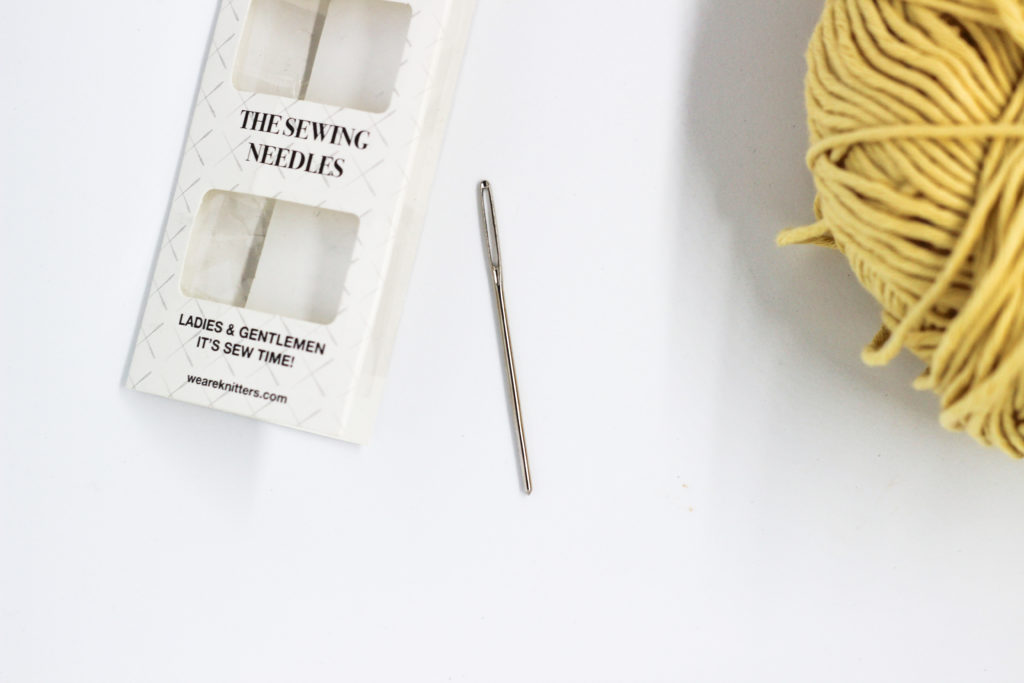
We will also need a tapestry needle in order to make the seam.
Let’s begin!
PART 1: PREPARING THE SEAM
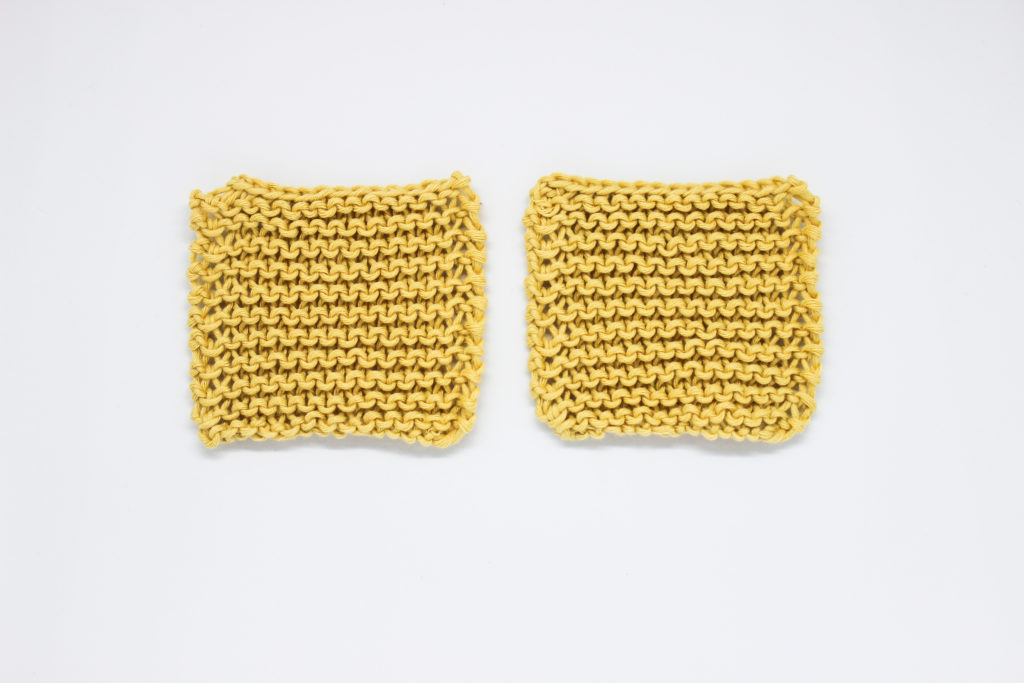
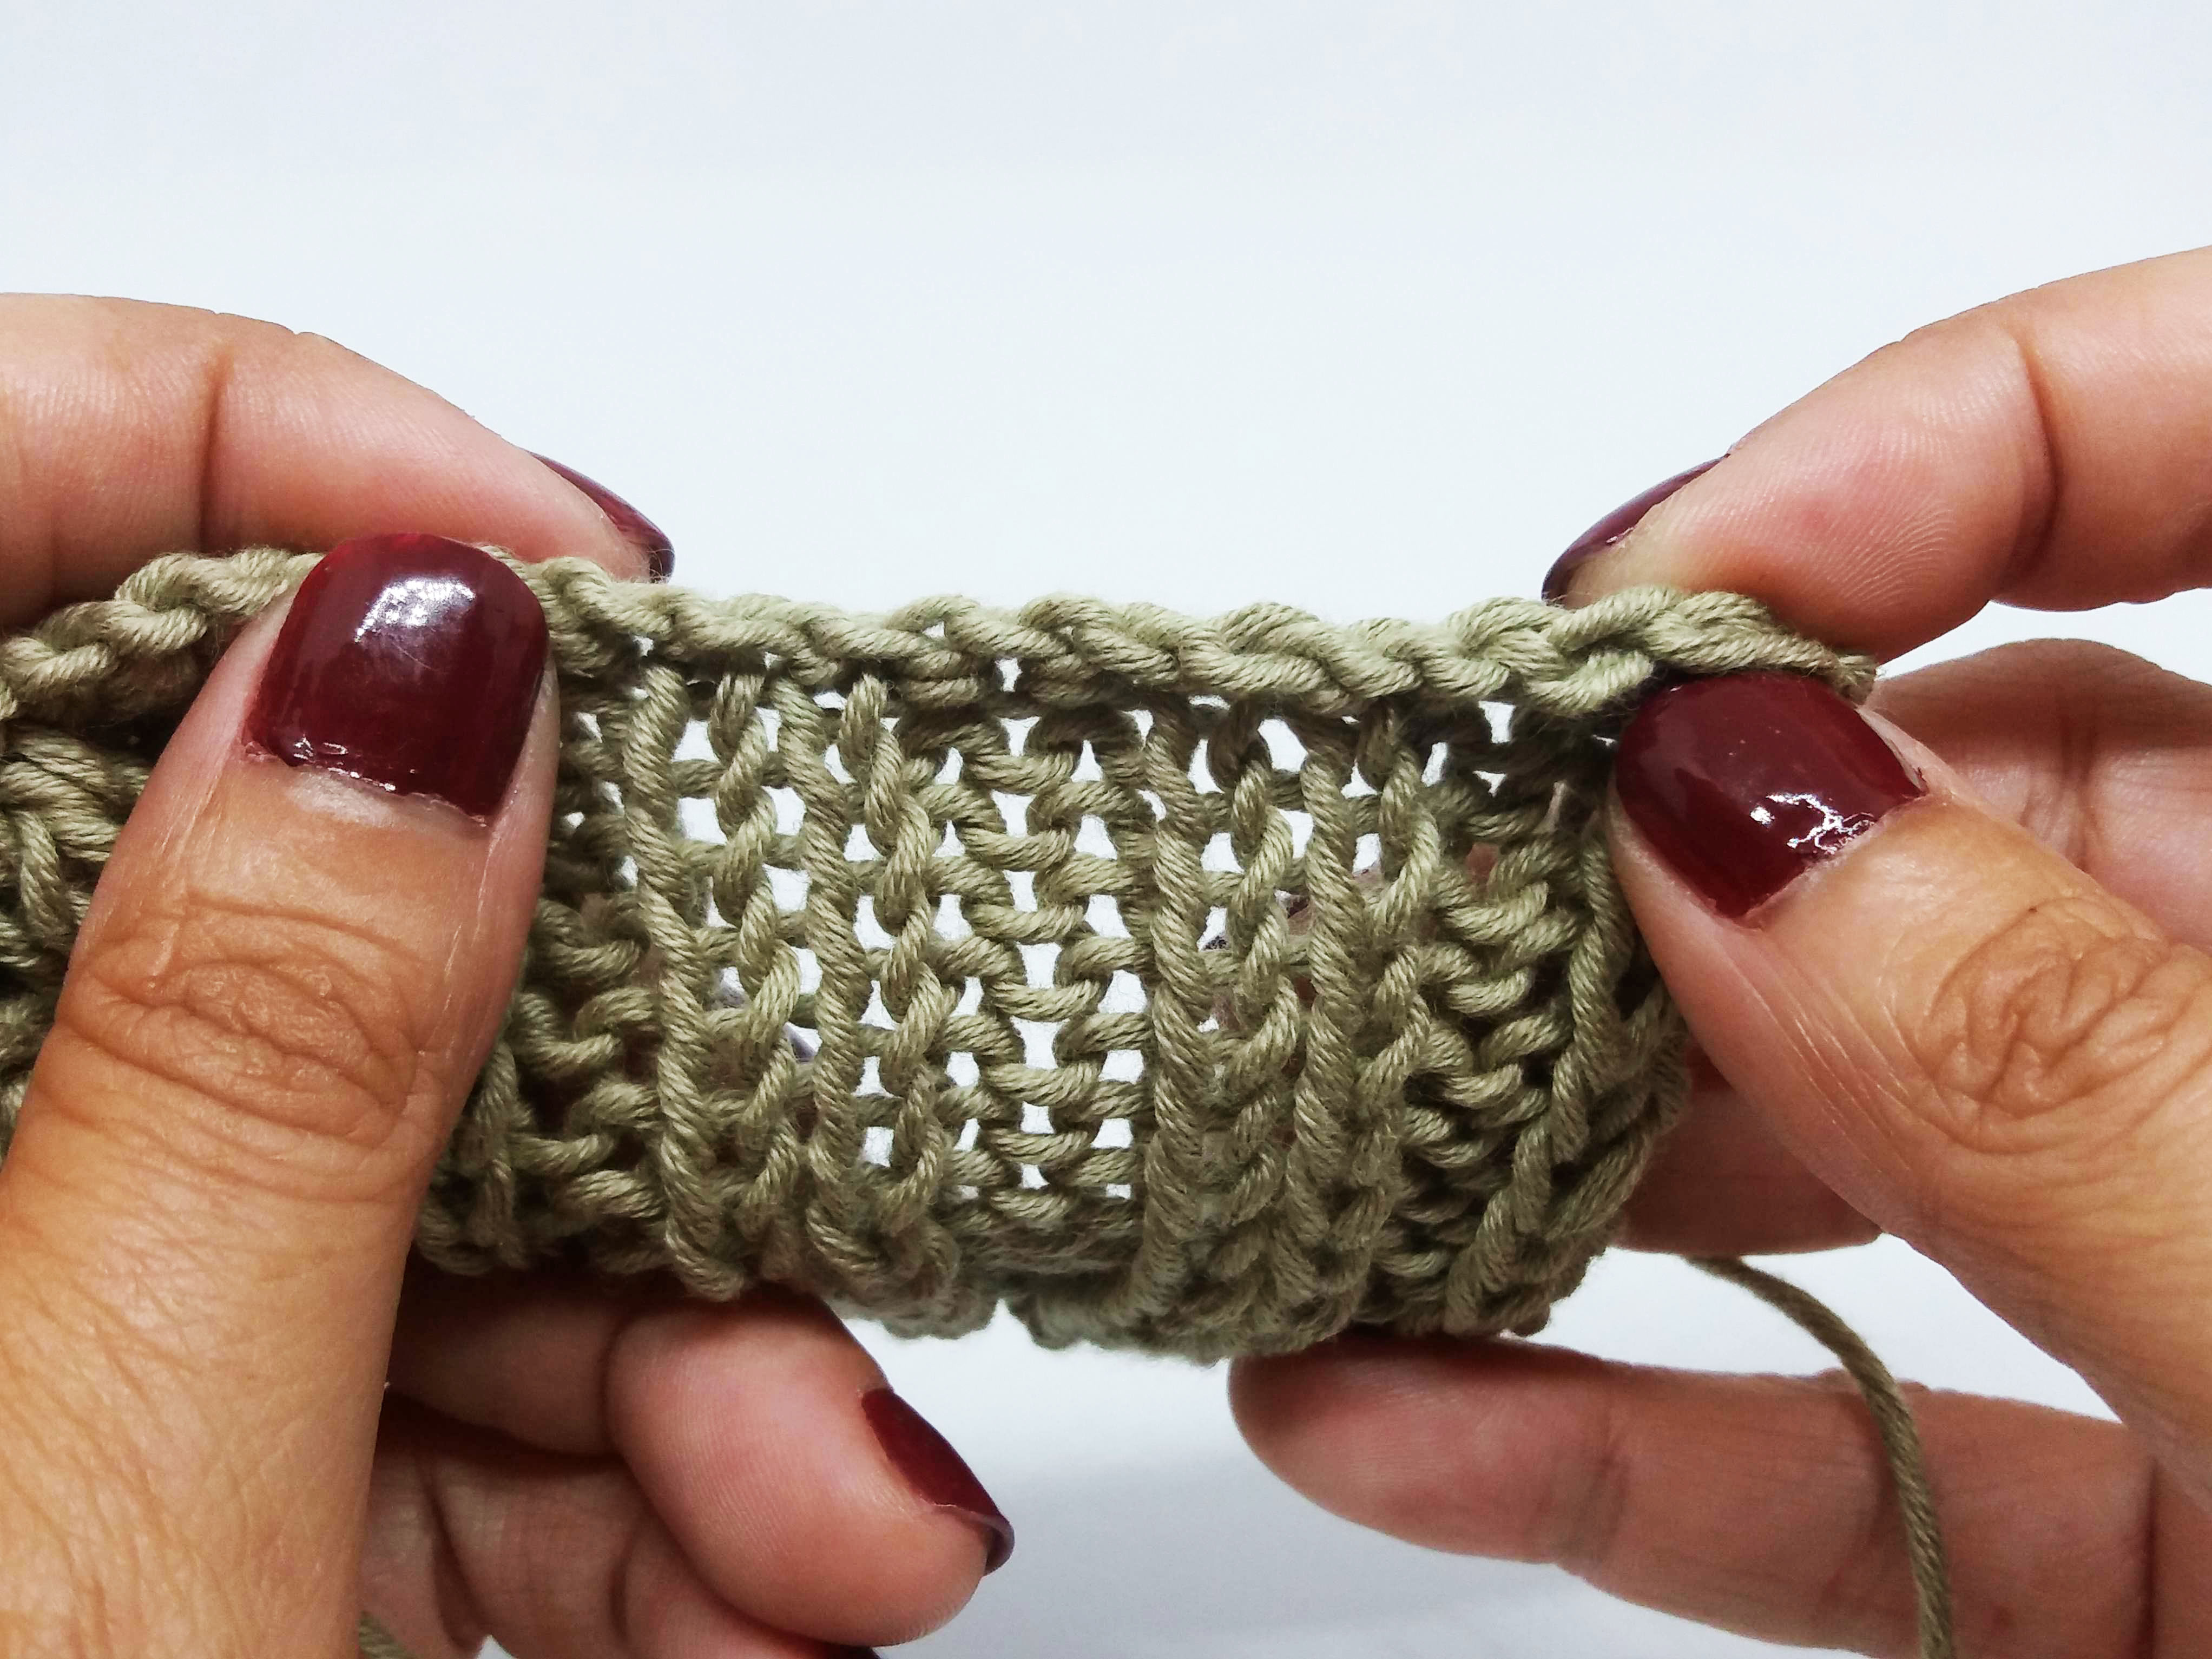
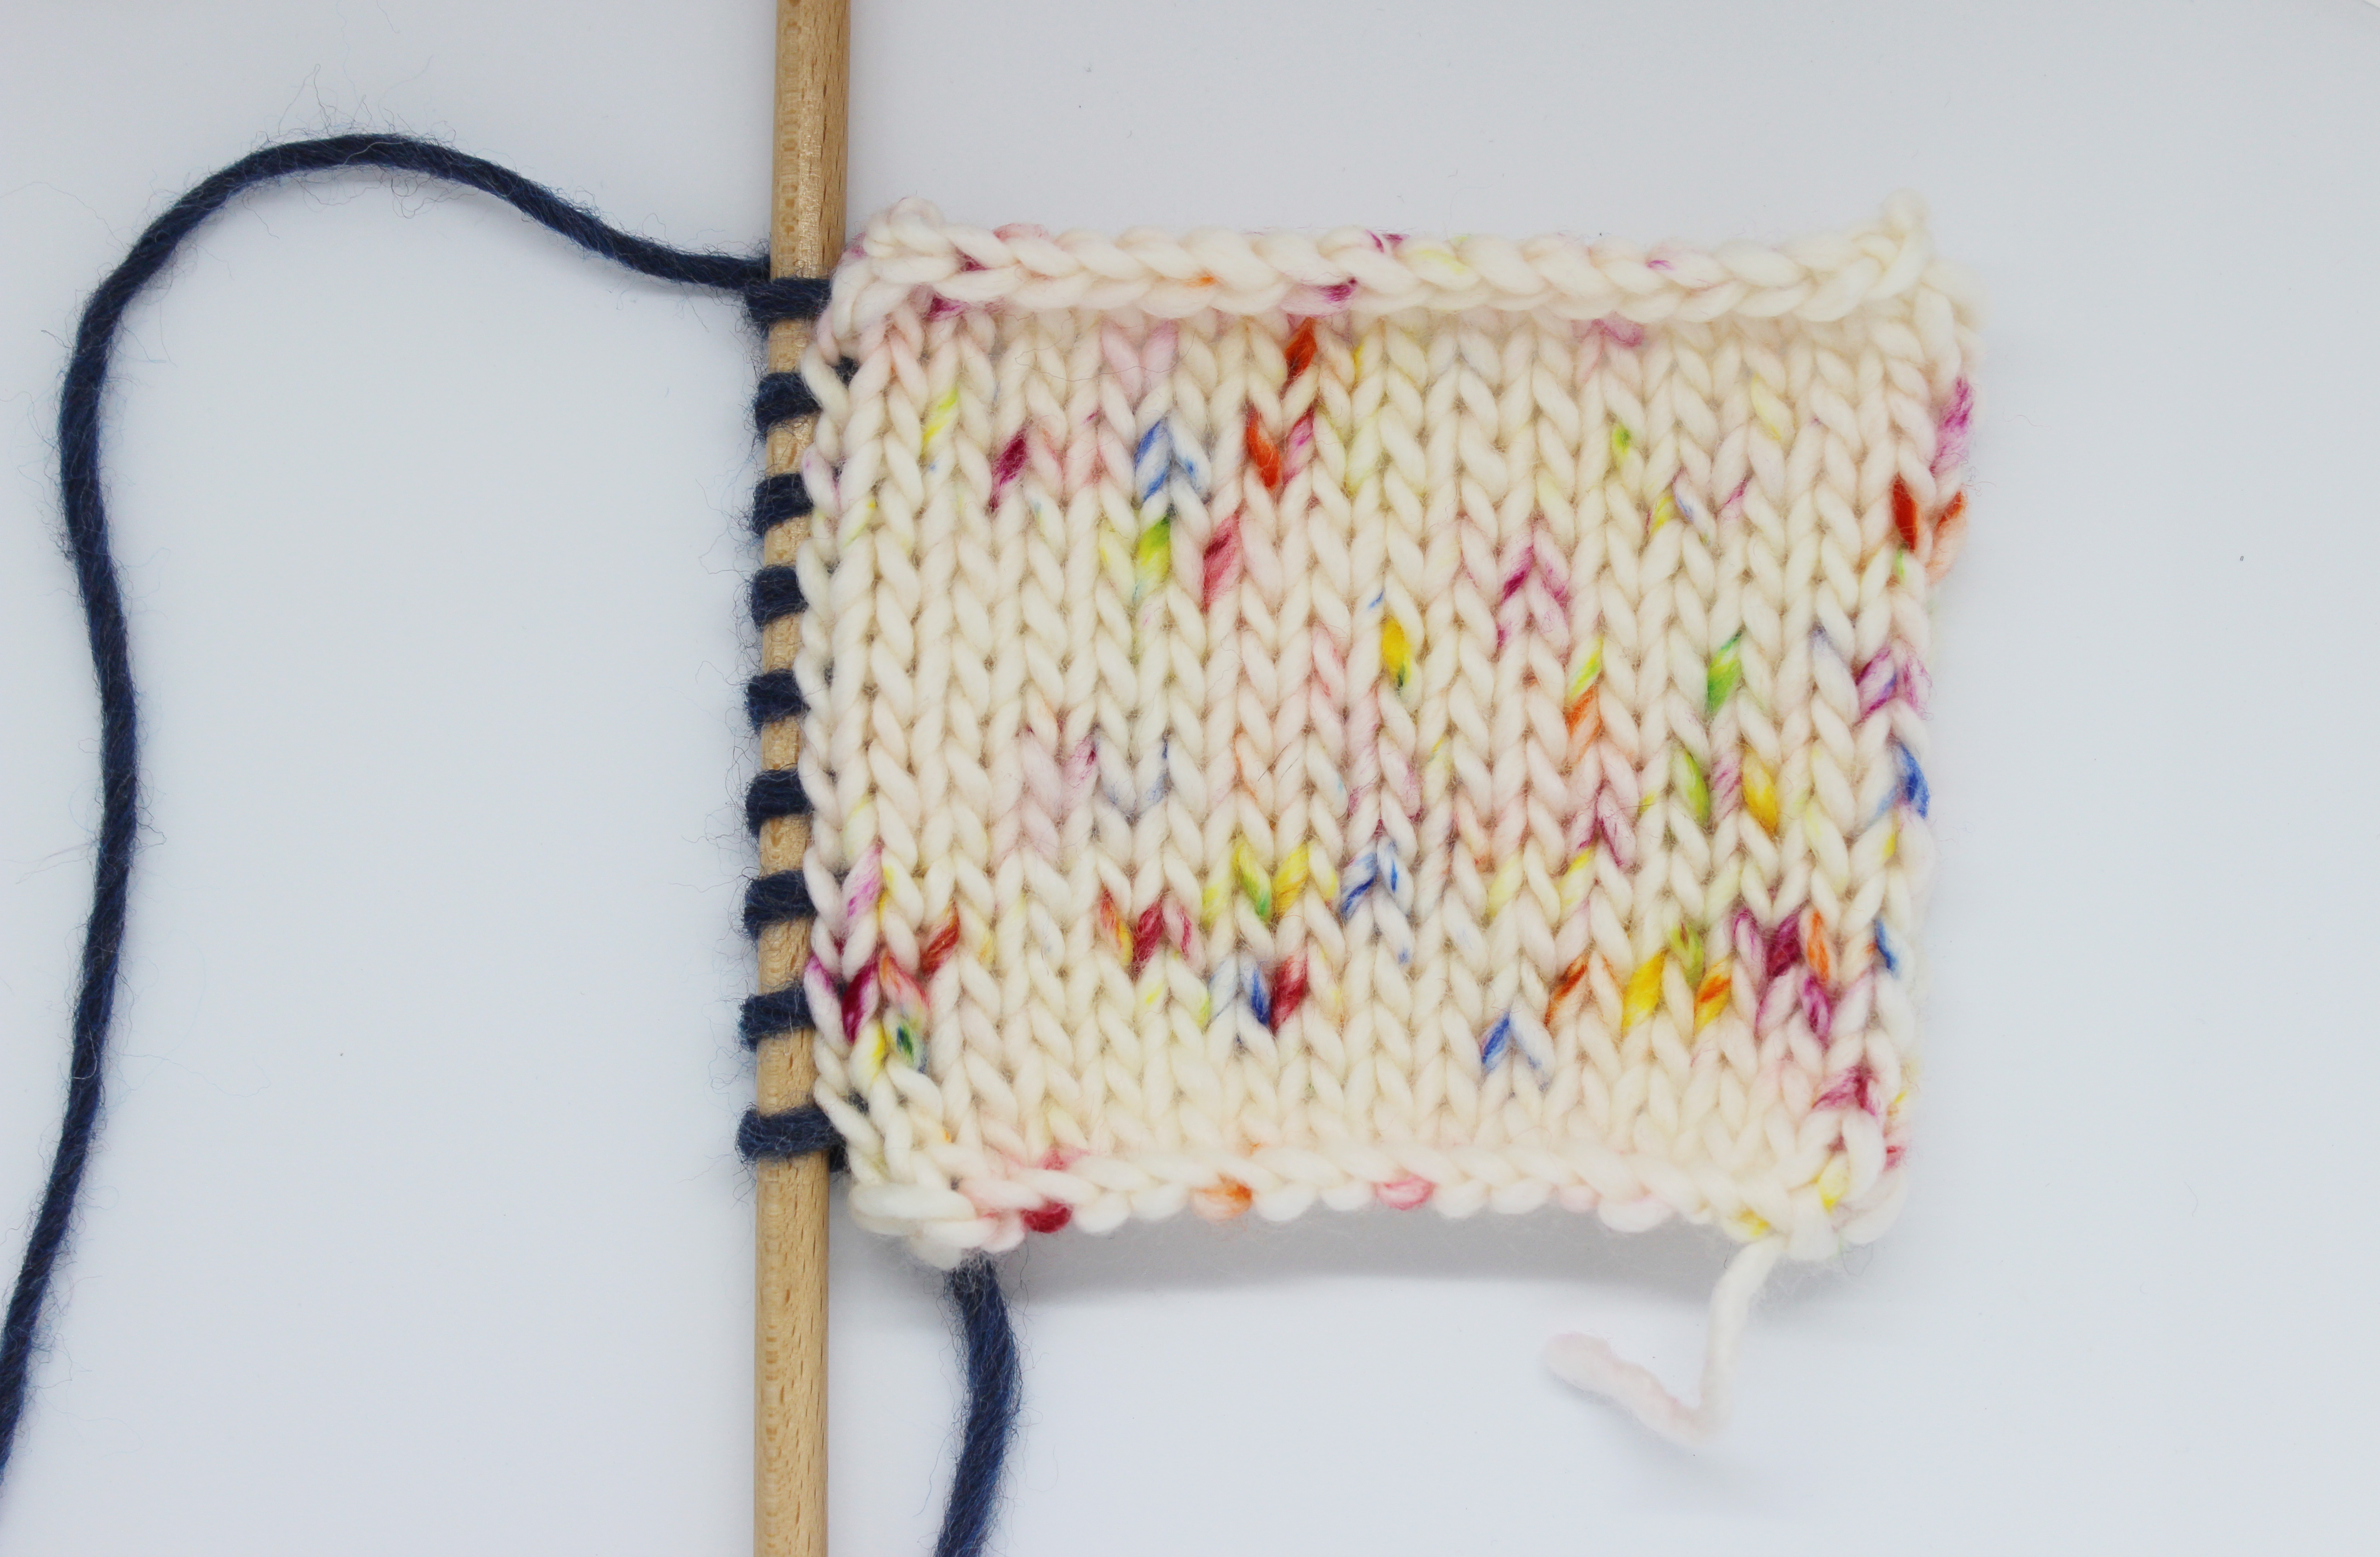
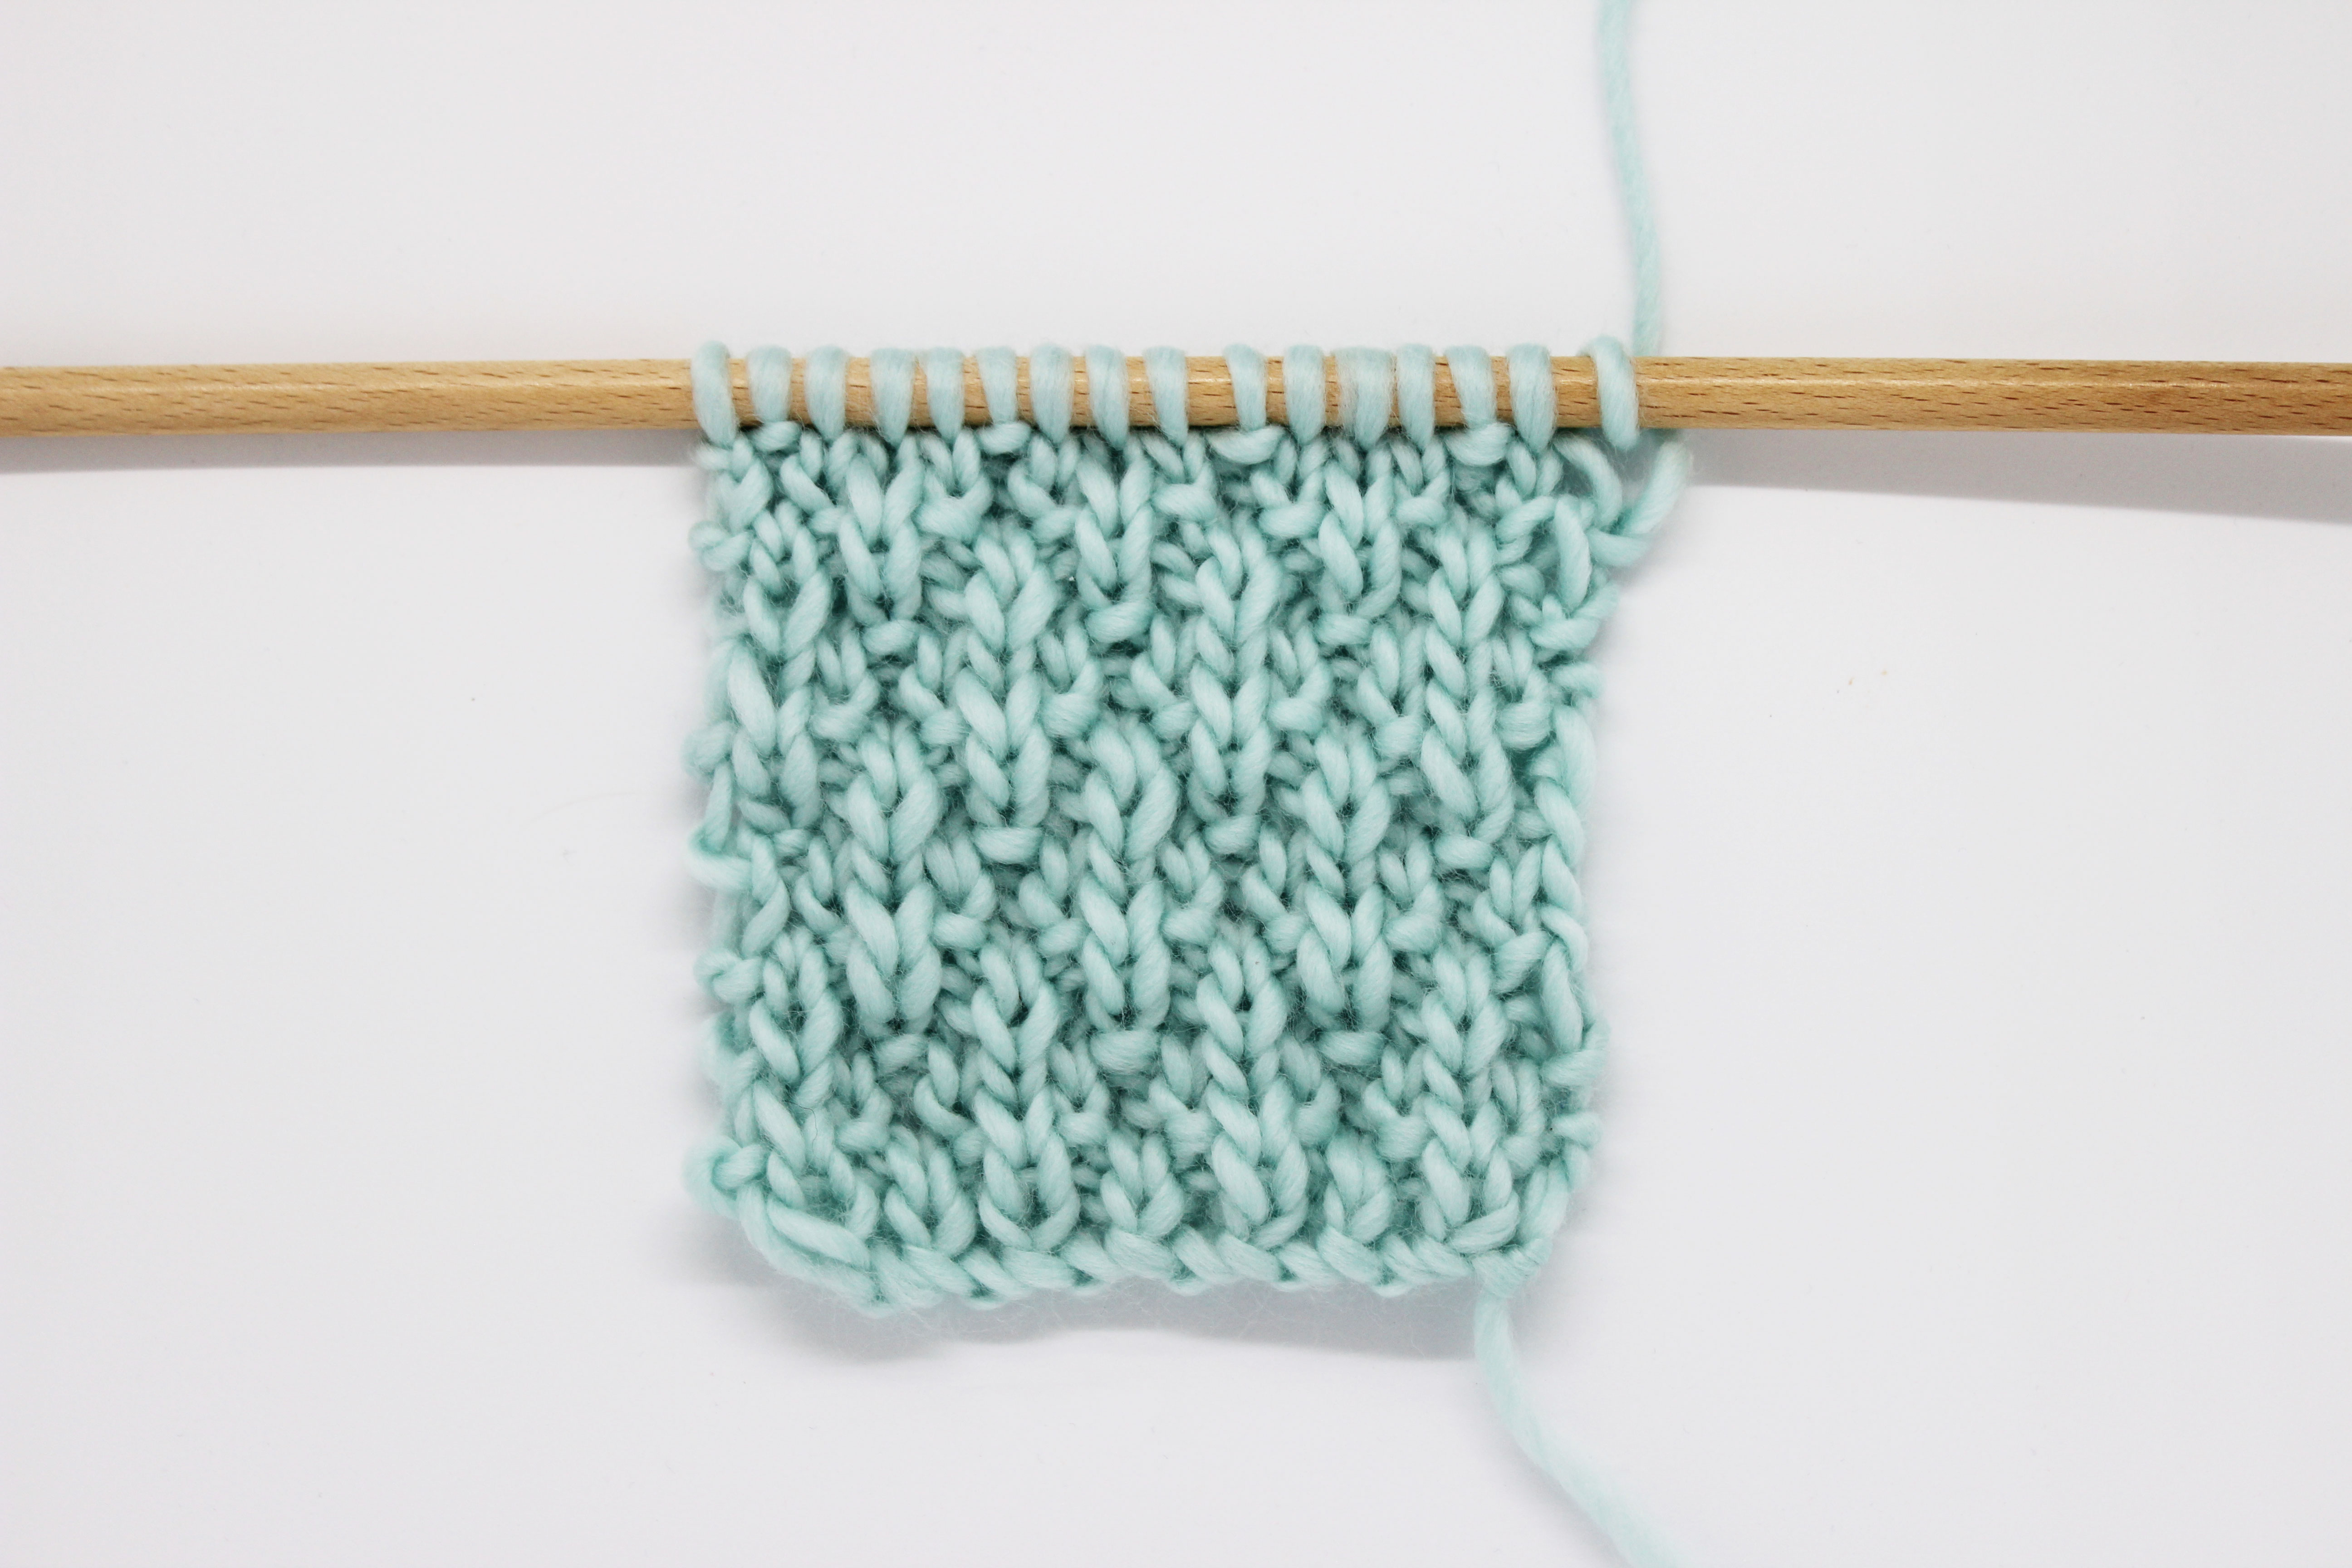
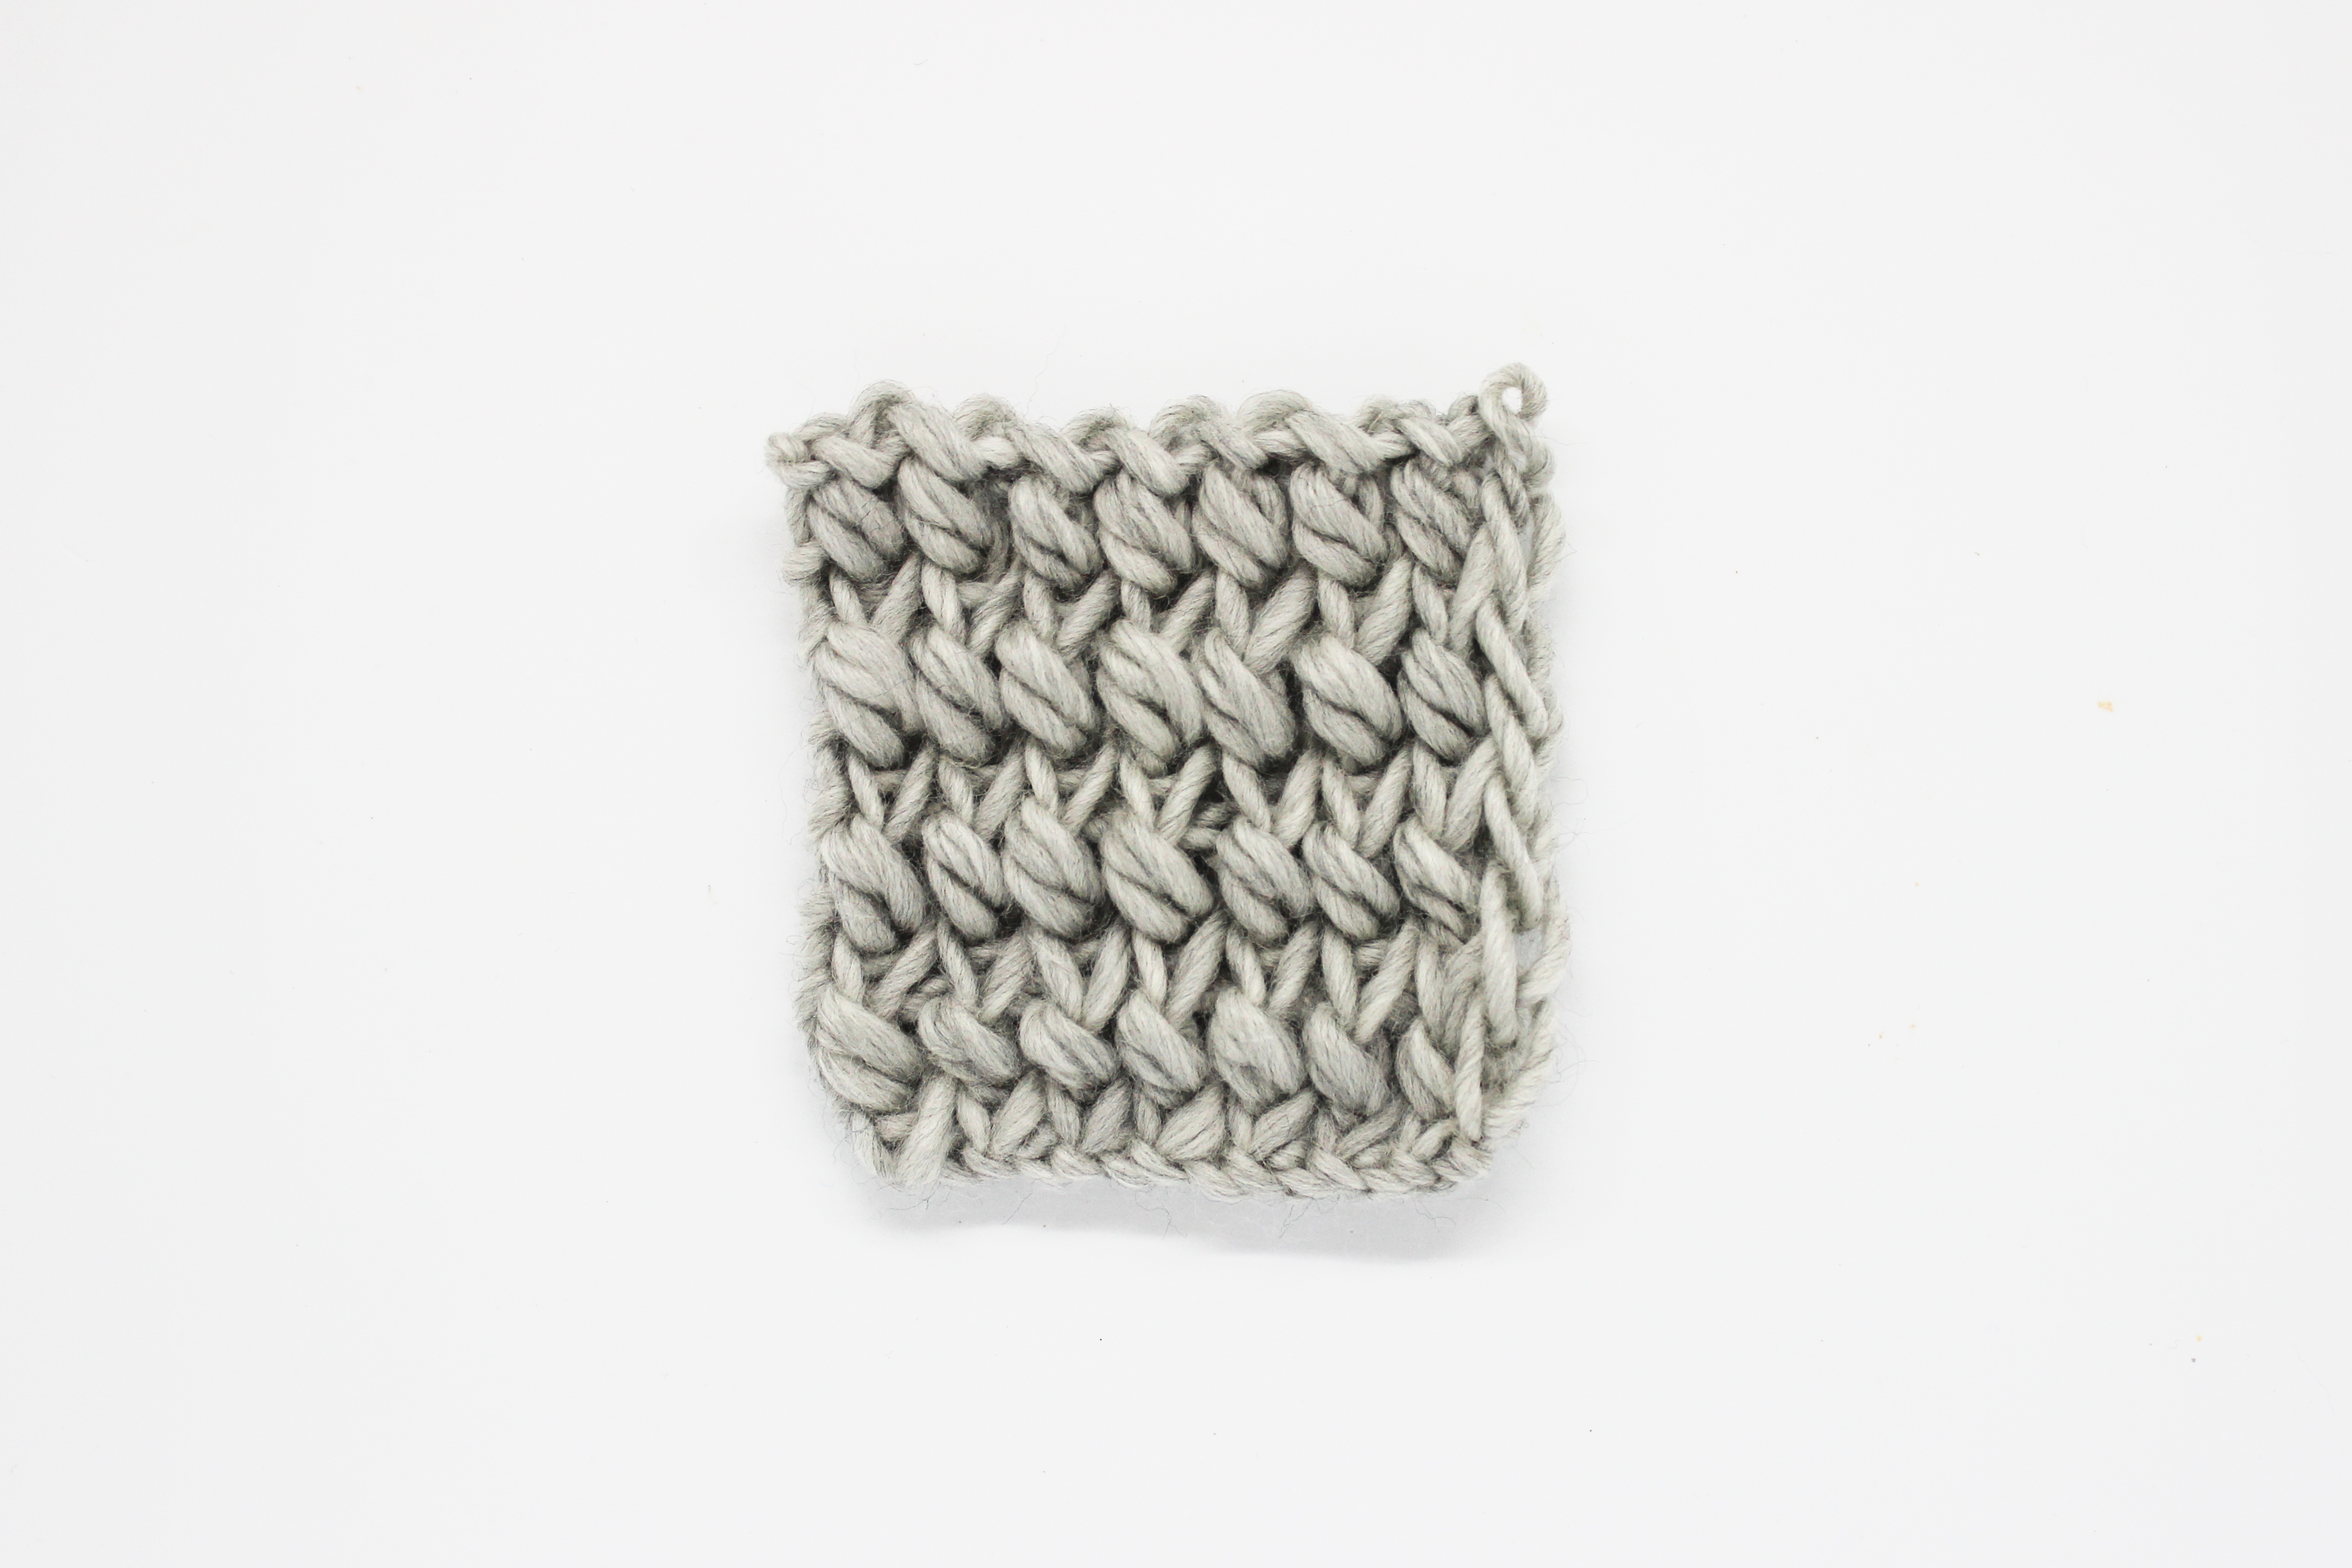
The first we need to do is to have our garter stitch pieces.
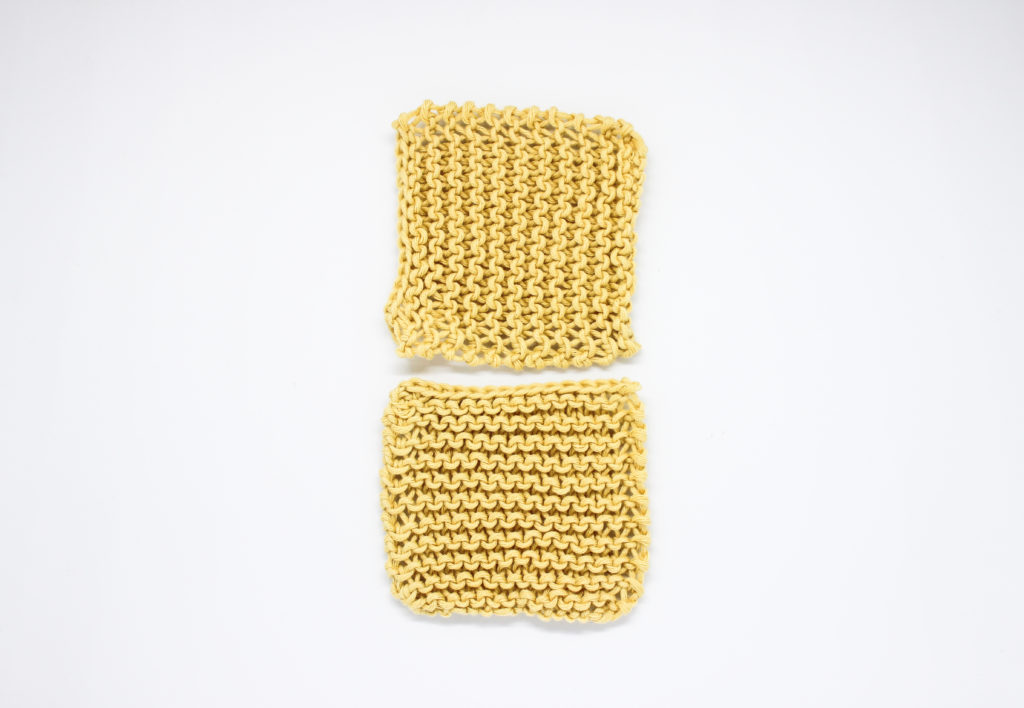
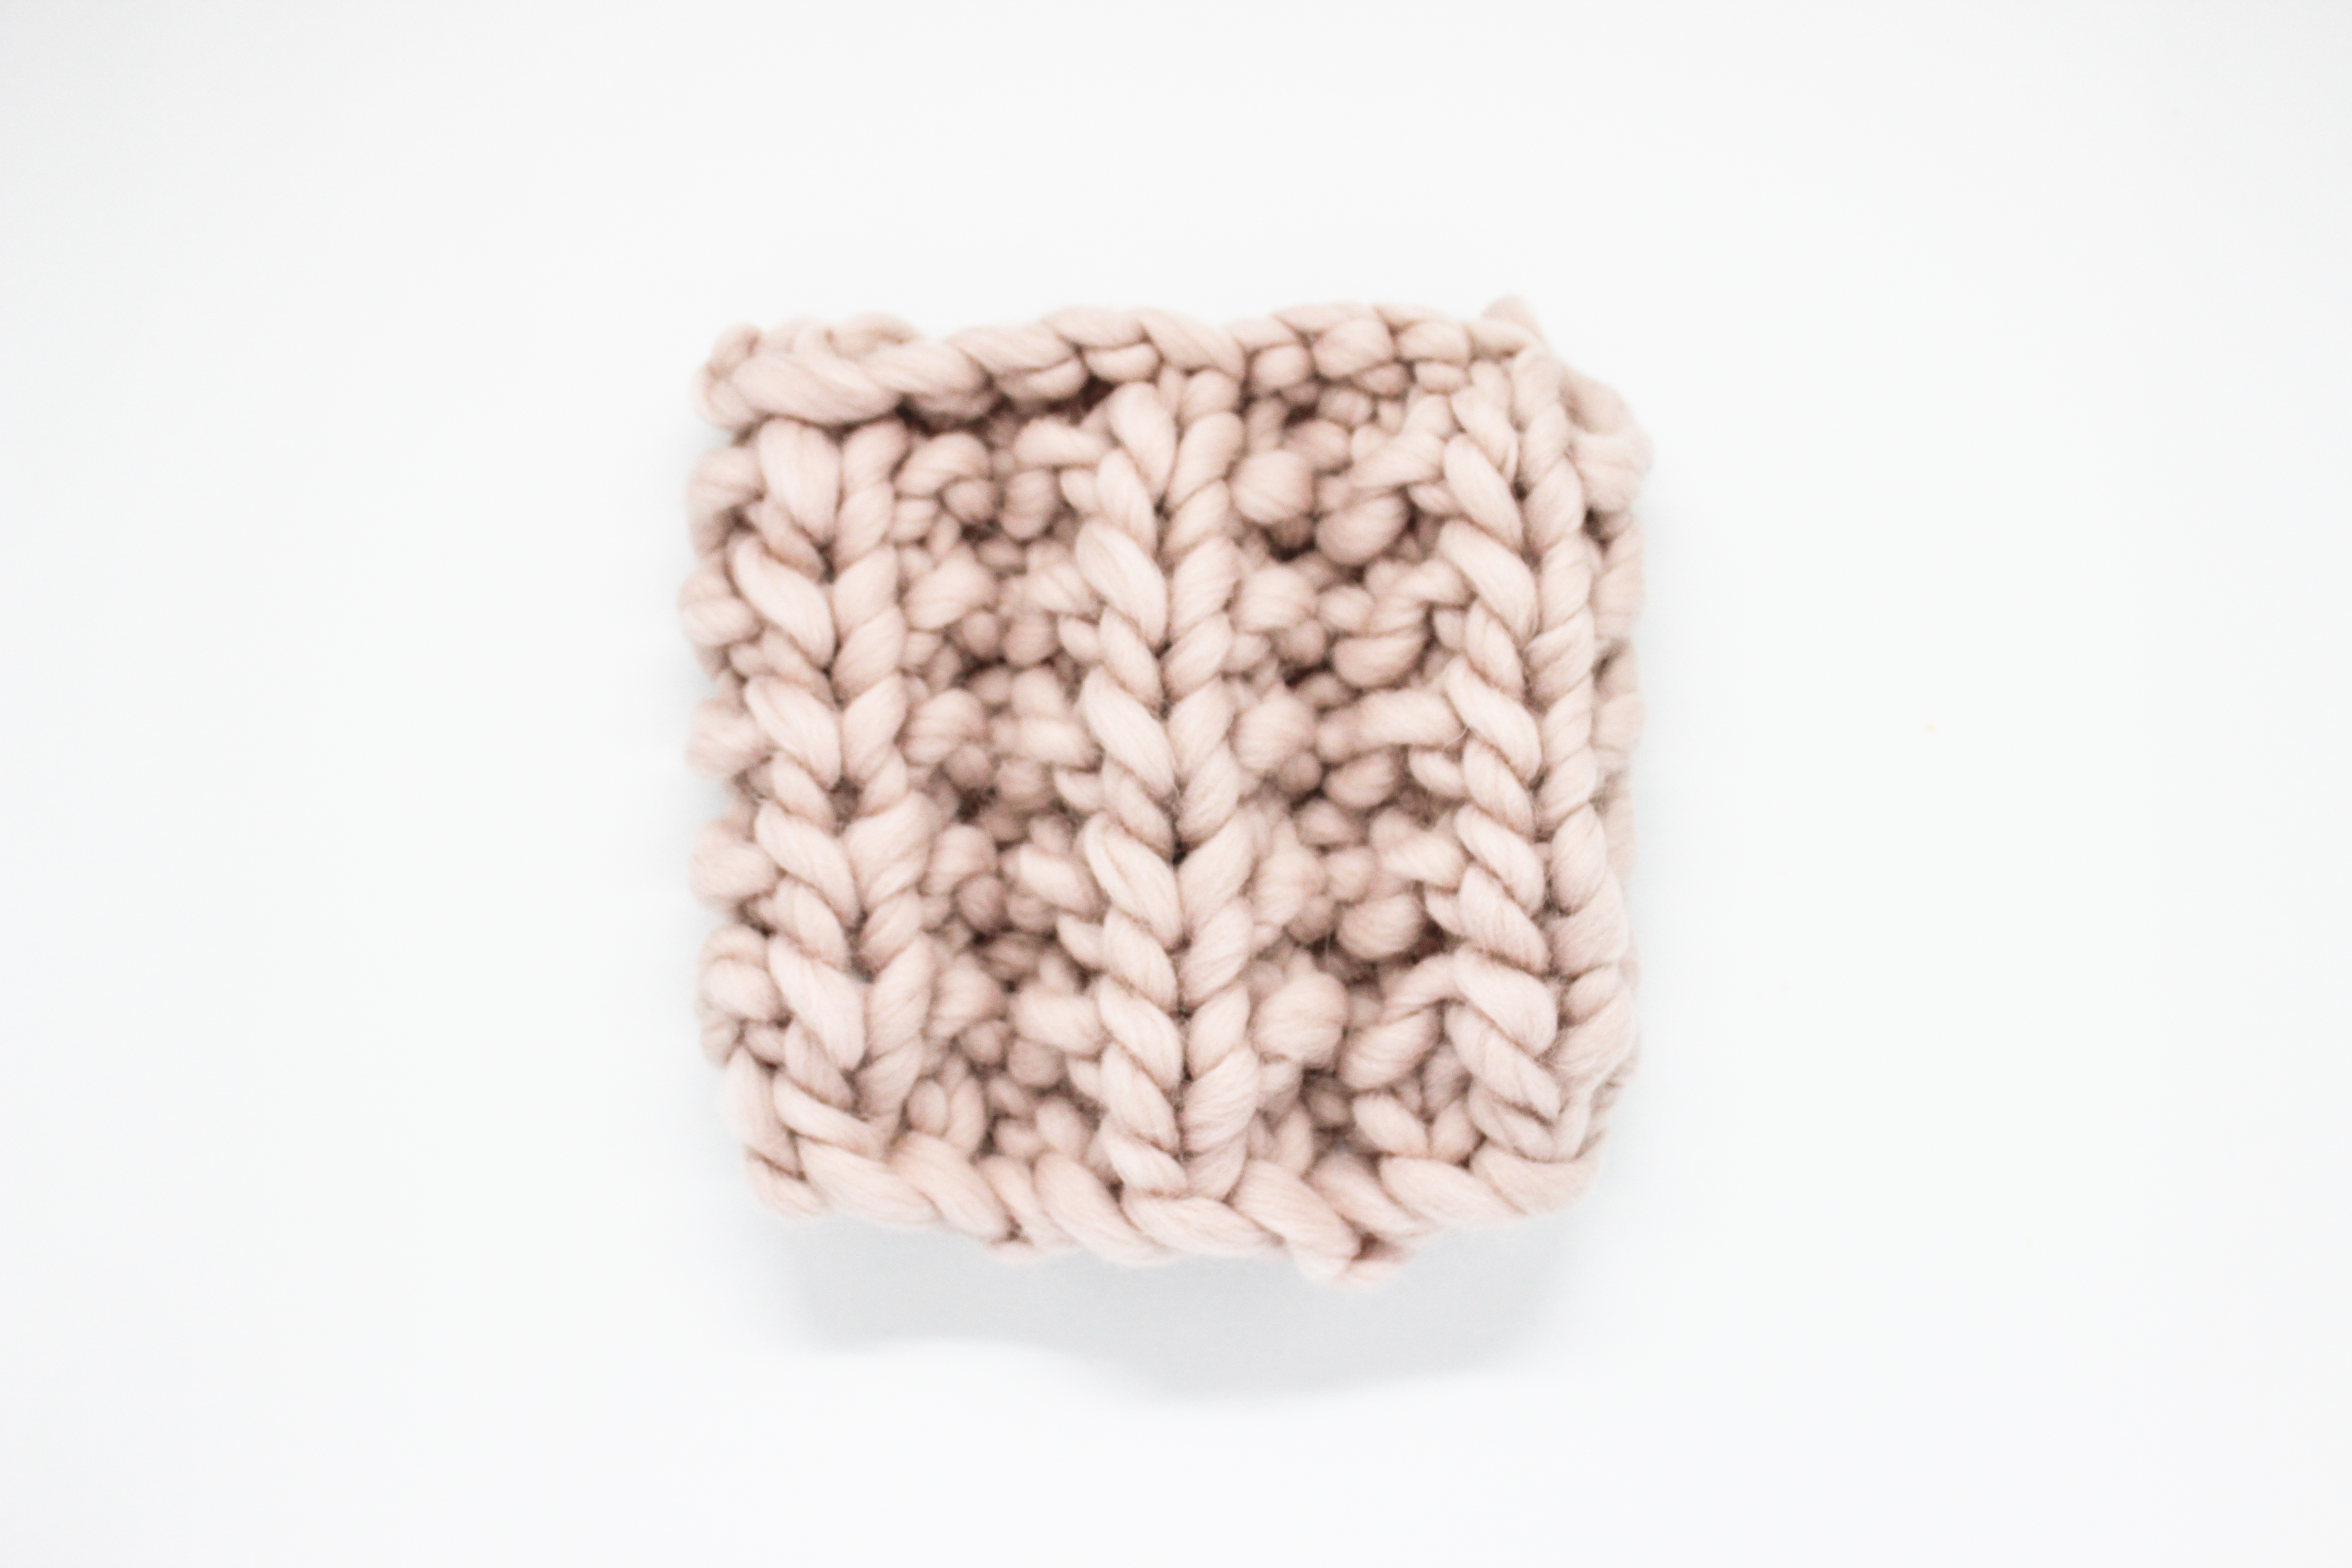
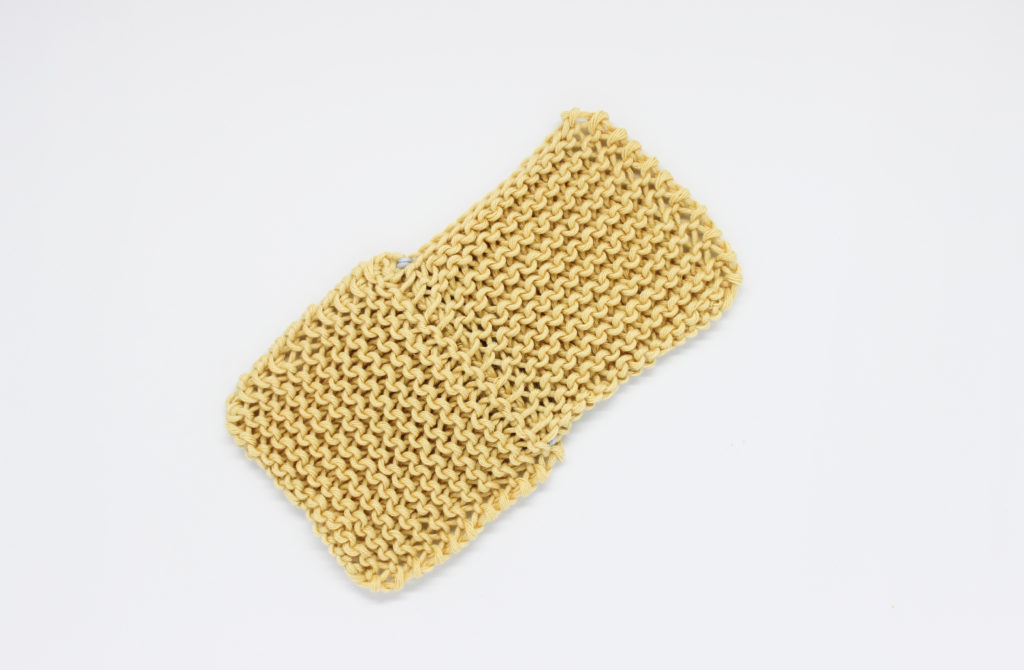
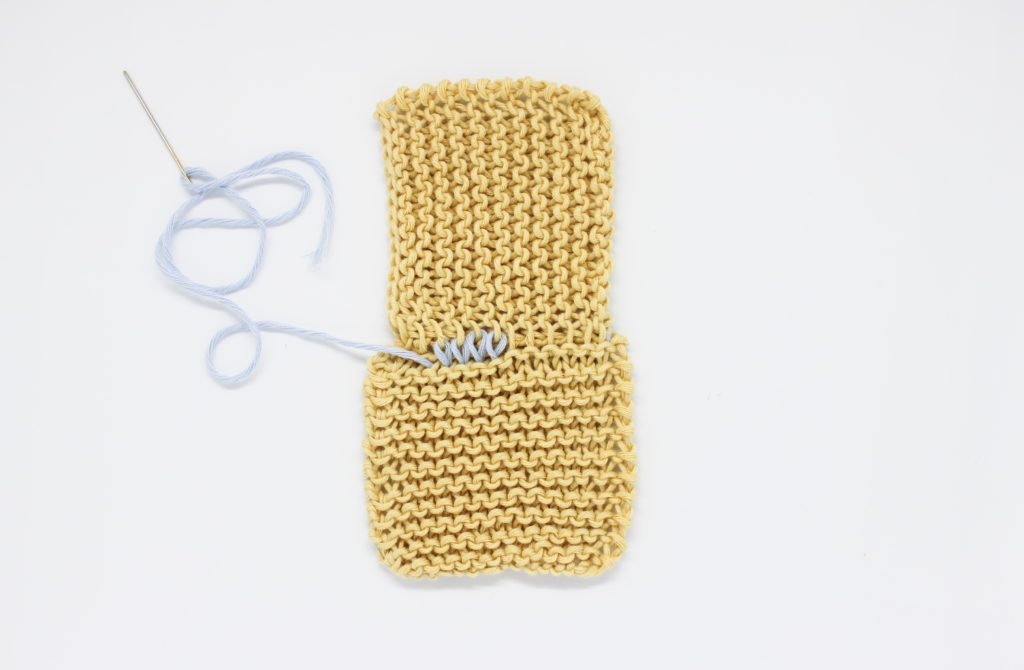
Place the pieces: place the piece with the horizontal garter stitch stripes on the bottom and the one with the vertical stripes on the top.
What we are doing in this kind of seam is to join one stitch from the bottom piece with the corresponding row from the top piece. We will join 1 stitch from the bottom with each bumped rows from the top.
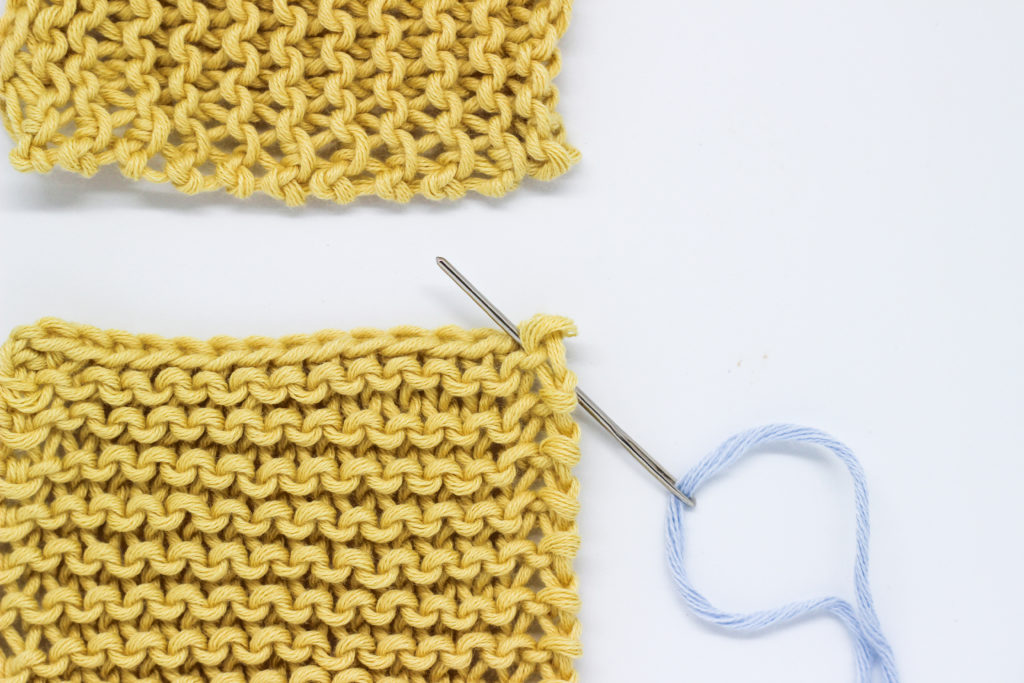
Now we are going to begin to seam. It’s very easy: on the bottom piece, insert the tapestry needle into the first stitch, from back to front.
PART 2: HOW TO SEAM BOTH PIECES TOGETHER
Step 1
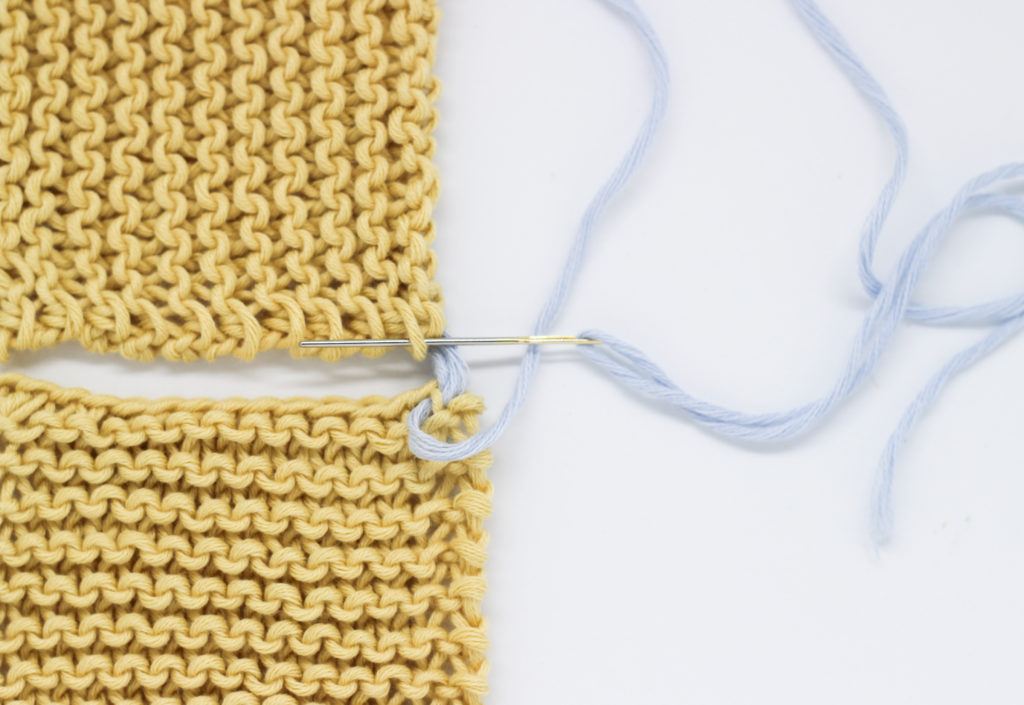
Now, on the top piece, we are going to look for the first bumped row, and insert the needle under one of the stripes of the first stitch. You can do it on the first or second one, but you must always use the same on all rows. We now have the start of the seam
Step 2
Next, insert the needle on the bottom piece again, into the same stitch as before from front to back, and find the next stitch to pull out the needle from back to front.
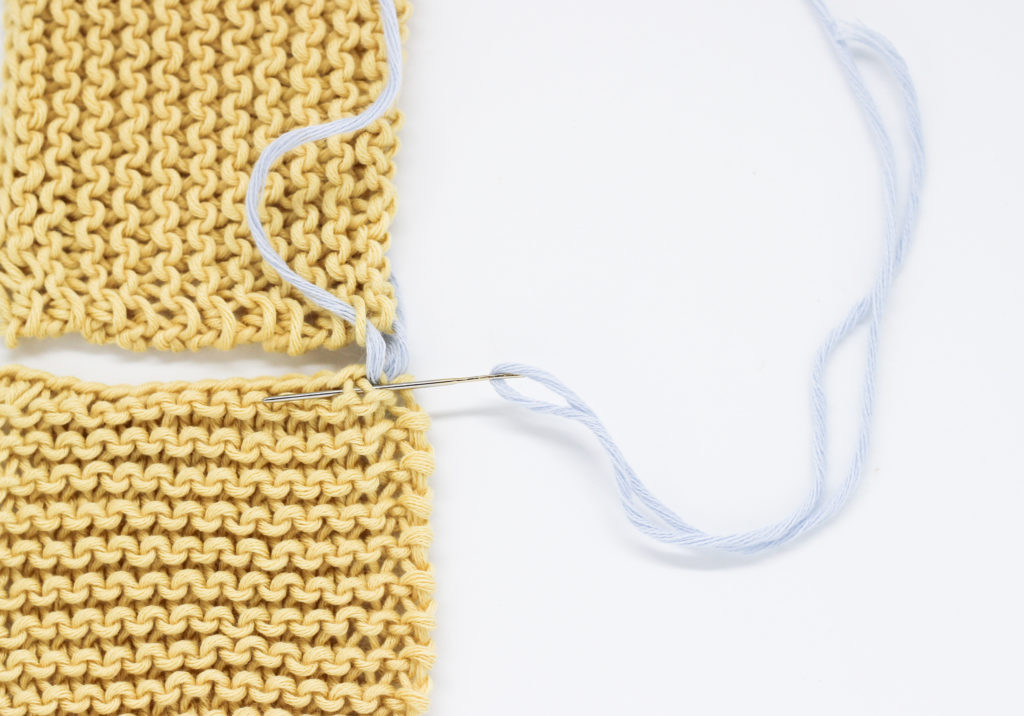
On the top piece, we will find the next bumped row and we will also insert the needle under the stripe of the first stitch. We have now joined the second stitch to the second row.
Here’s a video so you can better see the process we have explained with the pictures:
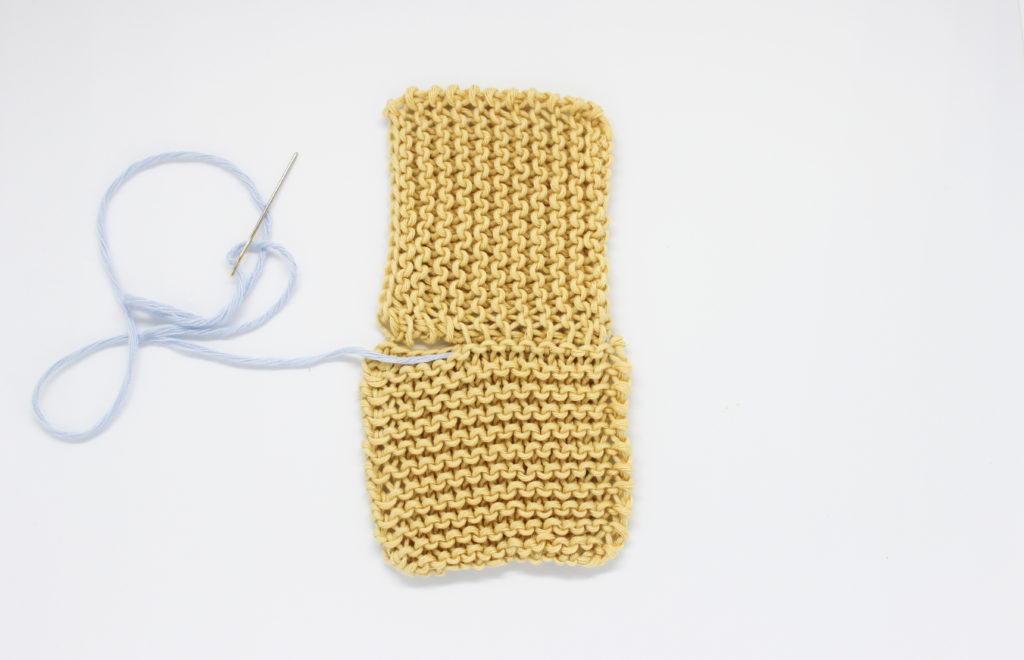
As you can see, the only thing you need to do is to repeat steps 1 and 2 along the seam until the end of it.
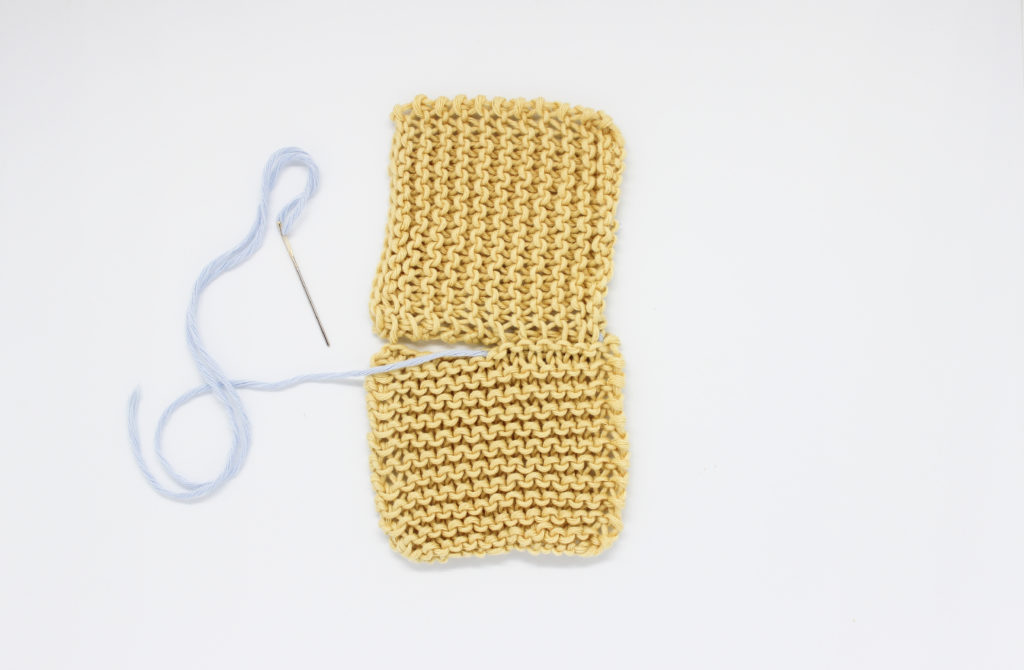
On the picture above you can see how is shaping up.
We recommend you to leave the seam slightly “loose” so you can better see the stitches from the bottom and the corresponding rows from the top, so in case you make a mistake, you can immediately correct it.
We hope this kind of seam is useful to you, since it will allow you to get some different and nice effects on your garments. We will love that you share them with us on social networks with the hashtag #weareknitters.