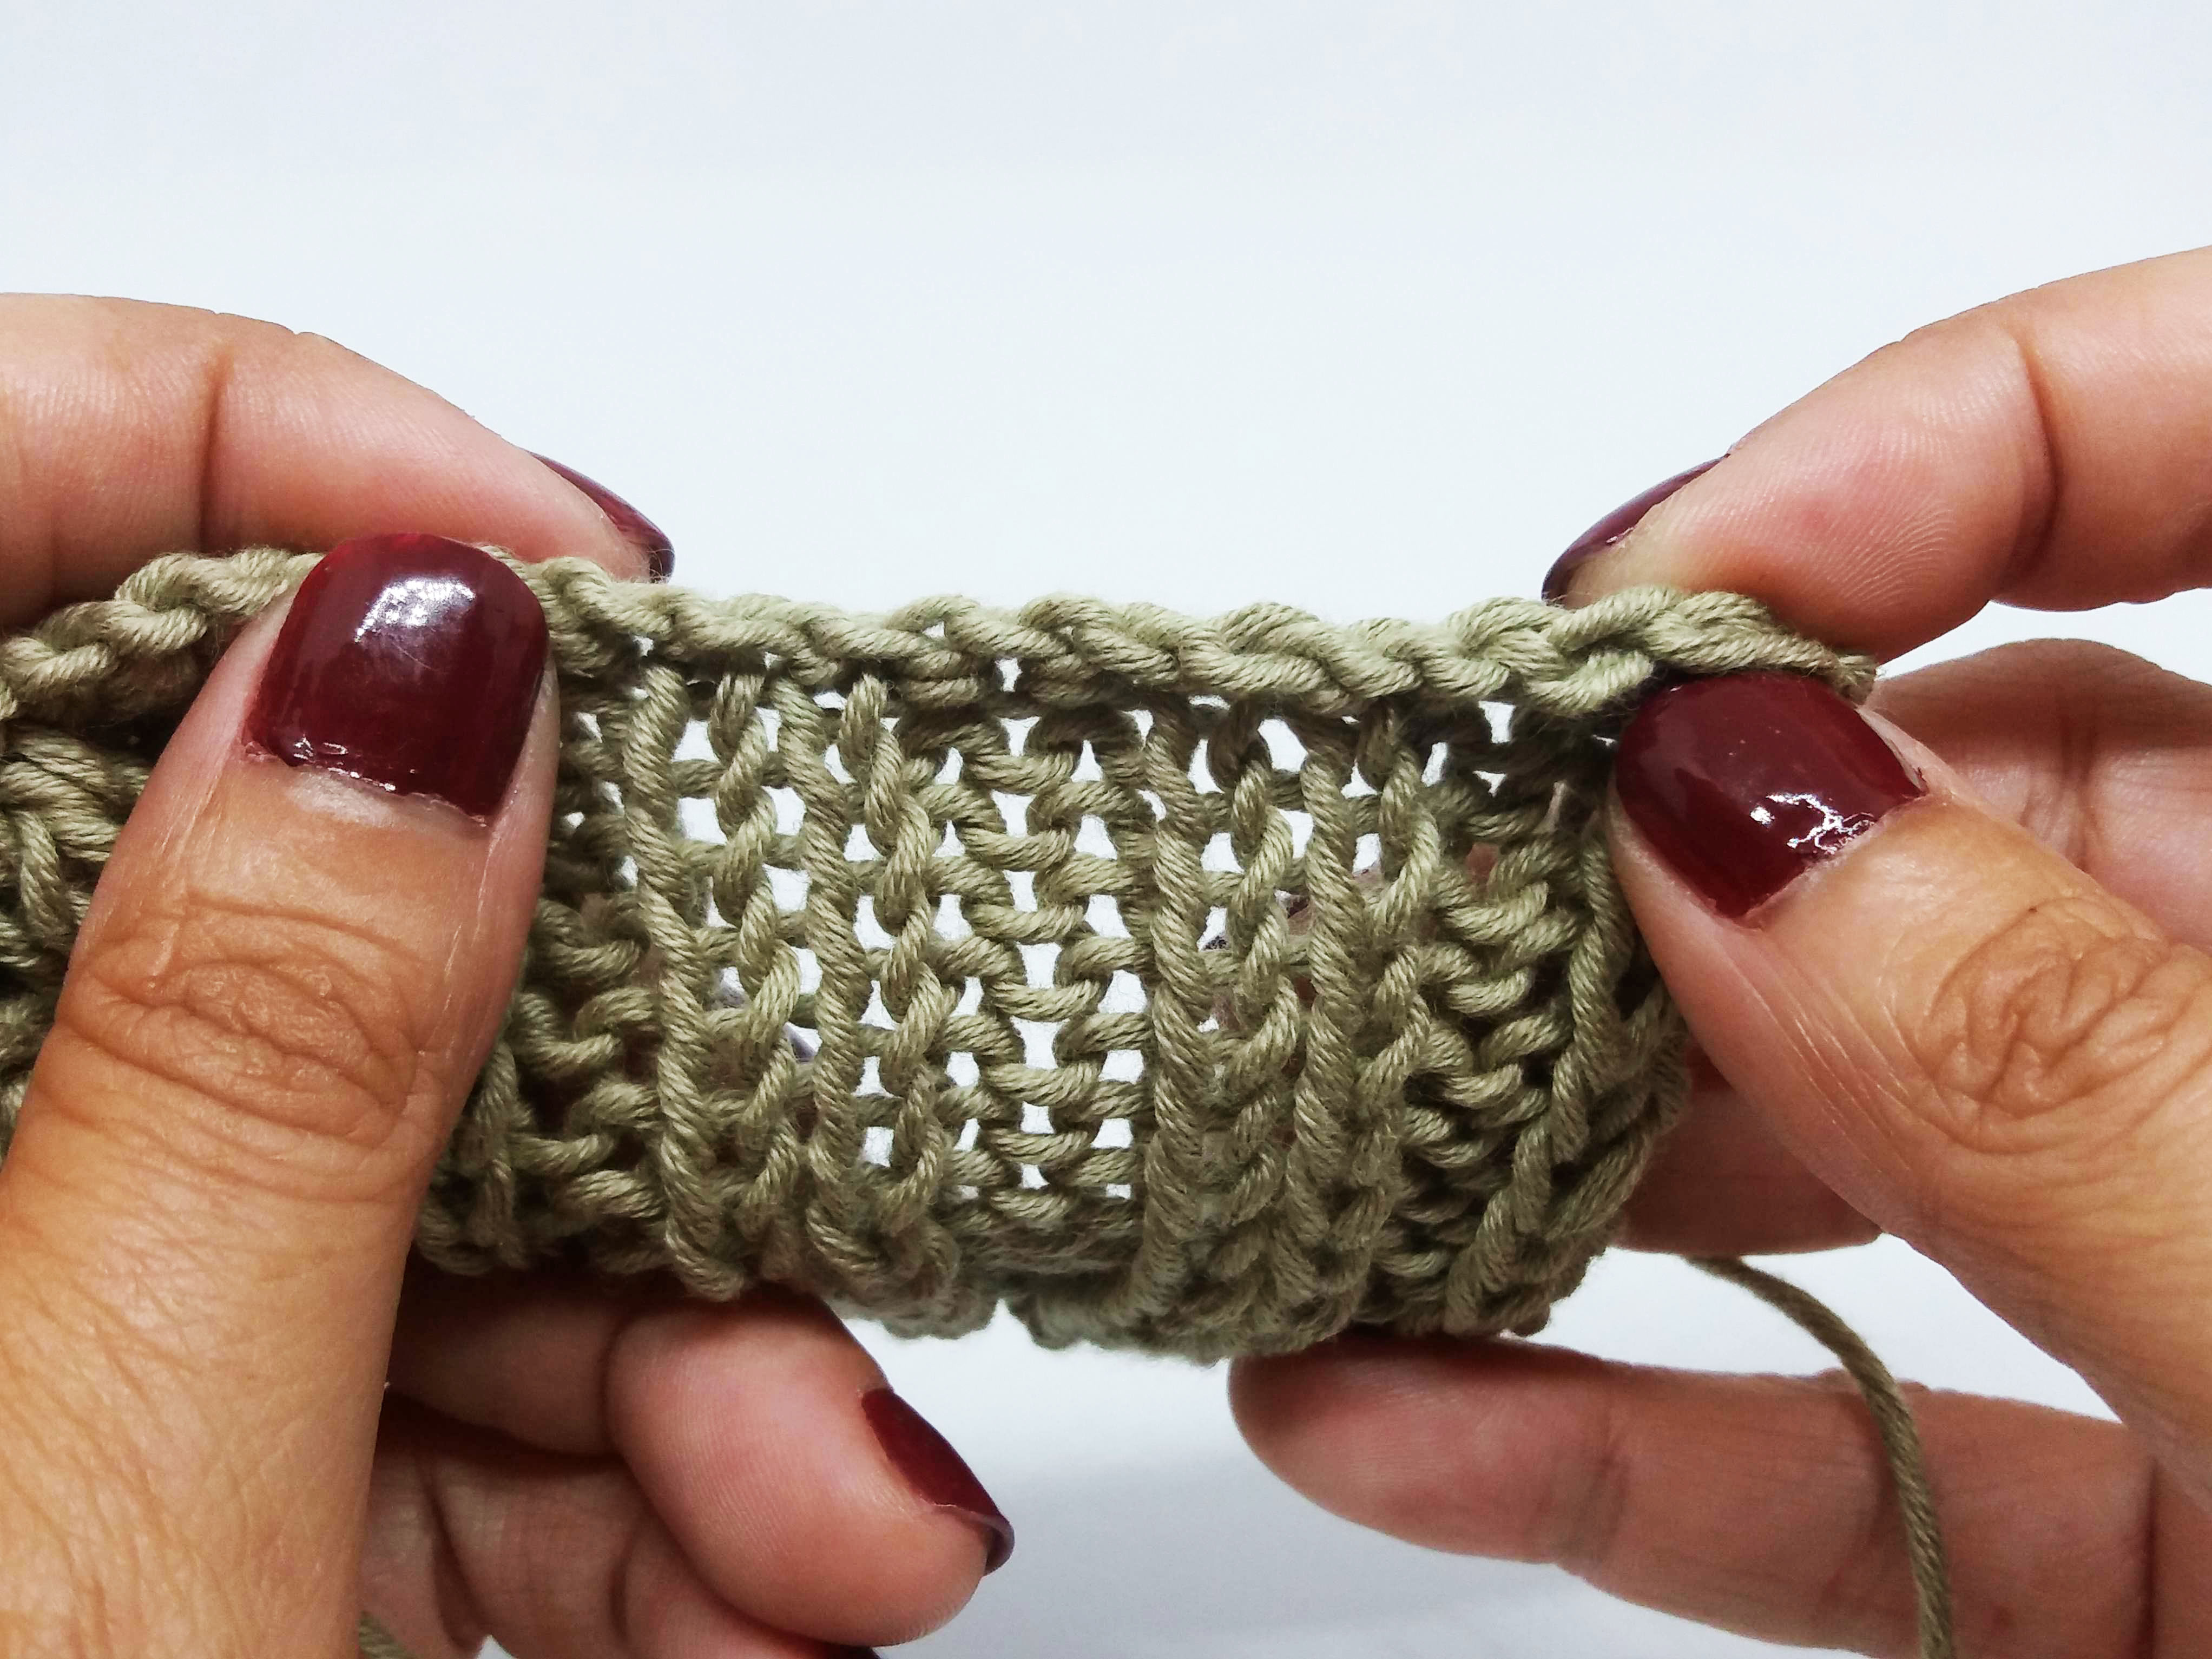
Today we are going to show you very quickly and easily how you can pick up the edge stitches on projects in which you’ve slipped the first stitch of the row. The stitches aren’t the same as when you knit them every row and sometimes it’s difficult to know where to put the needle when you need to pick them up and continue knitting.

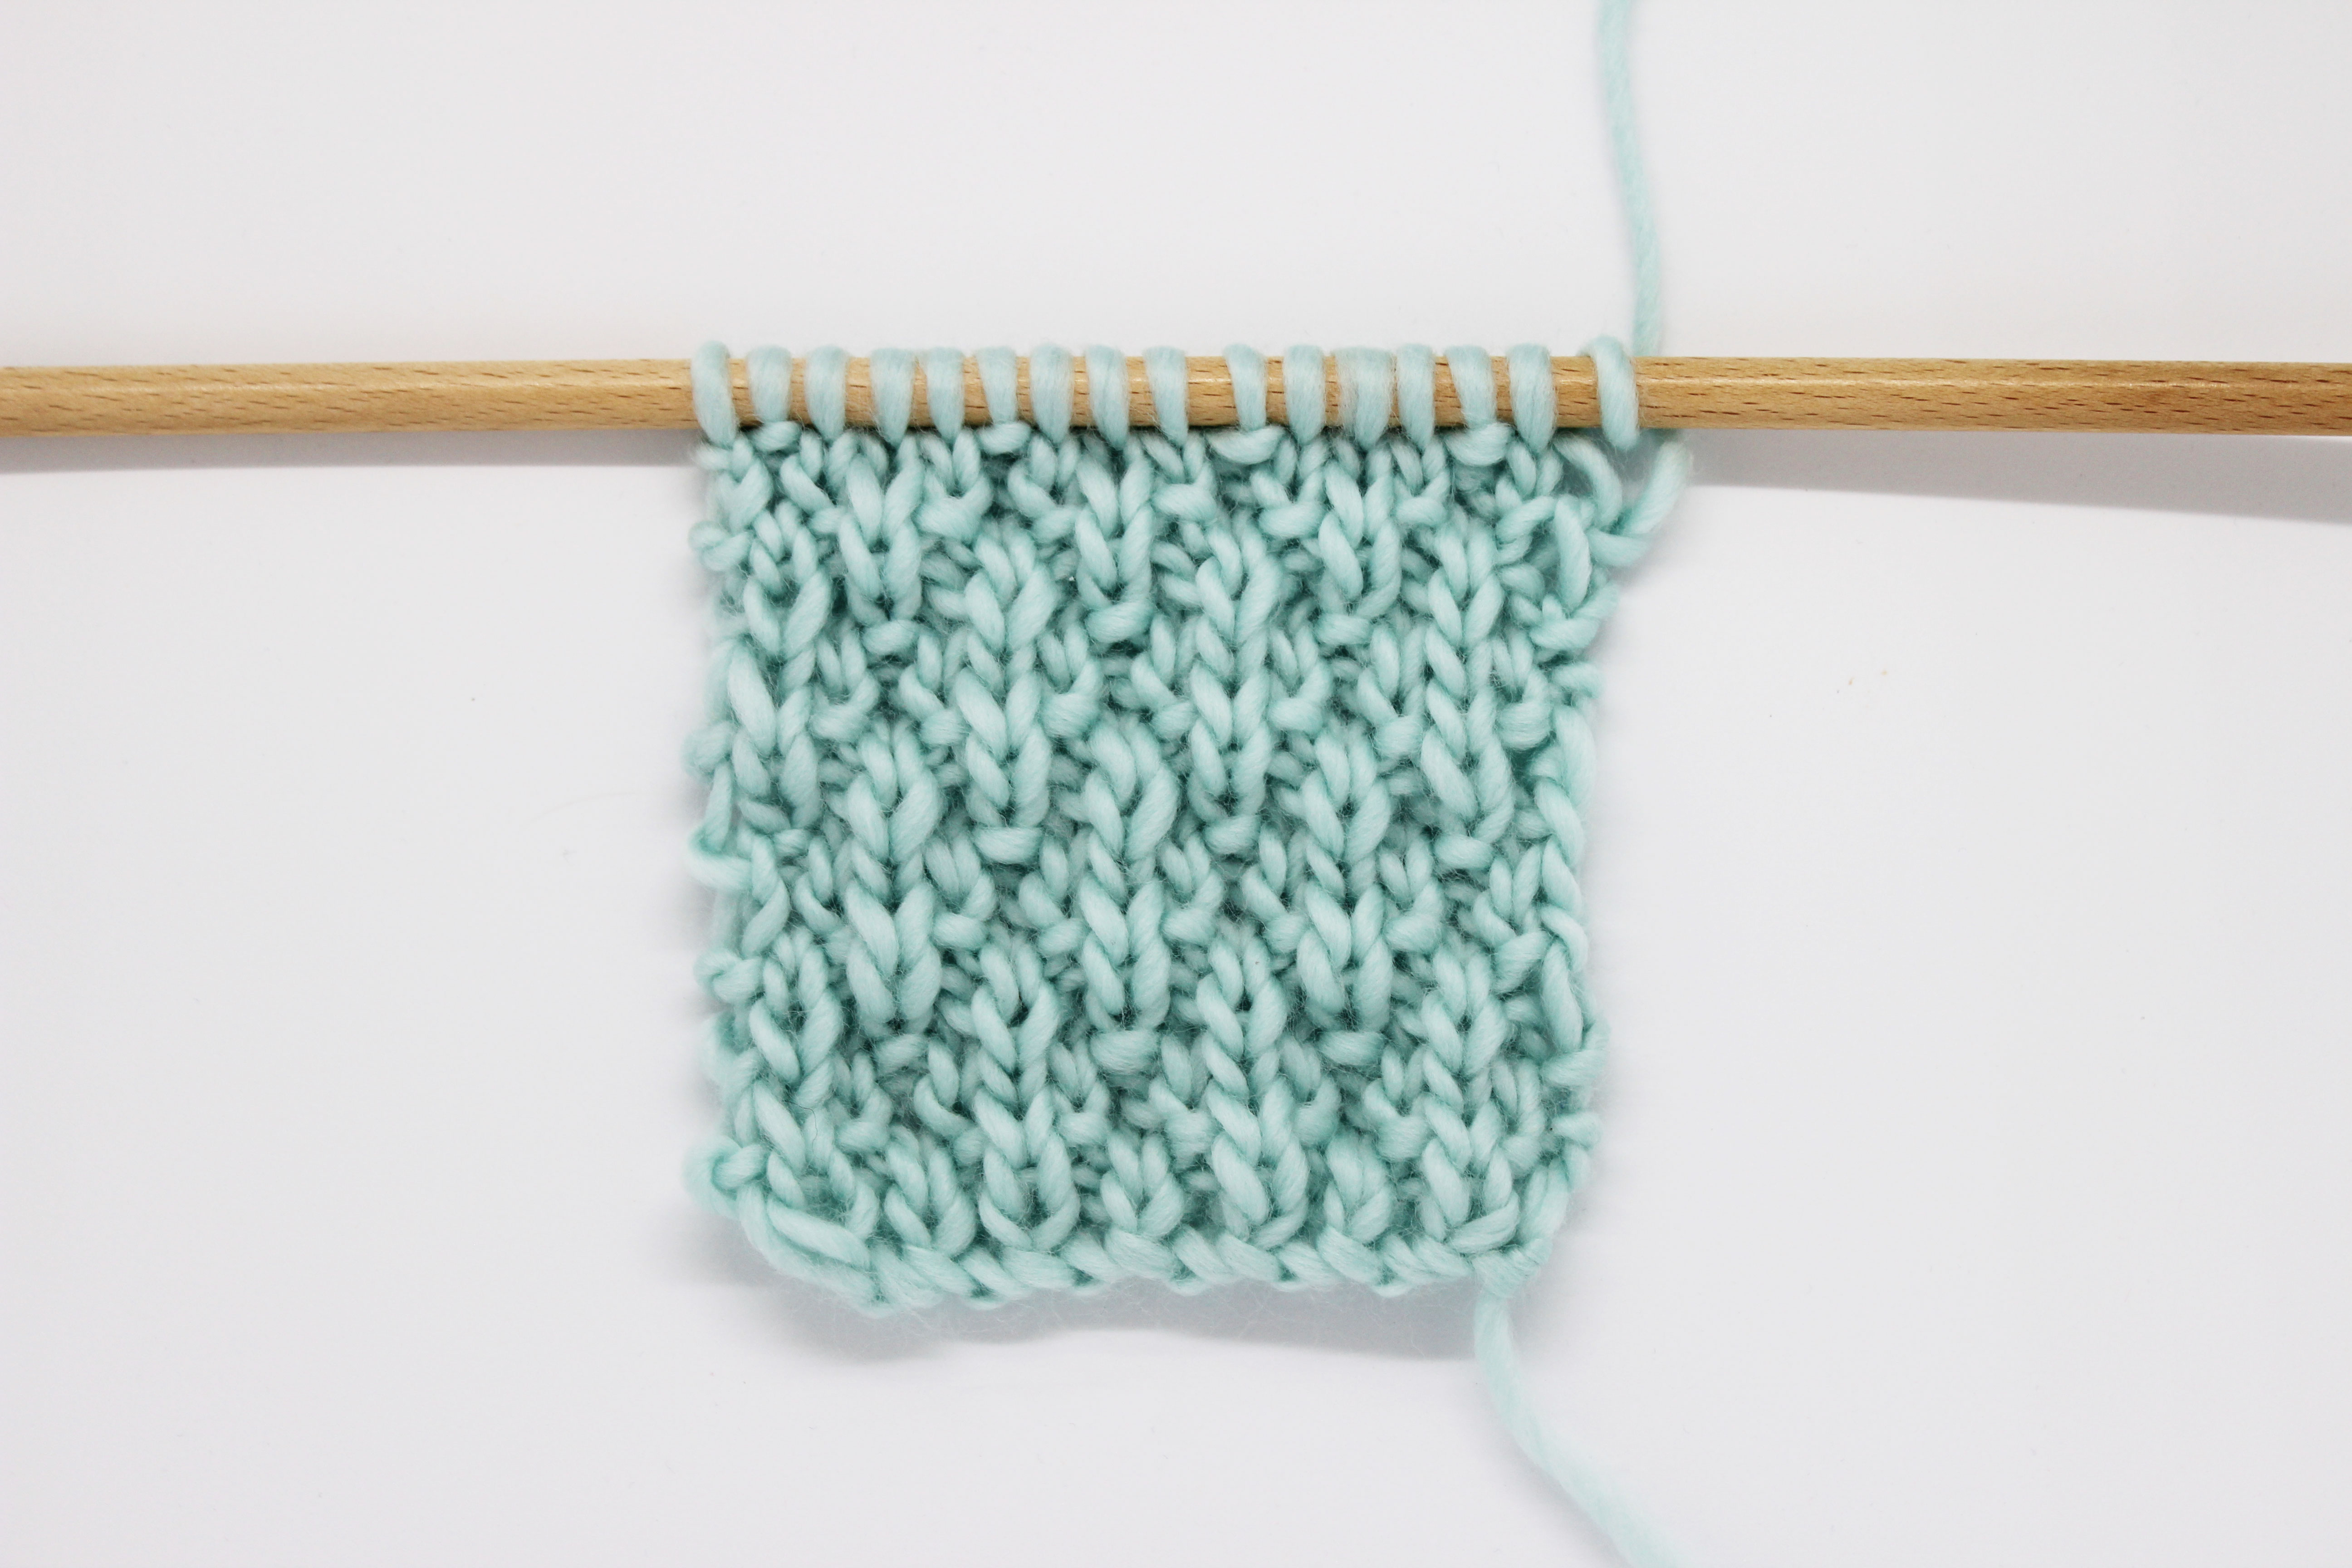
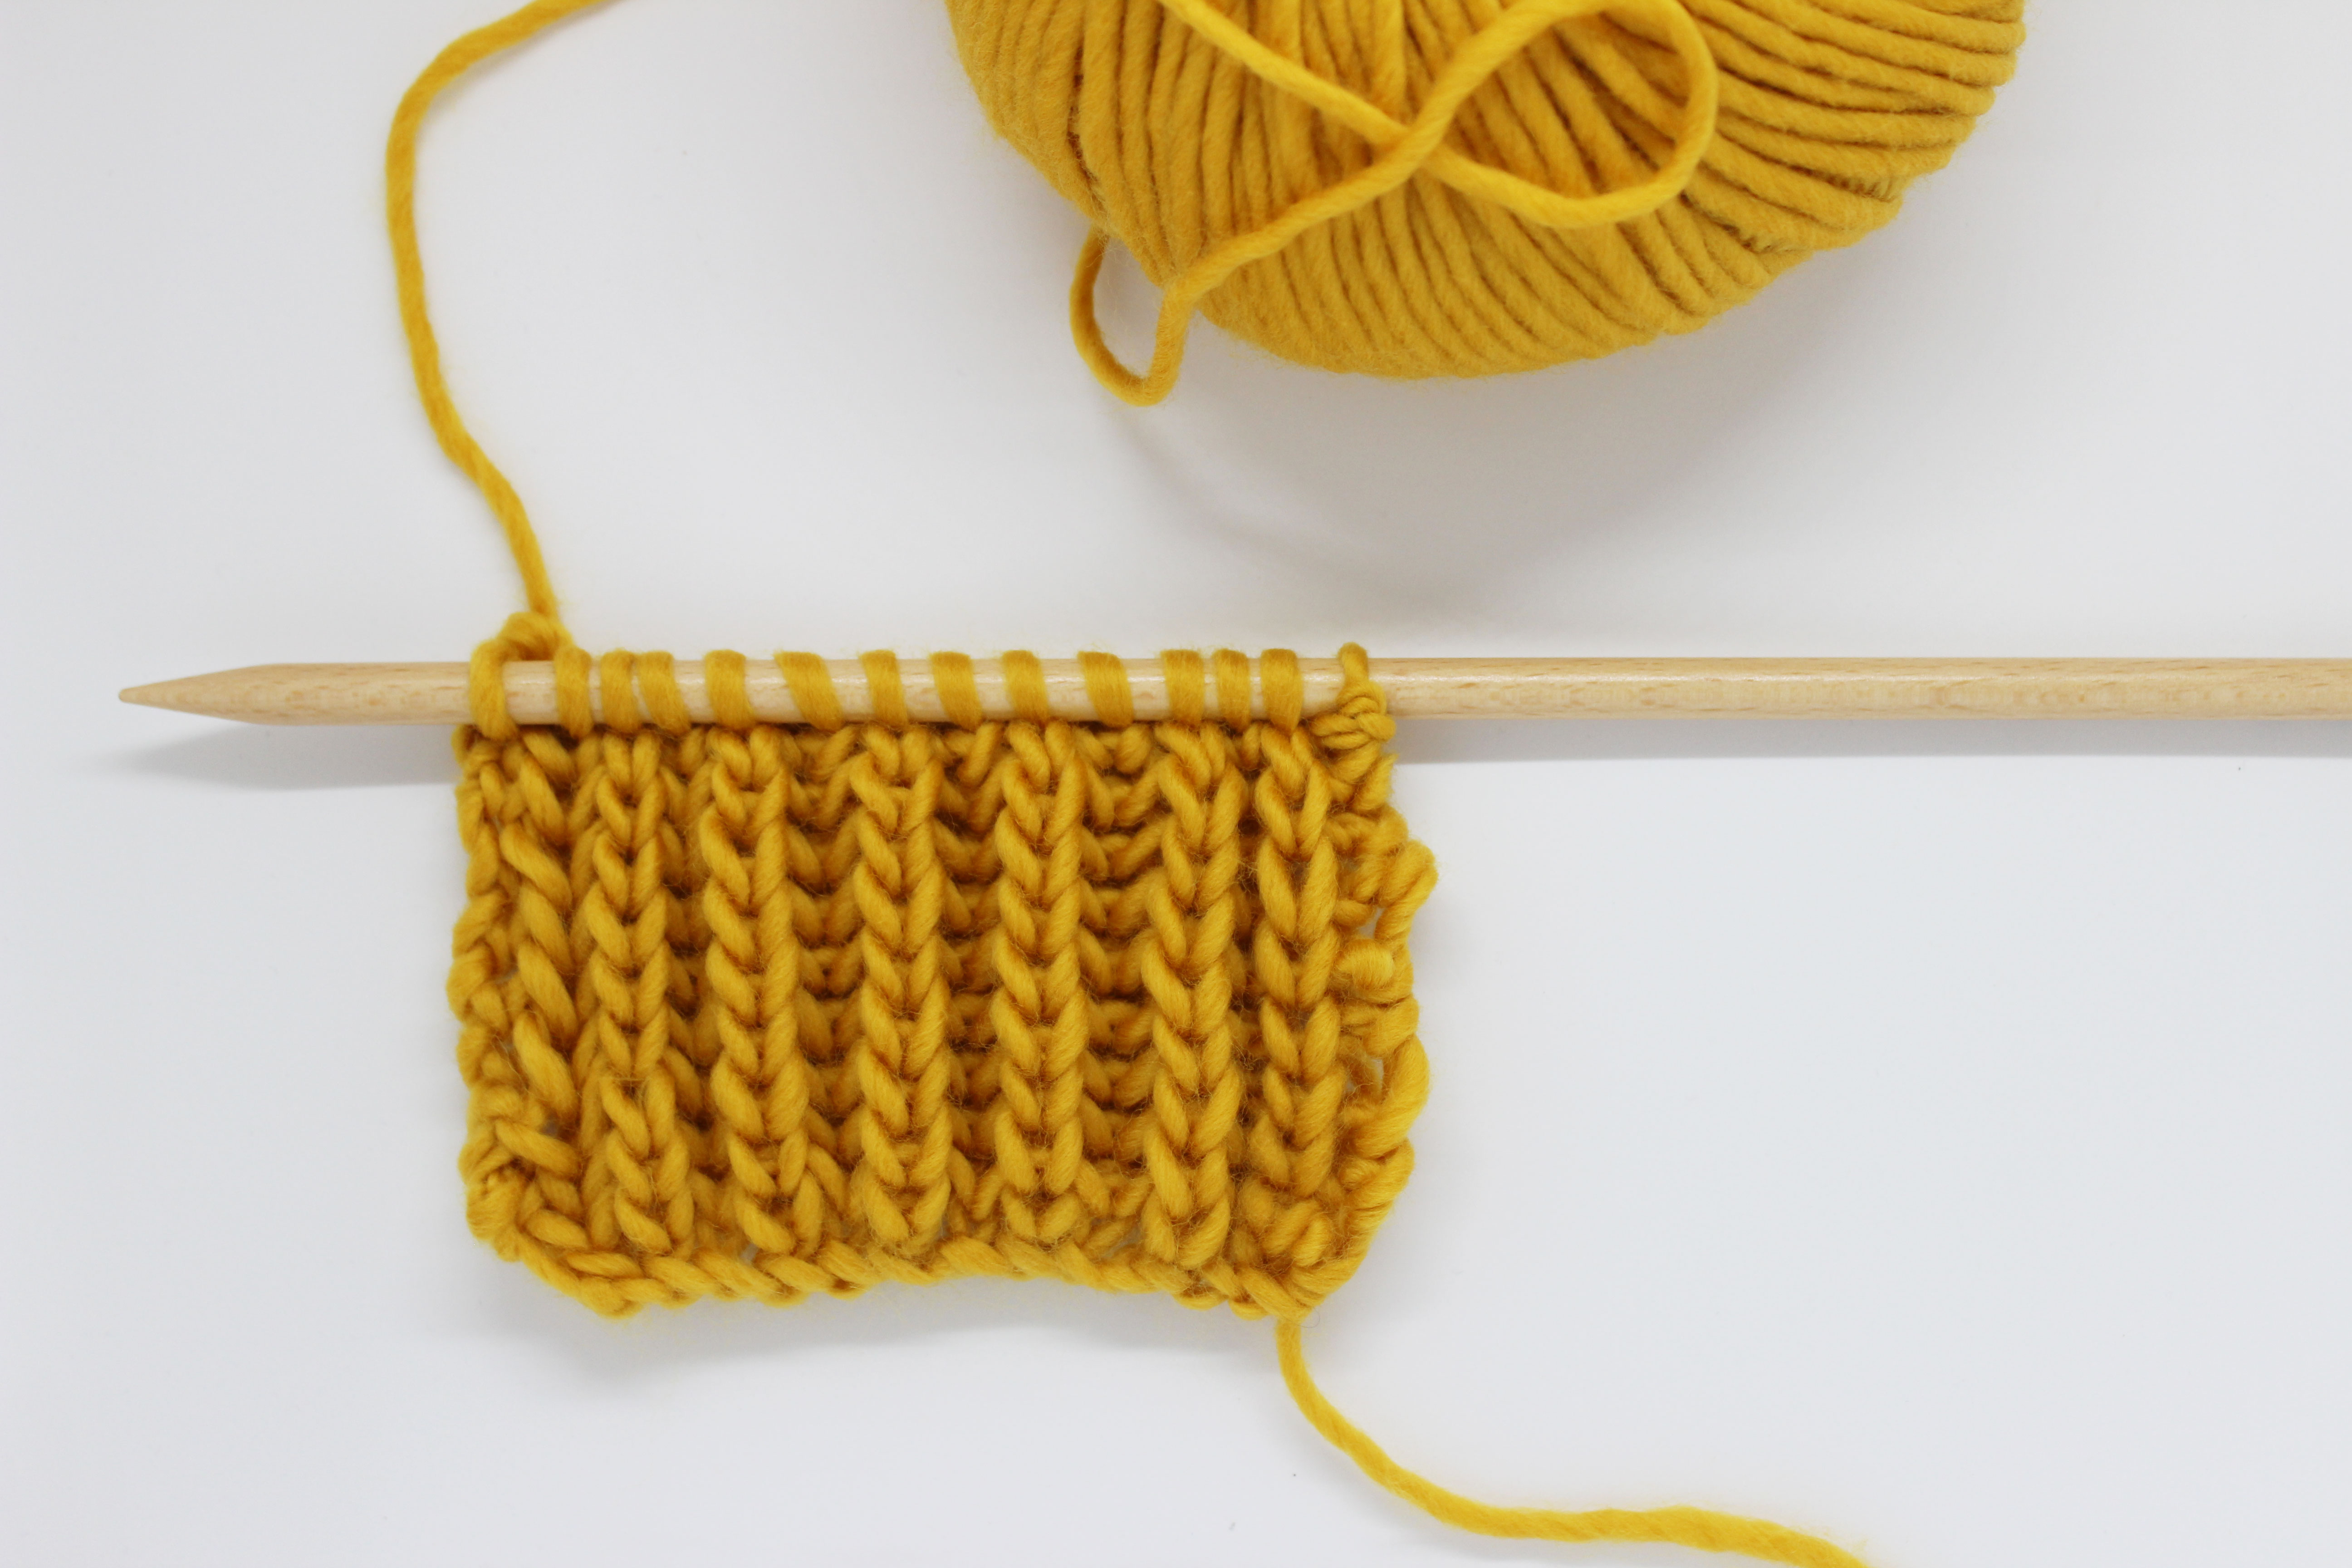
For this step-by-step, we’re using a skien of our Petite Wool and 8 mm knitting needles.

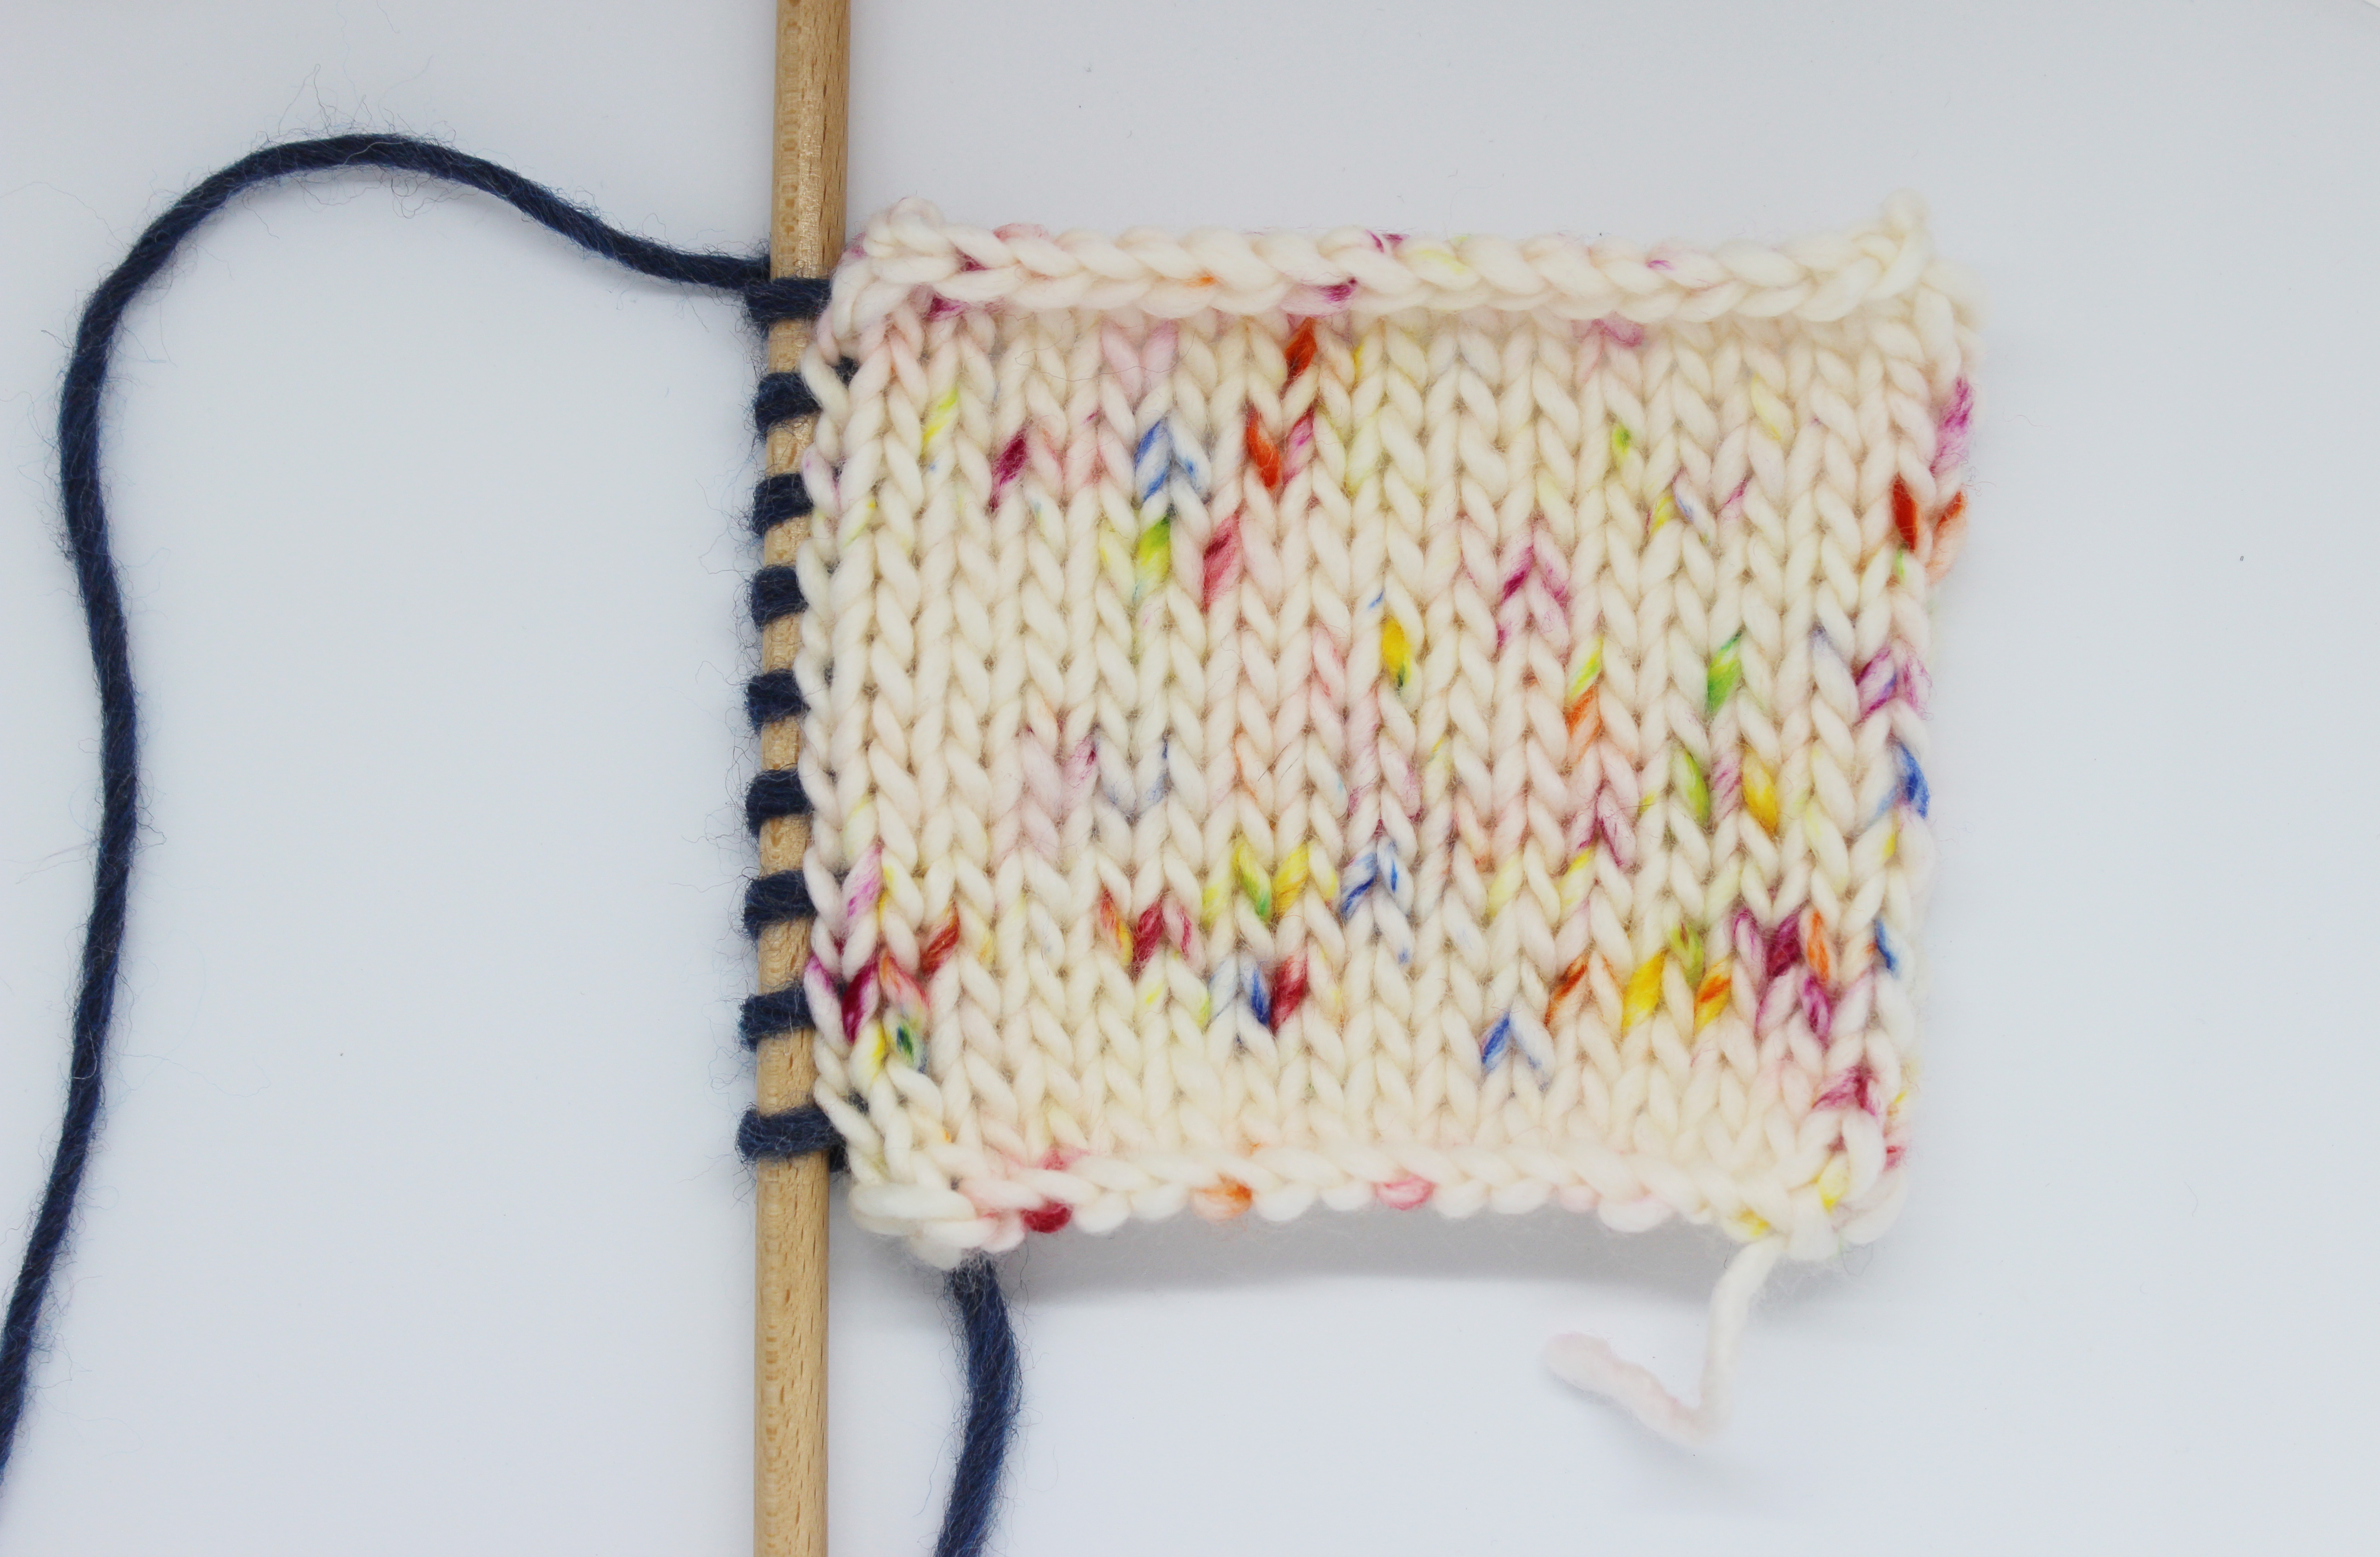
For this example, we started by working a small swatch where we slipped the first stitch of every row.

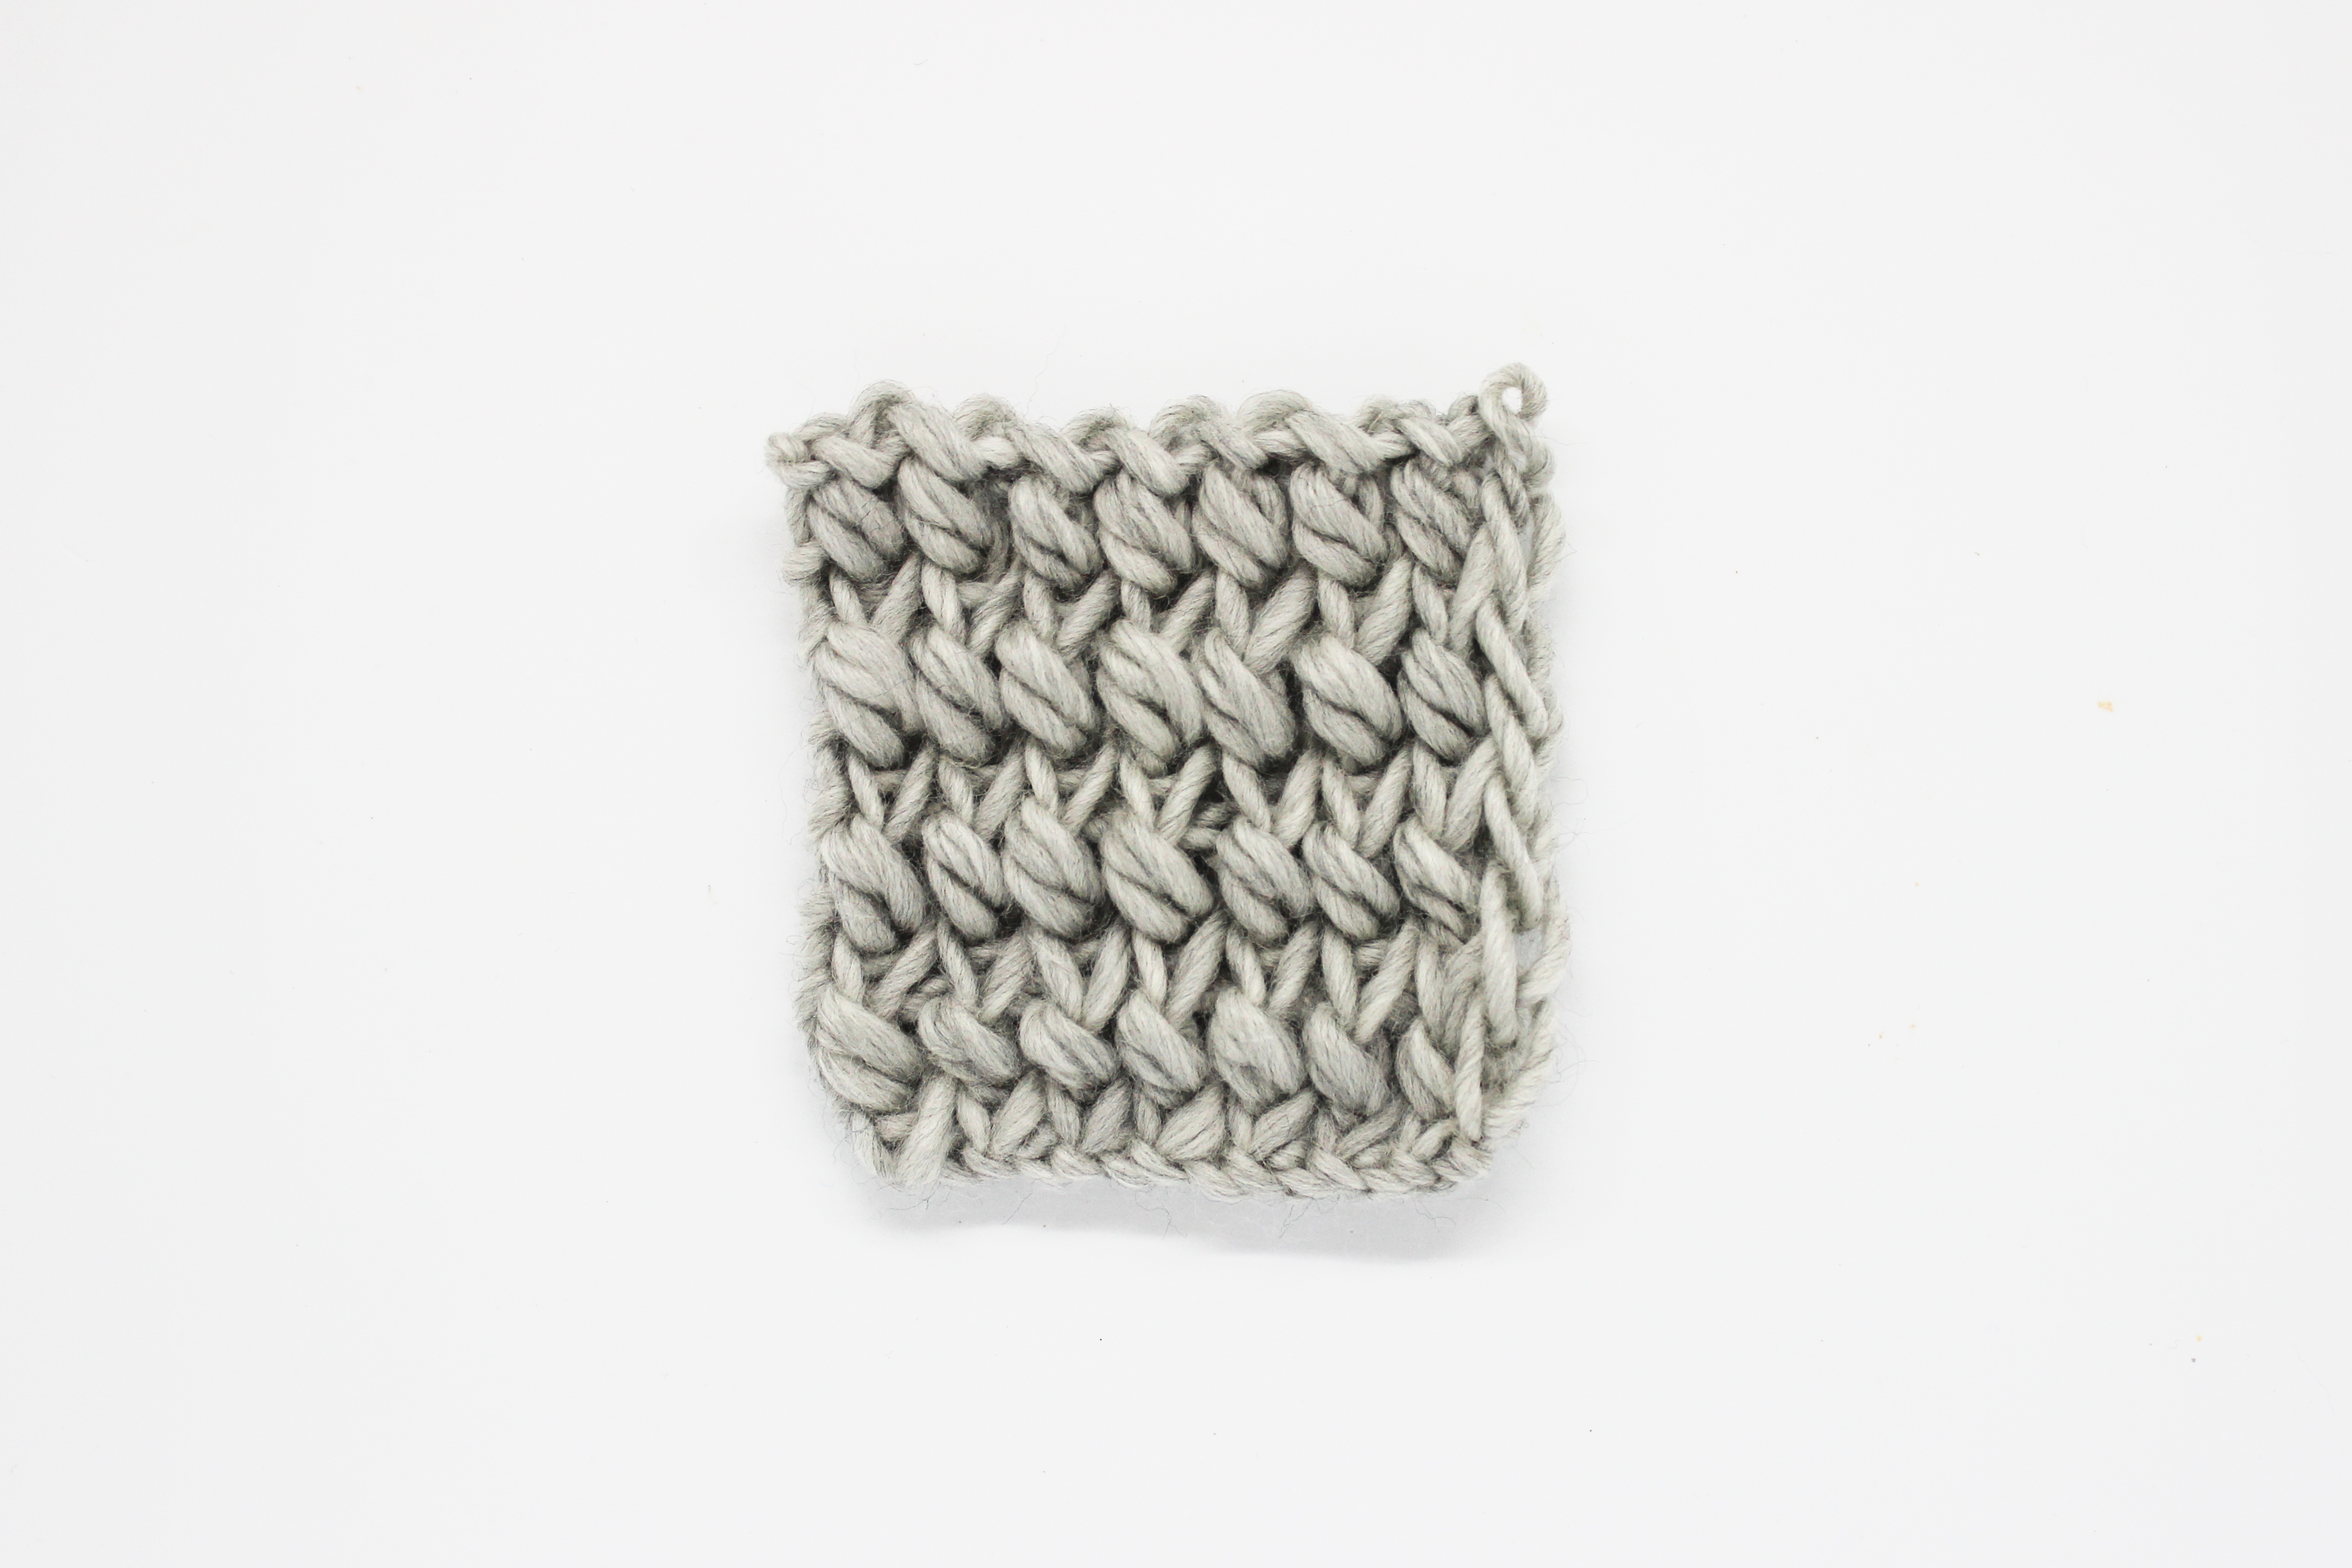
When it comes to picking up the stitches from the sides, we will look at the small holes that remain between the rows, which we have marked in the photo above so that you can see them better. This is where we will insert the needle.
We’ve prepared a video for you so that you can better see what we mean and what the process looks like:
Always remember to find the little holes that formed between the rows. Once you’ve seen one, you’ll start to see the rest right away.

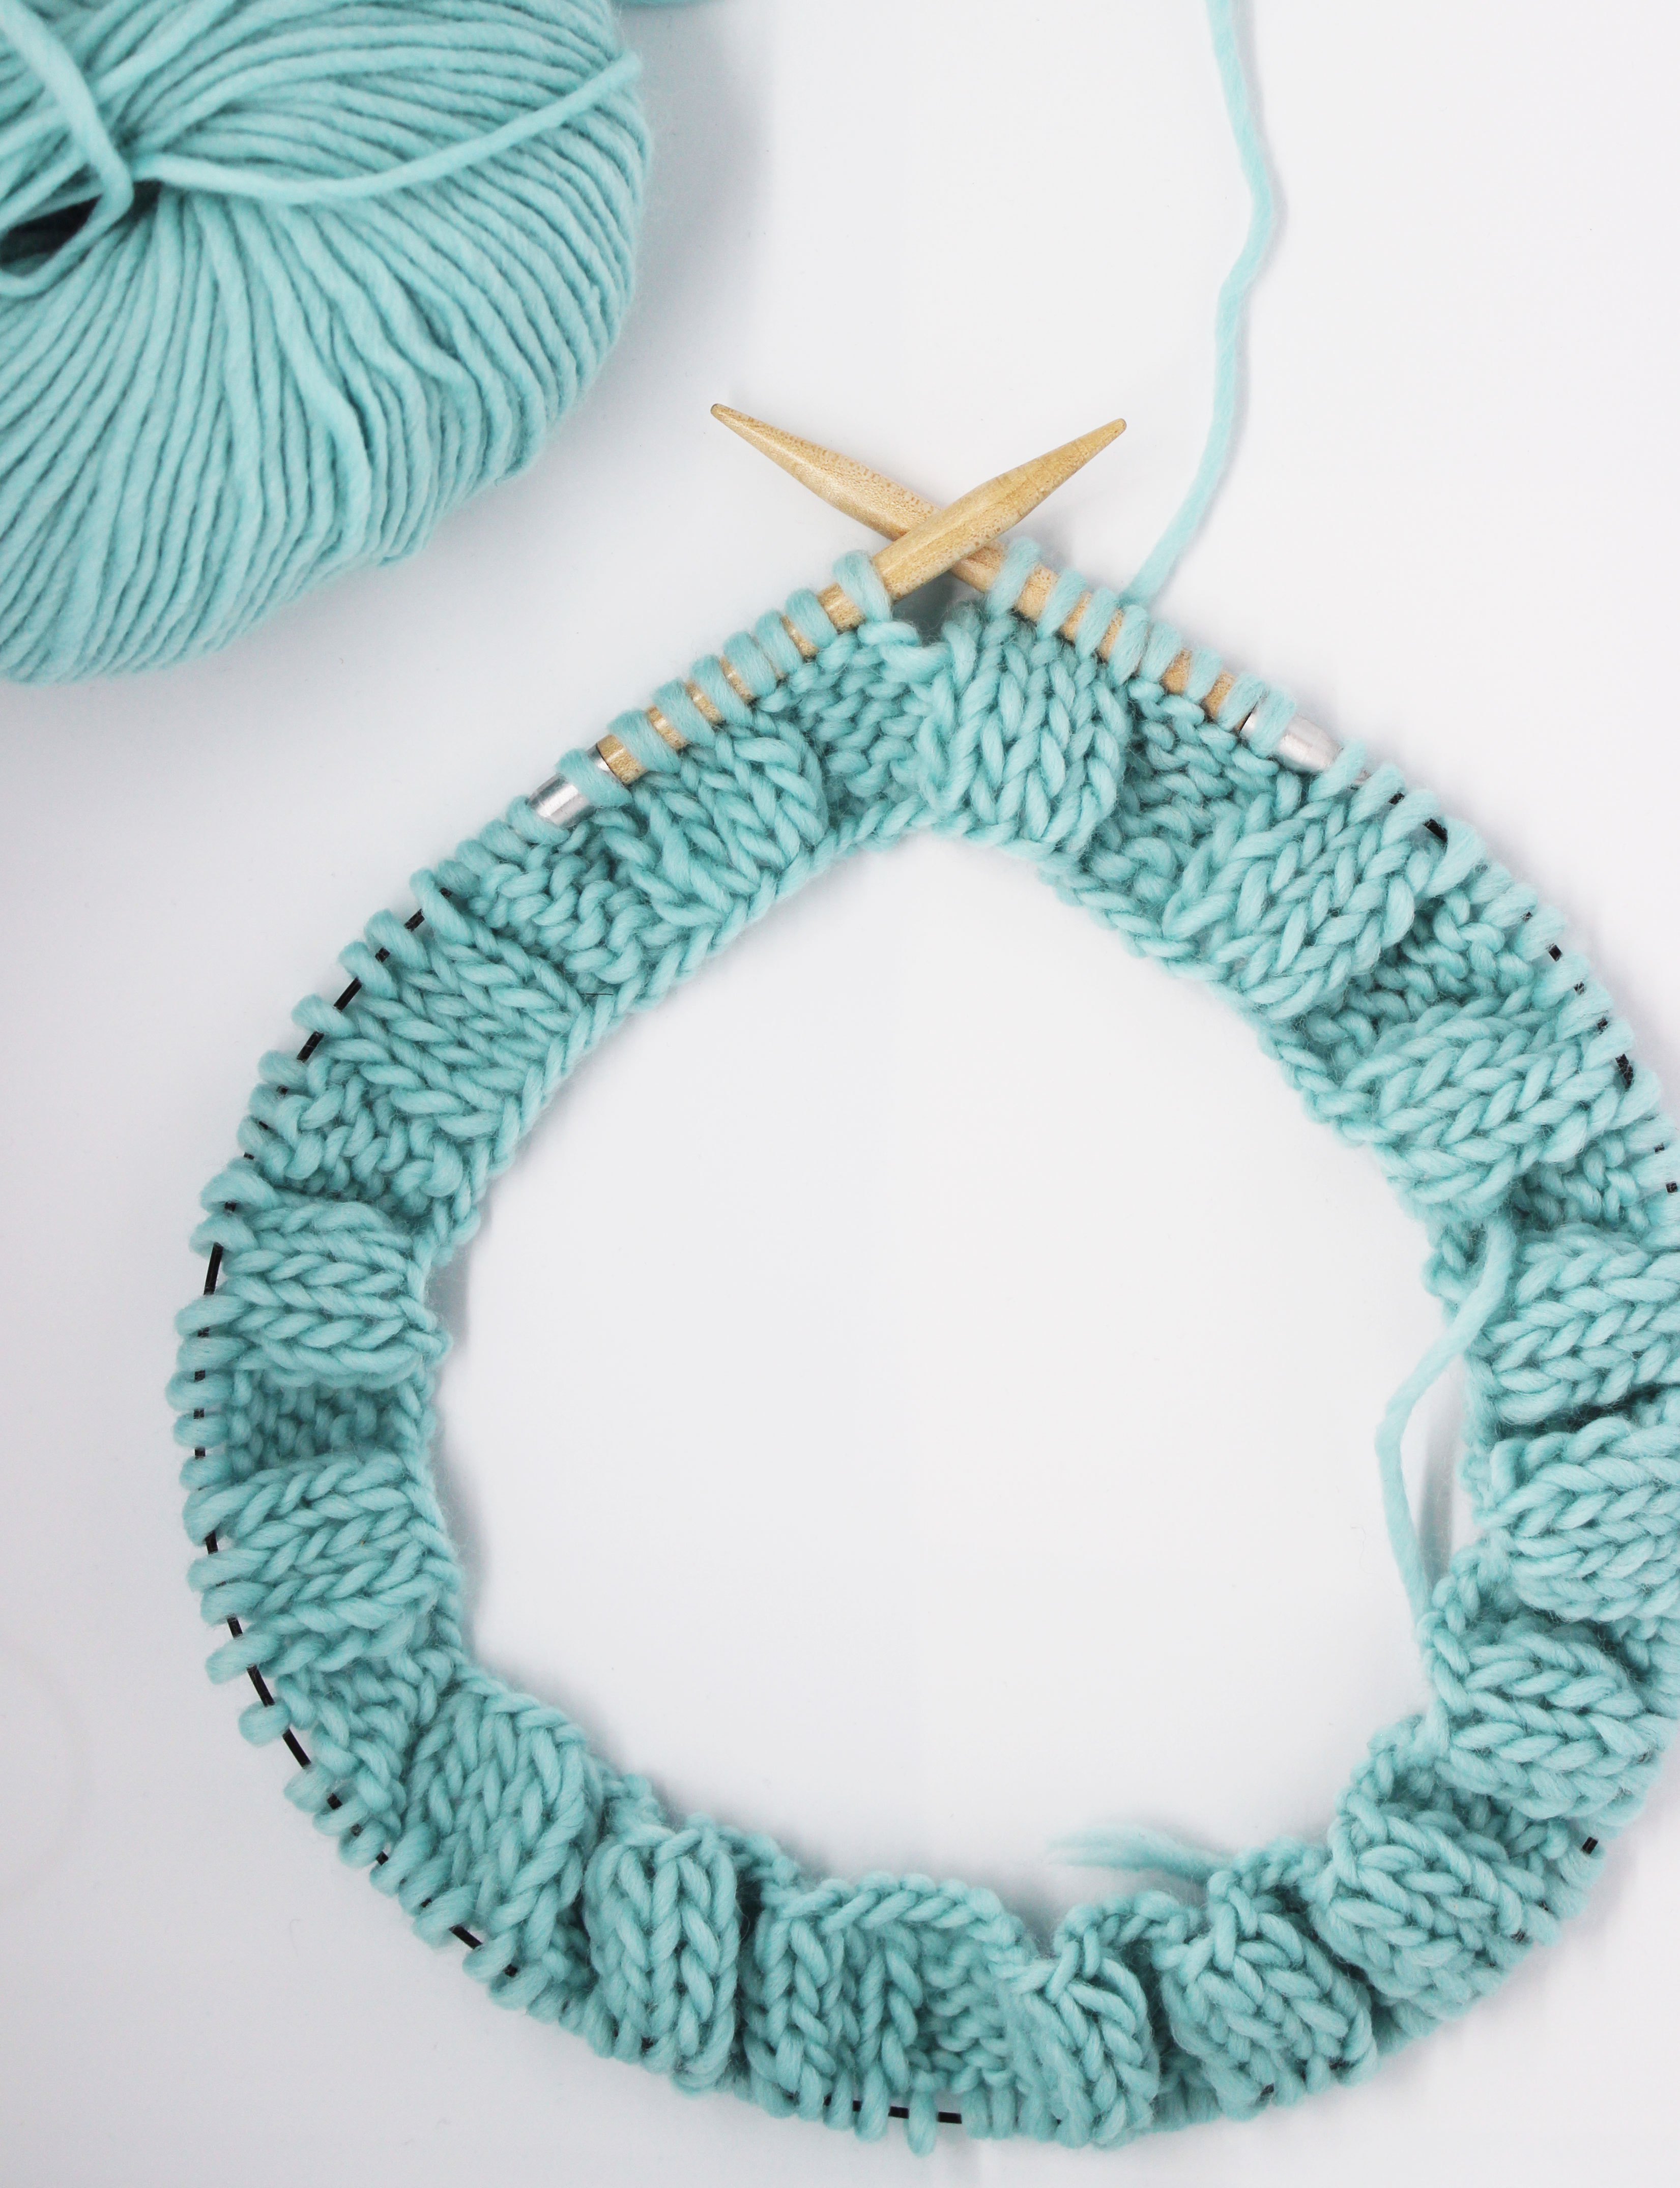
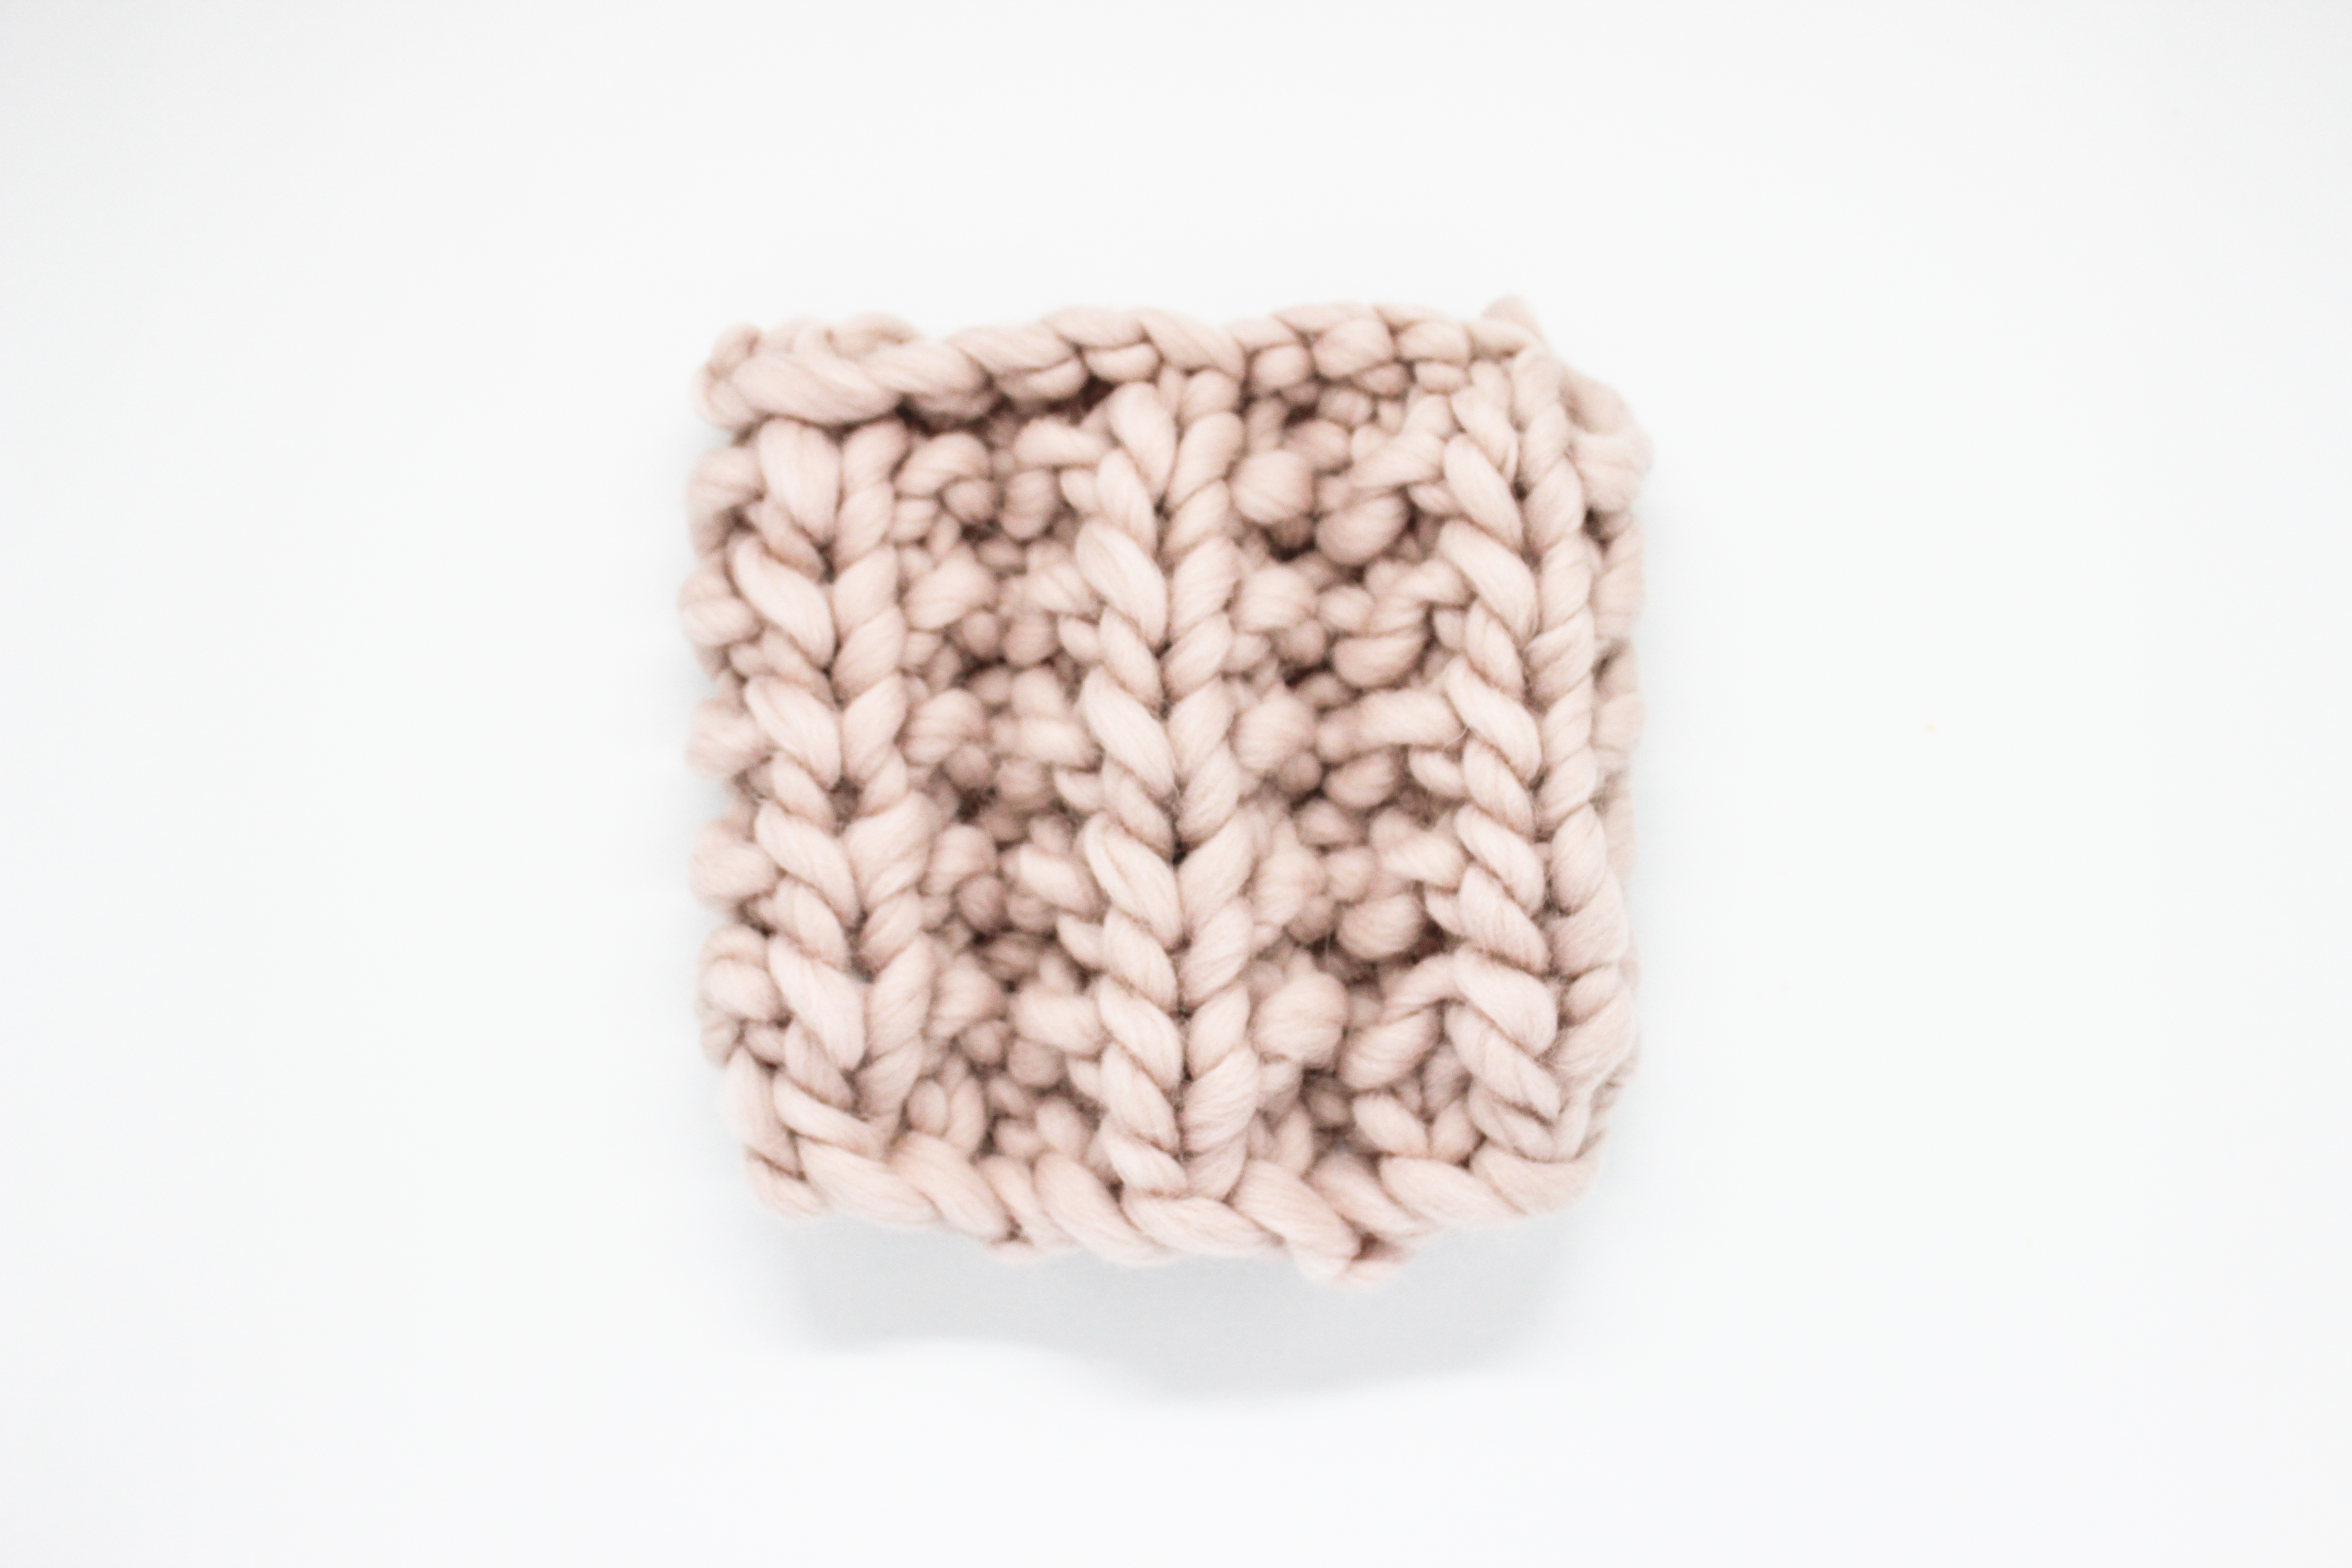
Once you’ve picked up all the stitches on the side, you’ll just have to work them as instructed in your pattern.

We hope this post answers your questions when it comes to picking up stitches from the edges of your fabric. You already know that we love to see everything that comes off your needles and we hope you’ll share it with us on social media using the hashtag #weareknitters. Until next time, knitters!