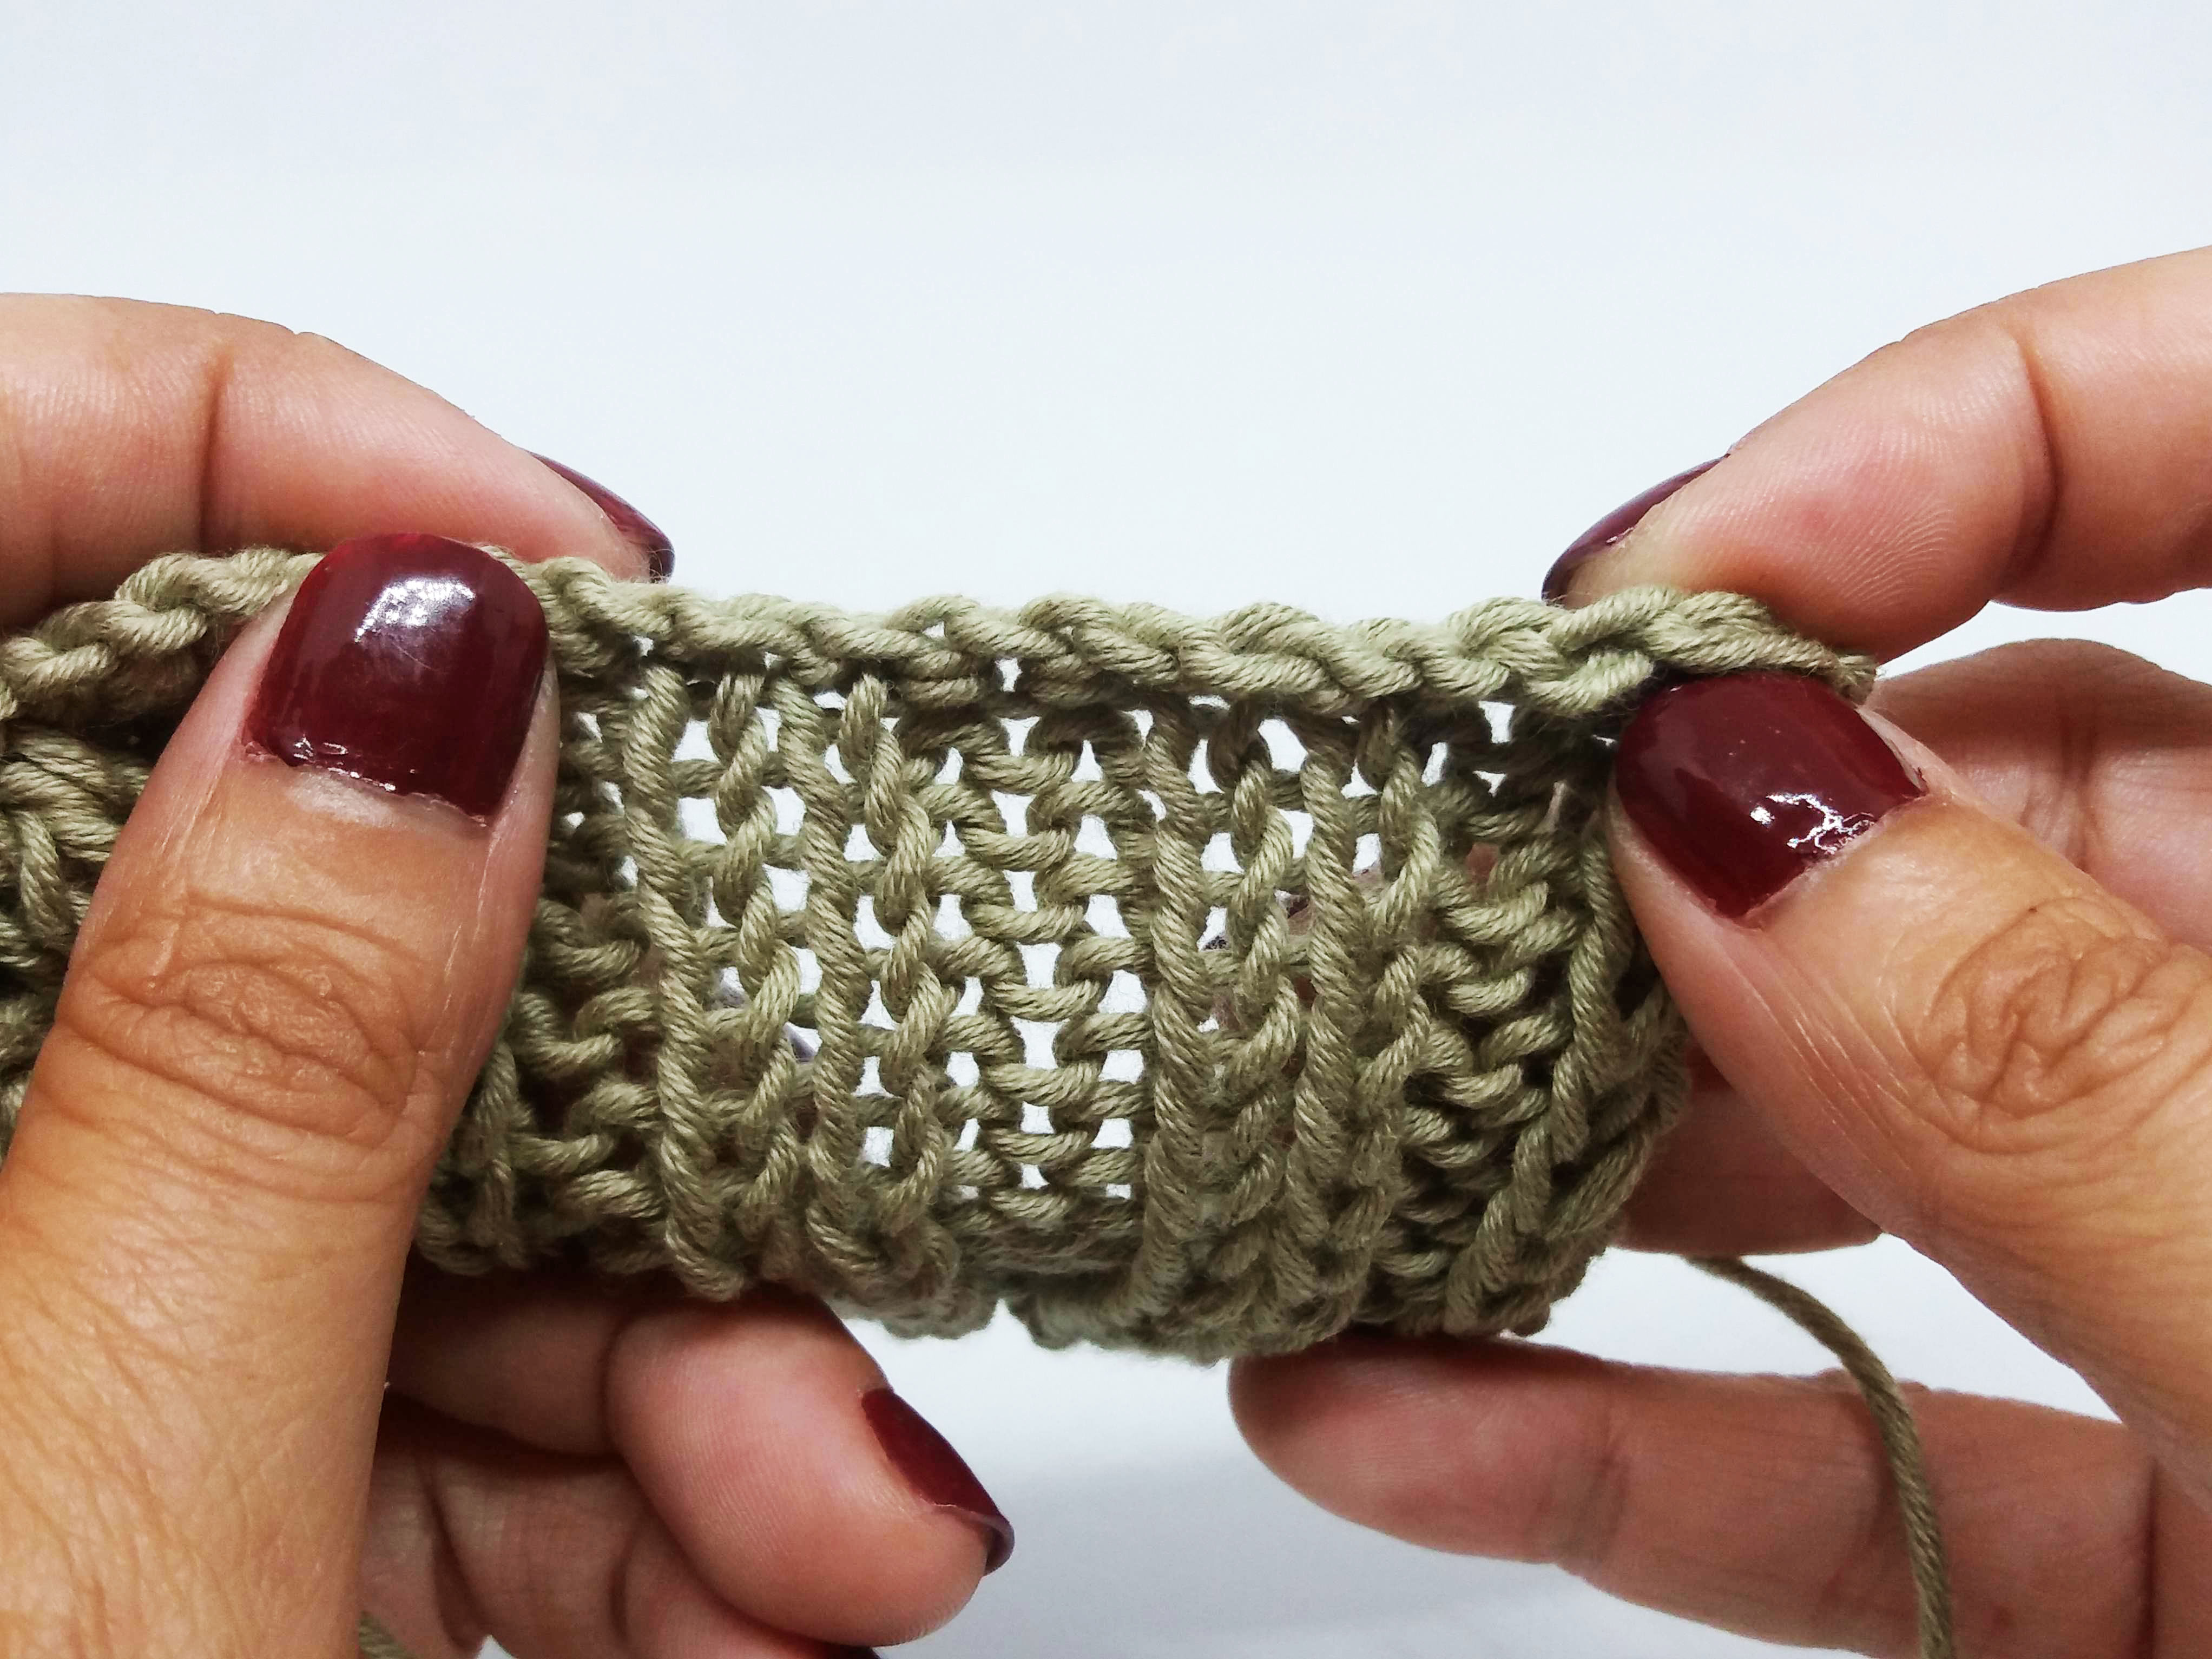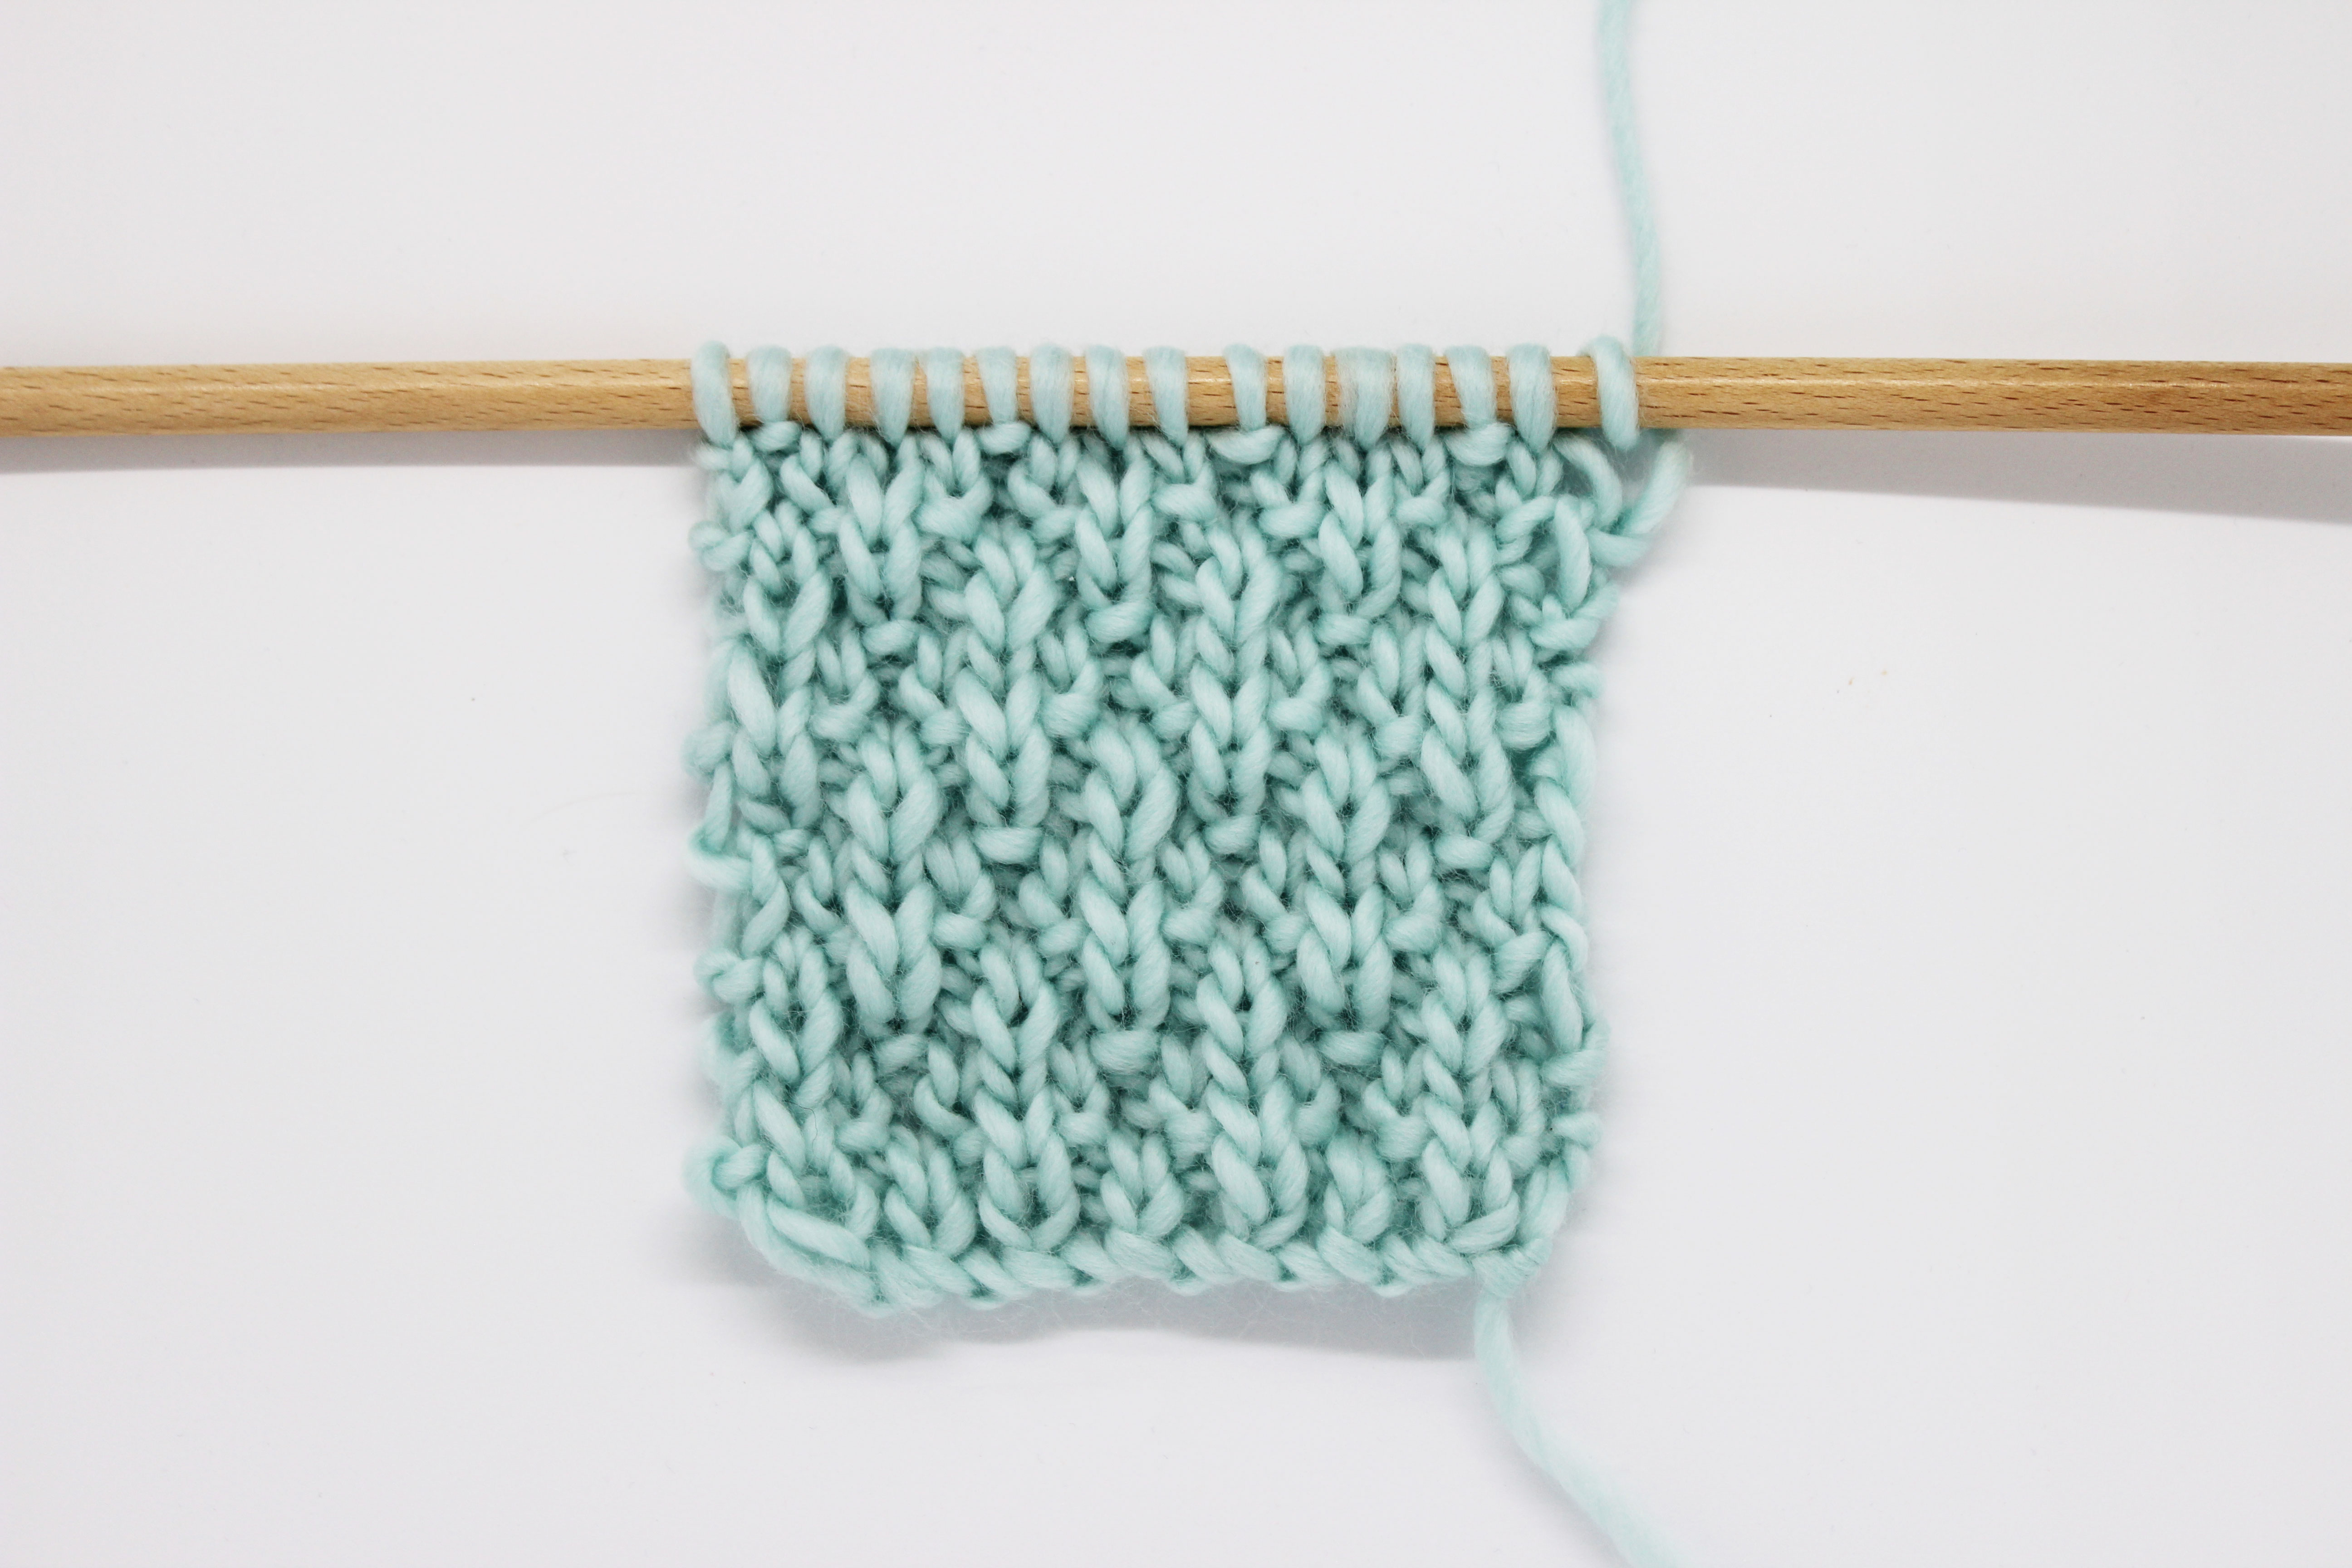
We can’t wait for Spring to get here and we’ve already started thinking about the next garments we’ll be knitting. One of this season’s star stitches will be the Daisy stitch. It’s an easy stitch, like all of the stitches we share with you, full of little flowers that we’re going to show you how to knit in our step-by-step tutorial today.

For this tutorial we used a skein of our The Baby Wool made of 100% Baby Alpaca in the color mustard and a pair of our size 8 (5 mm) beechwood needles.
Before beginning you will need to know how to do the following techniques and stitches:
Let’s get started!

The first thing you have to do is cast on the stitches needed to work the daisy stitch. You will need to cast on a multiple of 8 stitches.

Row 1 (right side): knit all stitches.

Row 2 (wrong side): purl all stitches.

Rows 4 to 7: work even rows the same as for row 1, and work odd rows the same as for row 2.

Row 7 (right side): knit 3, * make 1 daisy, knit 8 *. Repeat from * to * until there are 6 stitches left. Make 1 daisy, knit 2.
To make the daisies, follow these next steps for each daisy:
- Insert your right-hand needle into the second stitch four rows below.
To locate the exact stitch where you have to insert your needle to make the petals, start counting the stitches from the point of your left-hand needle towards the left: count 2, and from there, count down 4 stitches.
- Wrap the yarn around the needle and pull up the yarn through this stitch, gently pull the yarn so that it is long enough not to wrinkle the fabric. You will have made the first petal, leave this petal on your right-hand needle.
- Knit the next 2 stitches on your left-hand needle.
- Insert the needle into the same stitch where you made the first petal, and make another petal.
- Knit the next 2 stitches on your left-hand needle.
- Insert the needle again into the same stitch where you made the first petal, and make another petal.
At the end of these steps, you will have 3 petals in the same stitch and will have made 1 daisy.
If you want to see how to make the daisy in action, so you don’t miss any steps, we made a little video for you:
When making the petals of the daisy, so that they are the perfect length and so that the fabric does not pucker, after making a petal, when you are going to knit the next stitch, we recommend holding the center of the daisy with your left thumb. This way, the yarn will stay in place and retain its original length.

Row 8 (wrong side): purl 2. *Purl 2 together, purl 1, purl 2 together, purl 1, purl 2 together, purl 7*. Repeat from * to * until there are 10 stitches left. Purl 2 together, purl 1, purl 2 together, purl 1, purl 2 together, purl 2.

Rows 9 to 14: work odd rows the same as for row 1, and work even rows the same as for row 2.

Row 15 (right side): knit 1. *Knit 8, make 1 daisy*. Repeat from * to * until there are 8 stitches left, knit 8.

Row 16 (wrong side): purl 1. *Purl 7, purl 2 together, purl 1, purl 2 together, purl 1, purl 2 together*. Repeat from * to * until there are 8 stitches left, purl 8.
To continue working in daisy stitch repeat rows 1 to 16 as many times as needed.

We hope this tutorial gives you inspiration for your next projects.
Share your ideas with us via social networks using the hashtag #weareknitters. See you next time!


