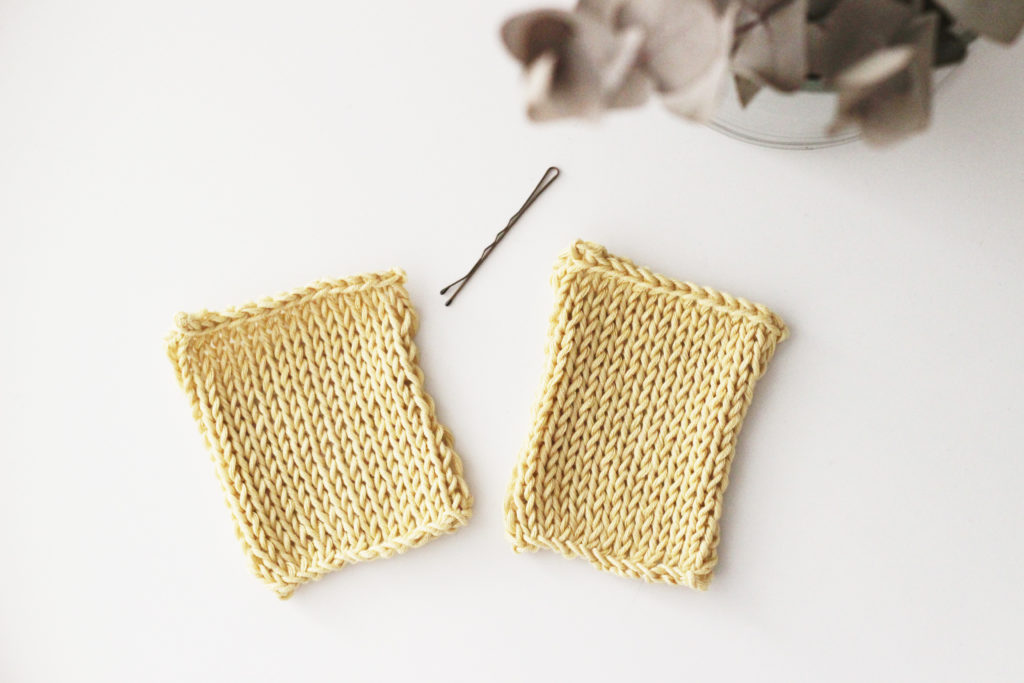
Surely as a good knitter, who goes everywhere with their project under their arm, you have at some point forgotten to put a tapestry needle in your bag to finish your garment. Don’t worry! In this post we’ll show you a quick solution to make those seams you’re missing with a daily accessory that we always have in some corner of our bag: a hairpin.
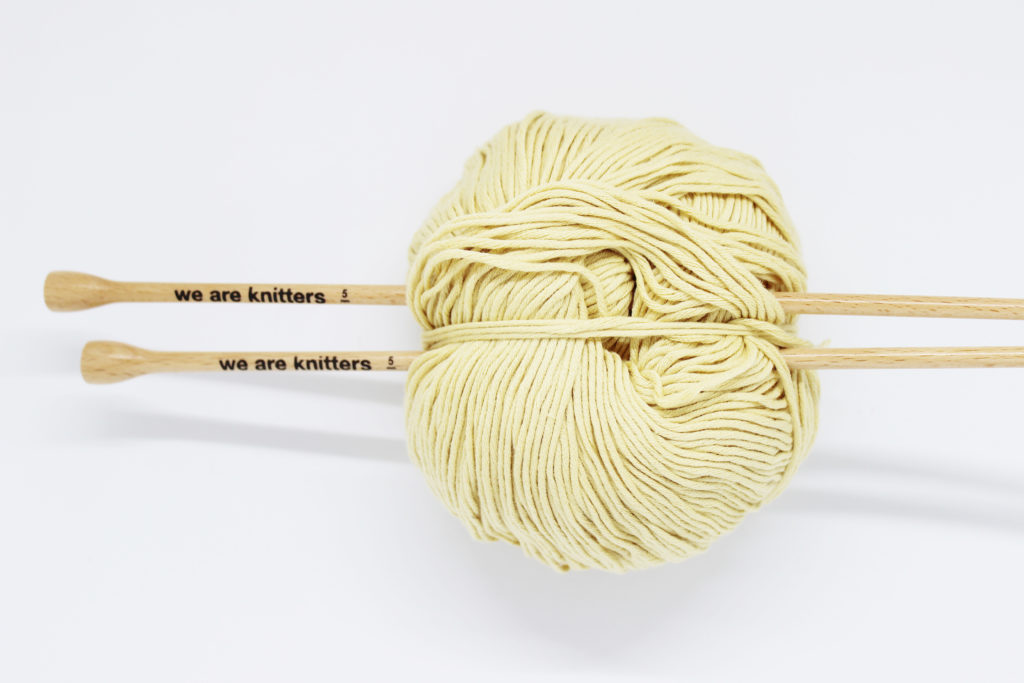
For this step by step, we’re using: a skein of our Pima Cotton yarn and our 5 mm knitting needle.
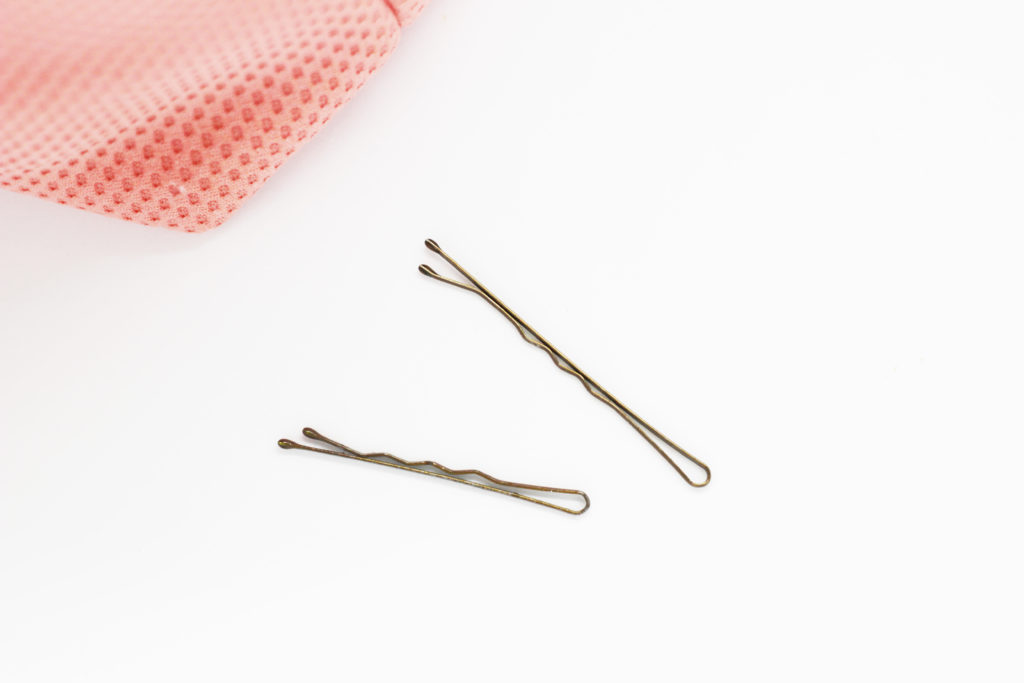
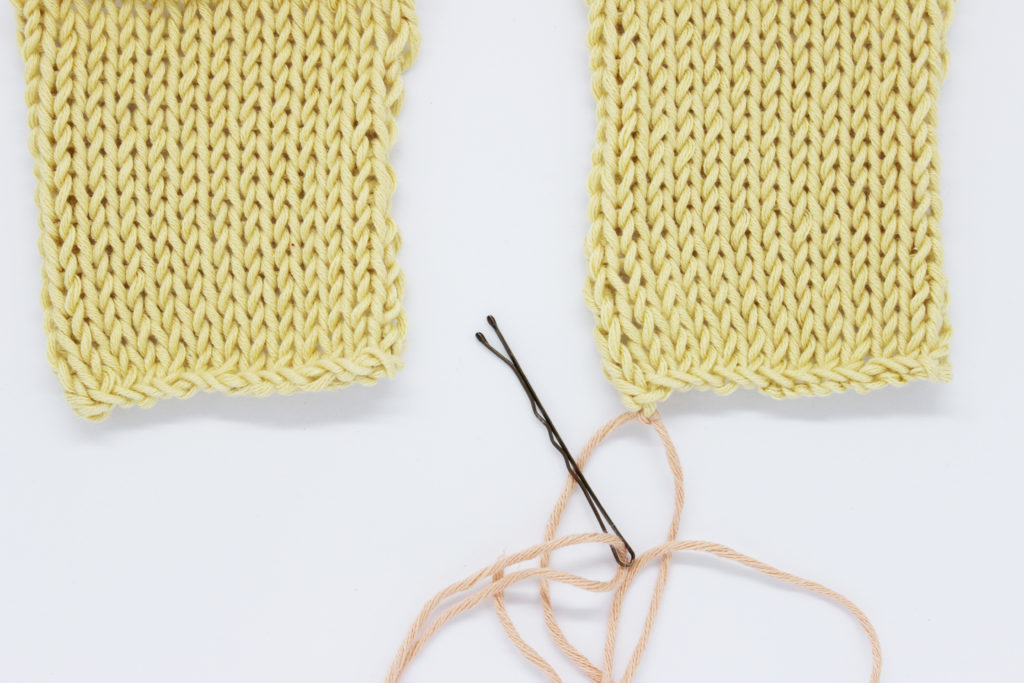
We also need, of course, a hairpin. The smaller, the better, as this will make it easier to manage when seaming.
Before beginning, let us remind you that these are the most important stitches that you should be familiar with:
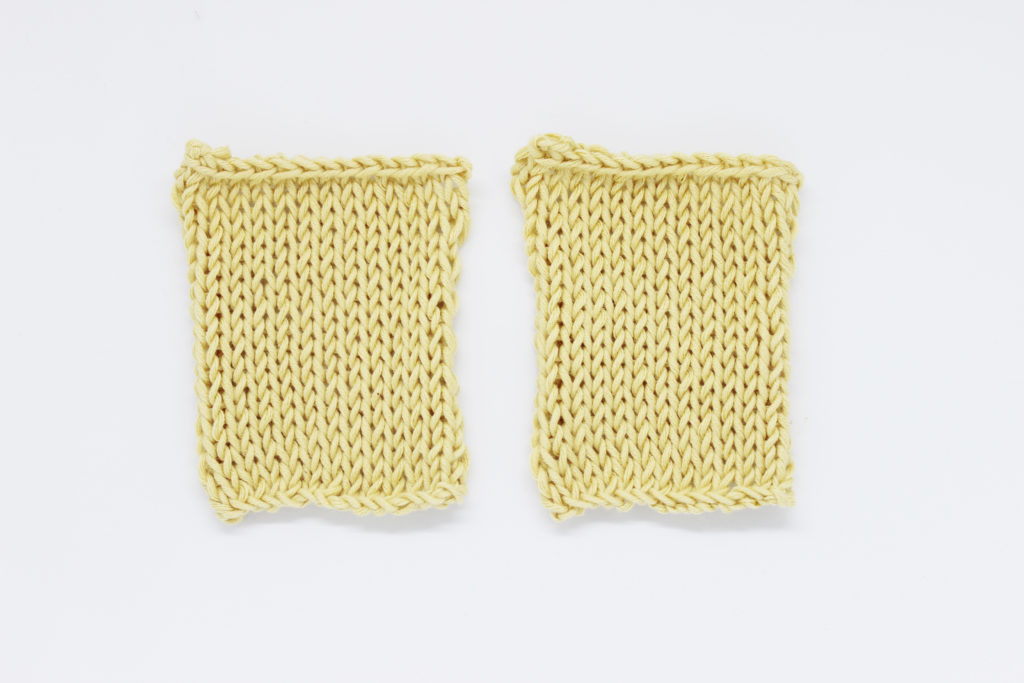
As always when we’re sewing seams, take the two pieces and lay them side by side.
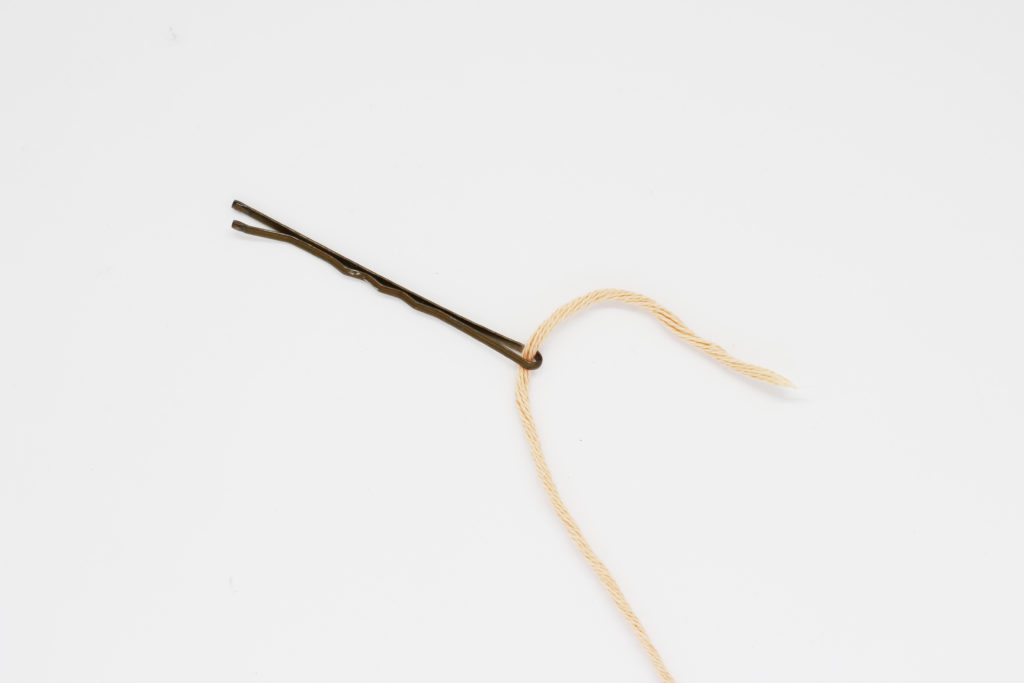
“Thread” the hairpin by tucking the yarn in the end of the pin as if it was a tapestry needle.
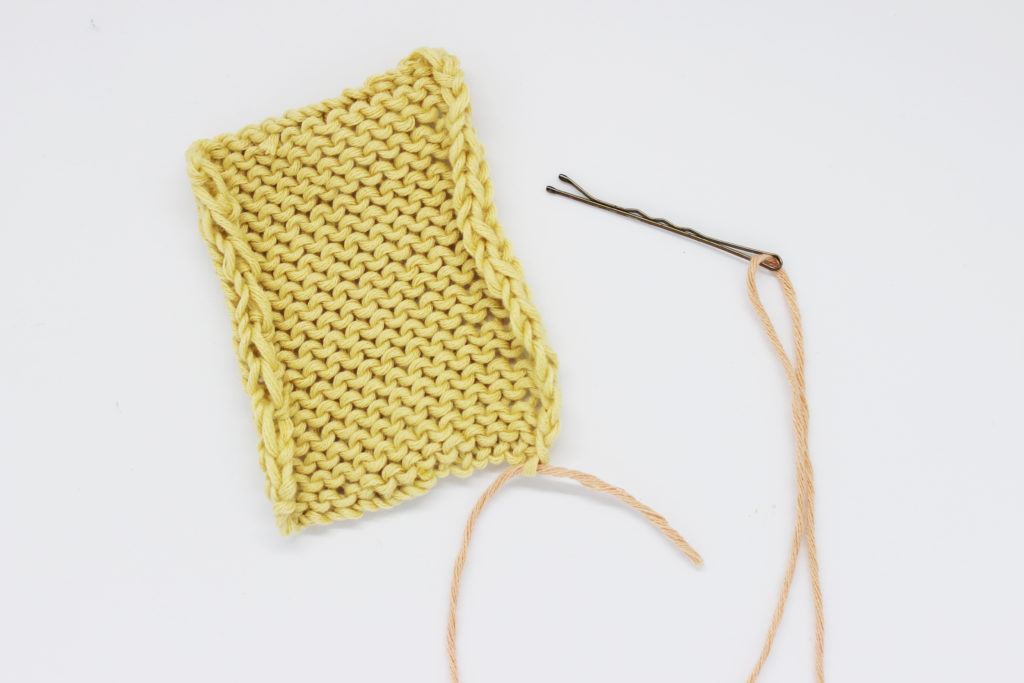
Before you start sewing: secure the strand to one of the pieces by tucking the pin tip into the fabric. It should look like what you see in the photo above.
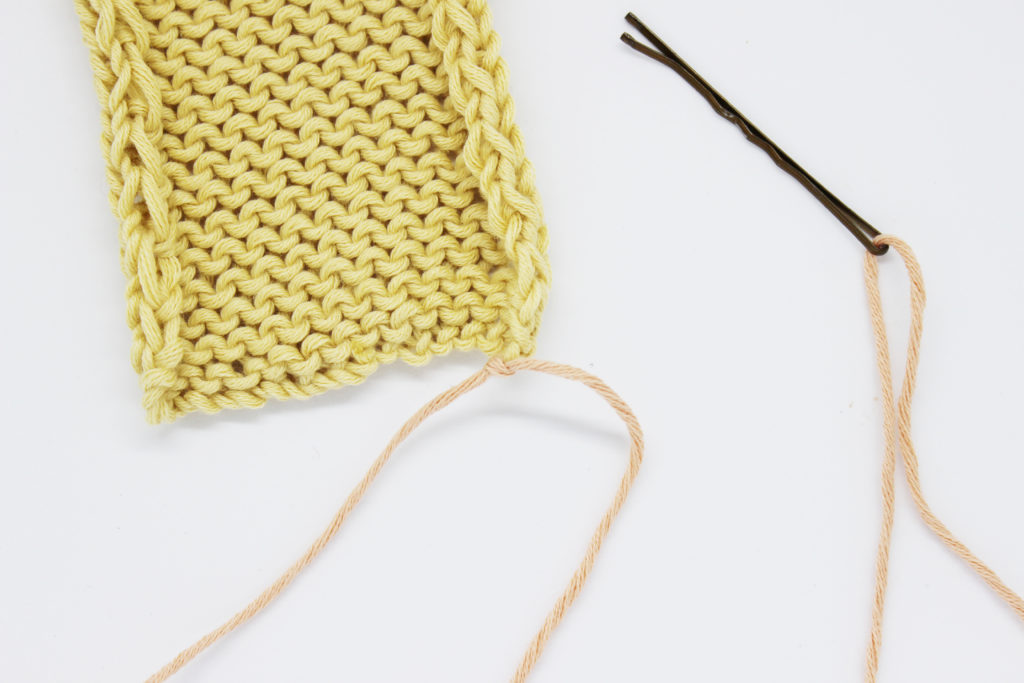
To keep the thread from coming loose while sewing, make a small knot. The ends will be woven in when you have a needle on hand so, for now, we’ll leave it like this
Once we have done the previous step, we are going to start sewing the two pieces. For this we’ve made a video for you, so you can see it very quickly:
As you can see in the video, we sew the stitches like normal (we also have a tutorial for sewing like this in this post on our blog).
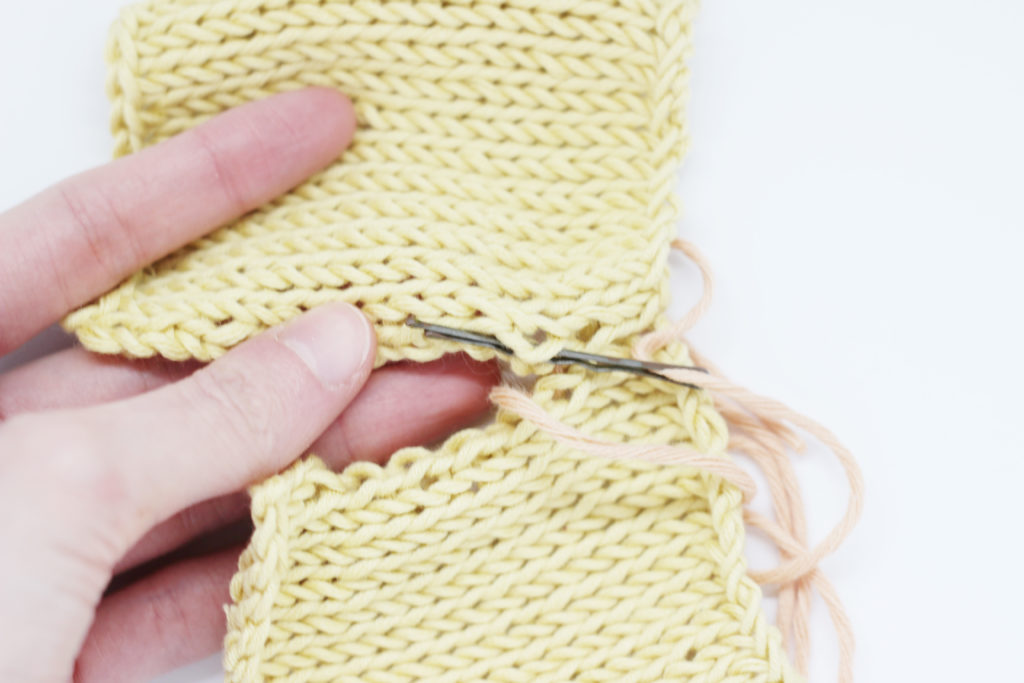
A tip that can help you make the seam with the hairpin is to turn the fabric to the side, working horizontally, so that you can see the two stitches in front of you.
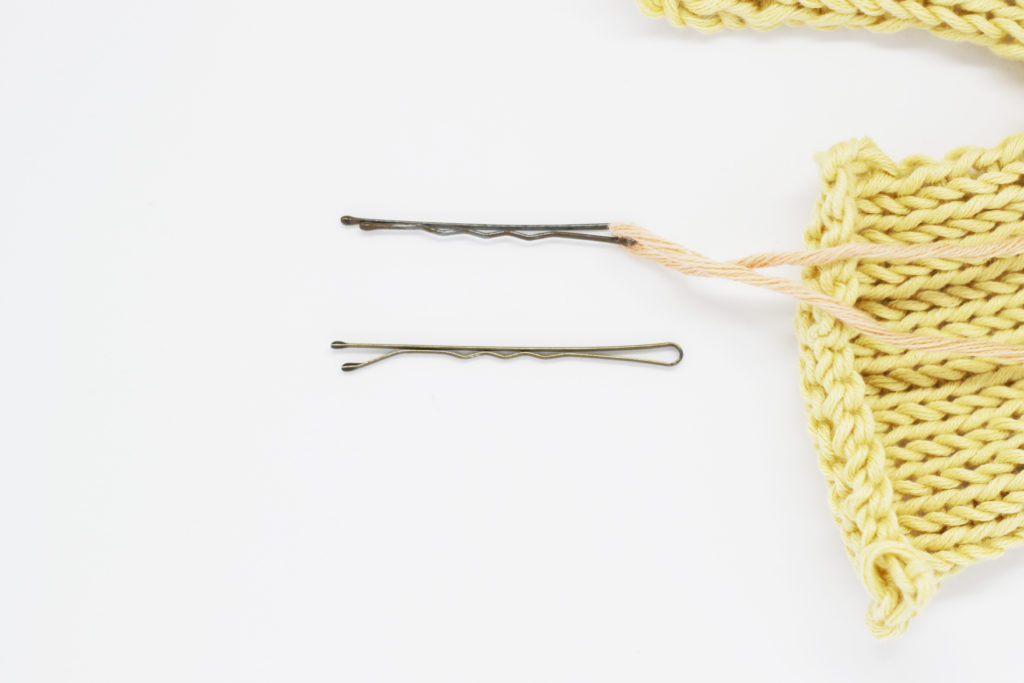
It will also be helpful to close the tip of the pin a little, so that it is as flat as possible and doesn’t stay open. This will keep it from catching on the fabric.
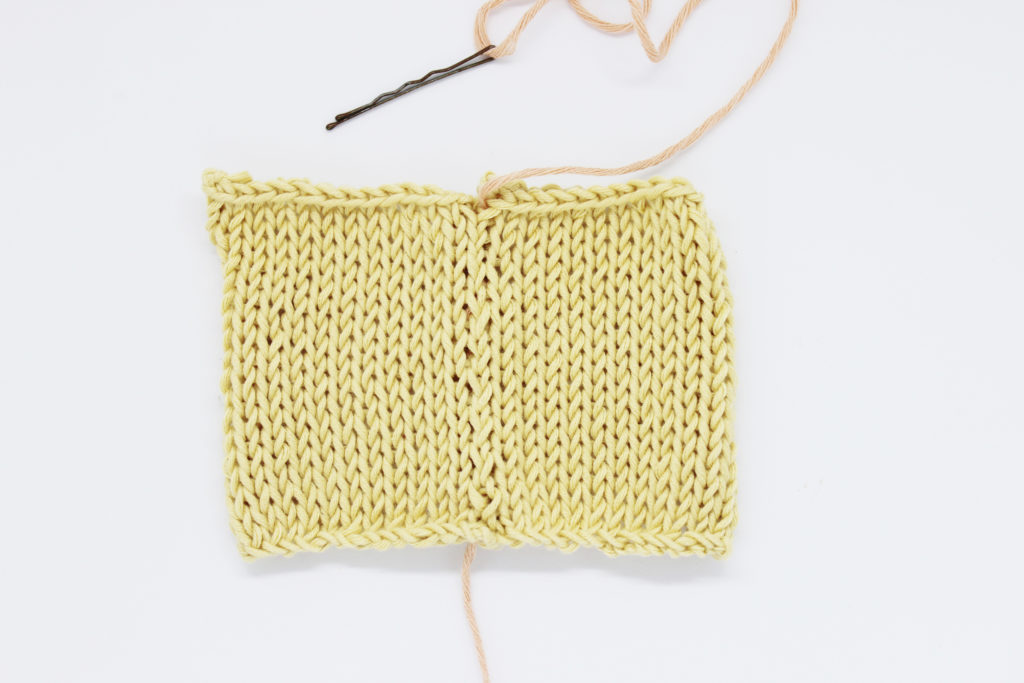
Little by little, you’ll be sewing your two pieces, and the side seam will turn out just like it would if you had made it with a tapestry needle. We hope this post is useful to you, and we’d be happy to see how you put it into practice on social media, using the hashtag #weareknitters.


