Hi knitters!!
Today we are showing you a new stitch technique…. Icord with two needles.
This technique has a ton of uses – for anything from necklaces and bracelets to key rings and home decor accessories. It’s very easy to learn and knits up really quickly.
You only need WAK knitting needles and a WAK yarn ball, the size of the needles doesn’t matter nor does the thickness of the yarn. 😉

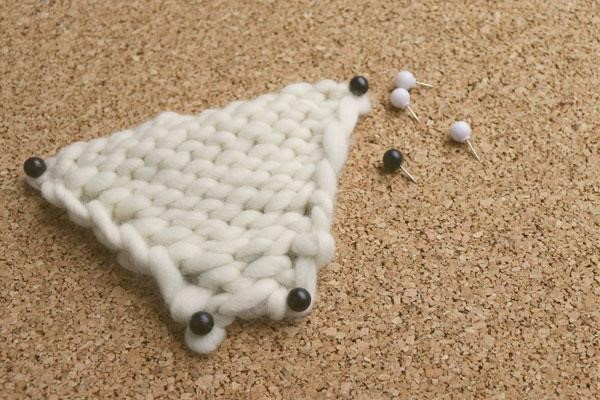
The first thing you have to do is decide the thickness that you want your cord to have… keep in mind that the cord is circular.
1. We cast on the desired number of stitches onto our right WAK needle.
The thread with which we are going to knit the stitches will stay on the left side.
2. Without knitting the stitches, we slip them to our left WAK needle,
in a way so that the thread with which we are going to knit the stitches stays to the right side.
3. Now it’s time, we knit the stitches with the selected technique normally.
4. We repeat steps 2 and 3 until we obtain the desired length.

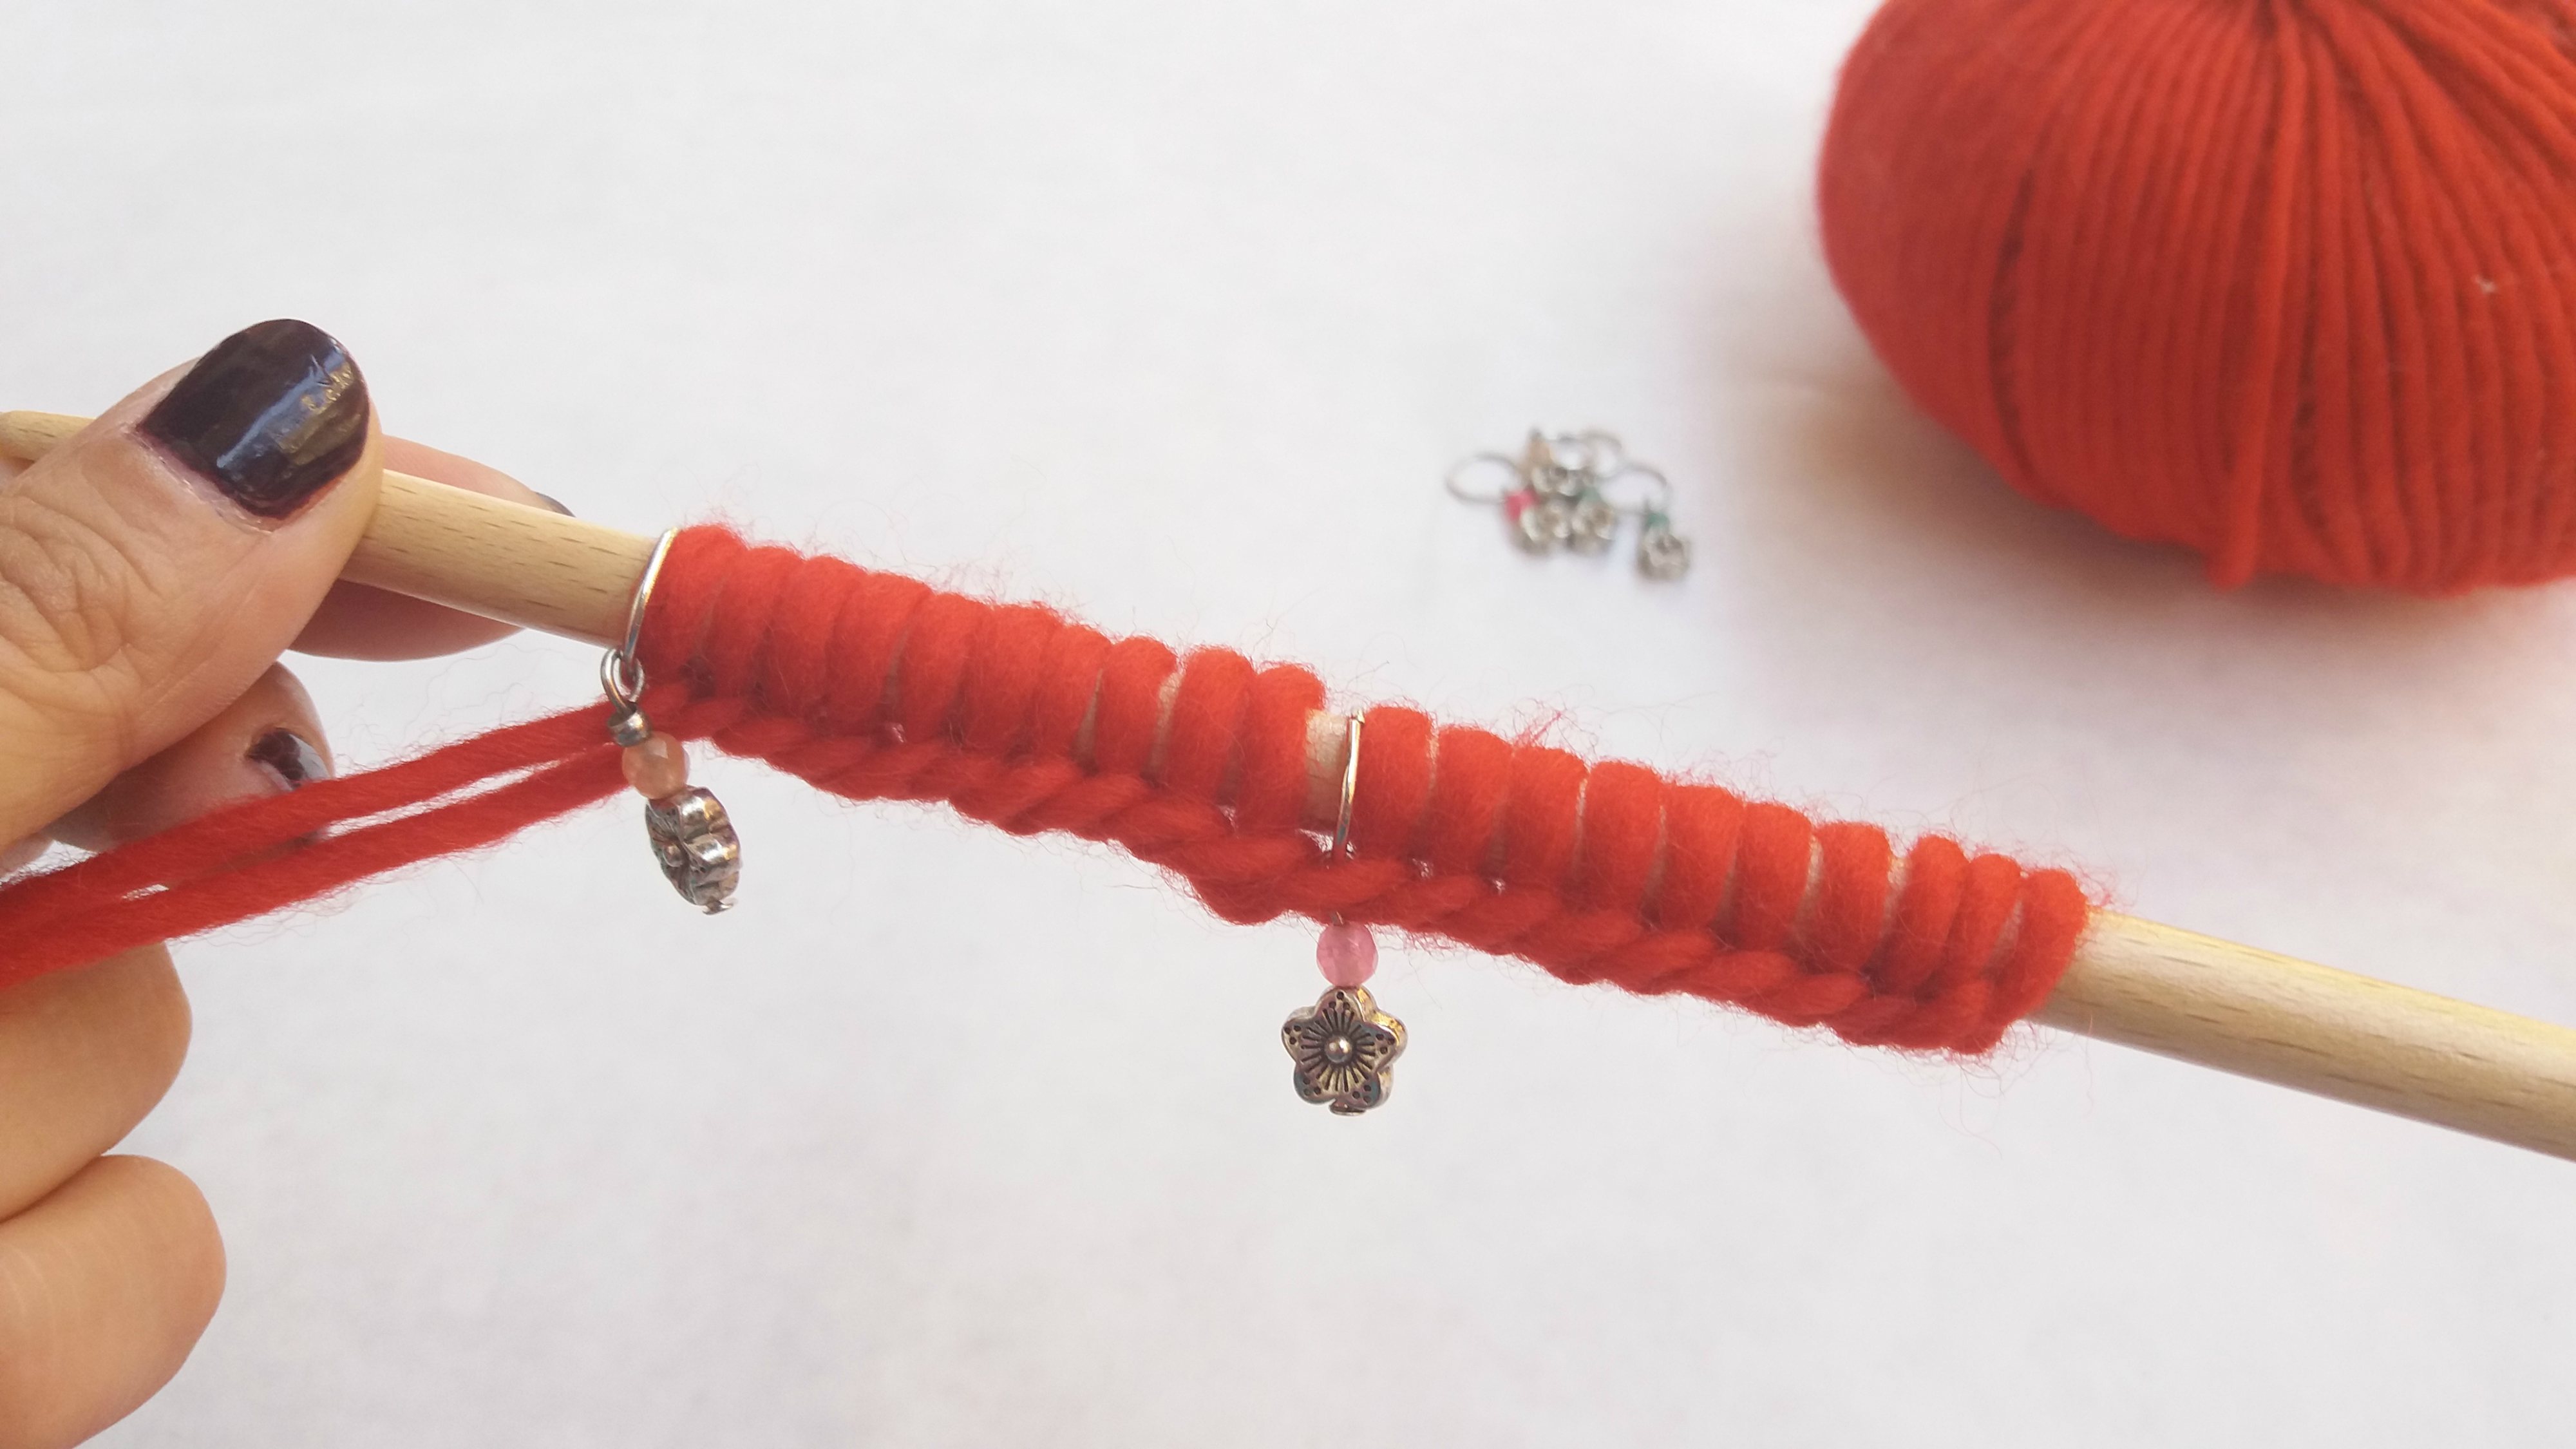
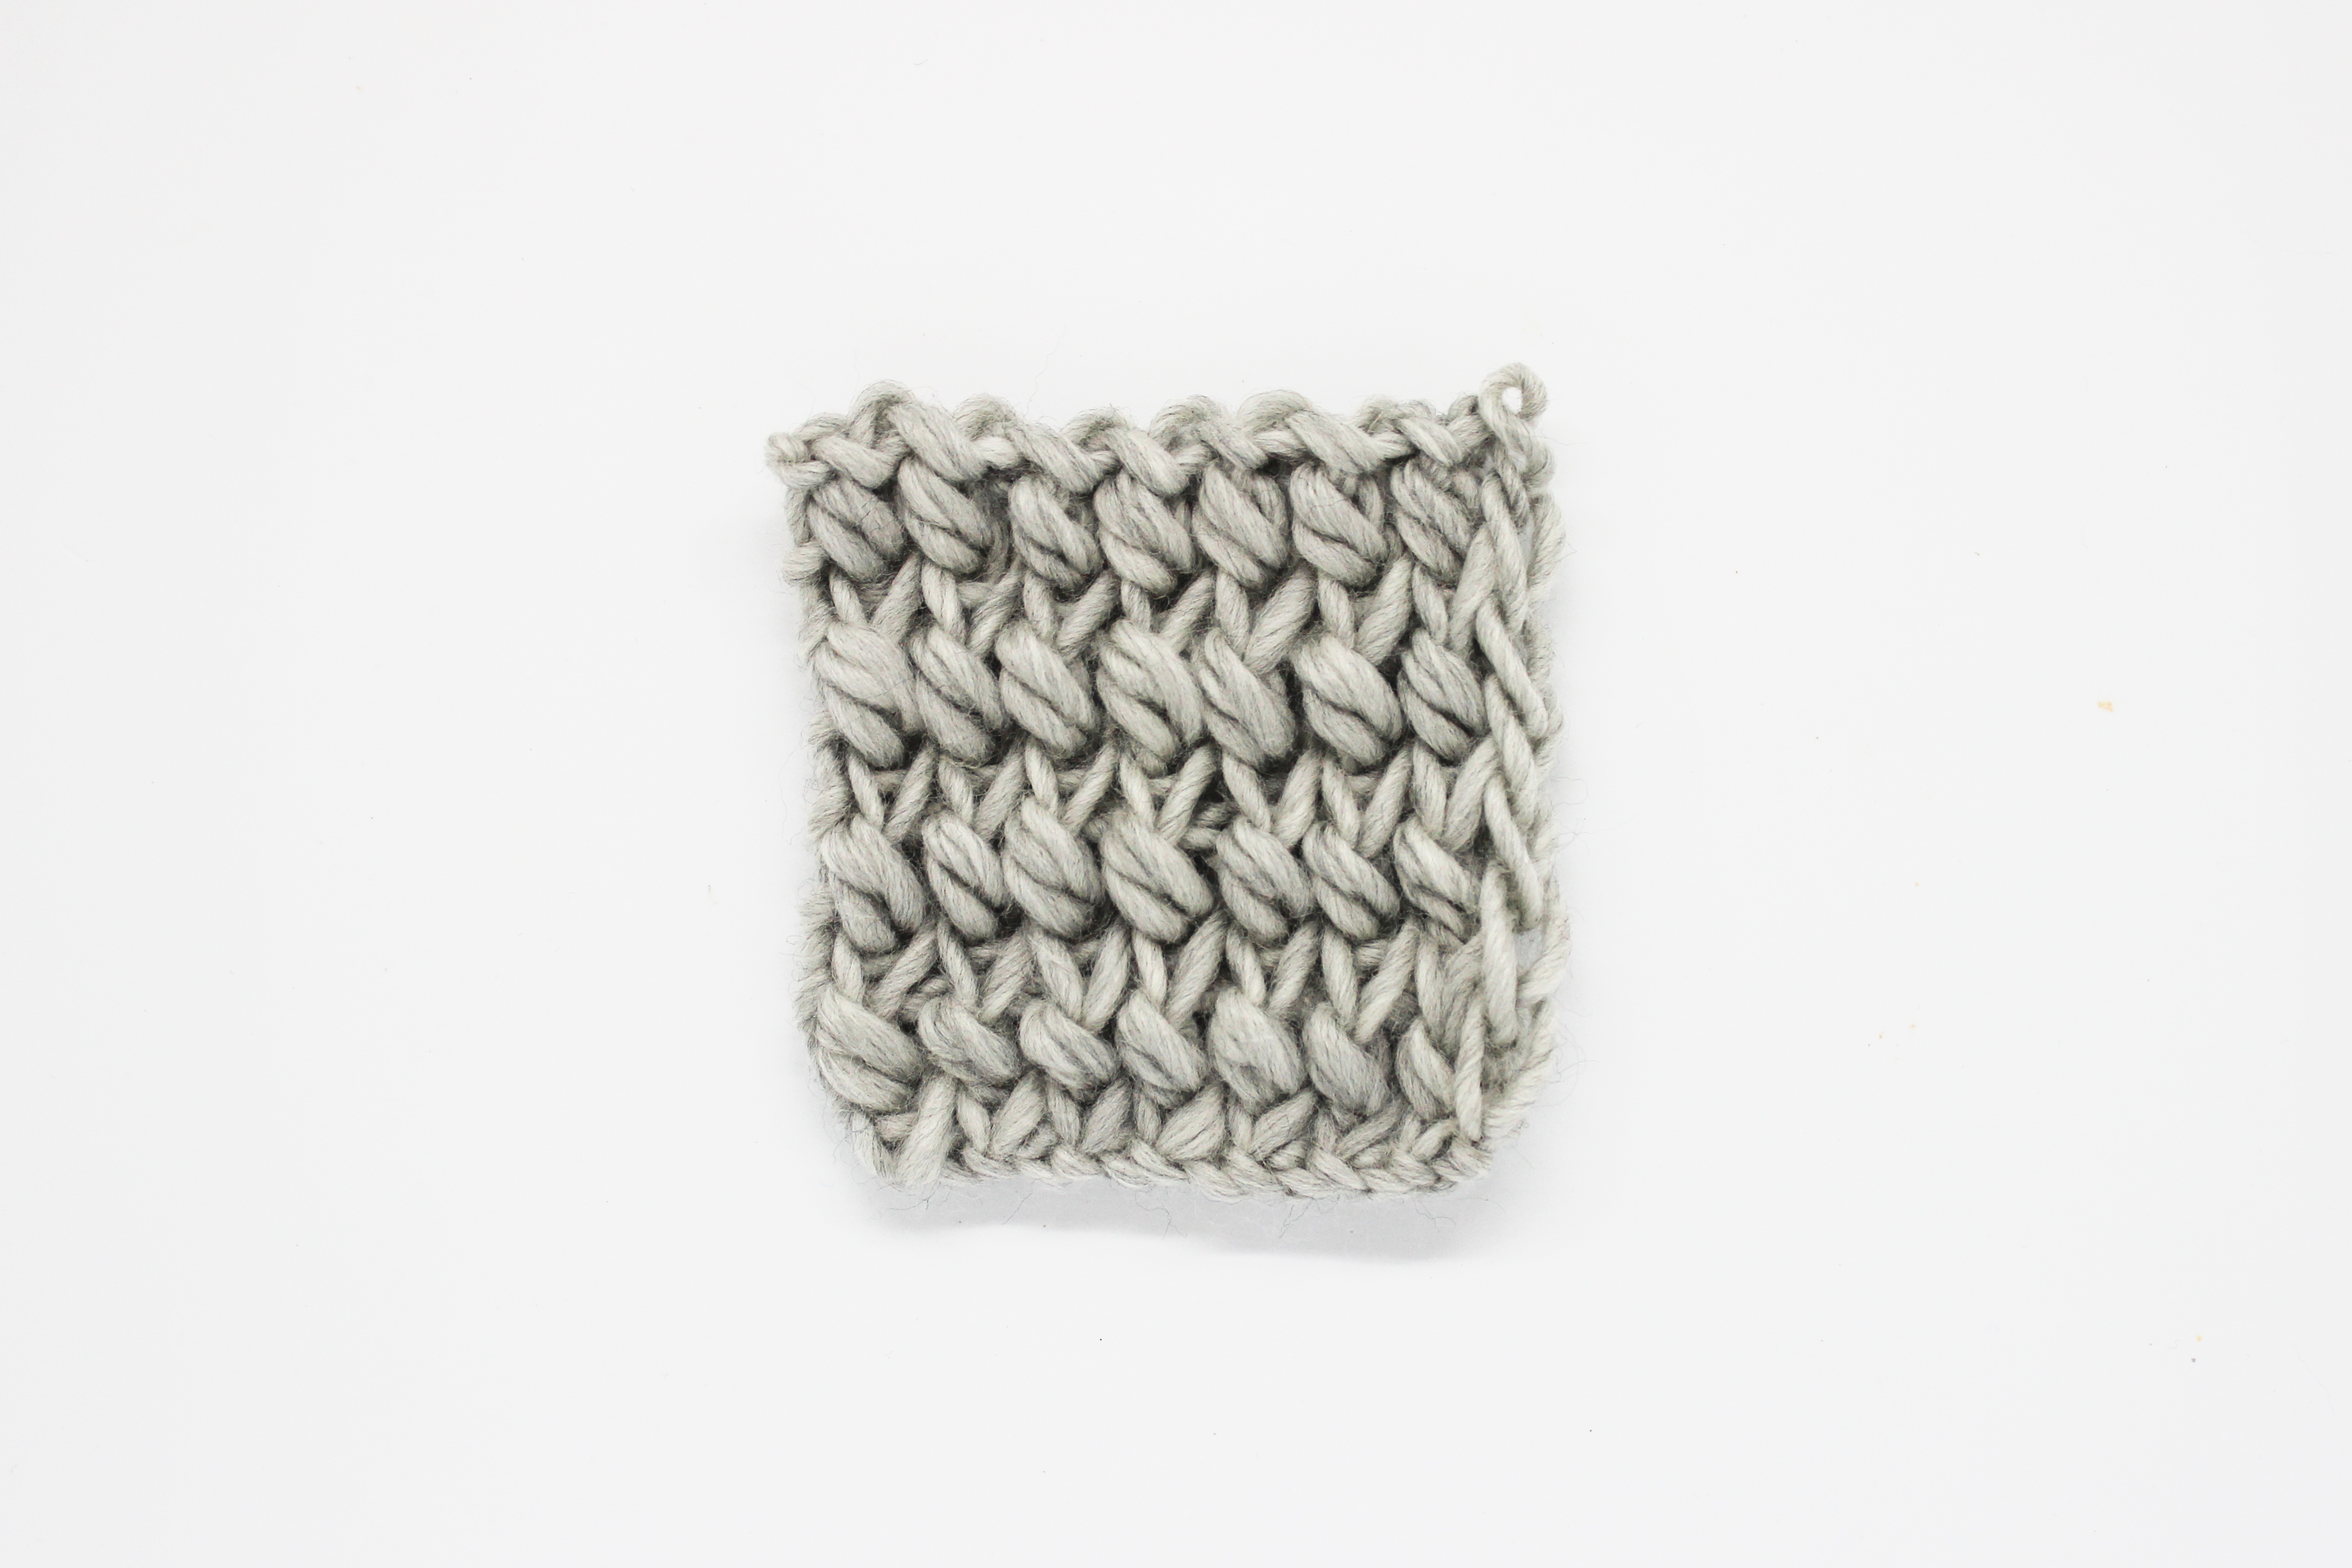
As you can see in the picture, we have made an Icord rope of knit stitches,
with 5MM BEECHWOOD KNITTING NEEDLES and A BALL OF 100% PIMA COTTON YARN in FUCHSIA.

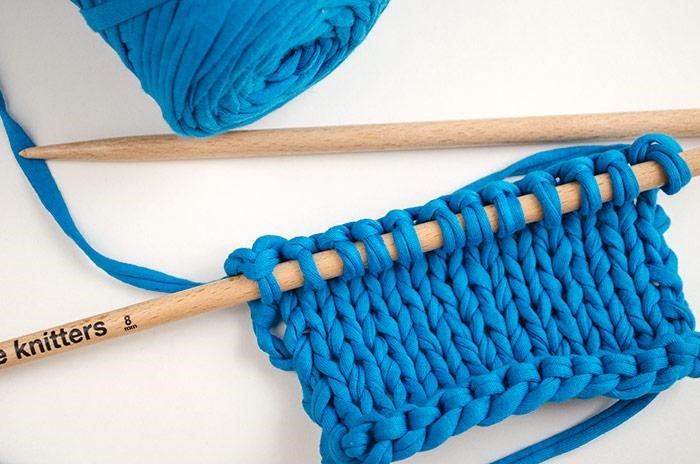
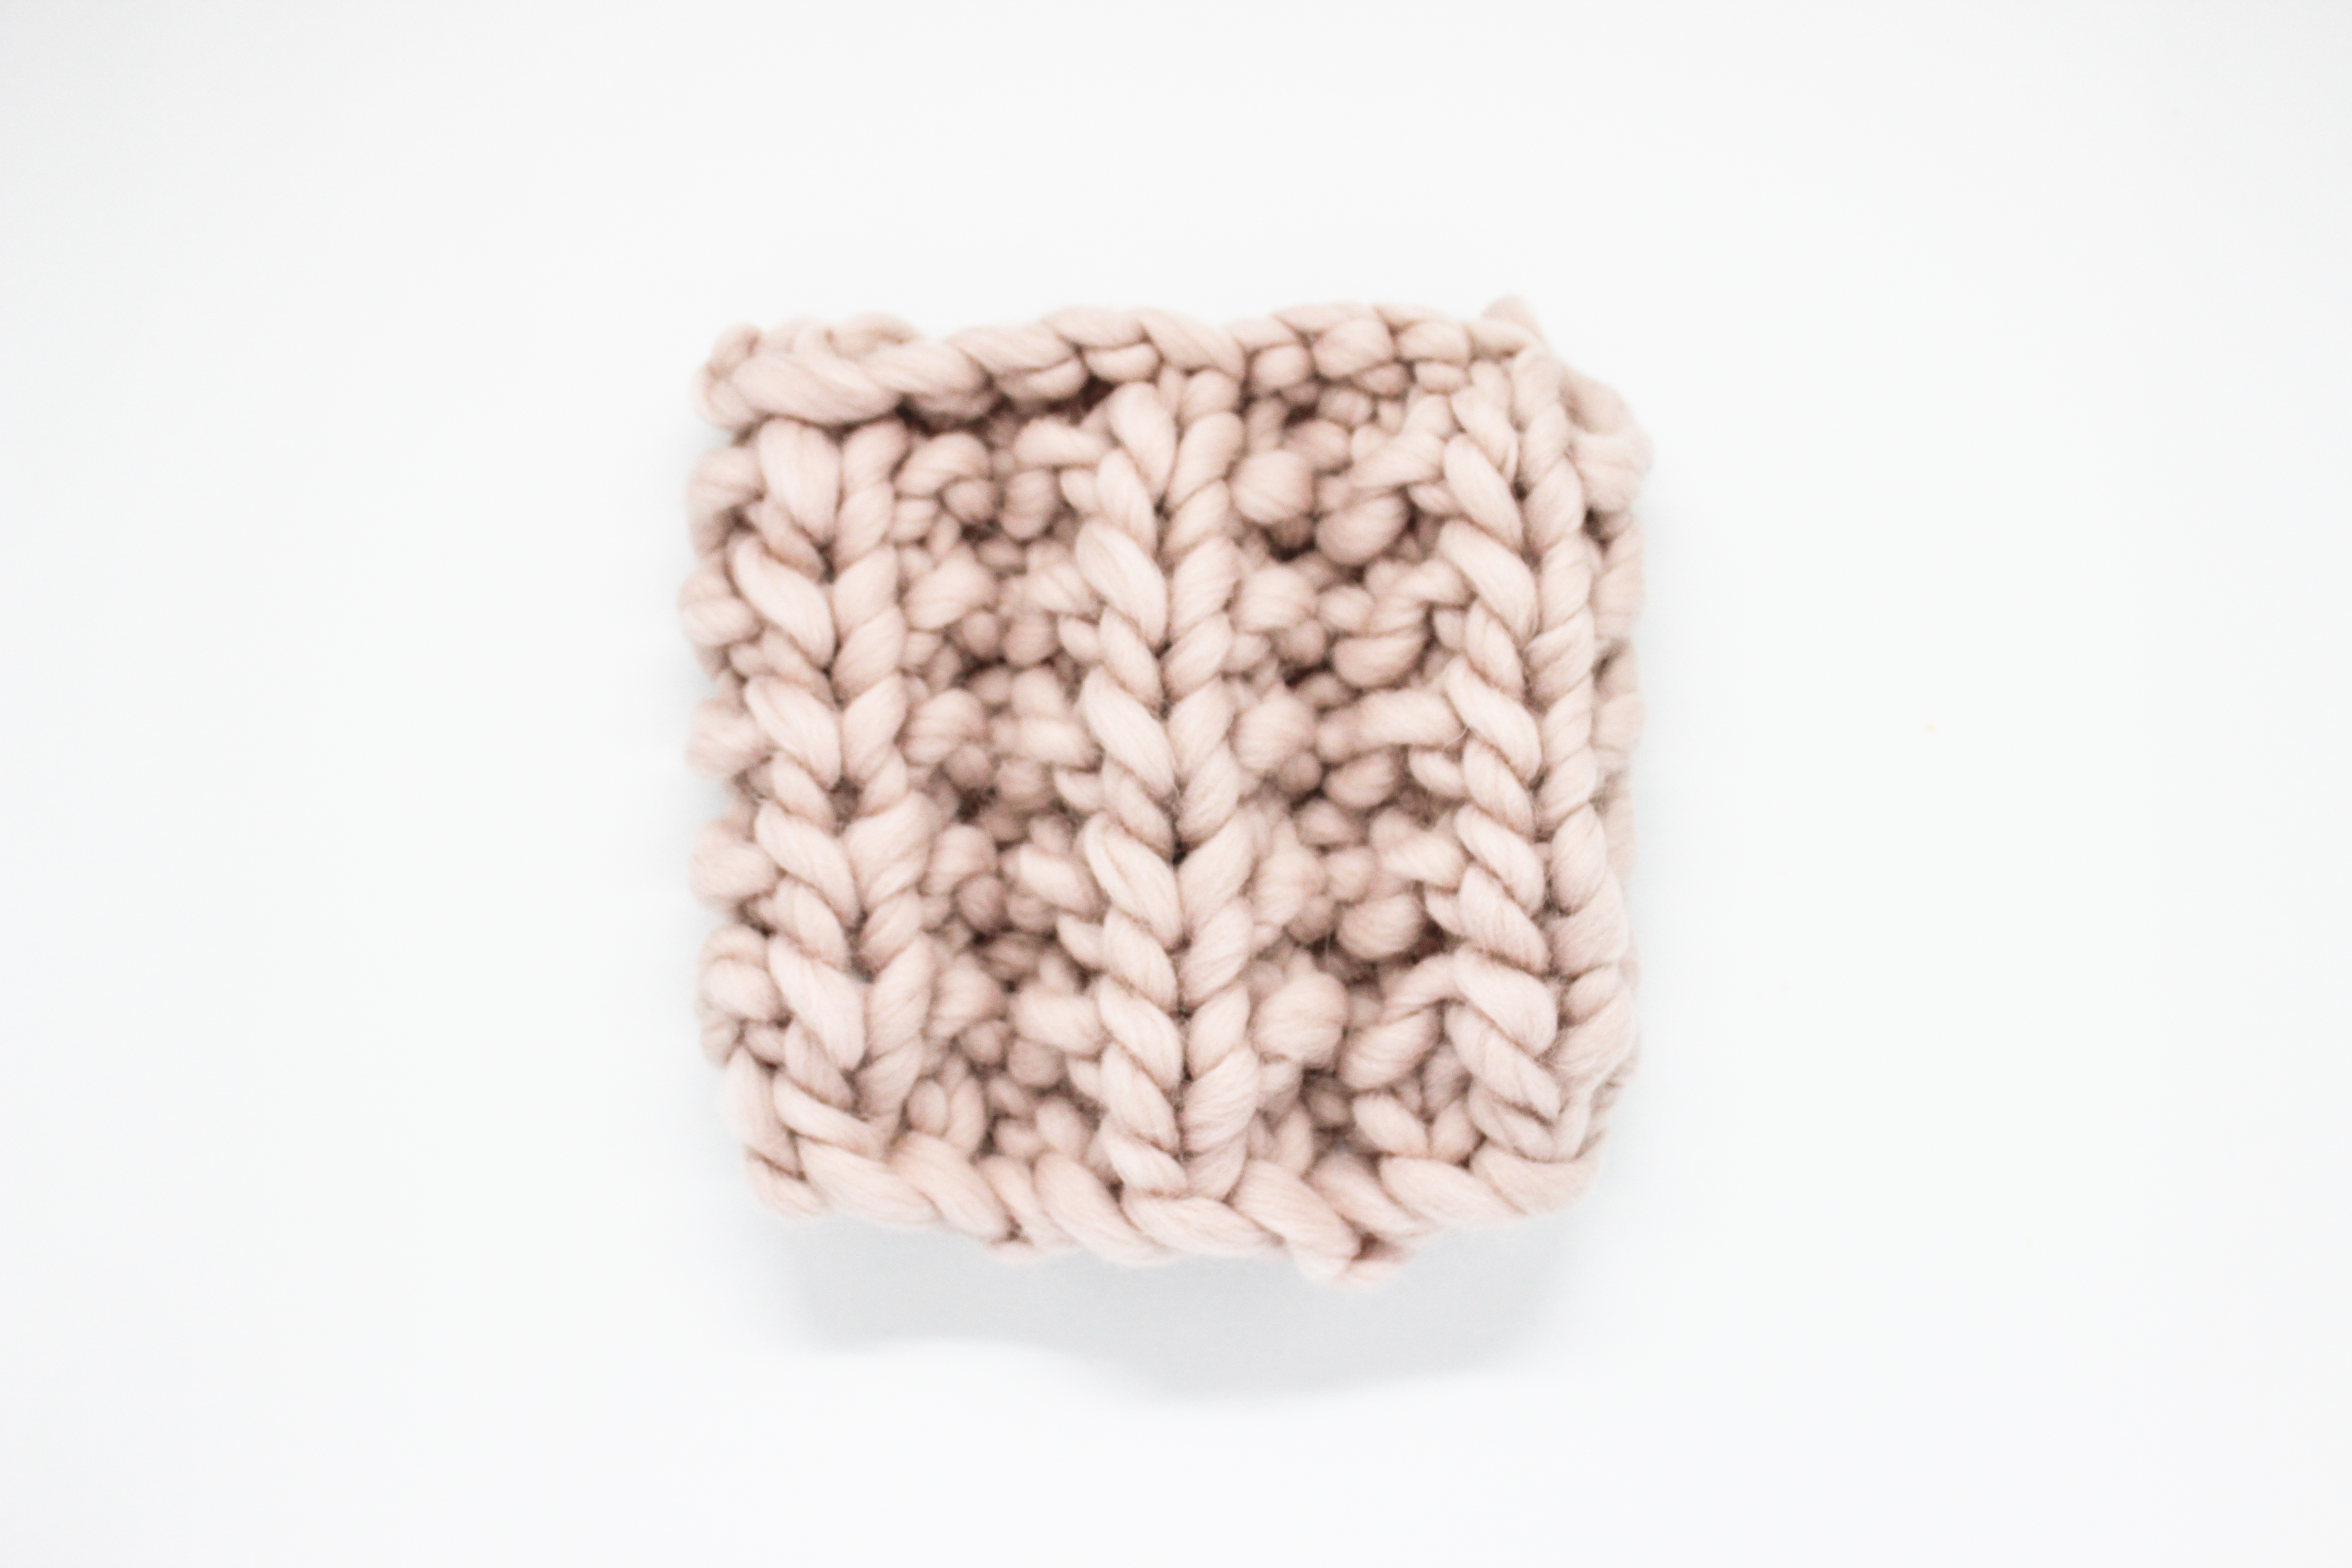
This cord, as you can see, has a different look. We made it by knitting 2 stitches and purling 2 stitches,
with 5MM BEECHWOOD KNITTING NEEDLES and A BALL OF 100% PIMA COTTON in BLUE.

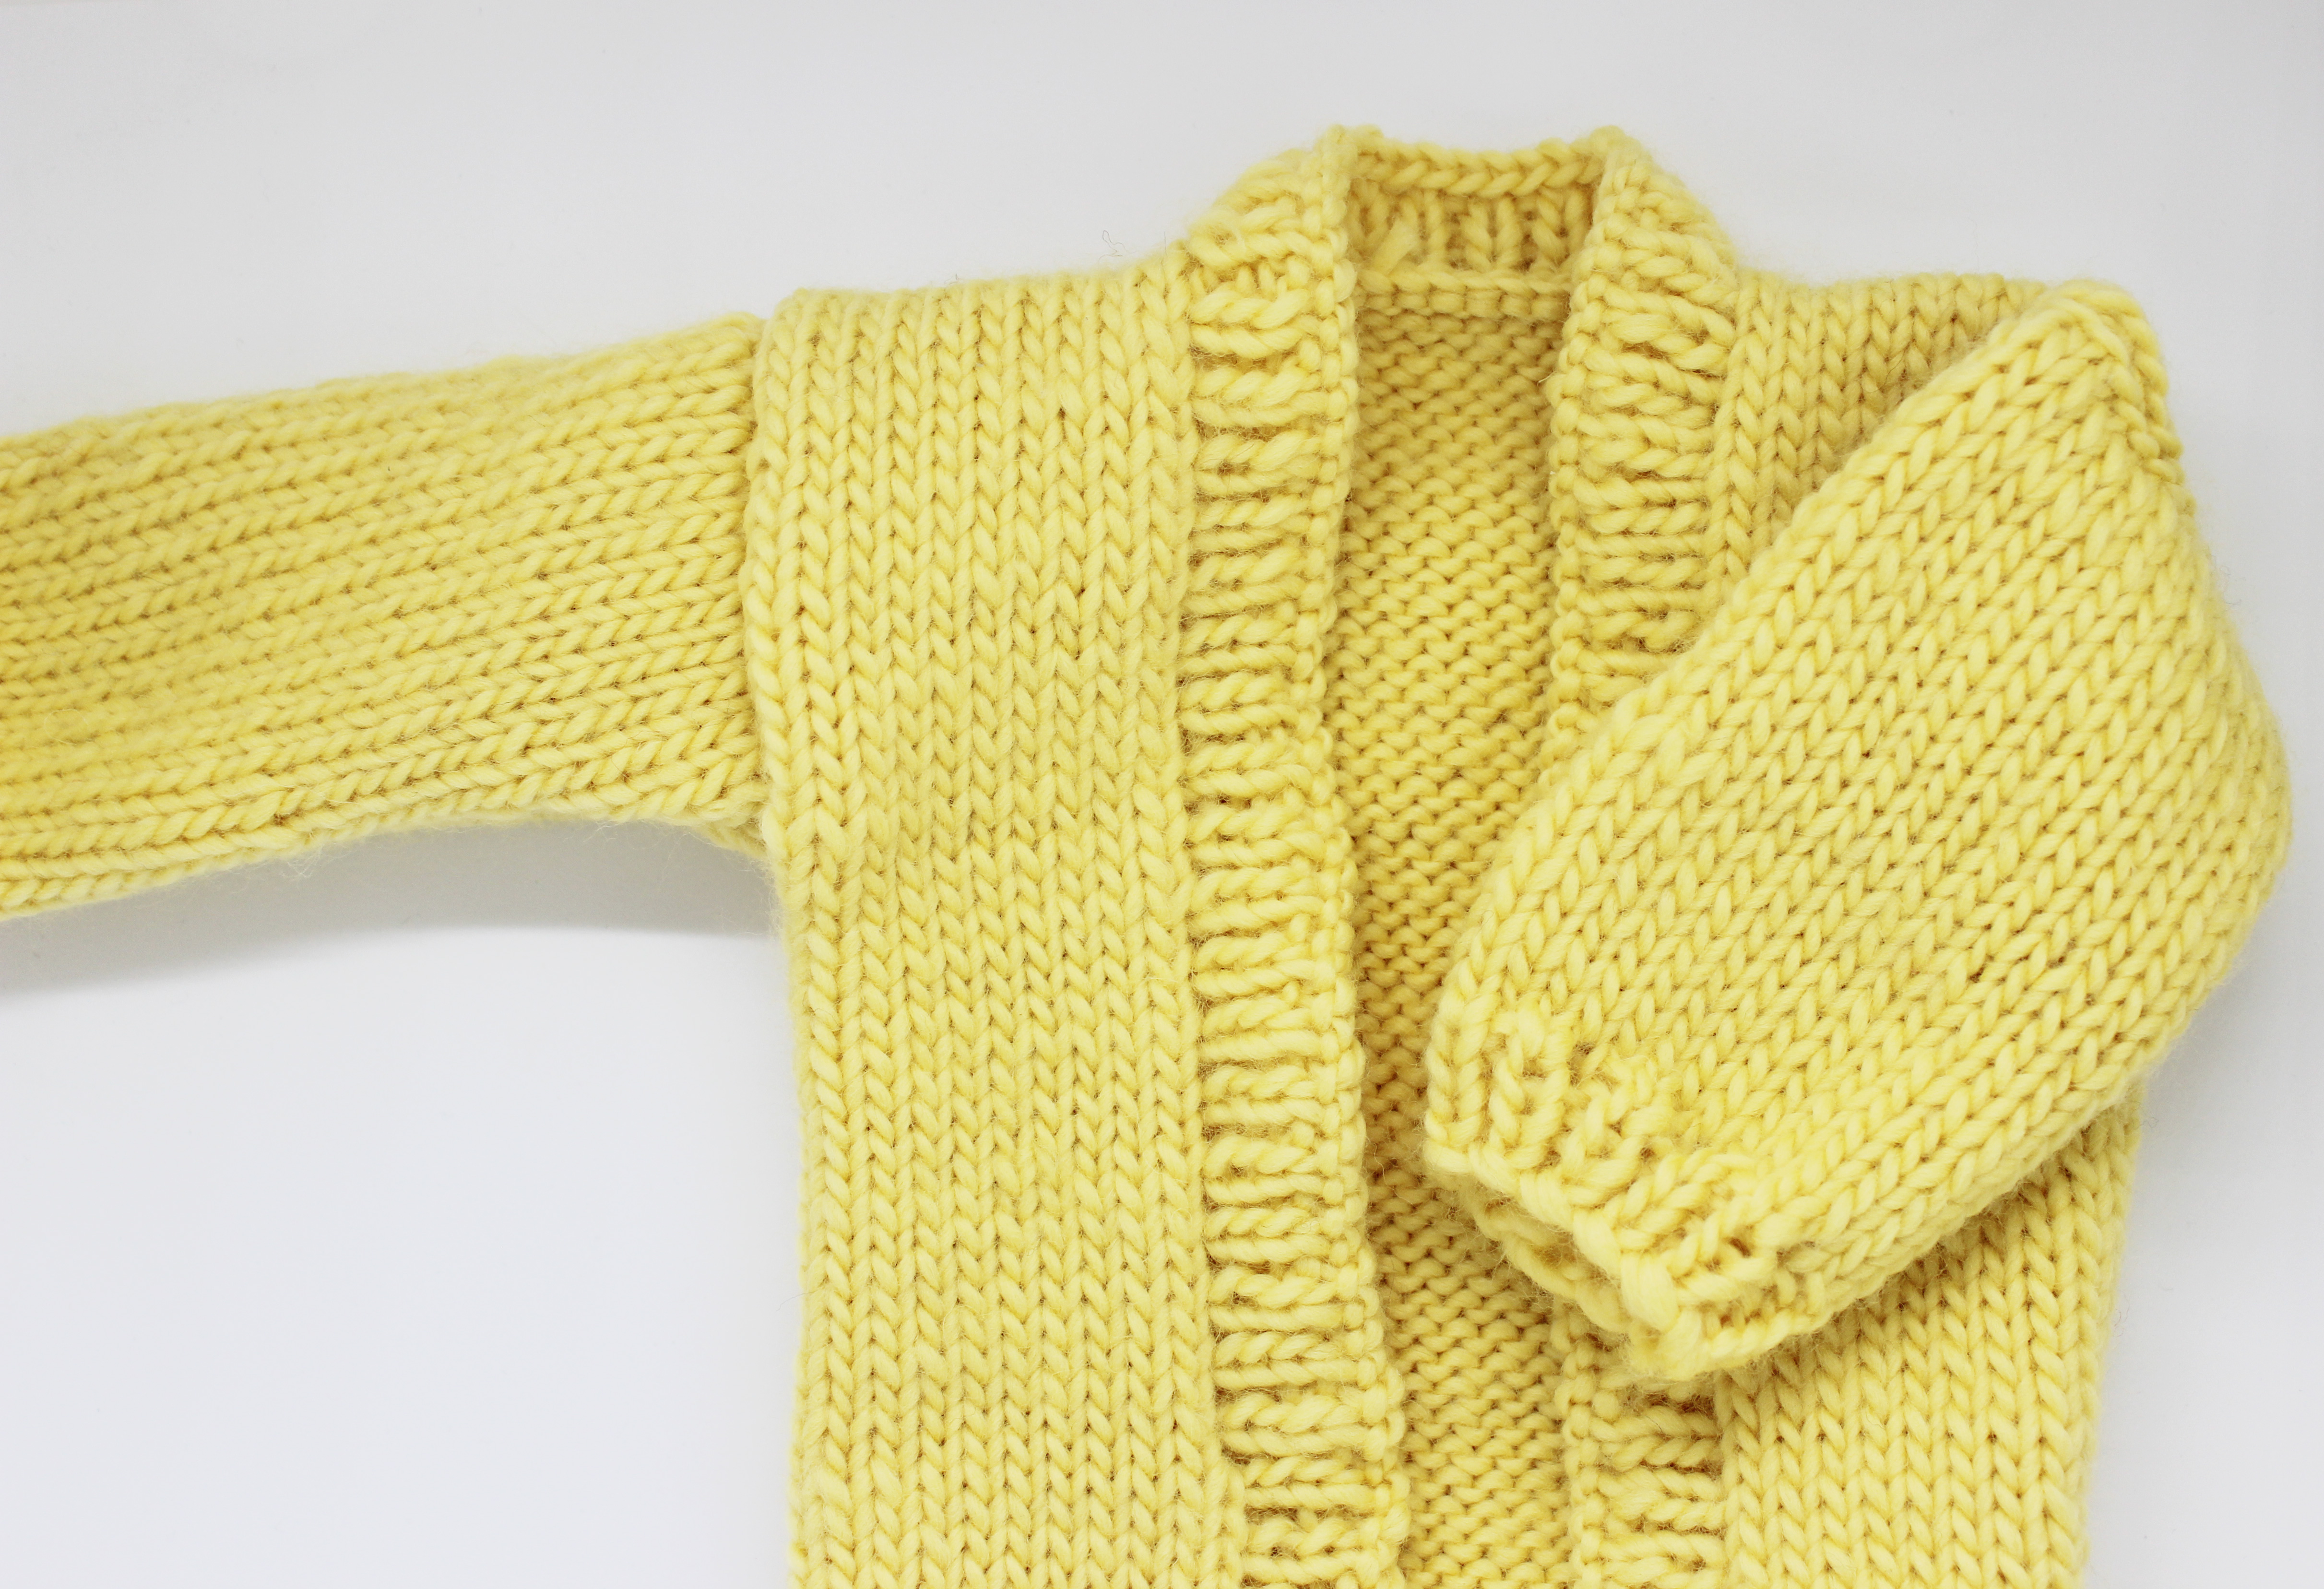
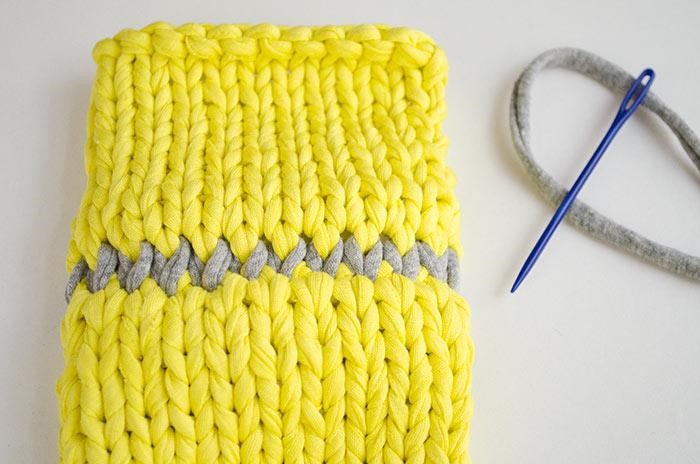
Now you will have you Icord rope!! Let your imagination run wild and let us see your creations on Instagram!!
#weareknitters