Hi knitters!!
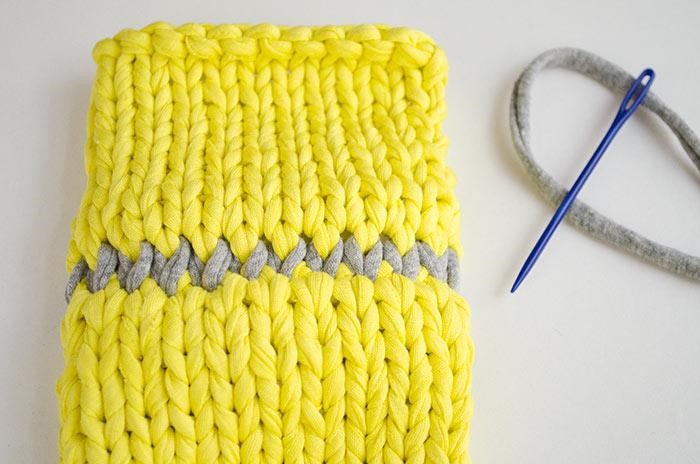
Today we would like to show you how to crochet in Ribbonberry Stitch.
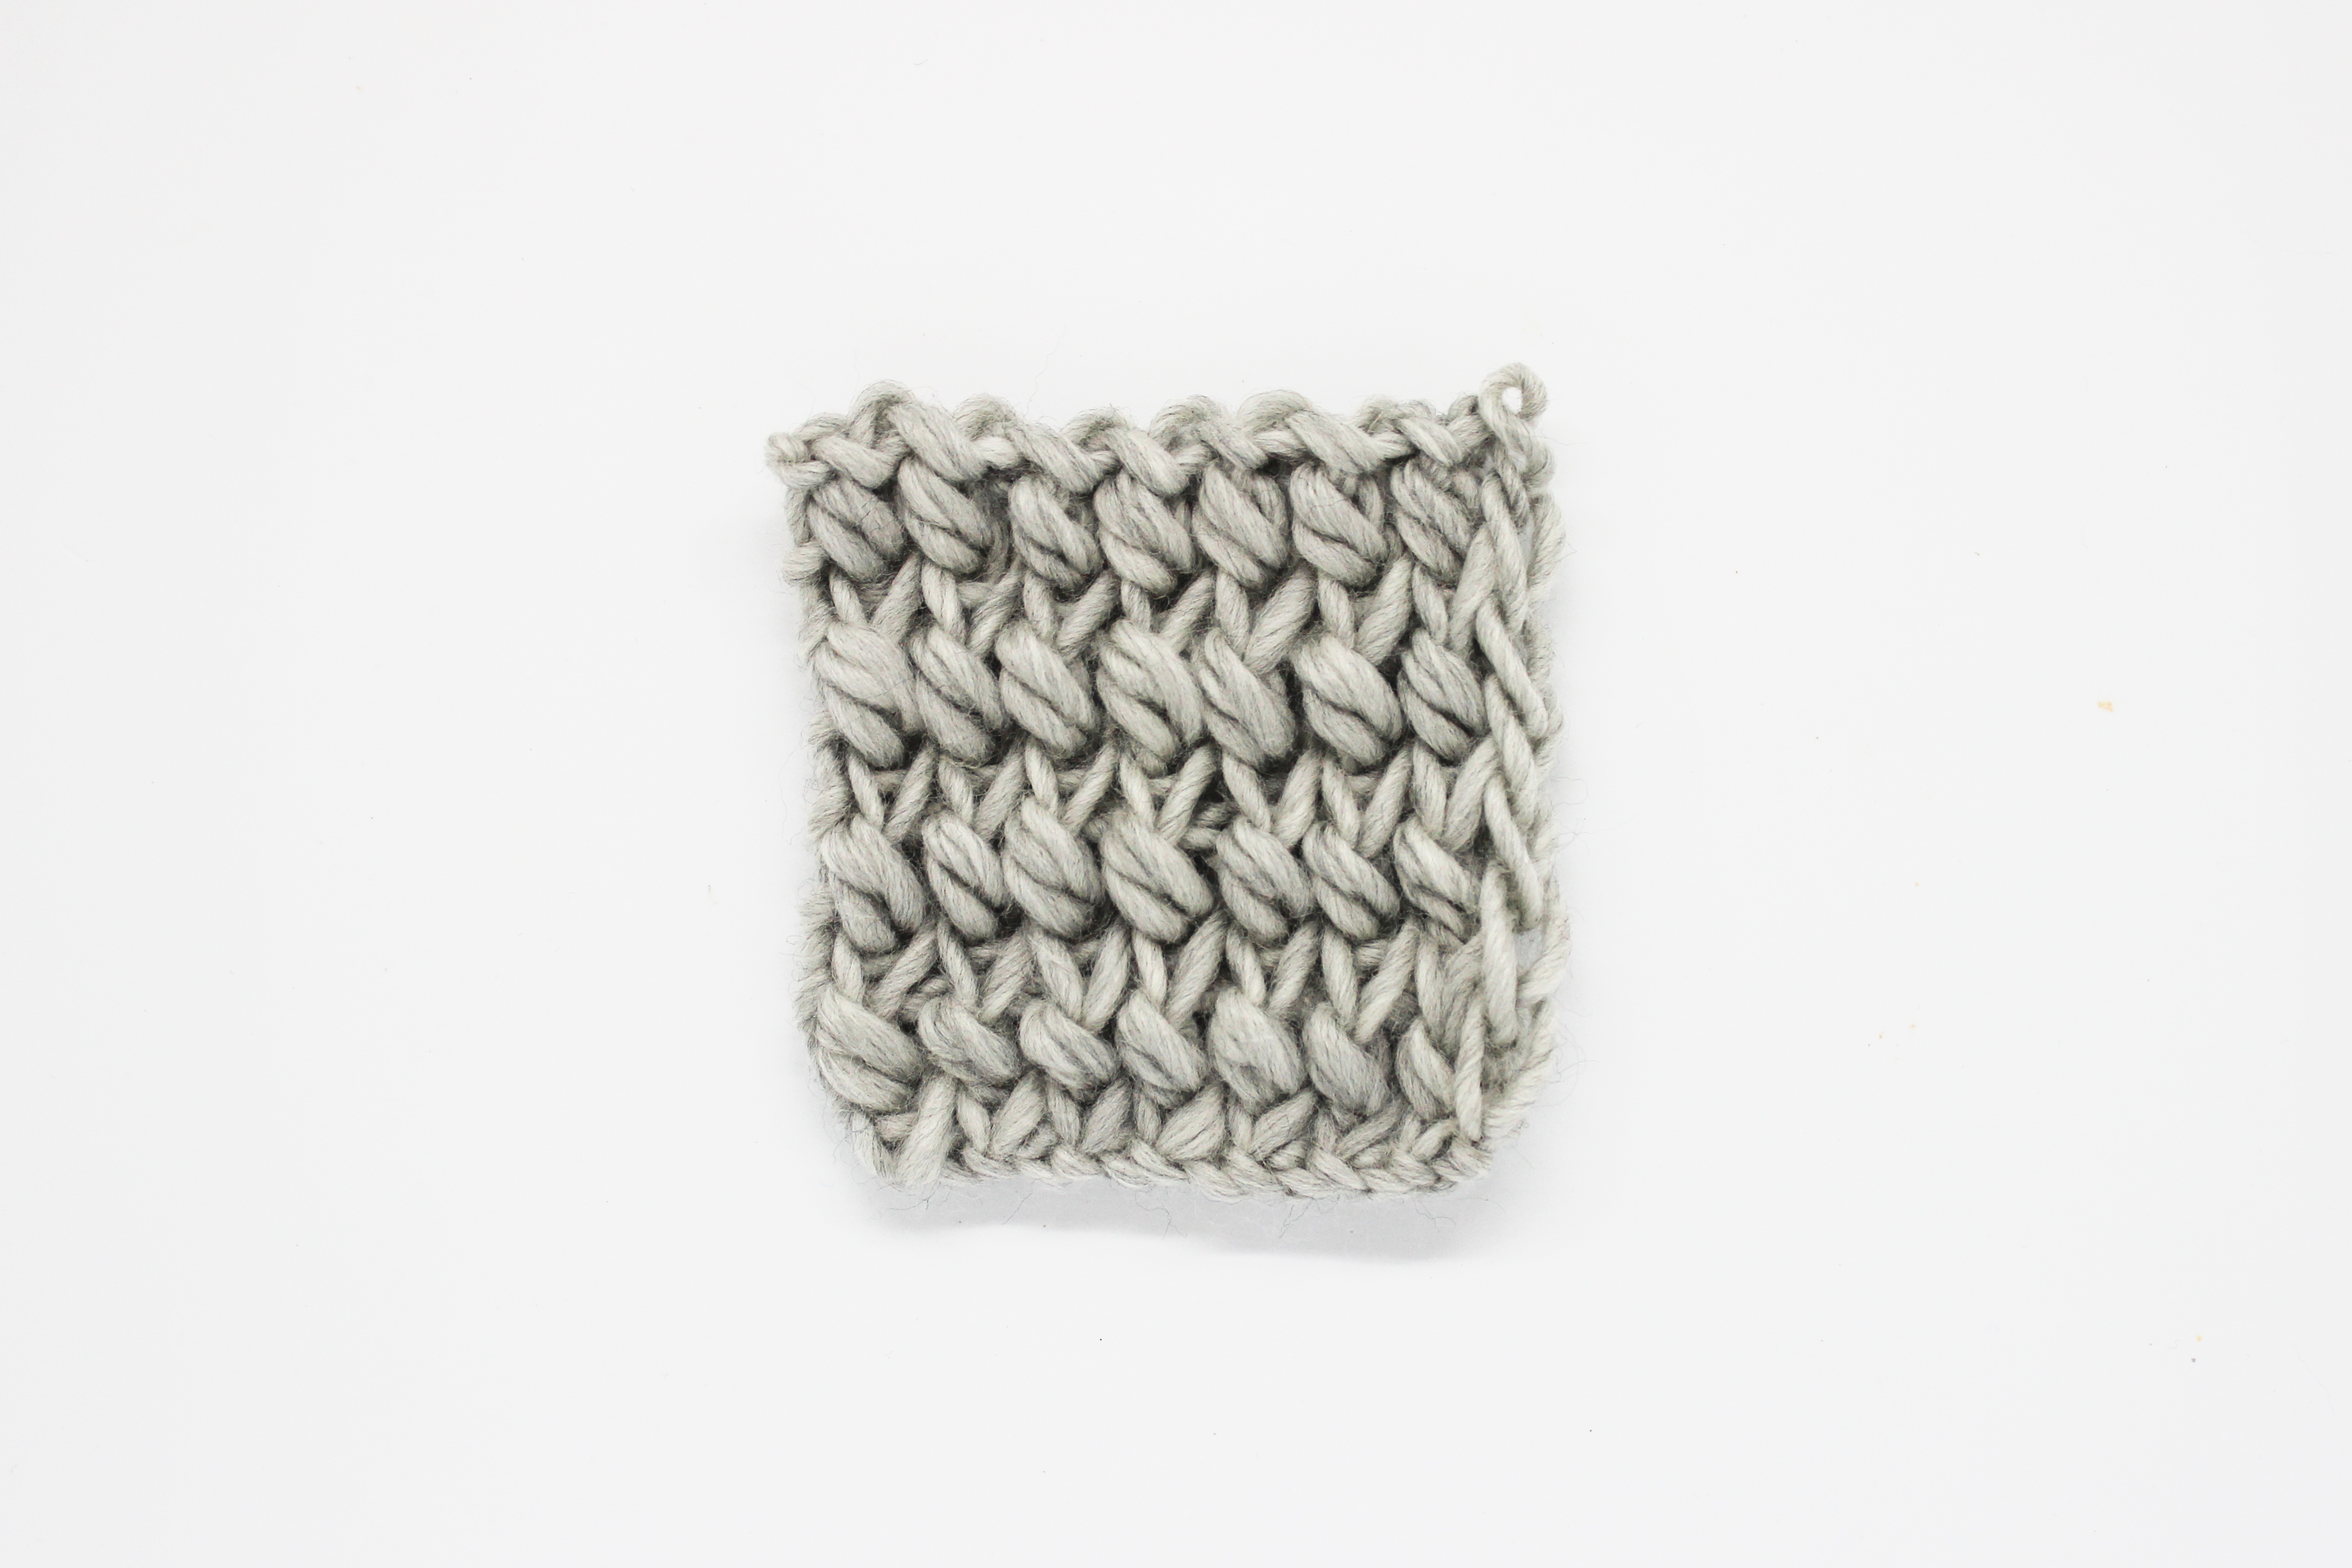
This crochet technique is not easy at all and due to this, it’s only for advanced knitters. We can assure you that the Stitch looks awesome due to its texture and style!

The Ribbonberry Stitch is formed by rounds of ‘cordon’ and ‘berry’. As we already know, we have a spoilt for choice in the knitting world. Of course it’s possible that you already know a very similar once or the same crochet stitch but with another name 🙂
Let’s start!
Cast on a number of stitches multiple of 4 + 1 stitch. We have cast on 13 stitches.
Round 1: Your first need to crochet a basis in half double crochet or in singles crochet.
Round 2: Here we are going to crochet the ‘berries’ each 4 stitches: crochet 3 stitches in half double crochet and another one + a chain stitch when crocheting stitch number 4.

A. The little bubble has to be done in the single crochet stitch. In order to start, you have to pass the thread around the hook and introduce the hook inside the single crochet stitch. Pass the thread again around the hook and put out the hook with both threads. Pass again the thread around the hook and the hook through the first two threads. Pass the thread around the hook and insert it through the thread of the single crochet stitch.
In order to finish, pass the thread around the hook, put out the hook with both threads, pass again the thread around the hook and pass the hook around the first 3 threads.

B. Now you will have 2 threads onto your hook. Leave 1 chain without crocheting and insert the hook into the next chain. Pass the thread around the hook, put out the hook with both threads, pass again the thread around the hook and pass the hook around the first 3 threads.
Crochet as usual until the next little bobble and repeat these steps.

Round 3: Crochet the entire row as usual in chain stitch.
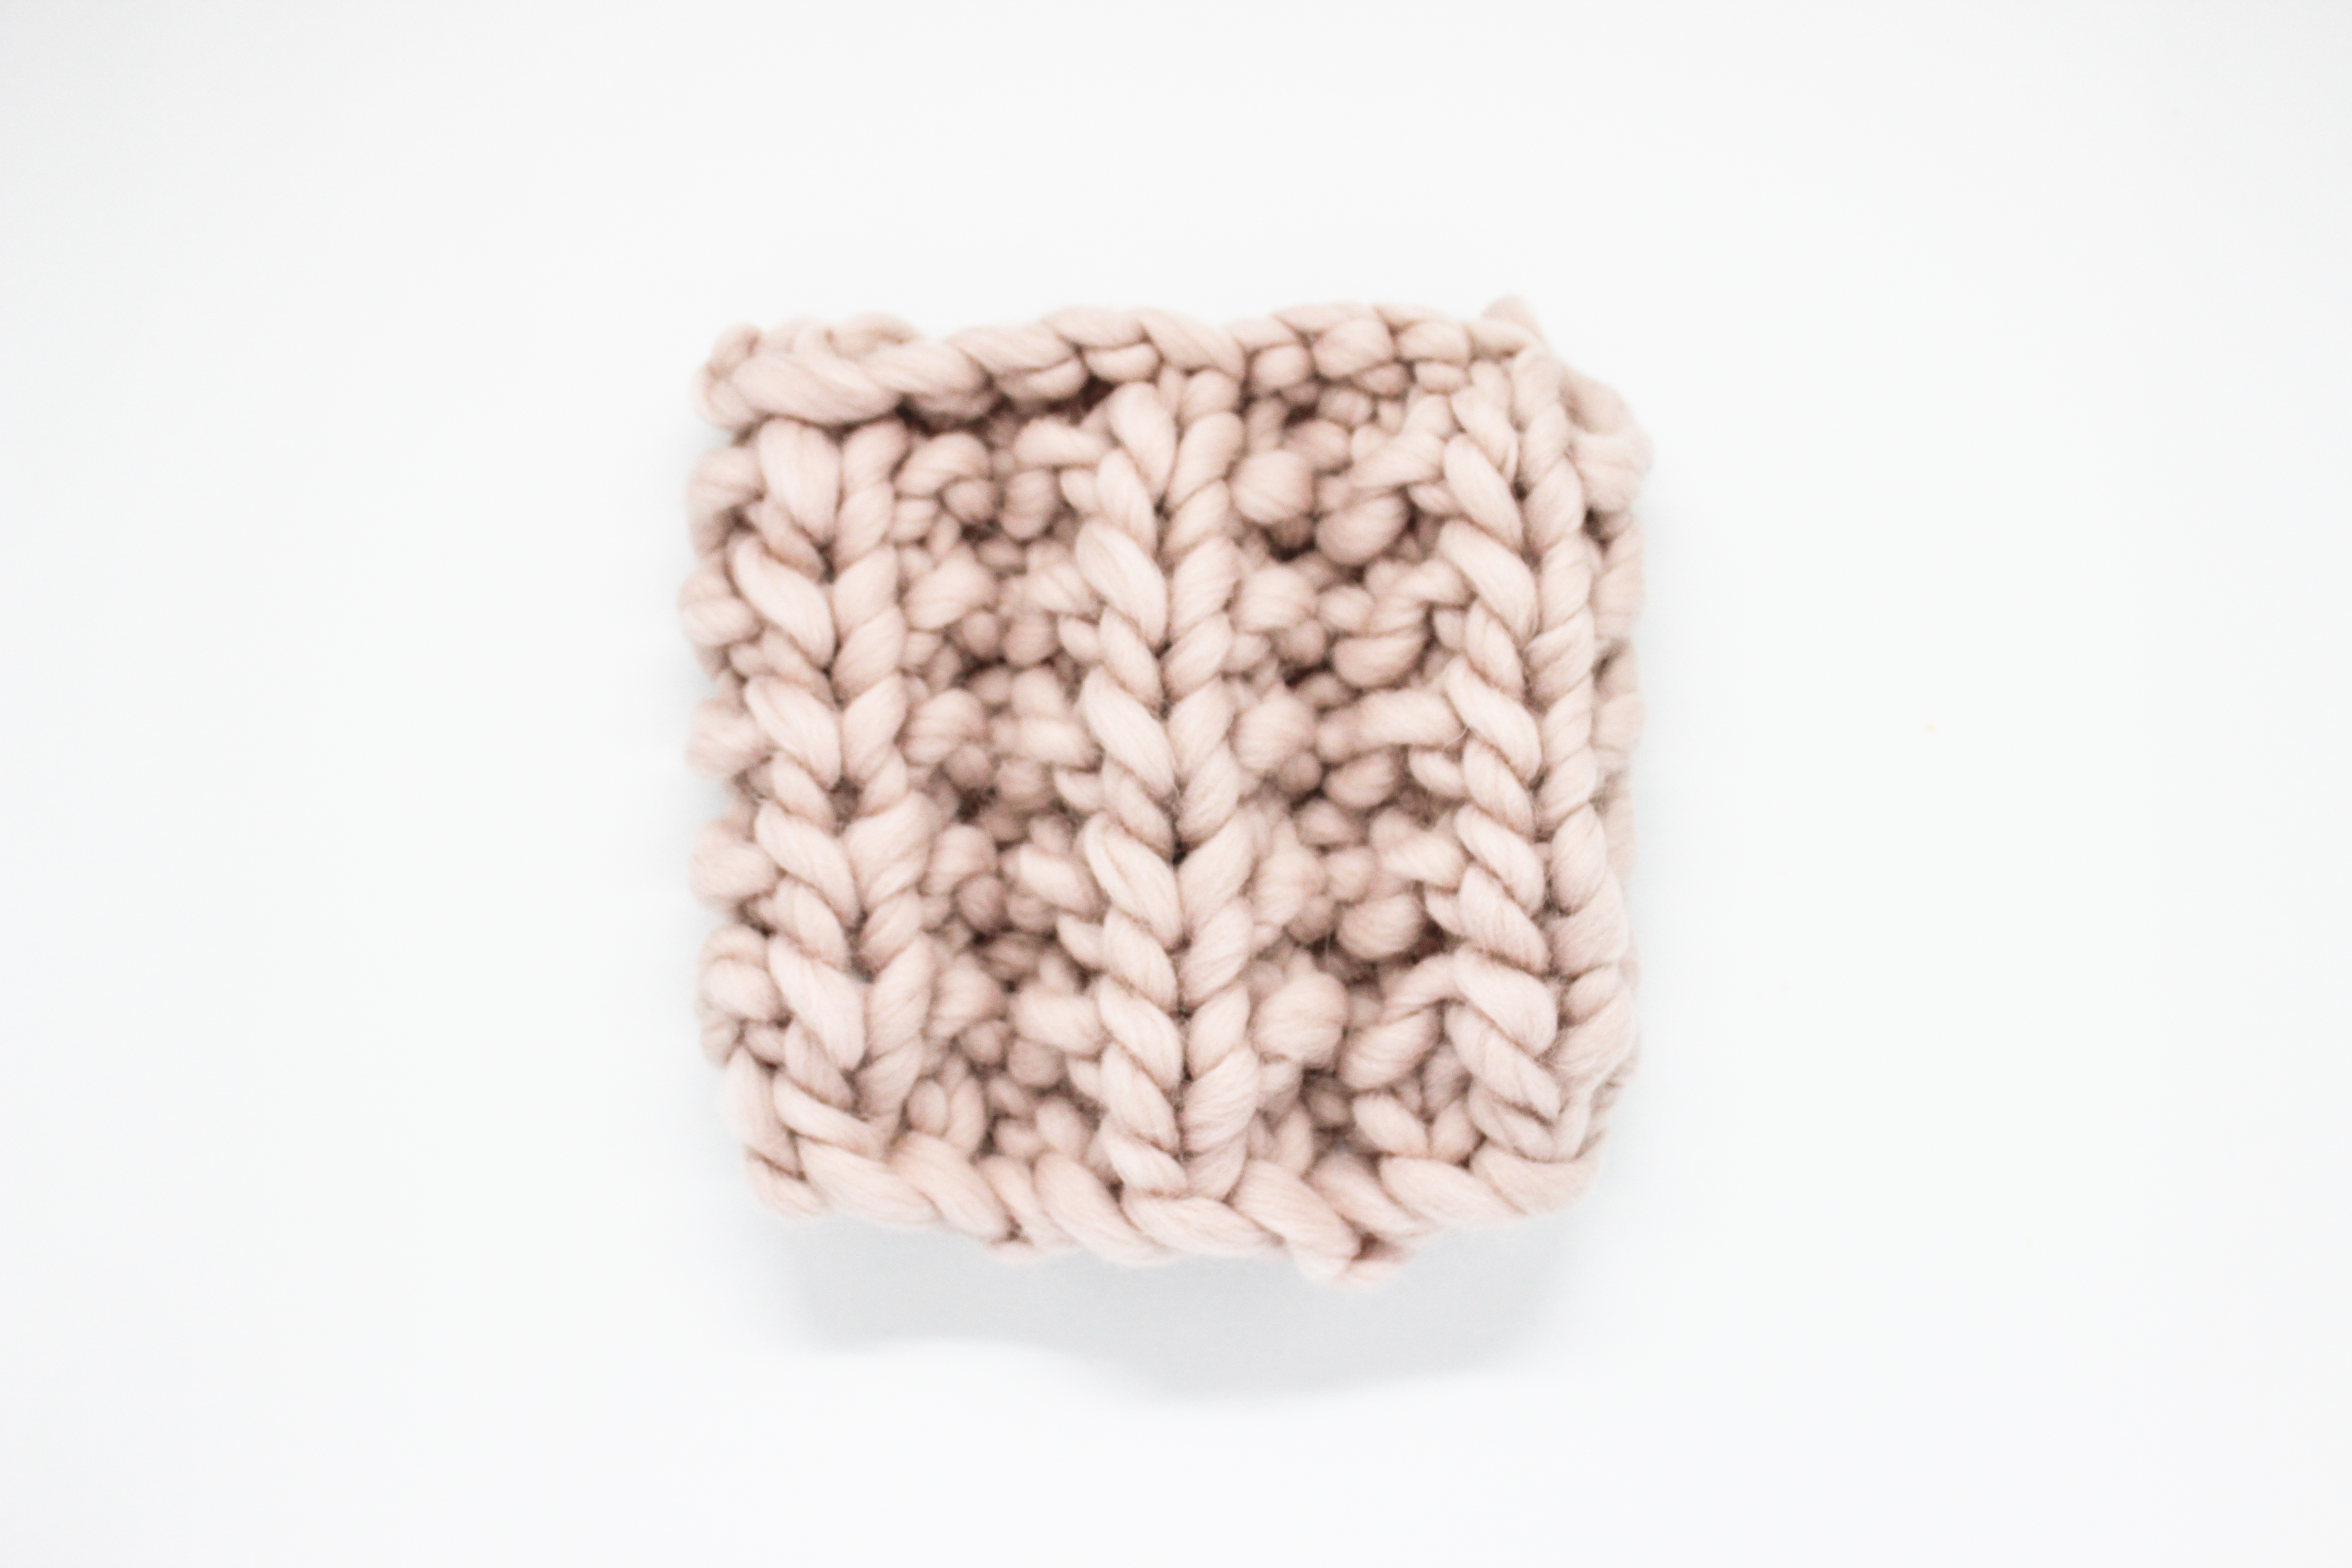
Repeat all these steps in order to get the amazing Ribbonberry Stitch. You can choose different yarn balls, length and colors to customize your projects.
Have a look on our catalogue to discover our wool yarn balls! You will be spoilt for choice in colors! 😉

Share your designs and crochet results on Instagram! Don’t forget the hashtag #weareknitters.
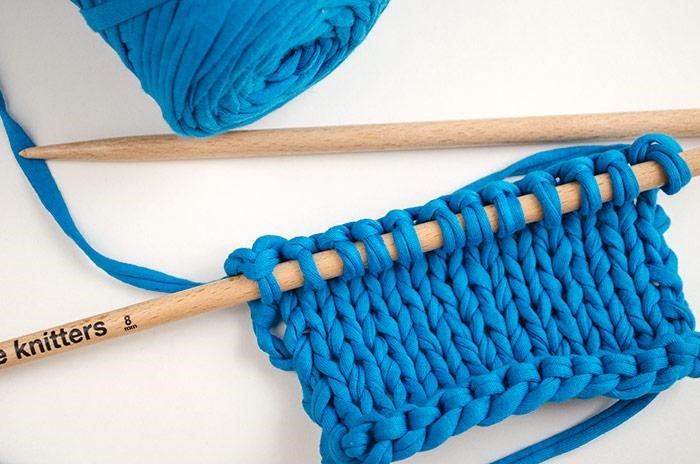
For this post we have used a CROCHET HOOK and FABRIC YARN BALL IN ELECTRIC BLUE.