Hi knitters!
One of the things that directly influences how fast and how well you finish a project is to know how you correctly hide the loose threads remaining at beginning and end. This is one of the details, which, just as the seams do, shows whether a knitter has turned into a true expert or is still a beginner.
However, there are a plenty of ways, dozens of them, to hide the loose threads. Every knitter has his secrets, his own way of hiding them… and today we are going to introduce a couple of new tactics so that you will never have to ask yourselves again how to correctly hide loose threads.
In this post we are going to look in detail into the possibilities of hiding lose threads in stockinette stitch.
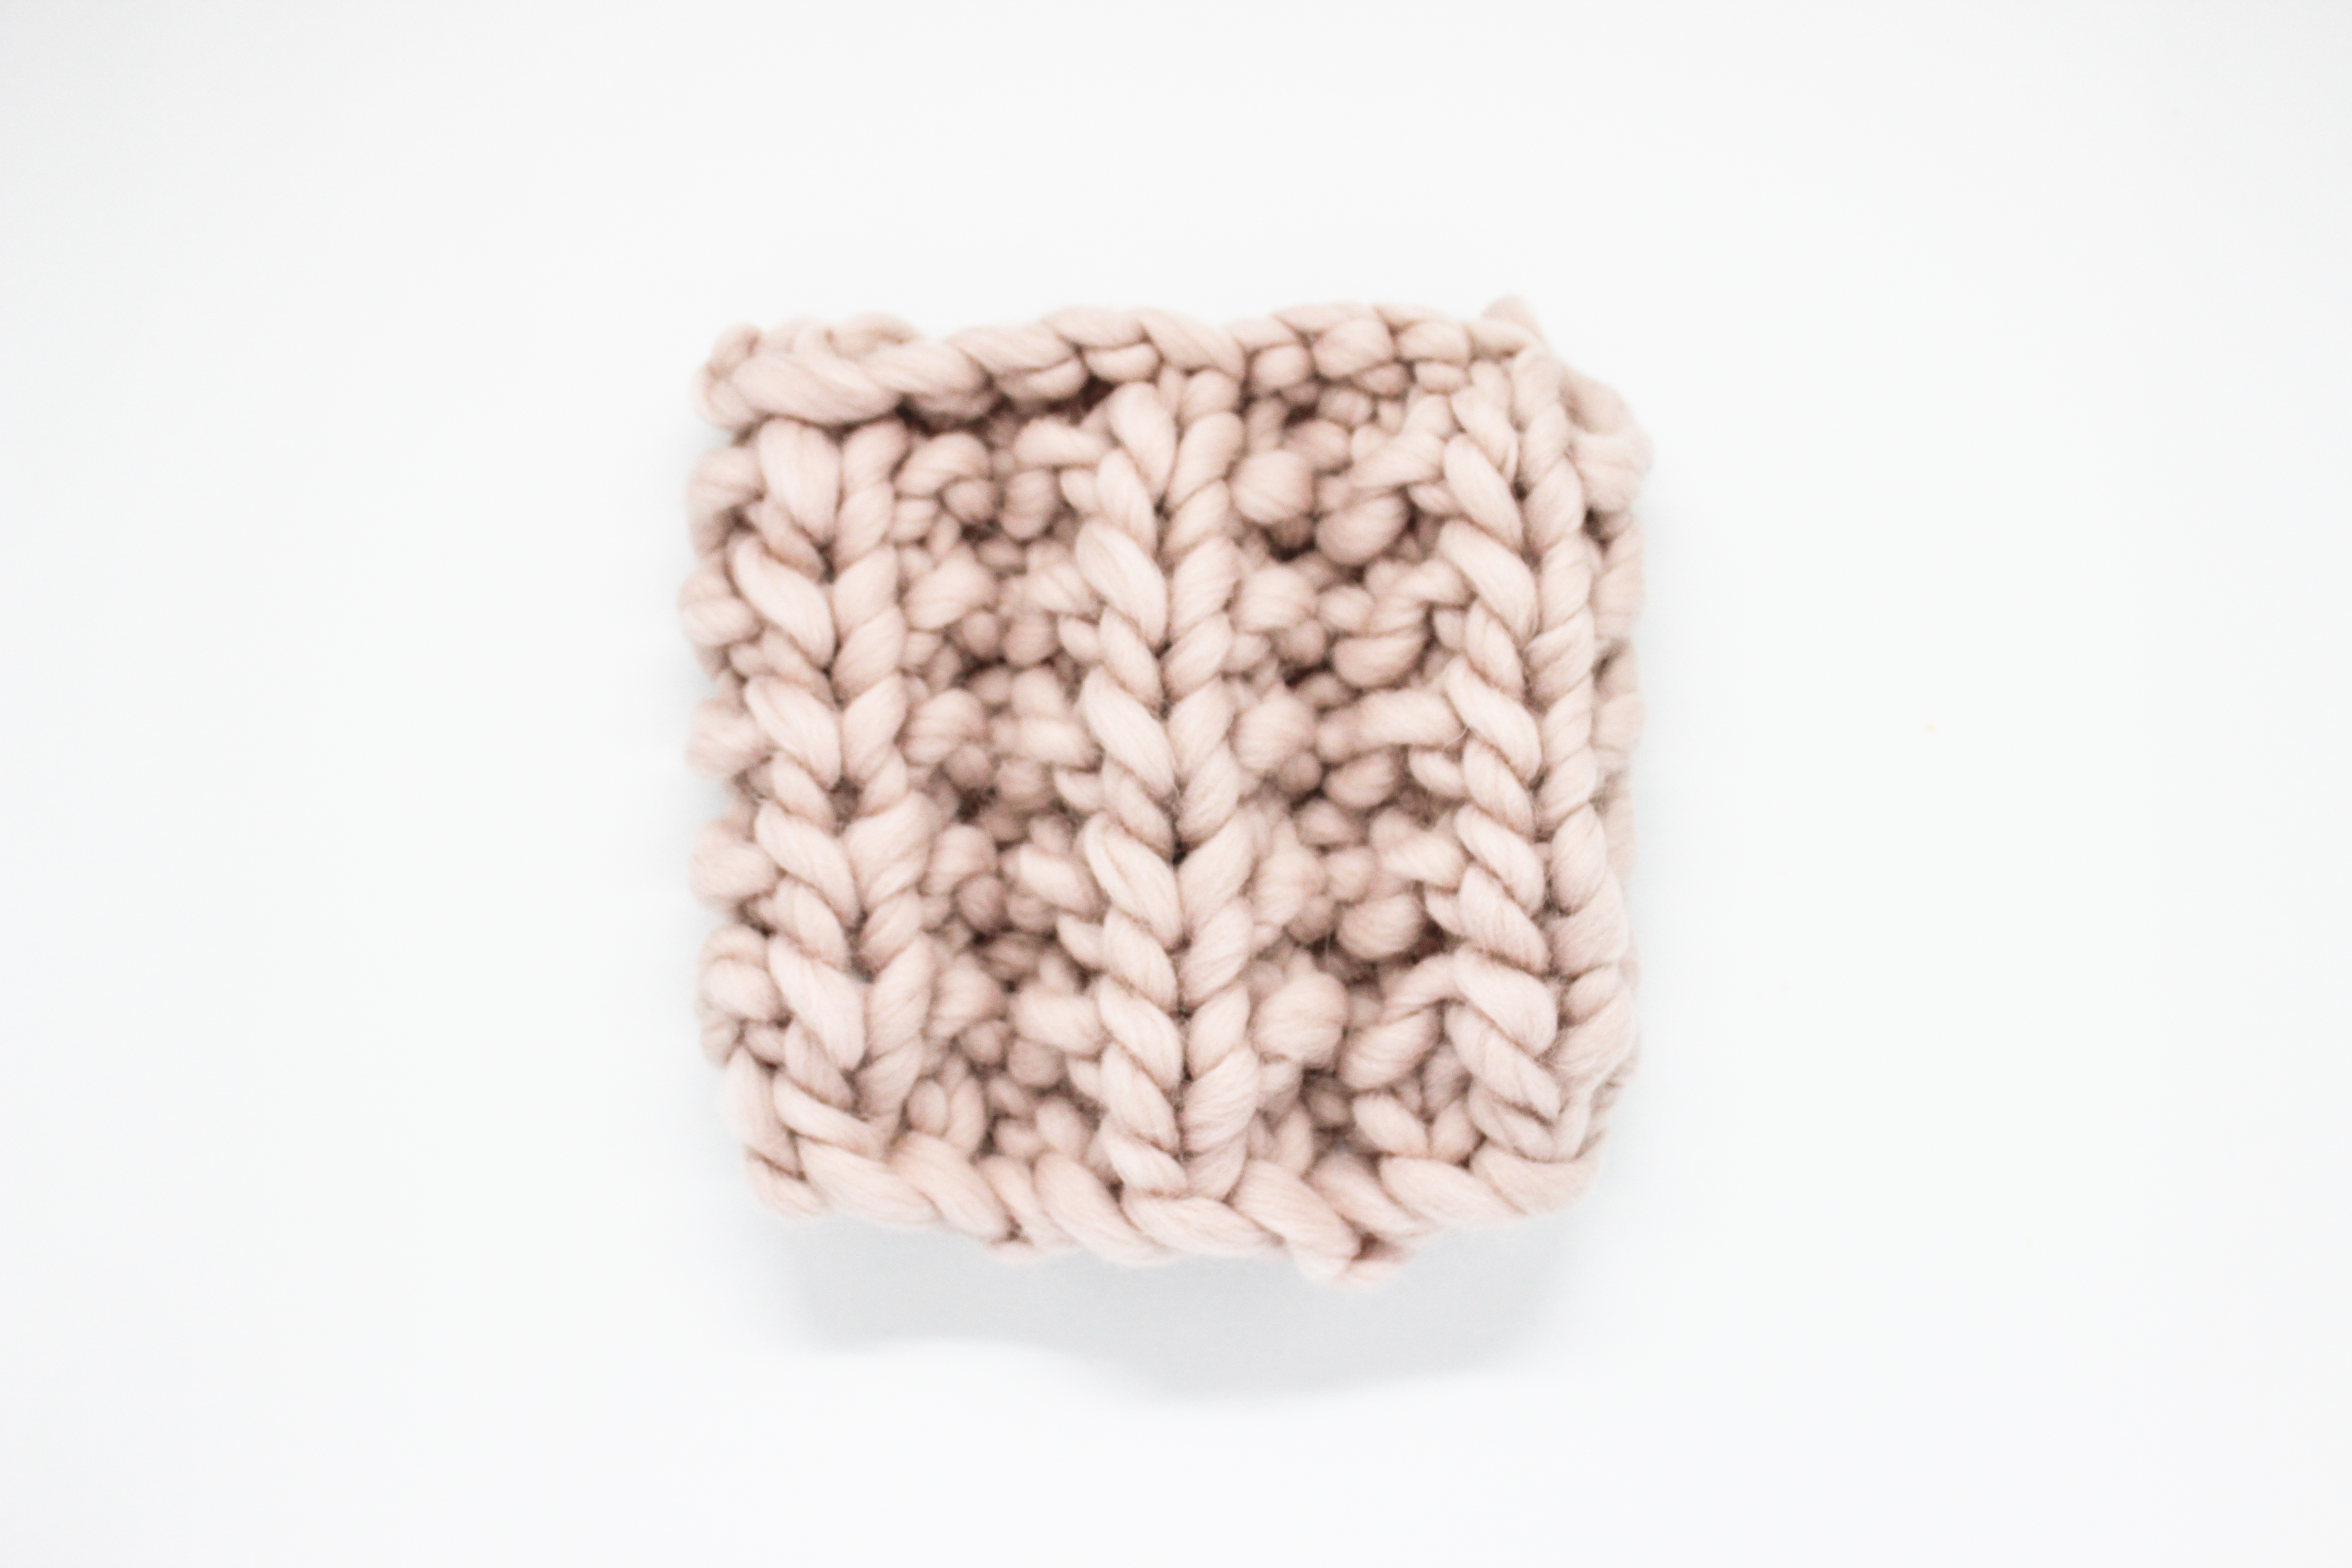
1. DUPLICATE STITCHES
There is nothing easier than simply doubling the already knitted stitches with the wool threads we have left. That way we hide them on the front side of the project, making them invisible. You should, however, double a couple of stitches before finally cutting the thread.


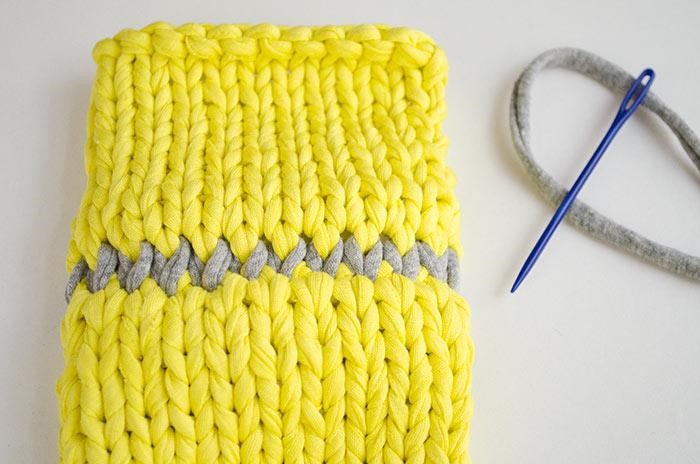
2. VERTICALLY
Pull out the needle from the back to the front with the outside of the project facing you and then introduce her into the stitches in a vertical sense. That means that you have to go through the horizontal strip between the characteristic “V”s of the stockinette stitch. In order to be able to recognize these stitches you can pull the stitches apart slightly.
Once you have gone through the first row of stitches vertically, cross a stitch on the back of the project and repeat the same process but this time downwards.
Now you only have to situate the thread on the back of the project again and cut the thread.


3. DOUBLING STITCHES ON THE INSIDE
We are going to double the stitches on the inside so that you don’t notice the hidden threads. The secret is to imitate the already knitted stitches with the remaining wool.
First, trespass two stitches diagonally from top down. Then, introduce the needle into the stitch next to it, you can either choose the stitch on the right or the stitch on the left that entirely depends on the location of the thread you want to hide. Then pull the needle out of the first stitch you introduced her into. Turn to the next stitch and repeat the step from before.


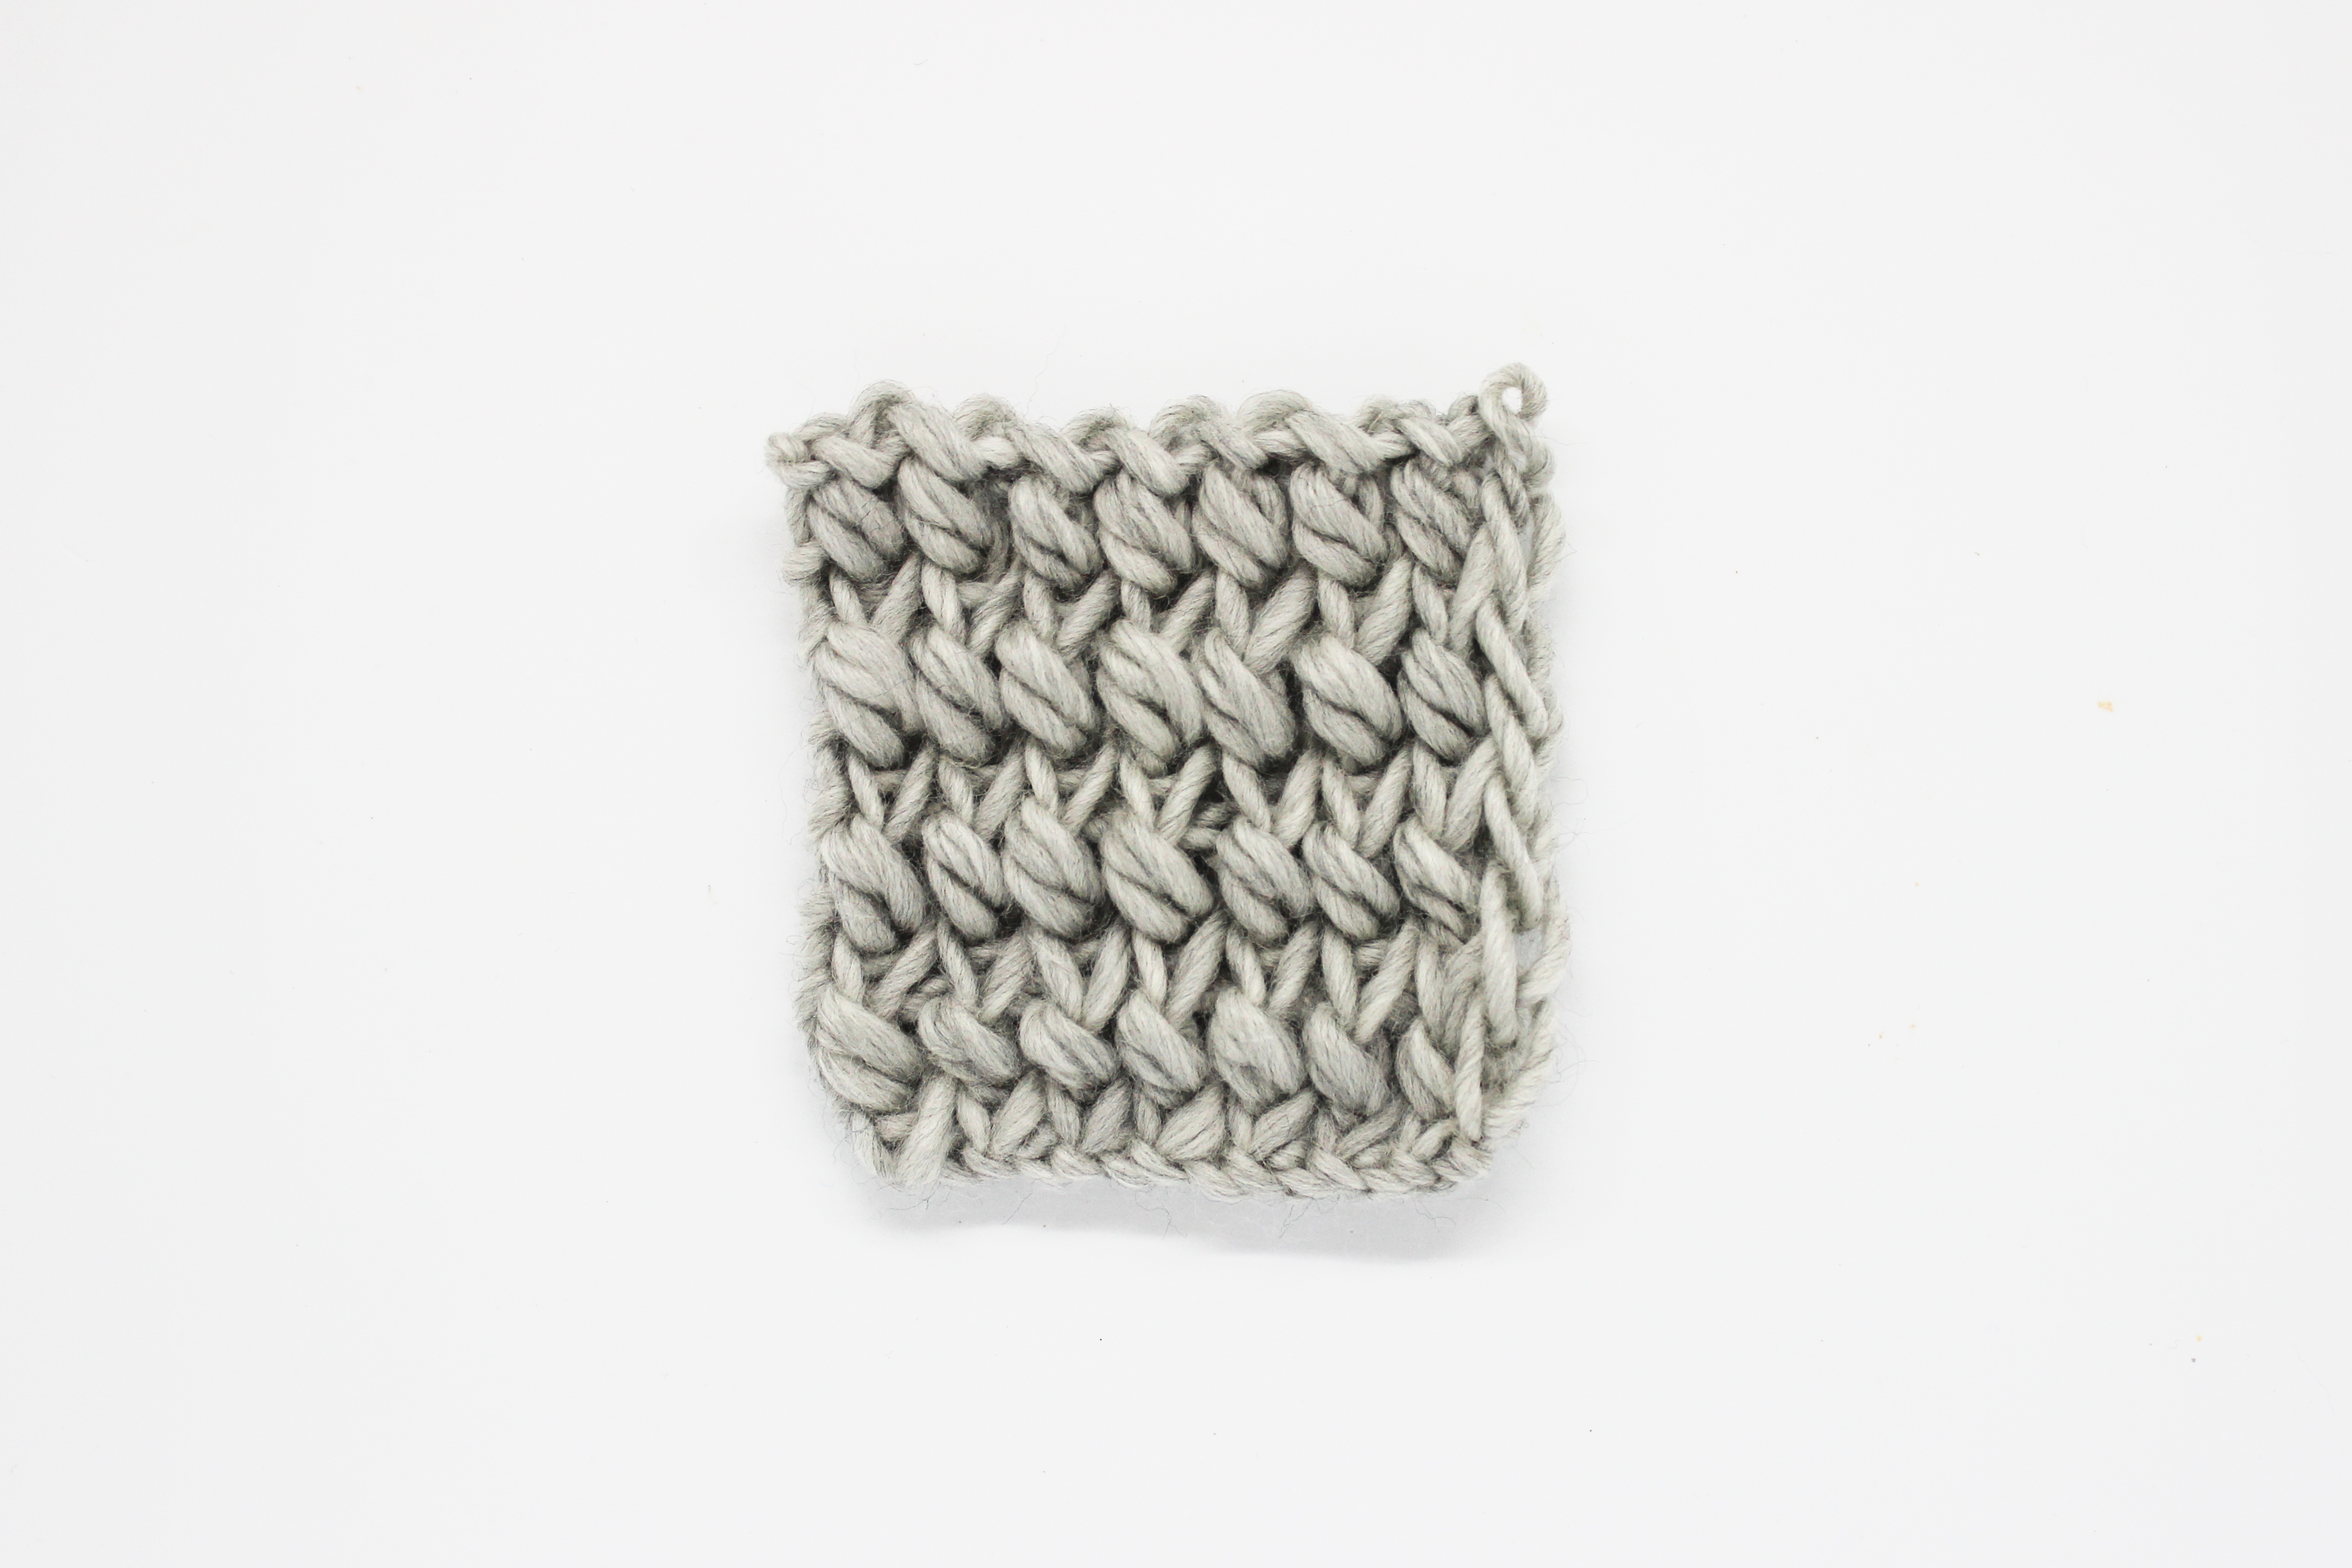
4. DIAGONALLY
This method also works on the inside of the projects, situating the thread diagonally on top of the stitches. We are going to make use of the shape of the purled stitches to lead the threads through them. Pass the needle only through the middle of each stitch.
When you have done that with about 5 or 6 stitches, turn the needle around and repeat the same steps in the opposite direction. Use the next row of stitch so that you create a line that runs parallel to the first. Now you can cut the thread without having to fear that it comes lose again.


Soon we are going to show you a number of other techniques to hide lose thread for example in garter stitch and rib stitch.
For this post we have used 100% petite Peruvian wool in aquamarine and wine and a small knitter’s sewing needle.
Please don’t forget to share with us your projects in Instagram with the hastag #weareknitters.