Hi knitters!
Did you just realize you don’t have an auxiliary needle to make cable twists? Have you wanted to make a braid more than once and you just couldn’t find a pencil or pen to put the stitches on? I am going to tell you a knitter’s secret: you can easily make braids without using a third needle. Now you won’t have to put the knitting aside in order to find a needle and additionally, making braids is much faster this way.
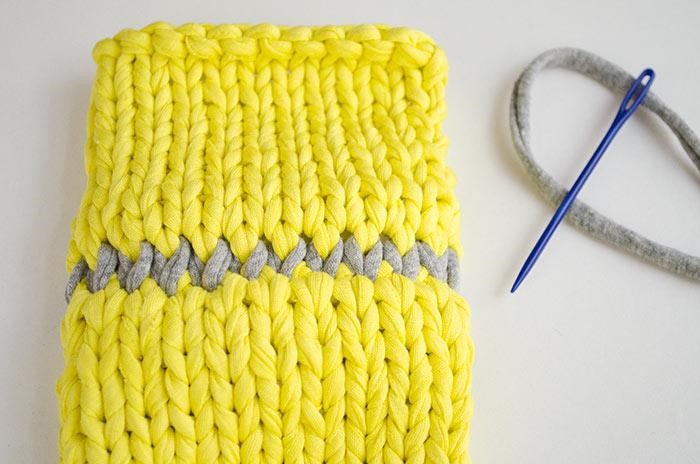
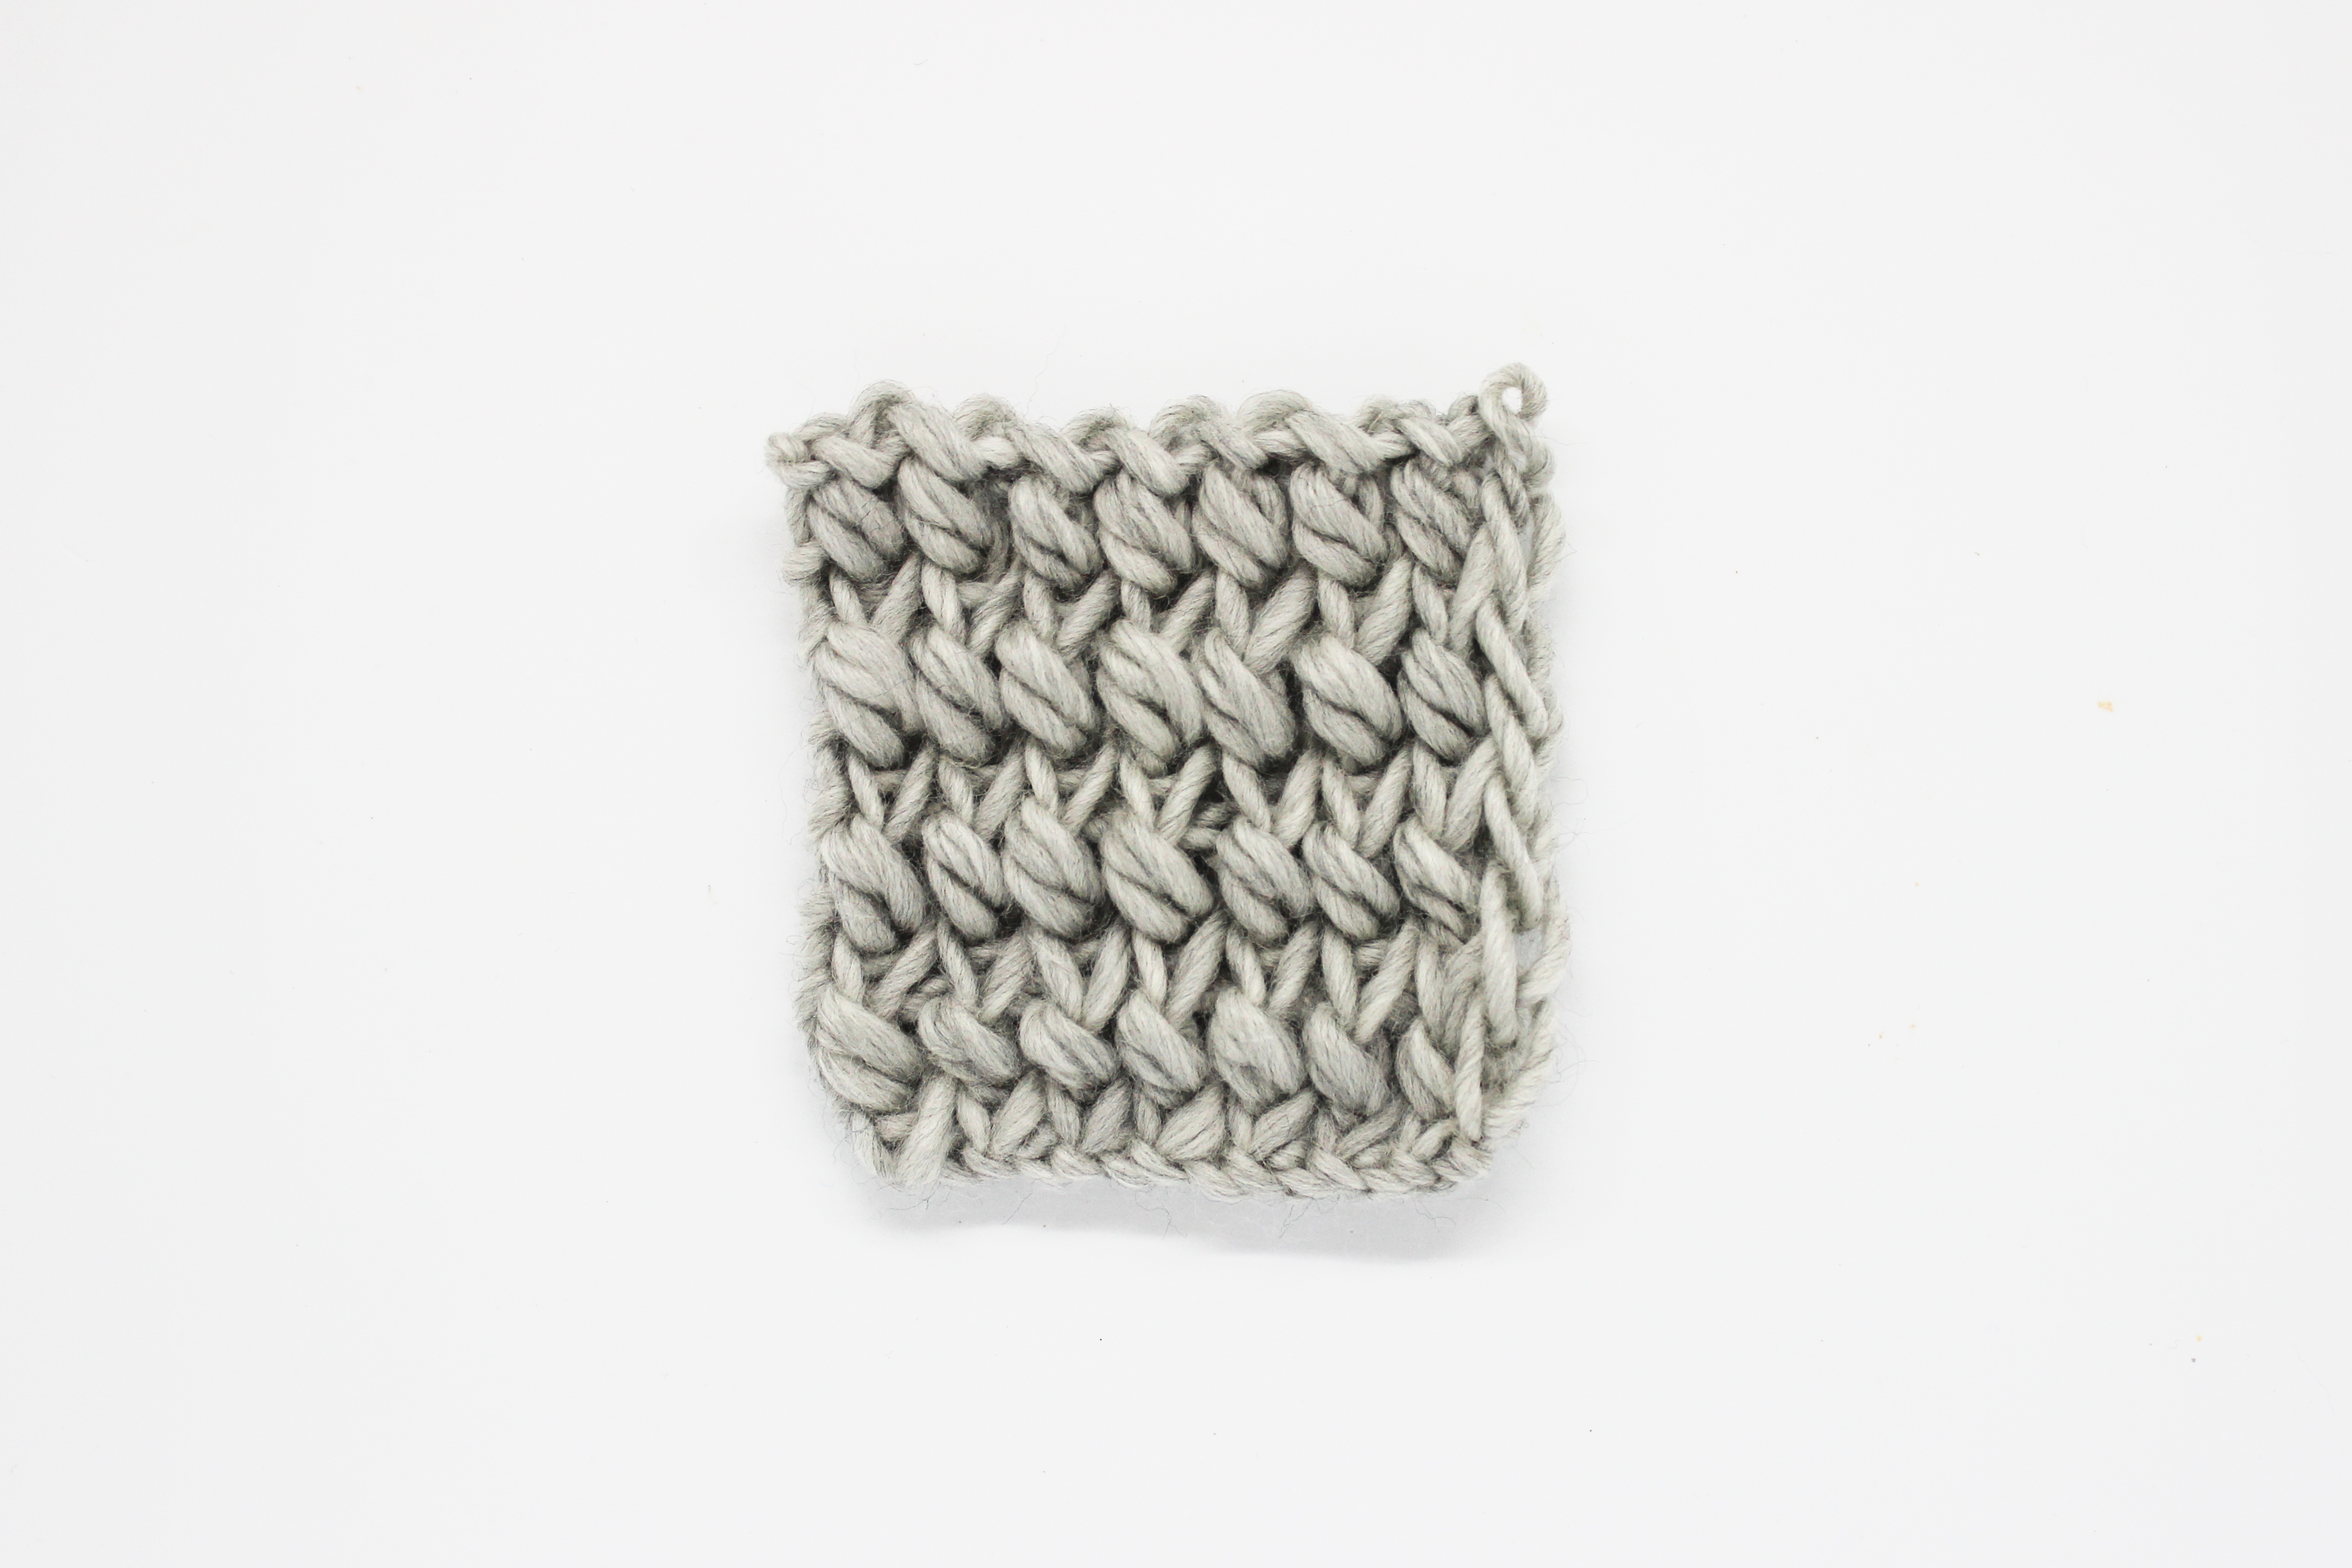
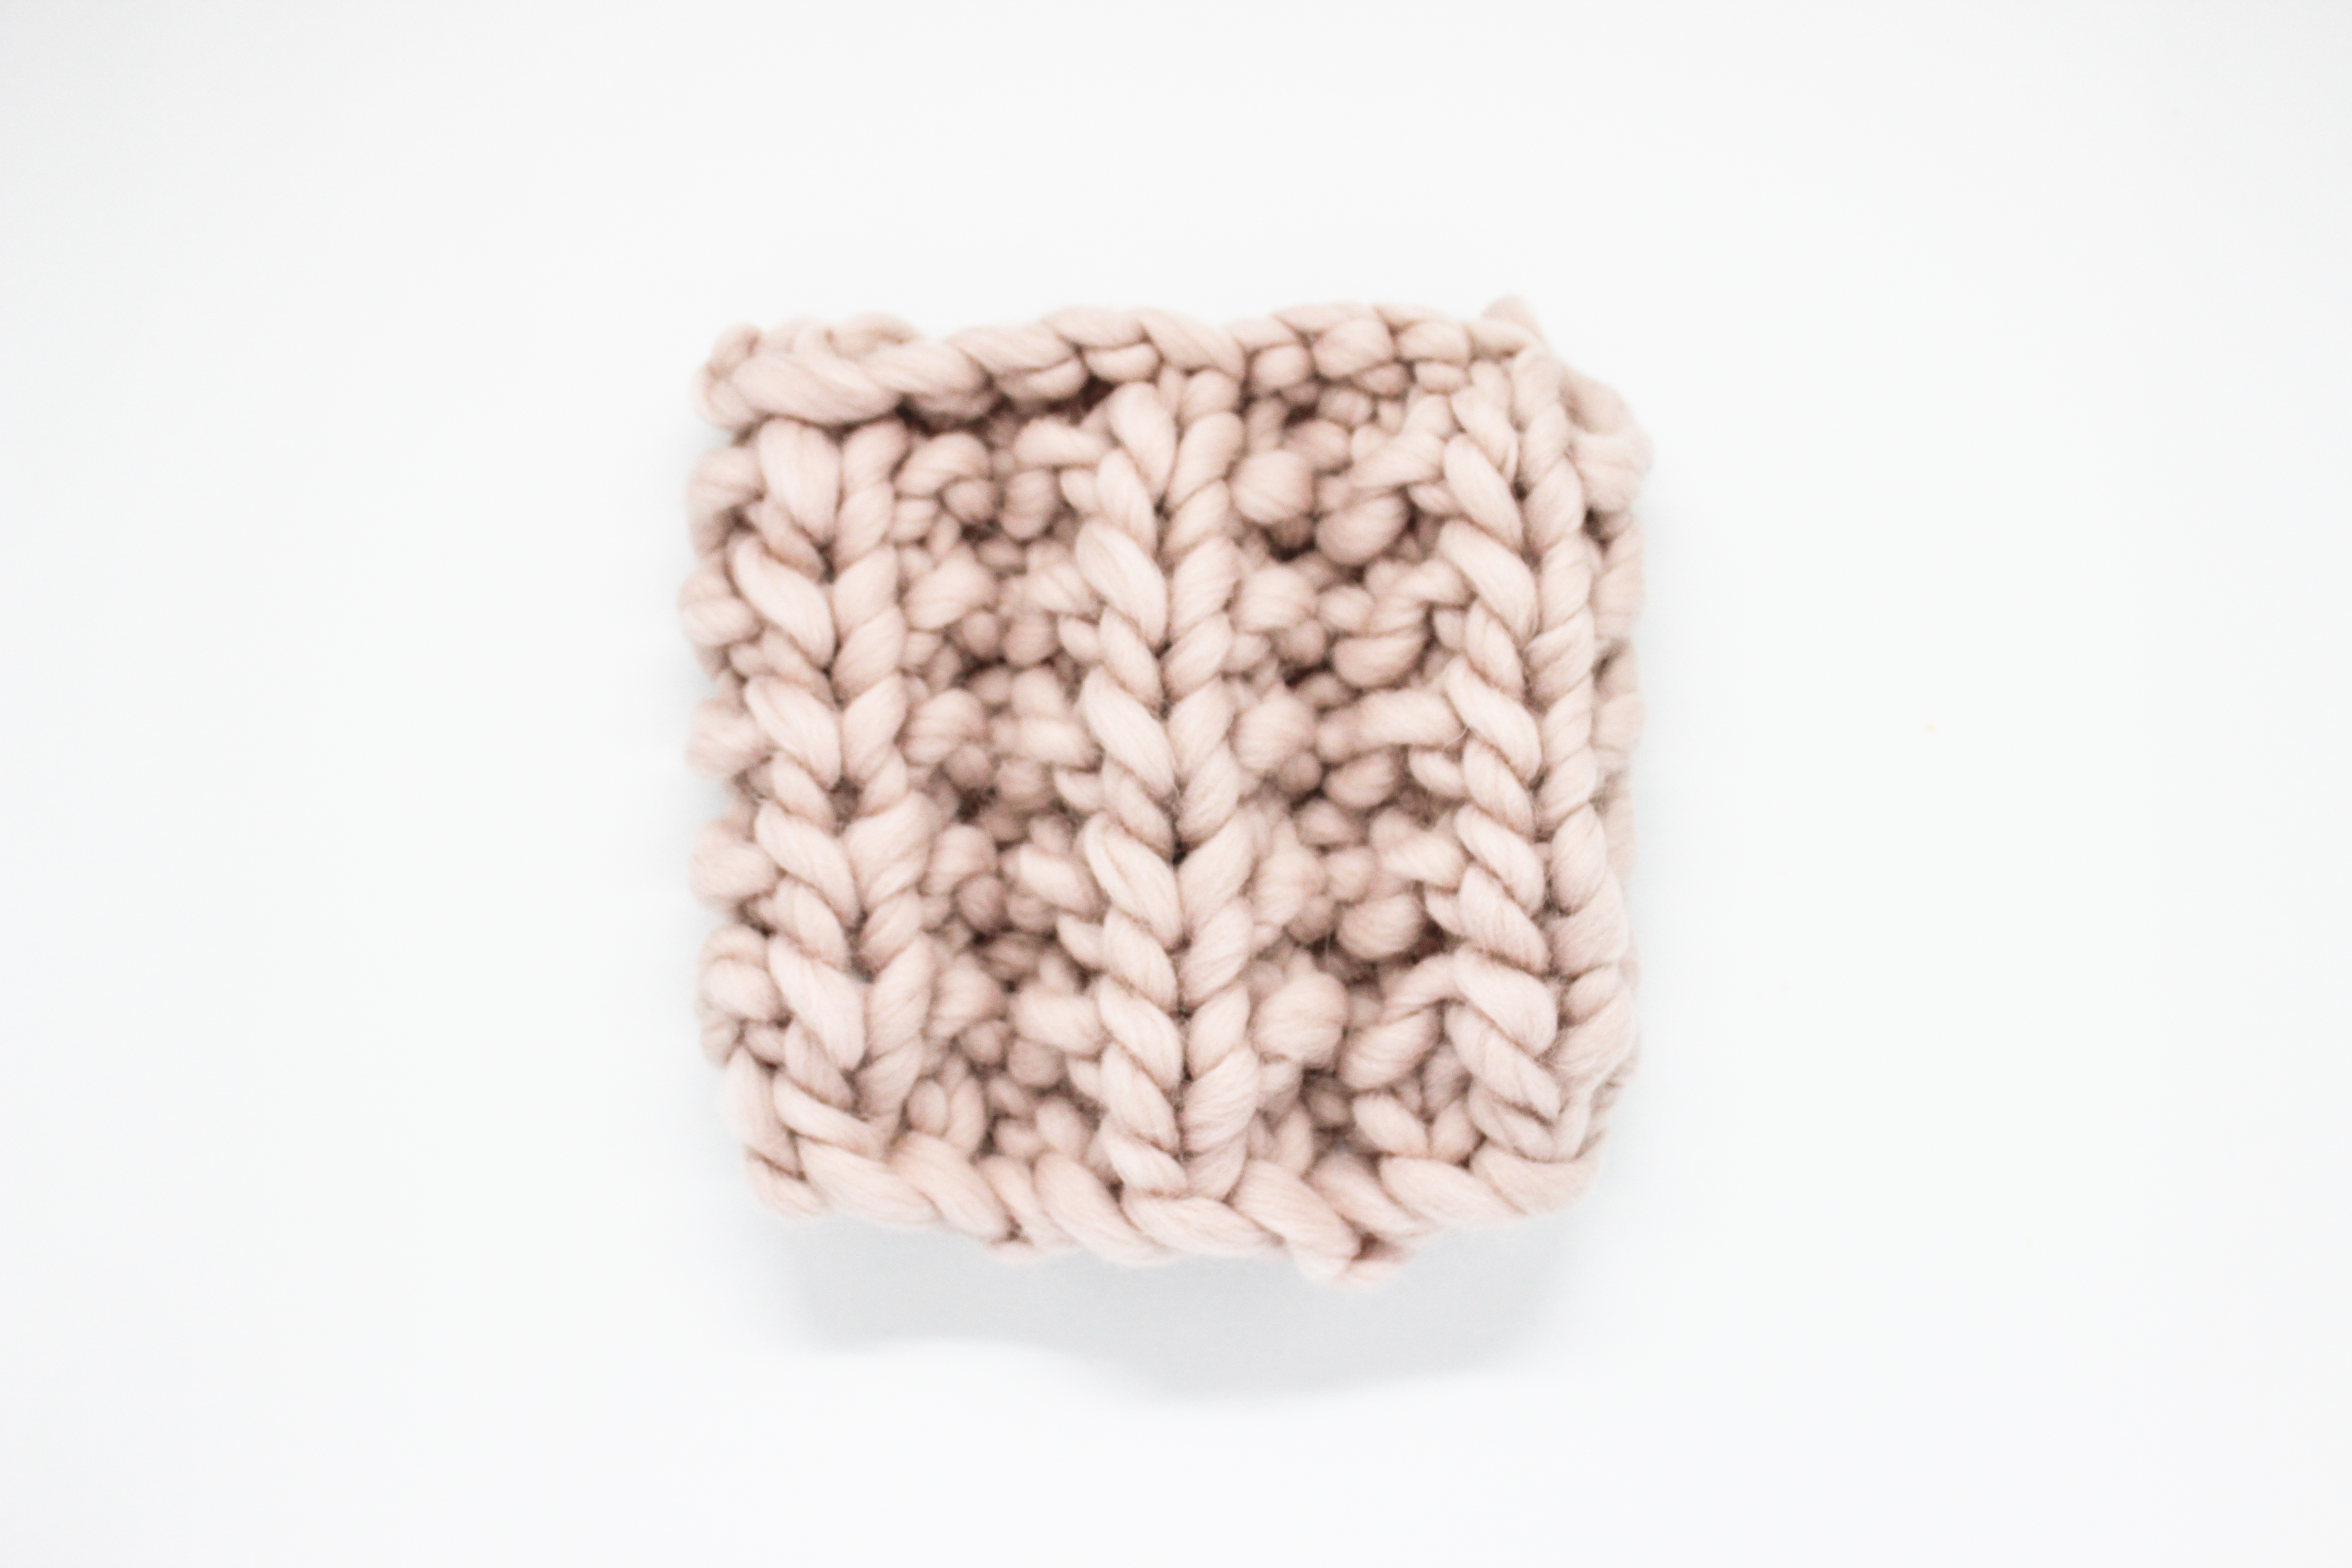
In order to show you how it works we have made braids with 4 stitches in both examples.
1. Braids that cross in front of the project (braids to the left)

Knit normally until you get to the stitch where you have to start the braid.

Take the right needle behind the project, inserting it into the stitches that you would be knitting after leaving the stitches for the braid without knitting (in our case we have skipped the two stitches that would usually go to the auxiliary needle and we have inserted the right hand needle into the next two stitches).

Now, let go of the stitches that would be transferred to the auxiliary needle. Do it carefully but don’t be scared. At the same time, slip the stitches in which we inserted the right hand needle from the left hand needle. It will look like in the photo above.

Take up the loose stitches with the left hand needle, from left to right.


Return the stitches that you passed on the right hand needle onto the left hand needle again, they will end up in front of the stitches we just took up.

Last but not least, knit all the stitches as you usually do or as described in your knitting pattern. And you have finished your braid!
2. Braids that cross behind the project (braids to the right)

Knit normally until you get to the stitch where you have to start the braid. Take the right hand needle in front of the project and insert it through the stitches you would be knitting after leaving the other stitches on the auxiliary needle (in our case, two stitches). Insert the needle in the stitches from right to left without twisting them.

Slip the stitches that you have on your left hand needle, those that correspond to the ones usually transferred to the auxiliary needle. At the same time slip off the stitches that you took up with the right hand needle so they end up on that needle instead.

Now use the end of the left hand needle to take up the loose stitches again, do it from behind the right hand needle. Insert the needle from left to right.

Return the stitches that you took up with the right hand needle onto the left hand needle again. You will again have the four stitches of the braid on your left hand needle.

Now you just have to knit the stitches in the way they present themselves. The braid is finished 🙂

With a little bit of practice you will see how this way of making cable twists is much faster and does not require any extra material. That said, however, it does work a lot better when the braid does not have a lot of stitches, if it does it might be better to use a pencil to help in making the braid.
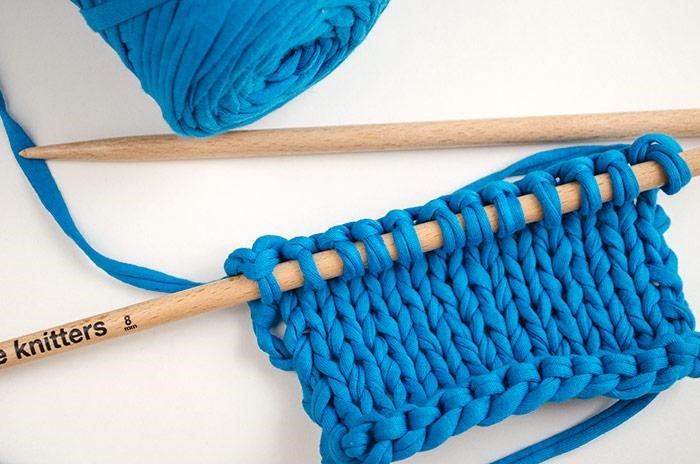
In the example we have used fabric yarn and 8mm needles.
No matter if you are an expert in this technique or if you have just started knitting it, you know we always love to see your creations. You can share them with us on Instagram with the hashtag #weareknitters.