Today we will talk about two things we often take for granted, but are very important in creating neatly finished knitting projects: the slipknot at the beginning of our work and the final pull-through knot after binding off to help achieve neat edges.
We usually always start our cast on with a slipknot on one of the knitting needles, but, is there a better way to start our project? Yes, there is! Here is a little trick to avoid the noticeable slipknot when casting on:

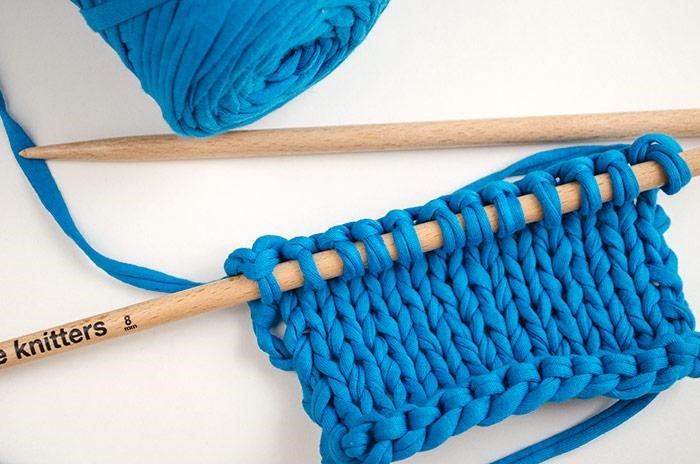
Start by laying a strand of yarn over the needle as shown in the photo. Hold the tail of the yarn in your right hand, and the end that comes from the ball of yarn in your left. You just have to place the strand on top of the needle to give us a starting point. Hold the yarn with one finger.

As if the strand lying on the needle were the slipknot, cast on as usual.

Once you cast on as many stitches as you need, it will look something like the photo above. Make sure to count the strand we placed on the needle in the first step as one of the stitches. At this point it looks a little different than the other cast on stitches. Don’t worry!

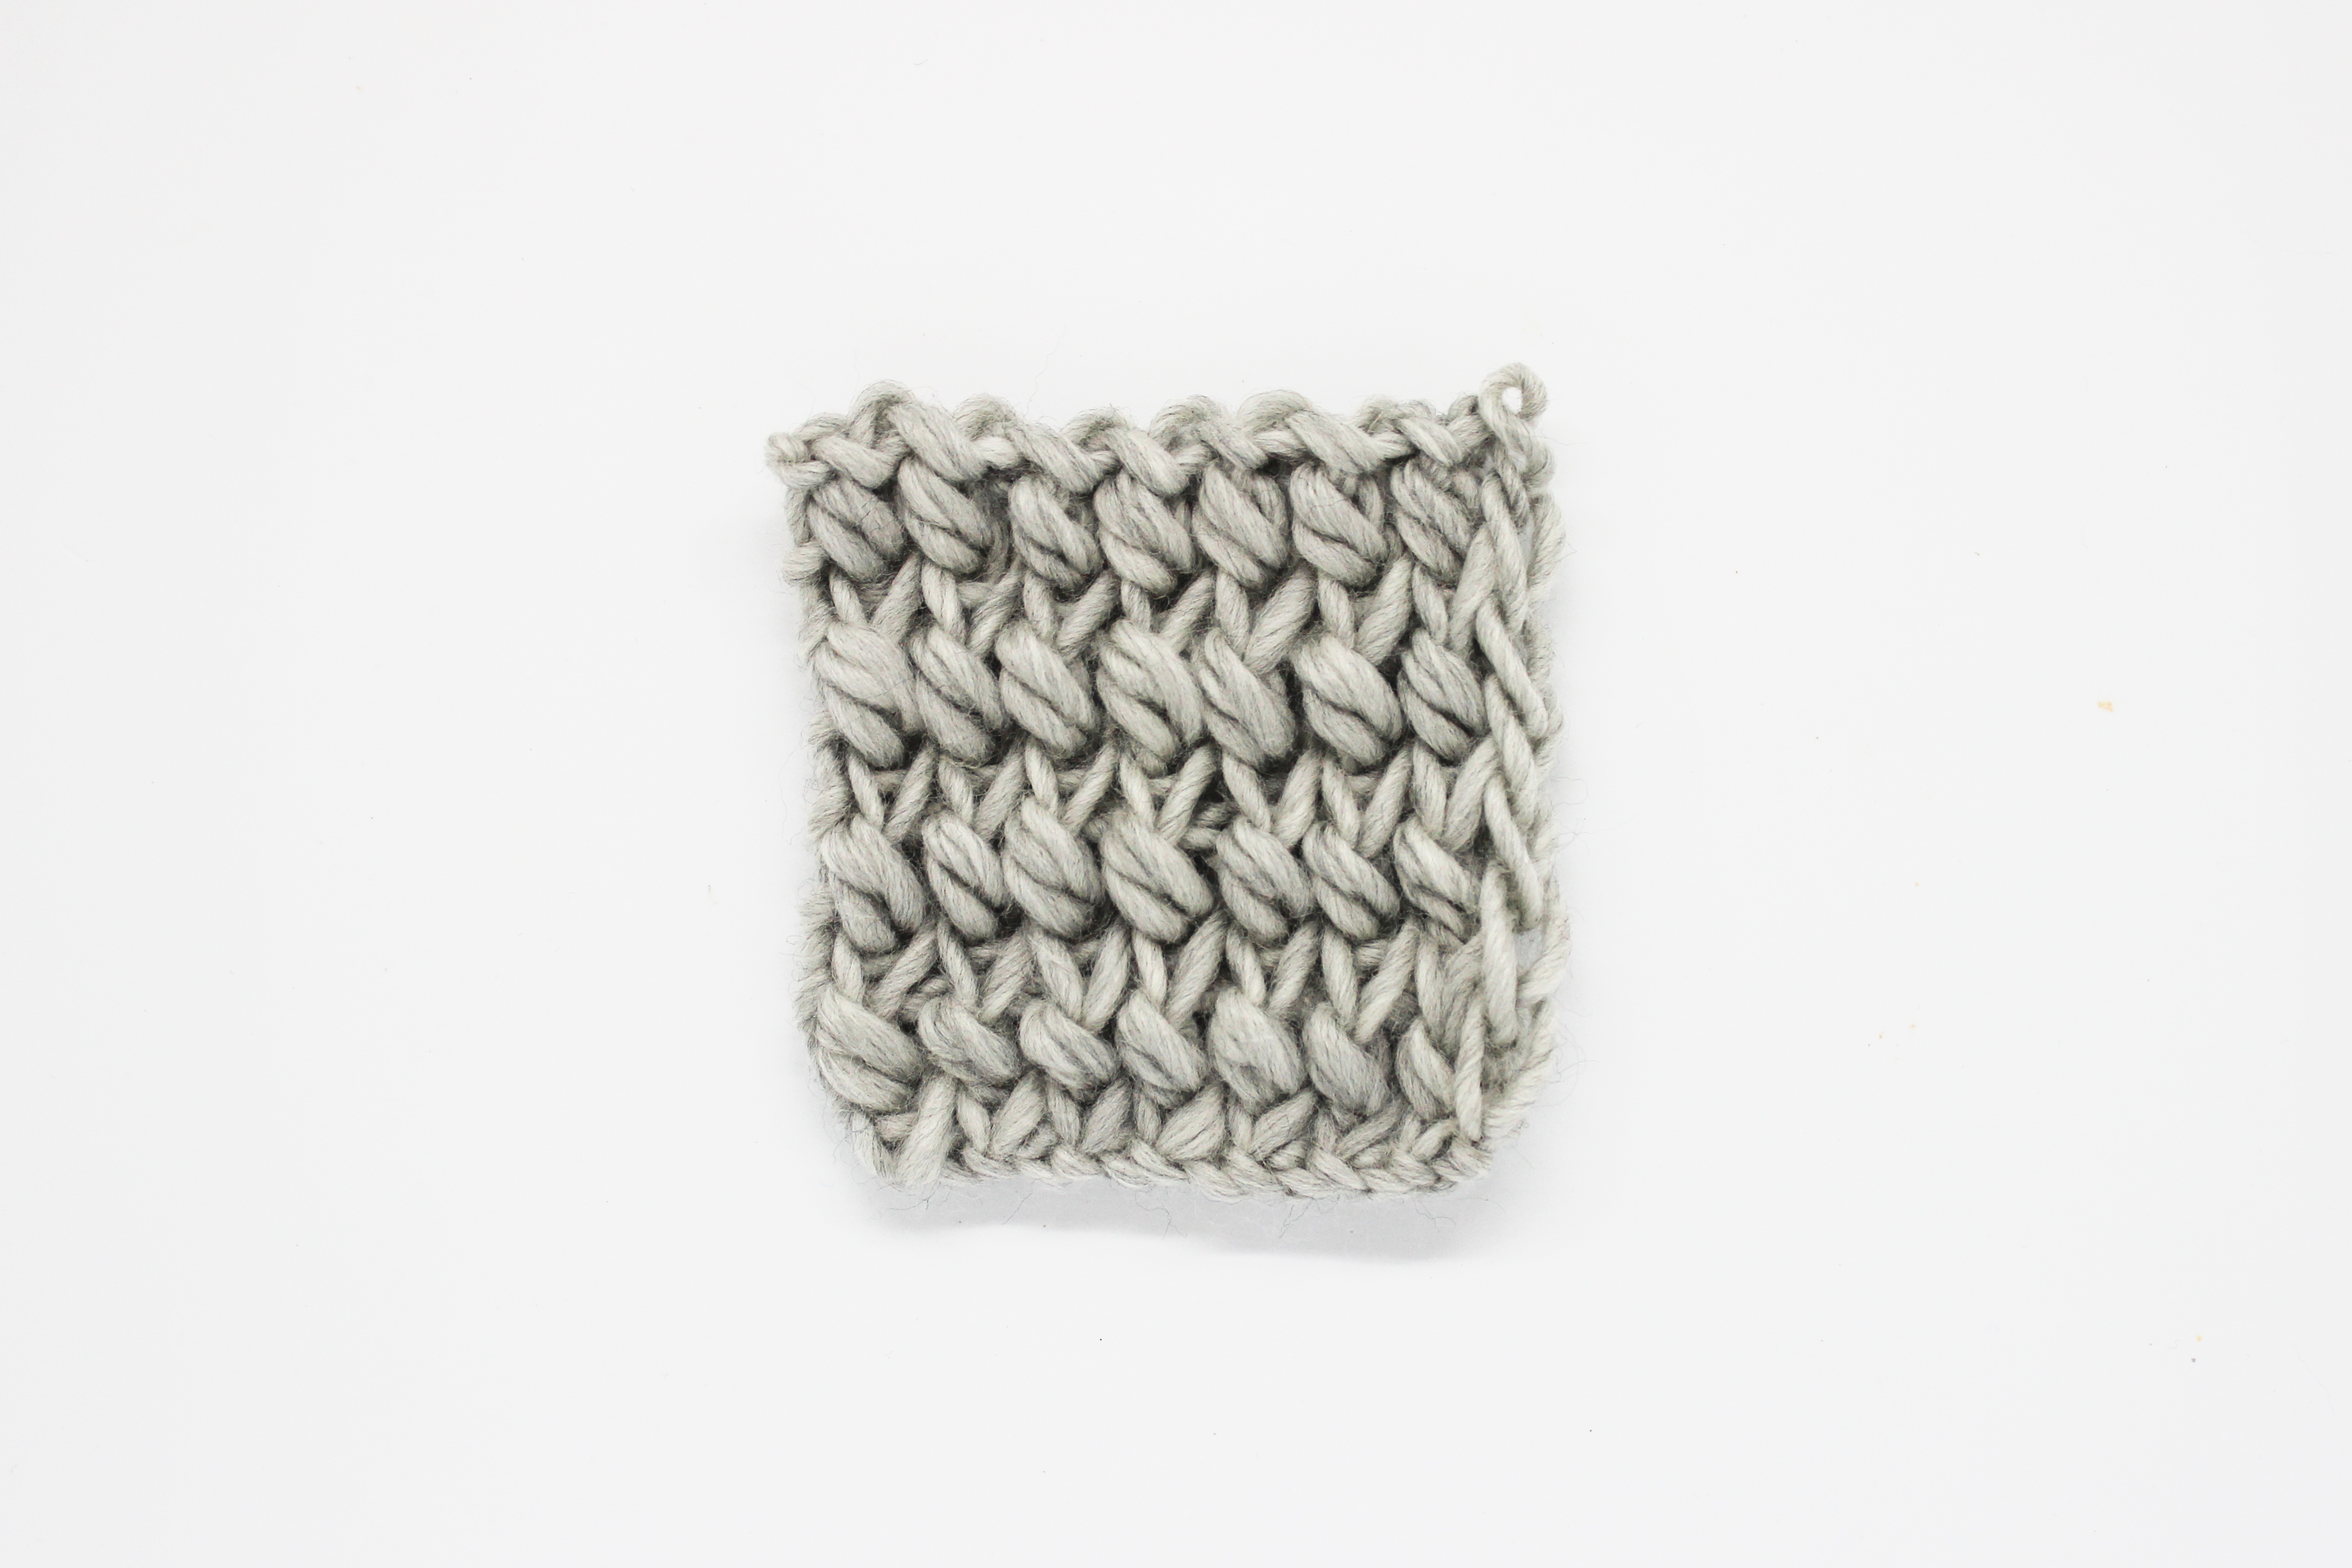
This is how our cast on edge looks after working a few rows. Much better than using a slipknot!
Now let’s see how to work a neater edge when binding off…

Once you have bound off all of your stitches, cut the yarn leaving a tail long enough to weave in later. Up to here, we’ve done the usual bind off, but this time don’t pull the cut tail through the last stitch (this is what creates an irregular edge with a bump at the end that doesn’t look very nice).


Remove the needle from the last stitch and pull the loop until the yarn comes free, as if you were undoing the last stitch. Don’t be afraid, your project won’t unravel 😉

Simply pull the yarn tightly to secure the end of your piece. Now we’re finished with a perfect last stitch.

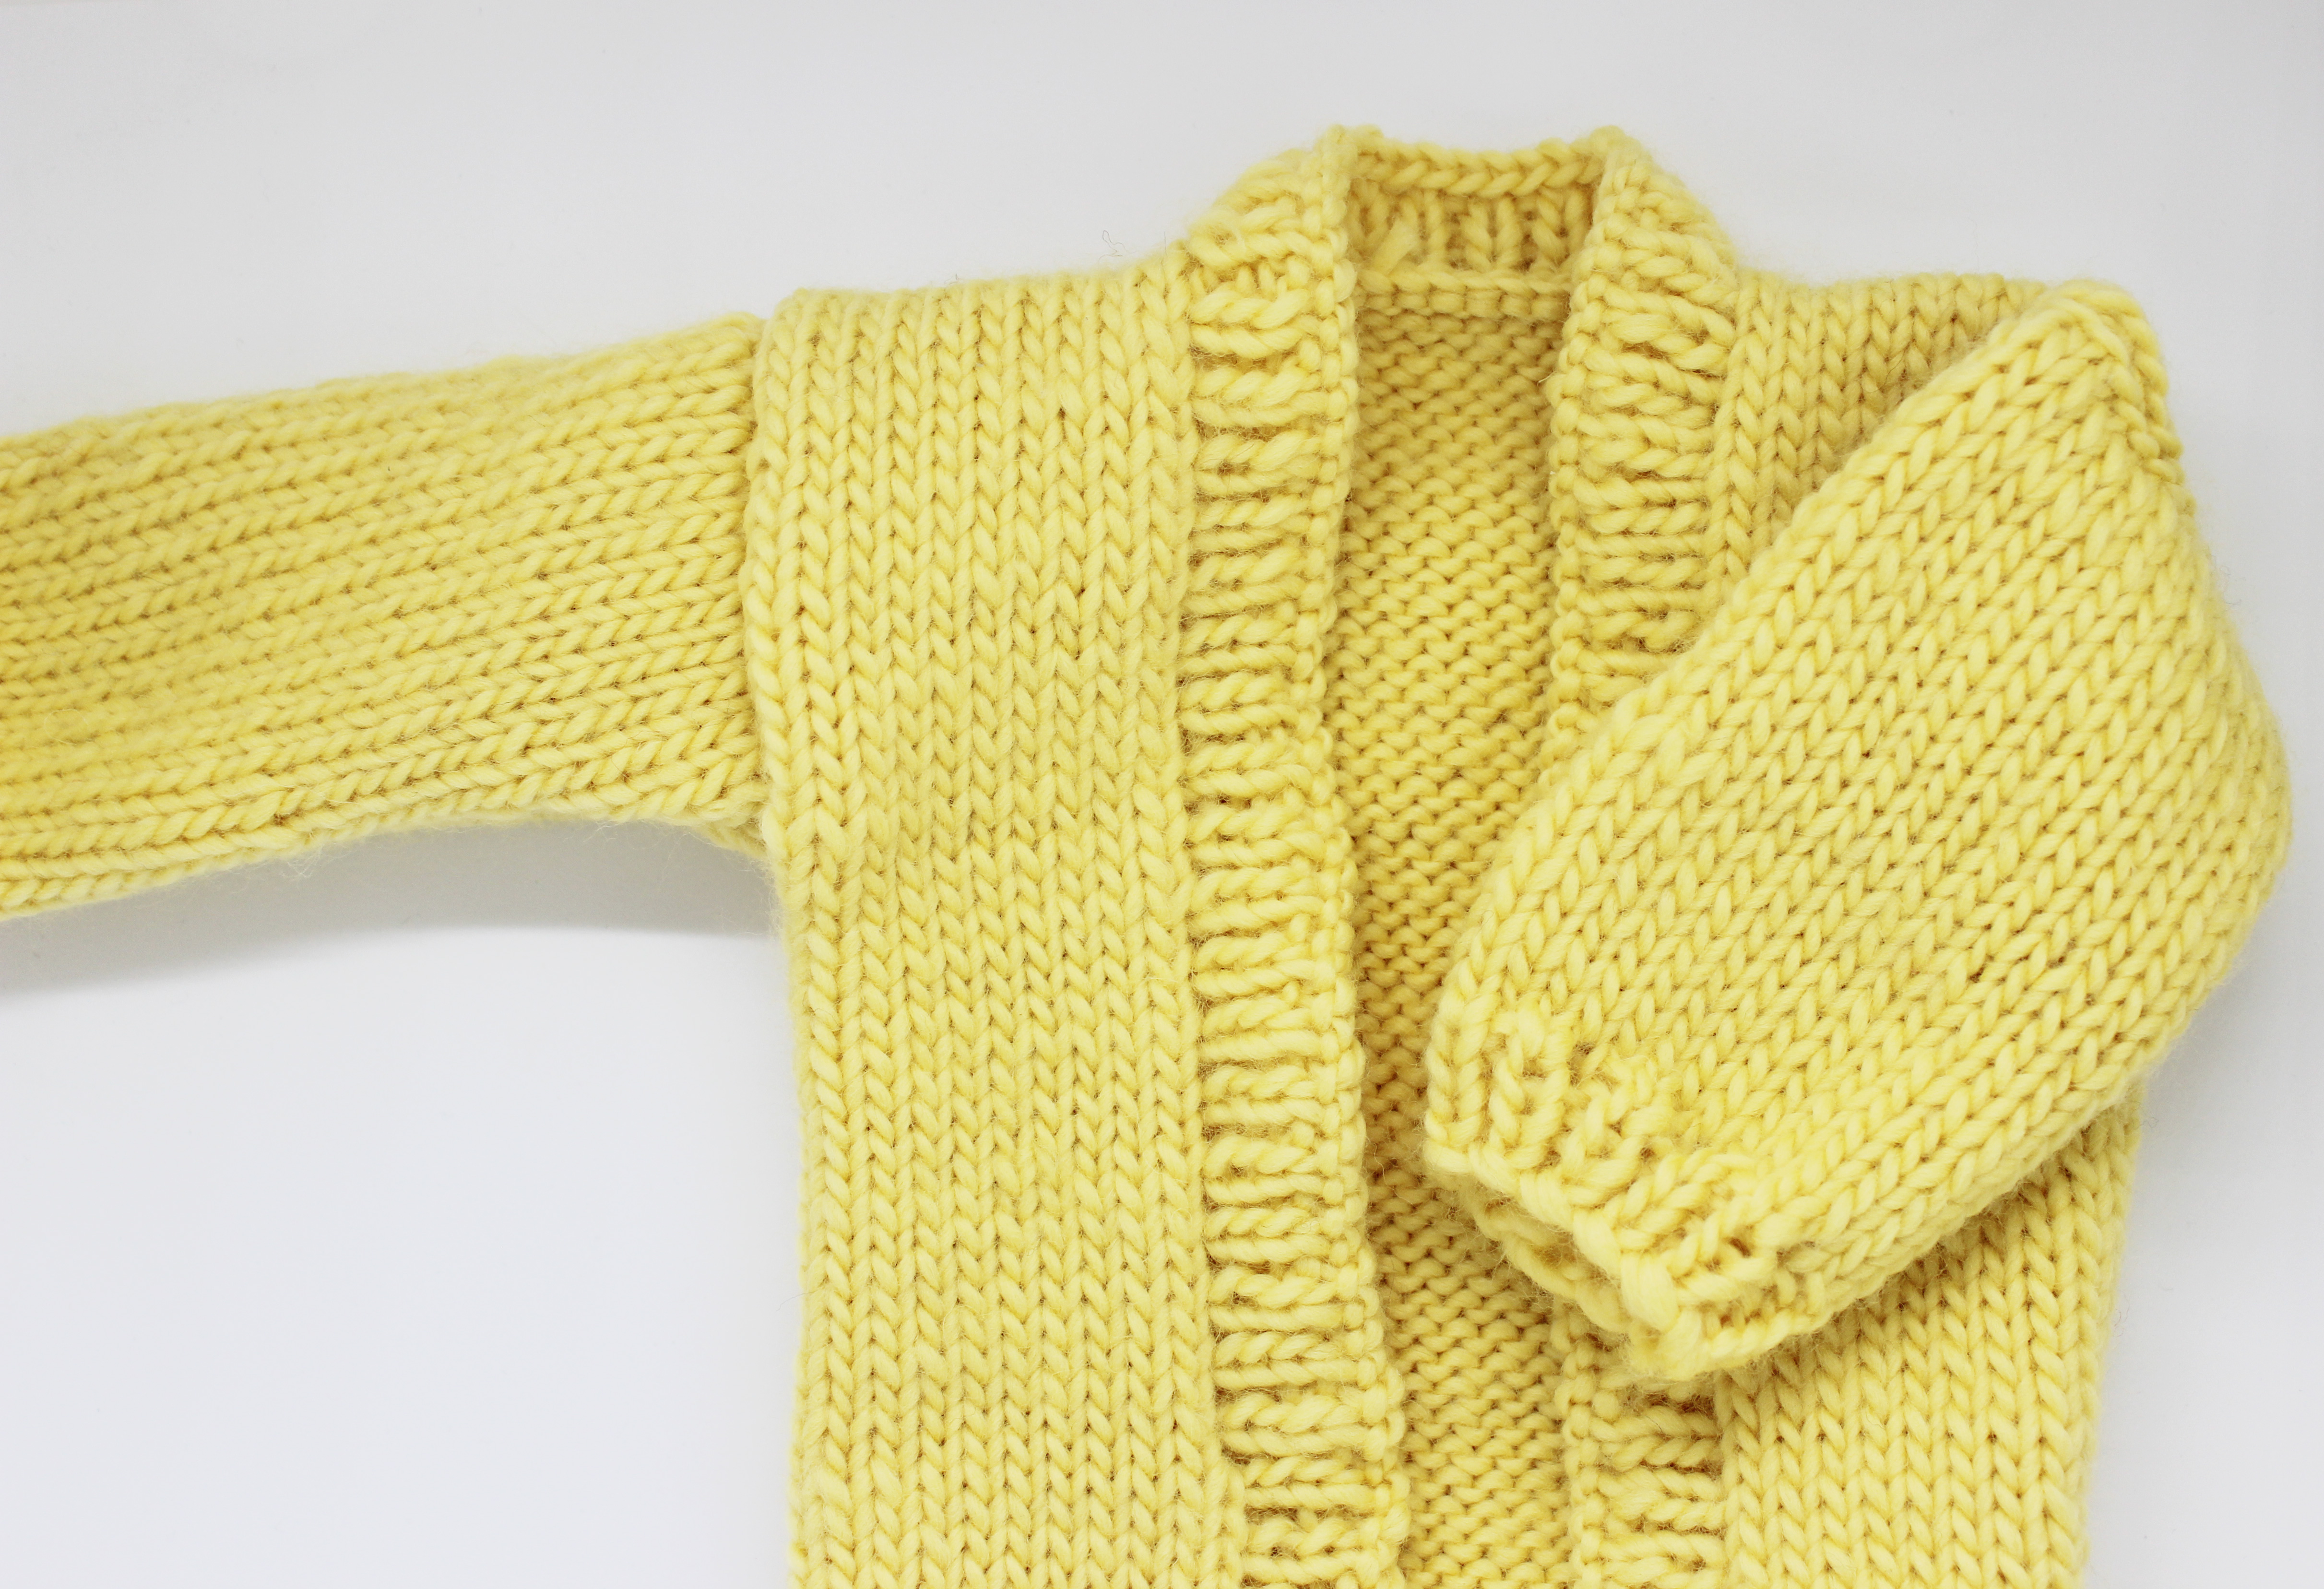
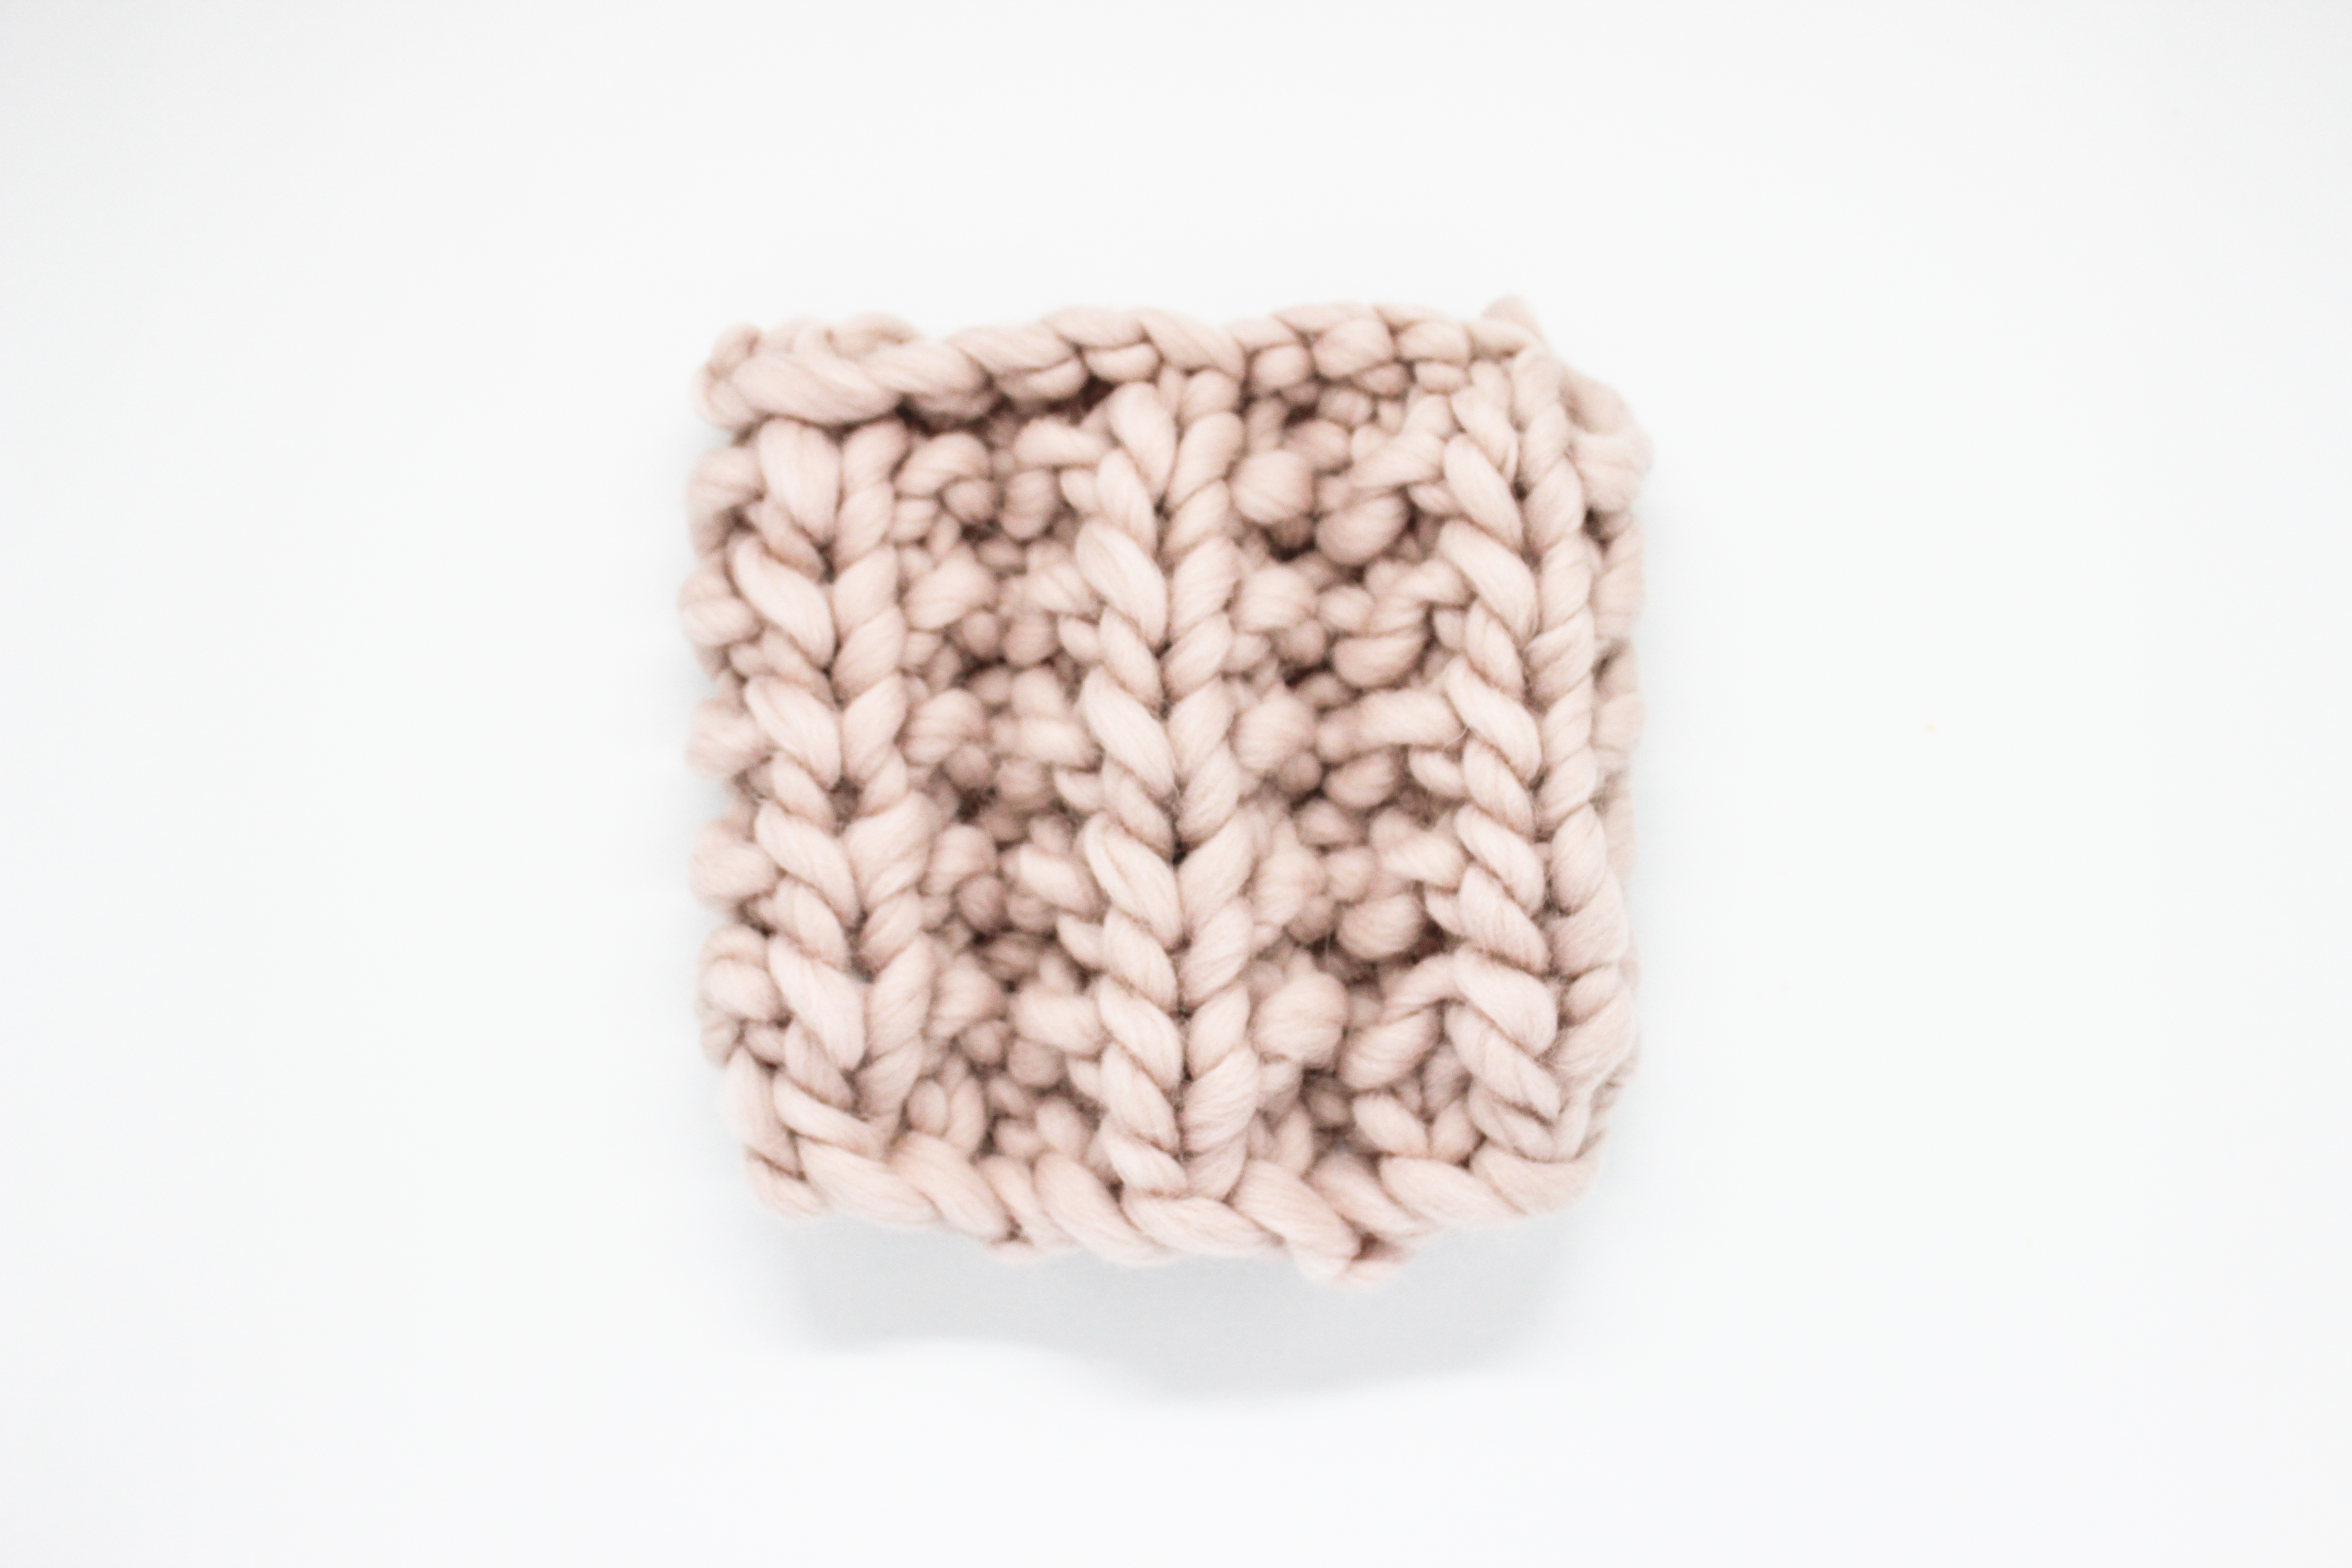
Once you weave in the ends and cut off the tail, you’ll see the difference in your finished piece; both your cast on and bound off edges look exactly the same with no visible bumps.
We hope you found these tips useful, and although we used chunky yarn and size 19 wooden needles, you can use these tips with all of our knitting kits.