Hello knitters!
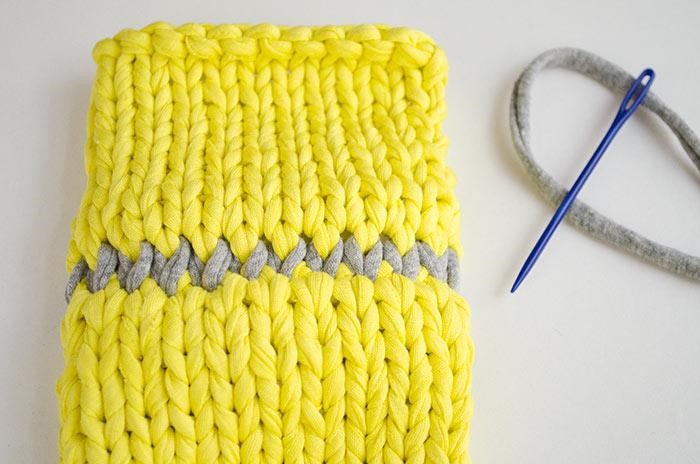
Today we are going to show you how to knit flounces.
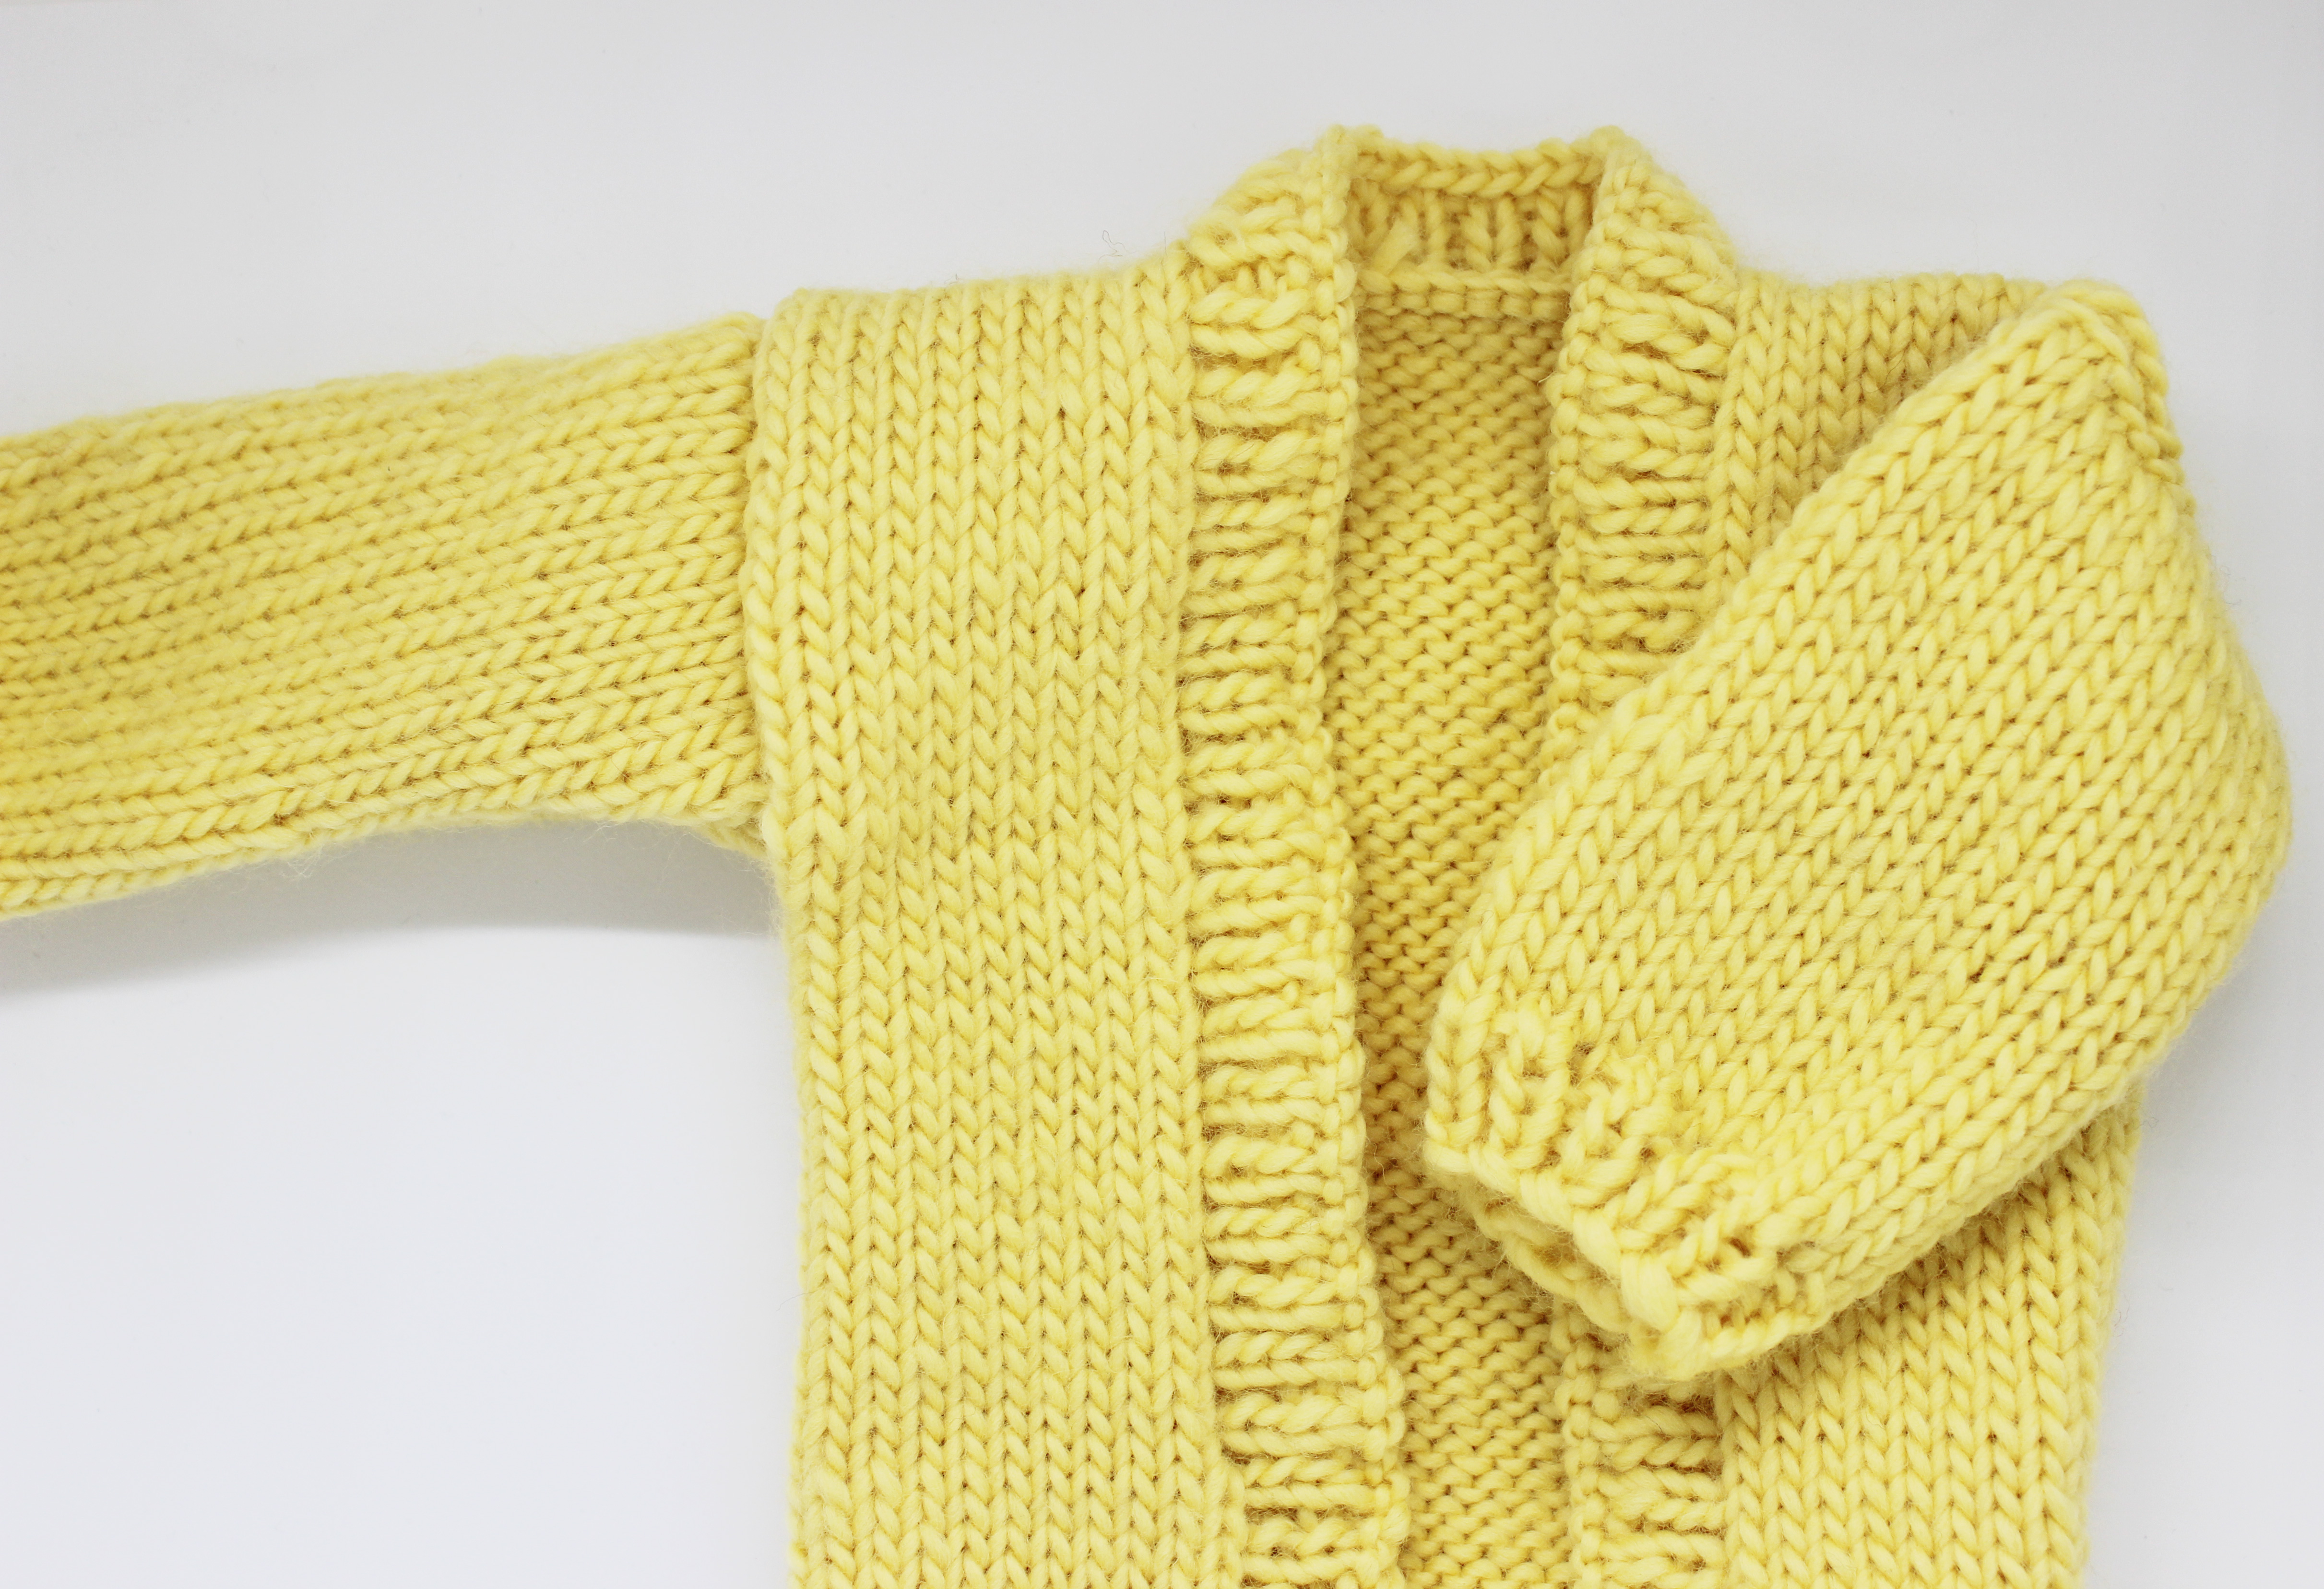
Flounces are not only very nice, but also are used often because they provide more relief and volume. Your knitted garment will look amazing!
Flounces with wrinkles are easy to add: you will need to increase 2 stitches on each flounce in all the odd rows. The position of the flounce is going to be clear after each knitted row.

Let’s start the flounces! 🙂
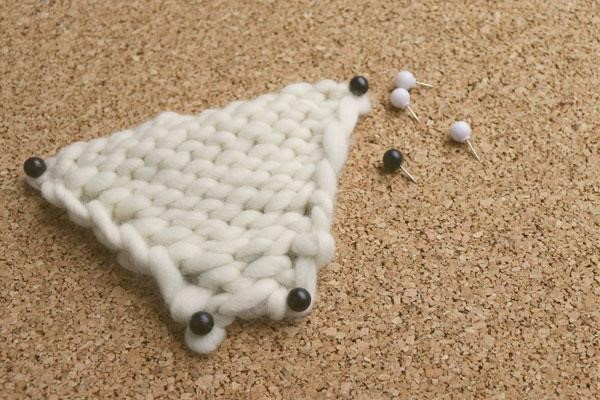
Cast on a number of stitches multiple of 4 + 3 more stitches.
Row 1: purl 3 stitches, knit 1 stitch and repeat this step until you have 3 stitches left. Purl these 3 stitches.
Row 2: knit 3 stitches, purl 1 stitch and repeat this step until you have 3 stitches left. Knit these 3 stitches.
Row 3: Repeat steps in row 1.
Row 4: Repeat steps in row 2.
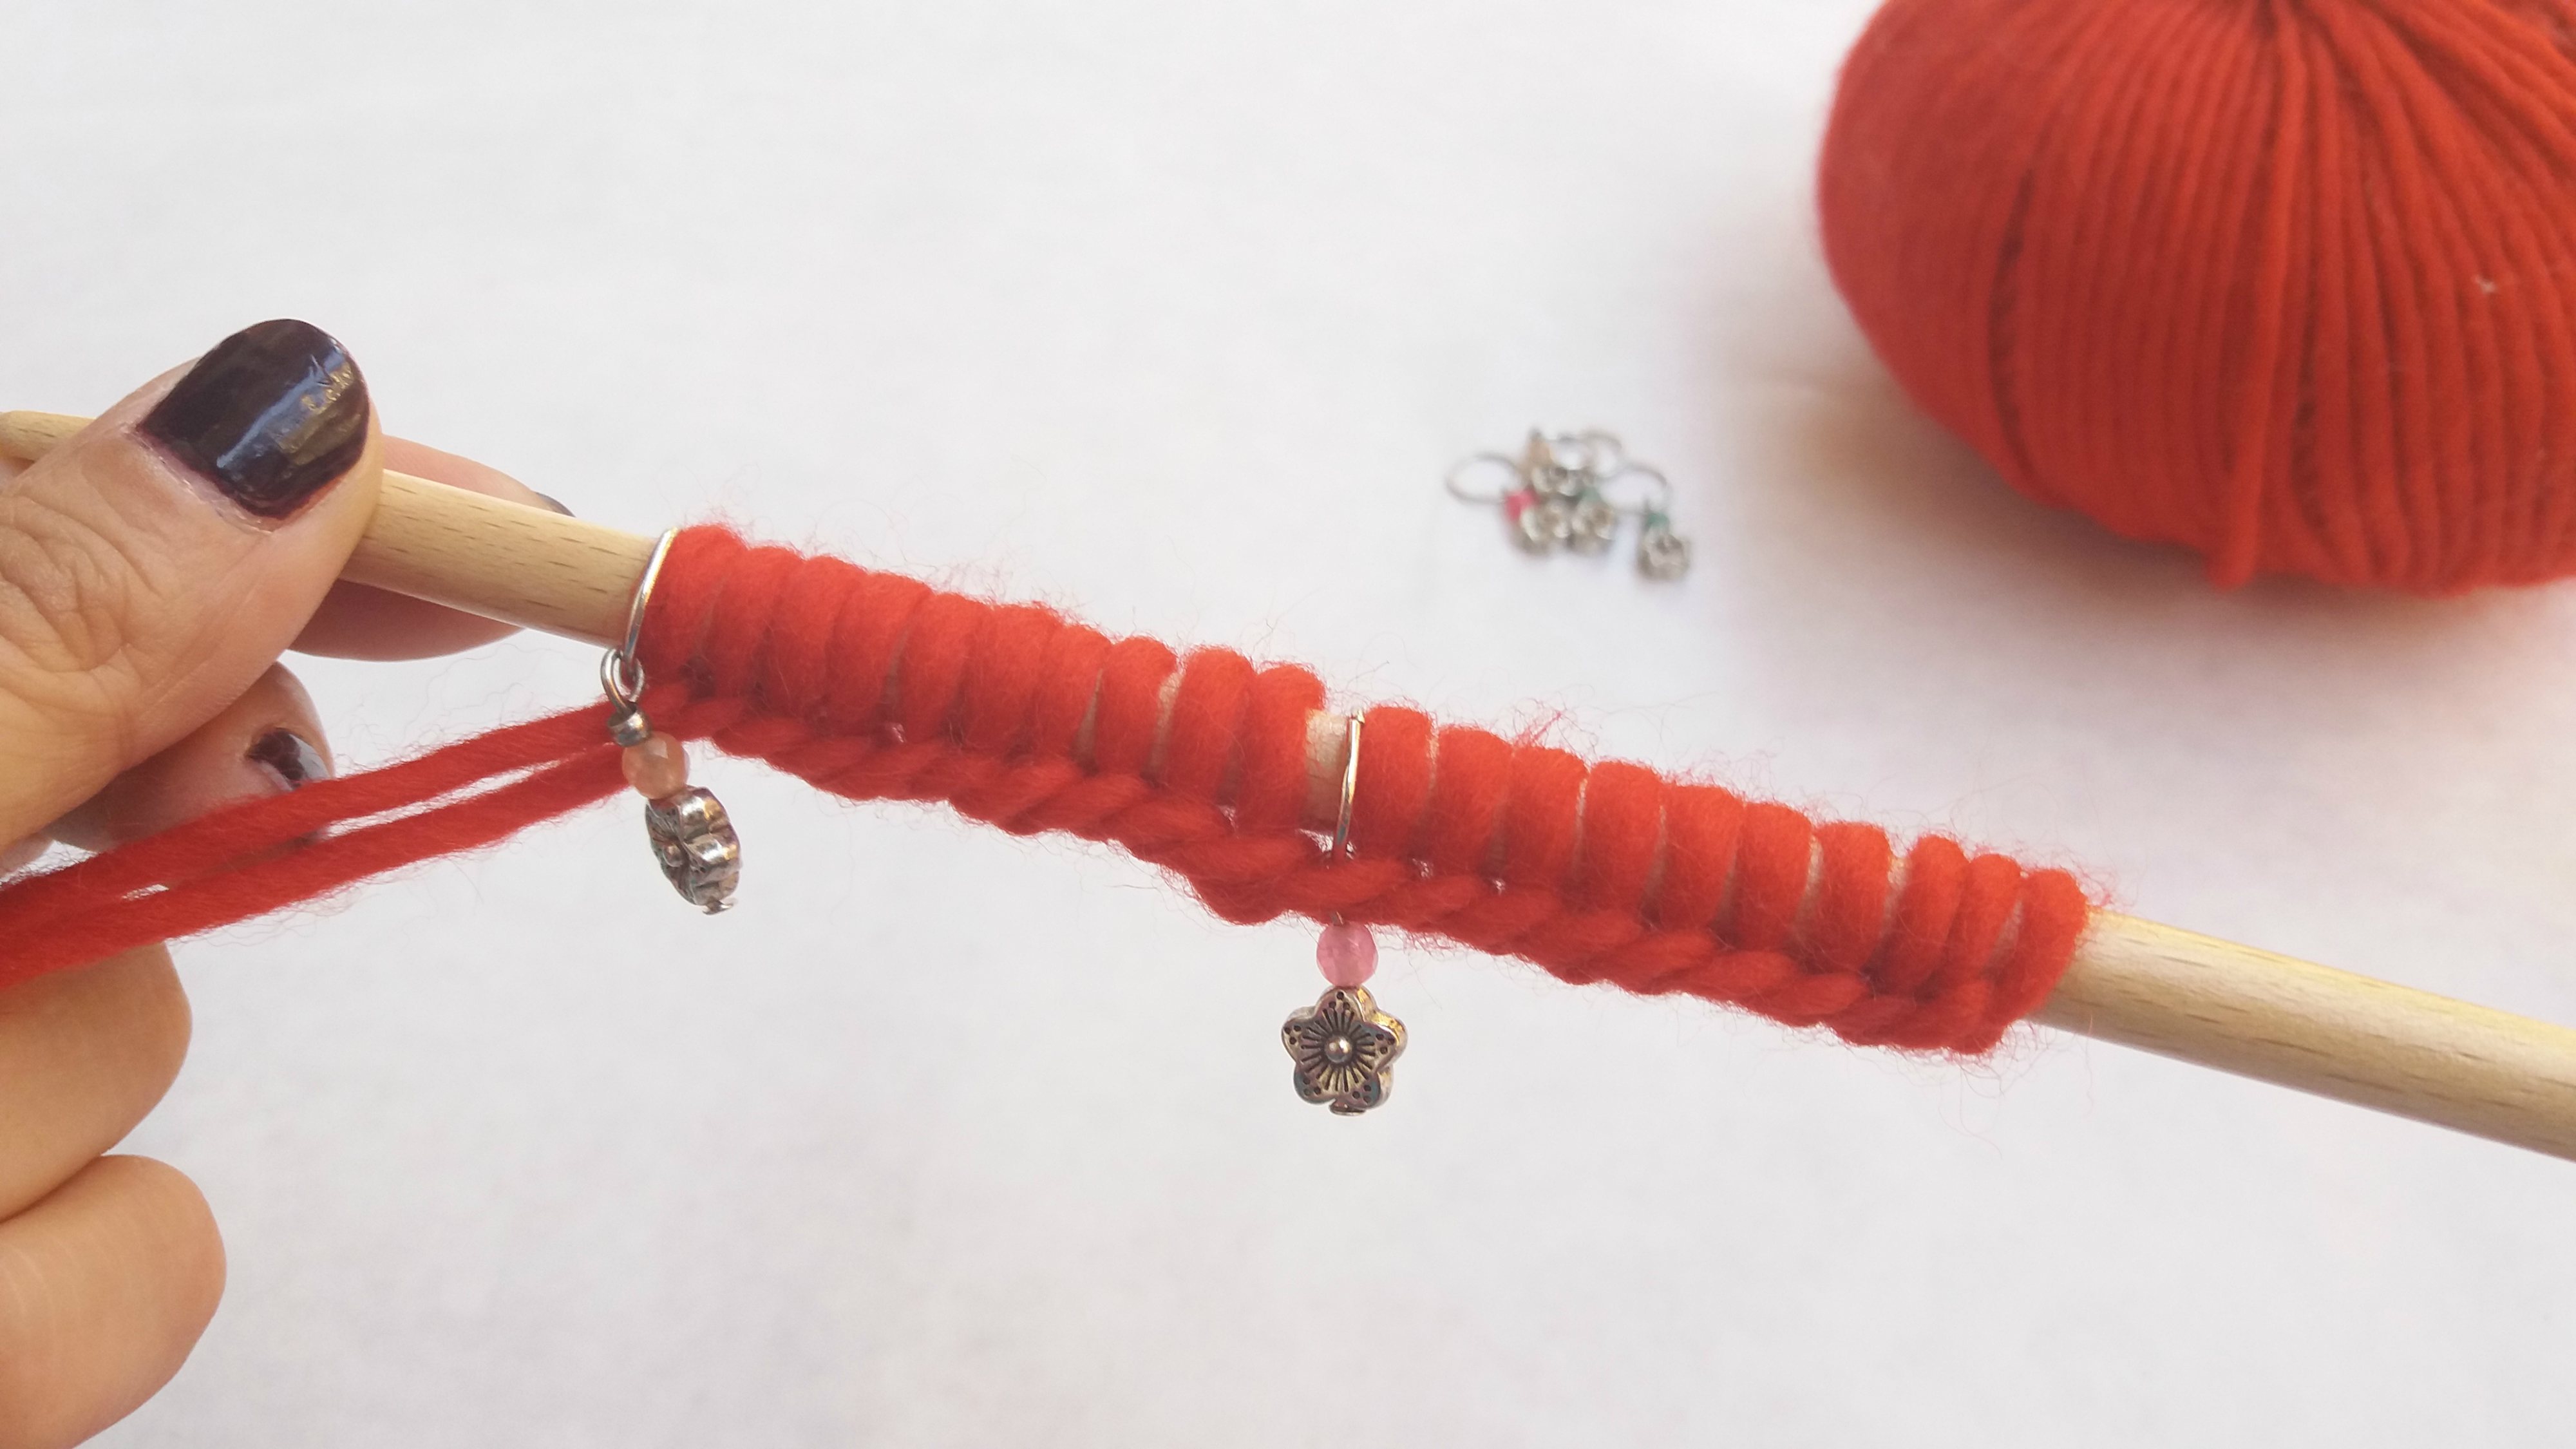
Row 5: purl 3 stitches, (*Increase 1 knitted stitch, purl 1 stitch taking the thread from behind, increase 1 stitch as usual). Repeat these steps (*) until you have 3 stitches left and purl them.
Row 6: knit 3 stitches, purl the next 3 stitches and repeat these steps until you have again 3 stitches left. Knit the 3 stitches.
Row 7: purl 3 stitches, increase 1 stitch with the thread from the front side, knit 3 stitches, increase 1 stitch with the thread from behind, Repeat these steps until you have 3 stitches left and knit them.
Row 8: knit 3 stitches and purl 5 stitches. Repeat this step until you have again 3 stitches left and knit them.
Row 9: start by purling 3 stitches, increase 1 stitch with the thread from behind, knit 5 more stitches and increase 1 stitch, leaving the thread behind. Repeat these steps until you have 3 stitches left and purl these 3 stitches.
Row 10: knit 3 stitches and purl 7 stitches. Repeat this step until you finish the entire row.
Row 11: purl 3 stitches, increase 1 stitch with the thread from the front, knit 7 stitches more, and increase 1 more stitch but leaving the thread behind. Repeat these steps until you have 3 stitches left and purl them to finish the row.
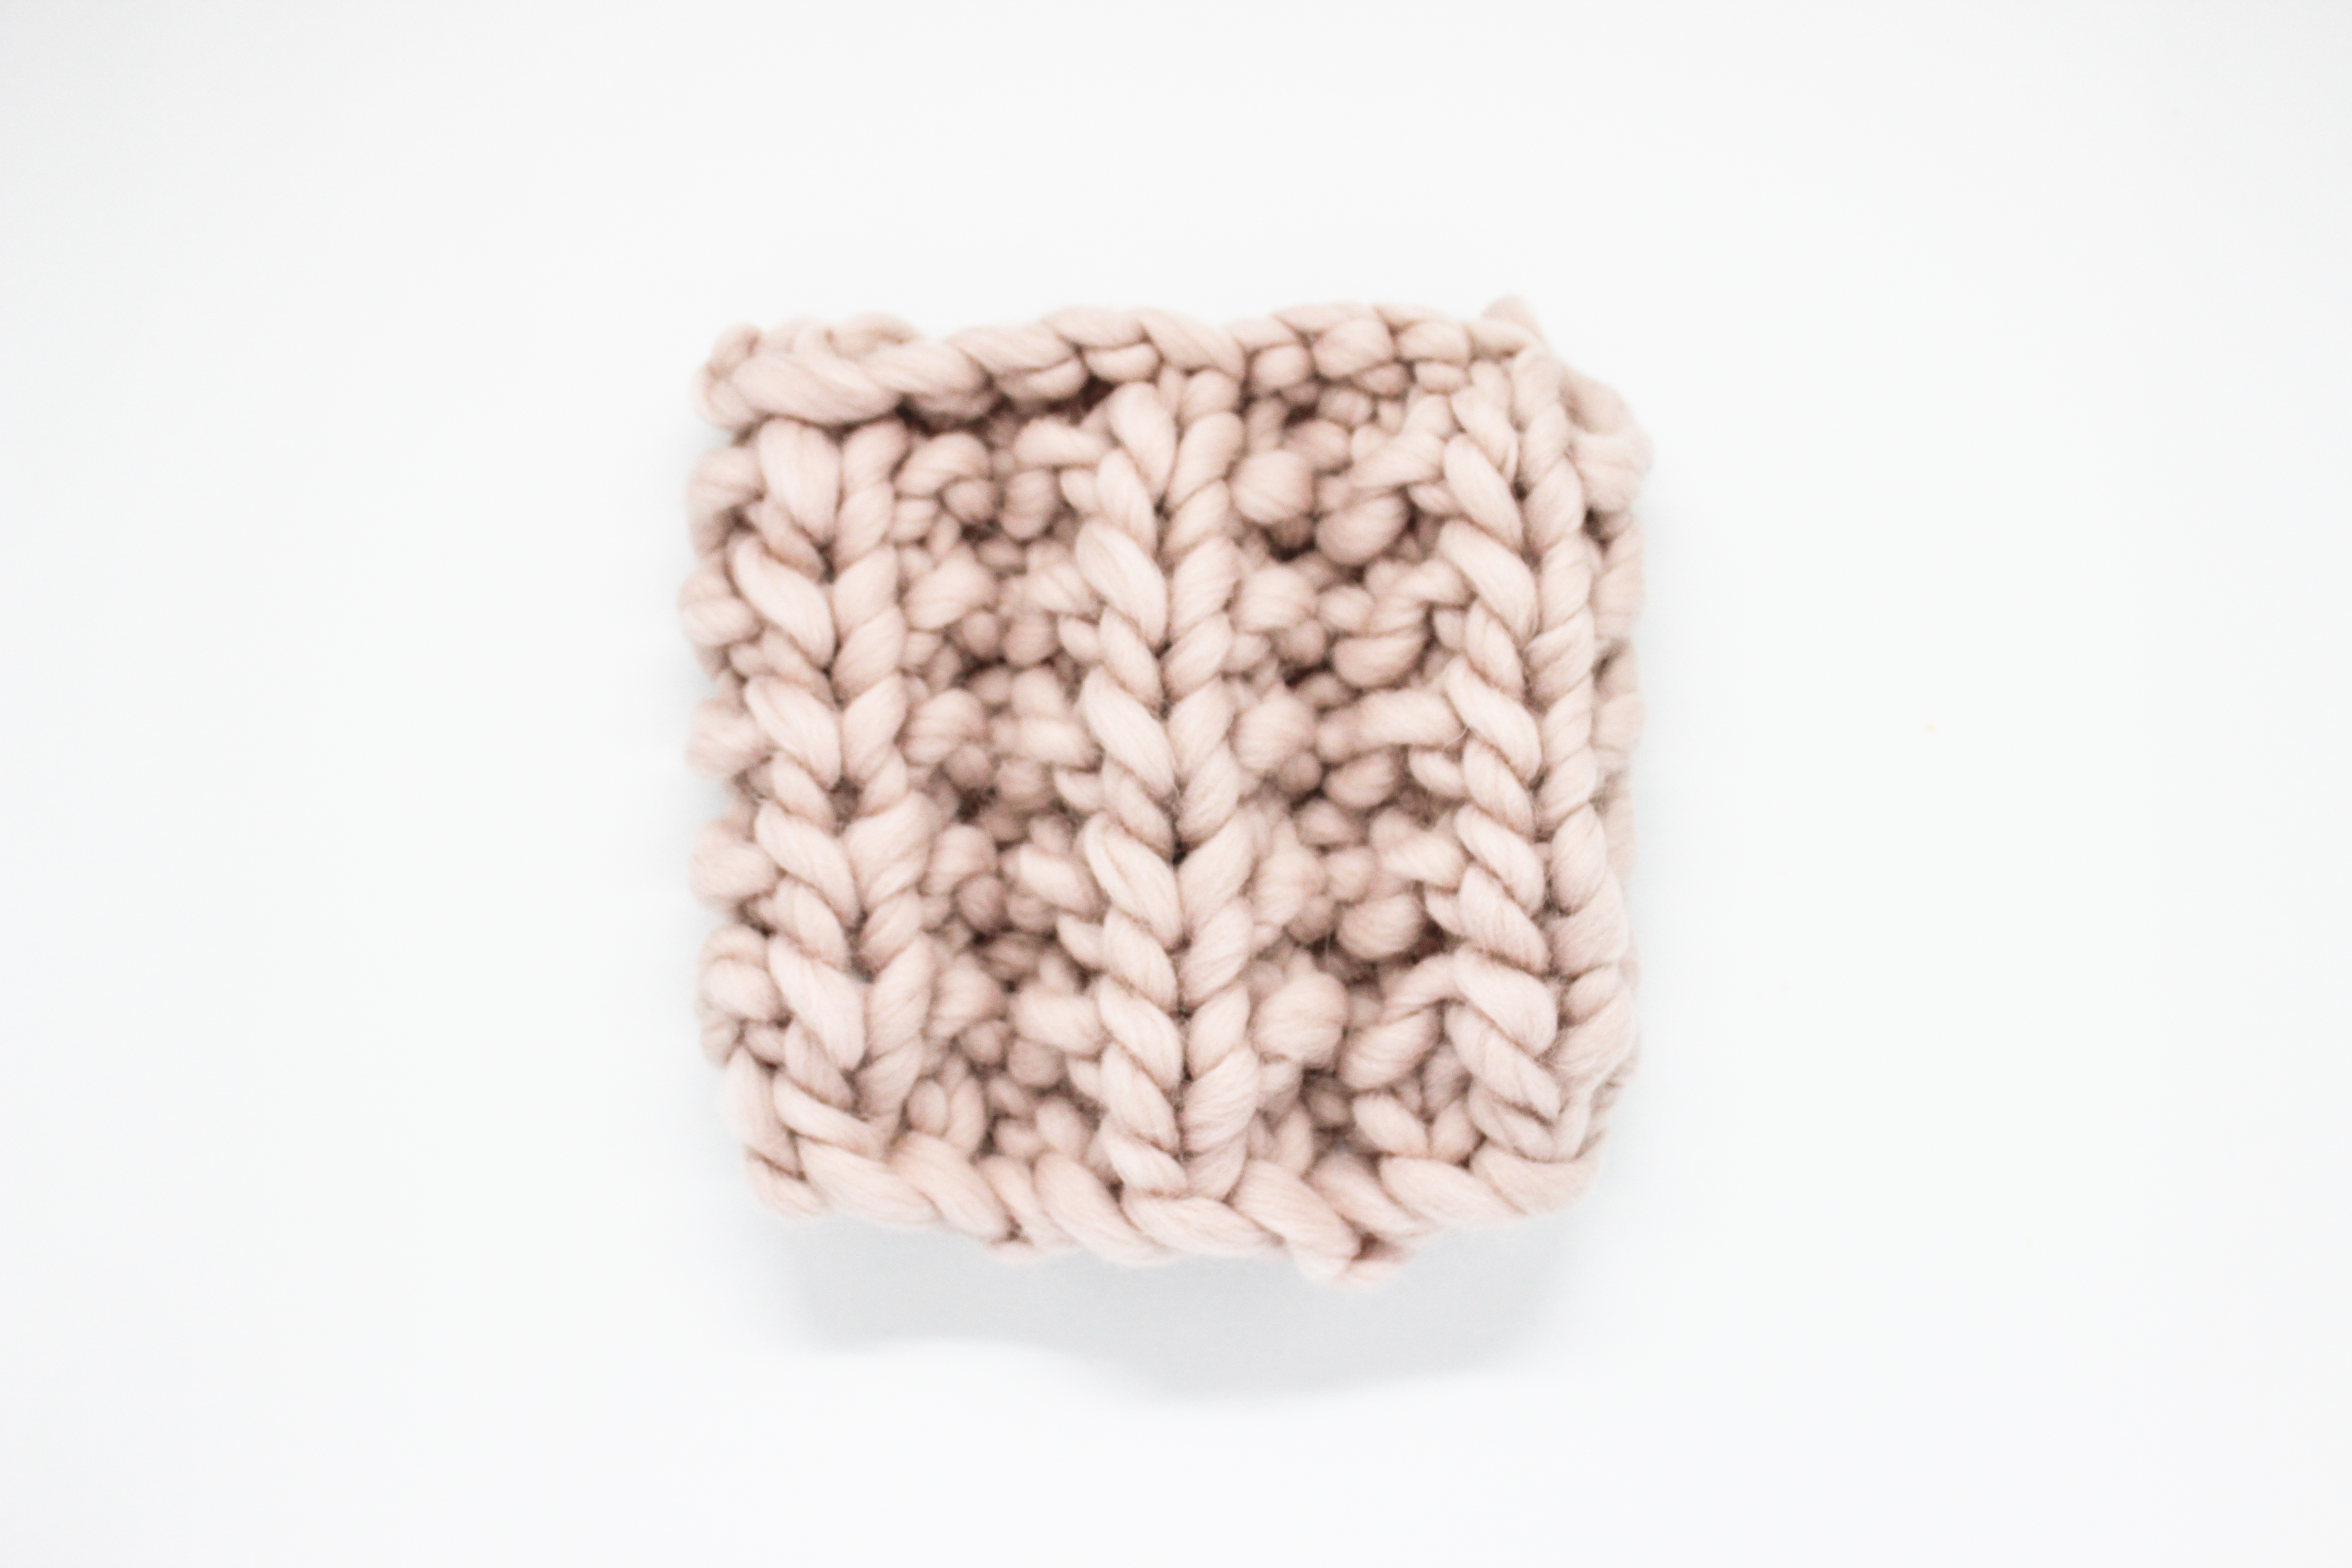
Continue increasing stitches in all odd rows to get the wished length of the flounces.
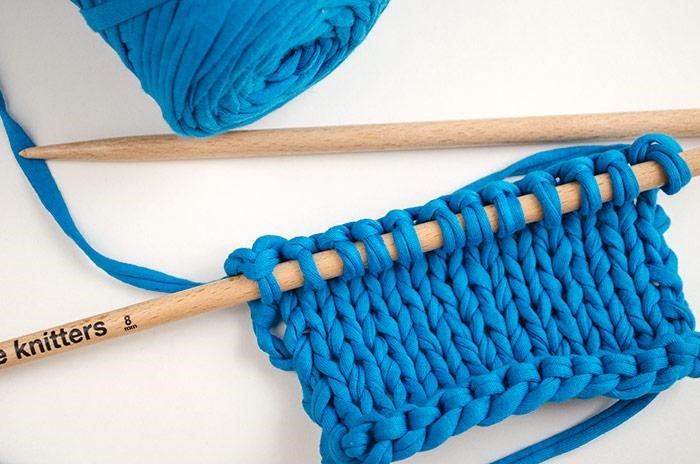
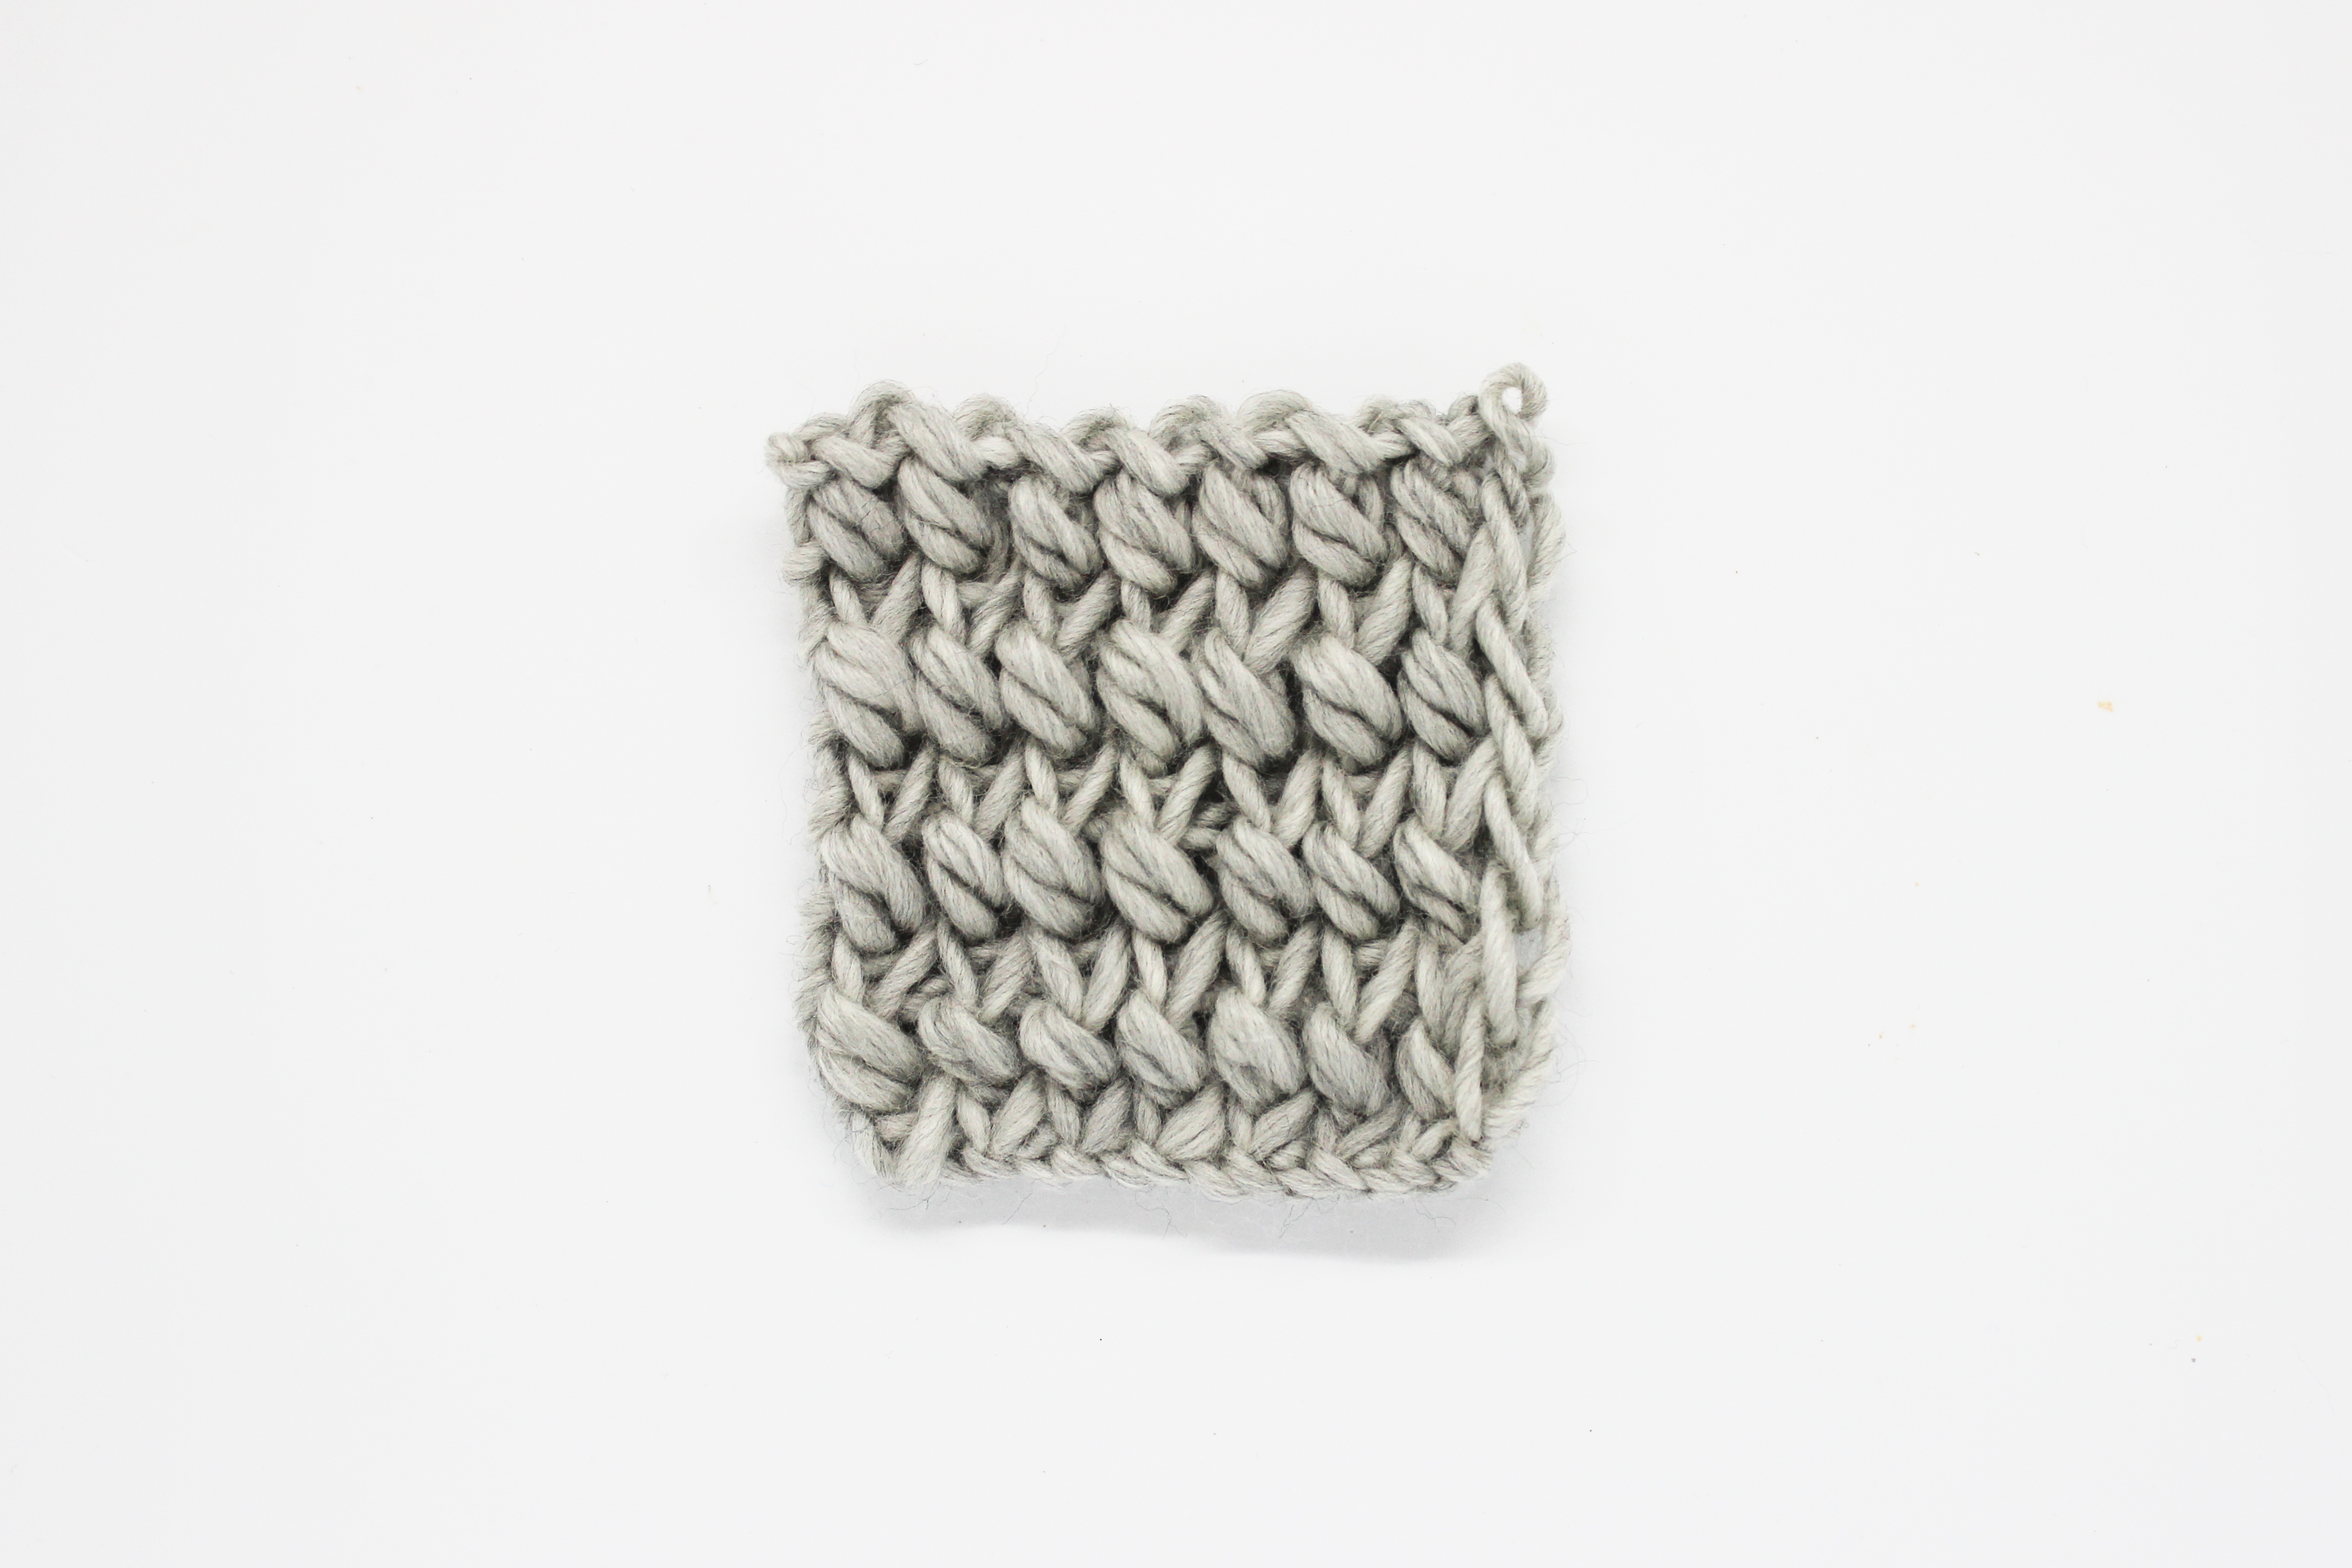
As we already know, we can use different colors and yarn balls and get different results. Choose your yarn balls on our website 🙂
For this post we have used 15mm beechwood needles and 100% Peruvian wool in Spotted beige.
Share your WAK results and flounces on Instagram, using the hashtag #weareknitters. We are happy to have a look on your knitting pics! 😉