Hi knitters!
Today you are going to learn how to adapt a pattern, according to the gauge and thickness of the yarn you will use.
You can find a wide variety of yarn online at our website. Choose your favorite and follow these easy steps to adapt your pattern. It’s very easy! ^^
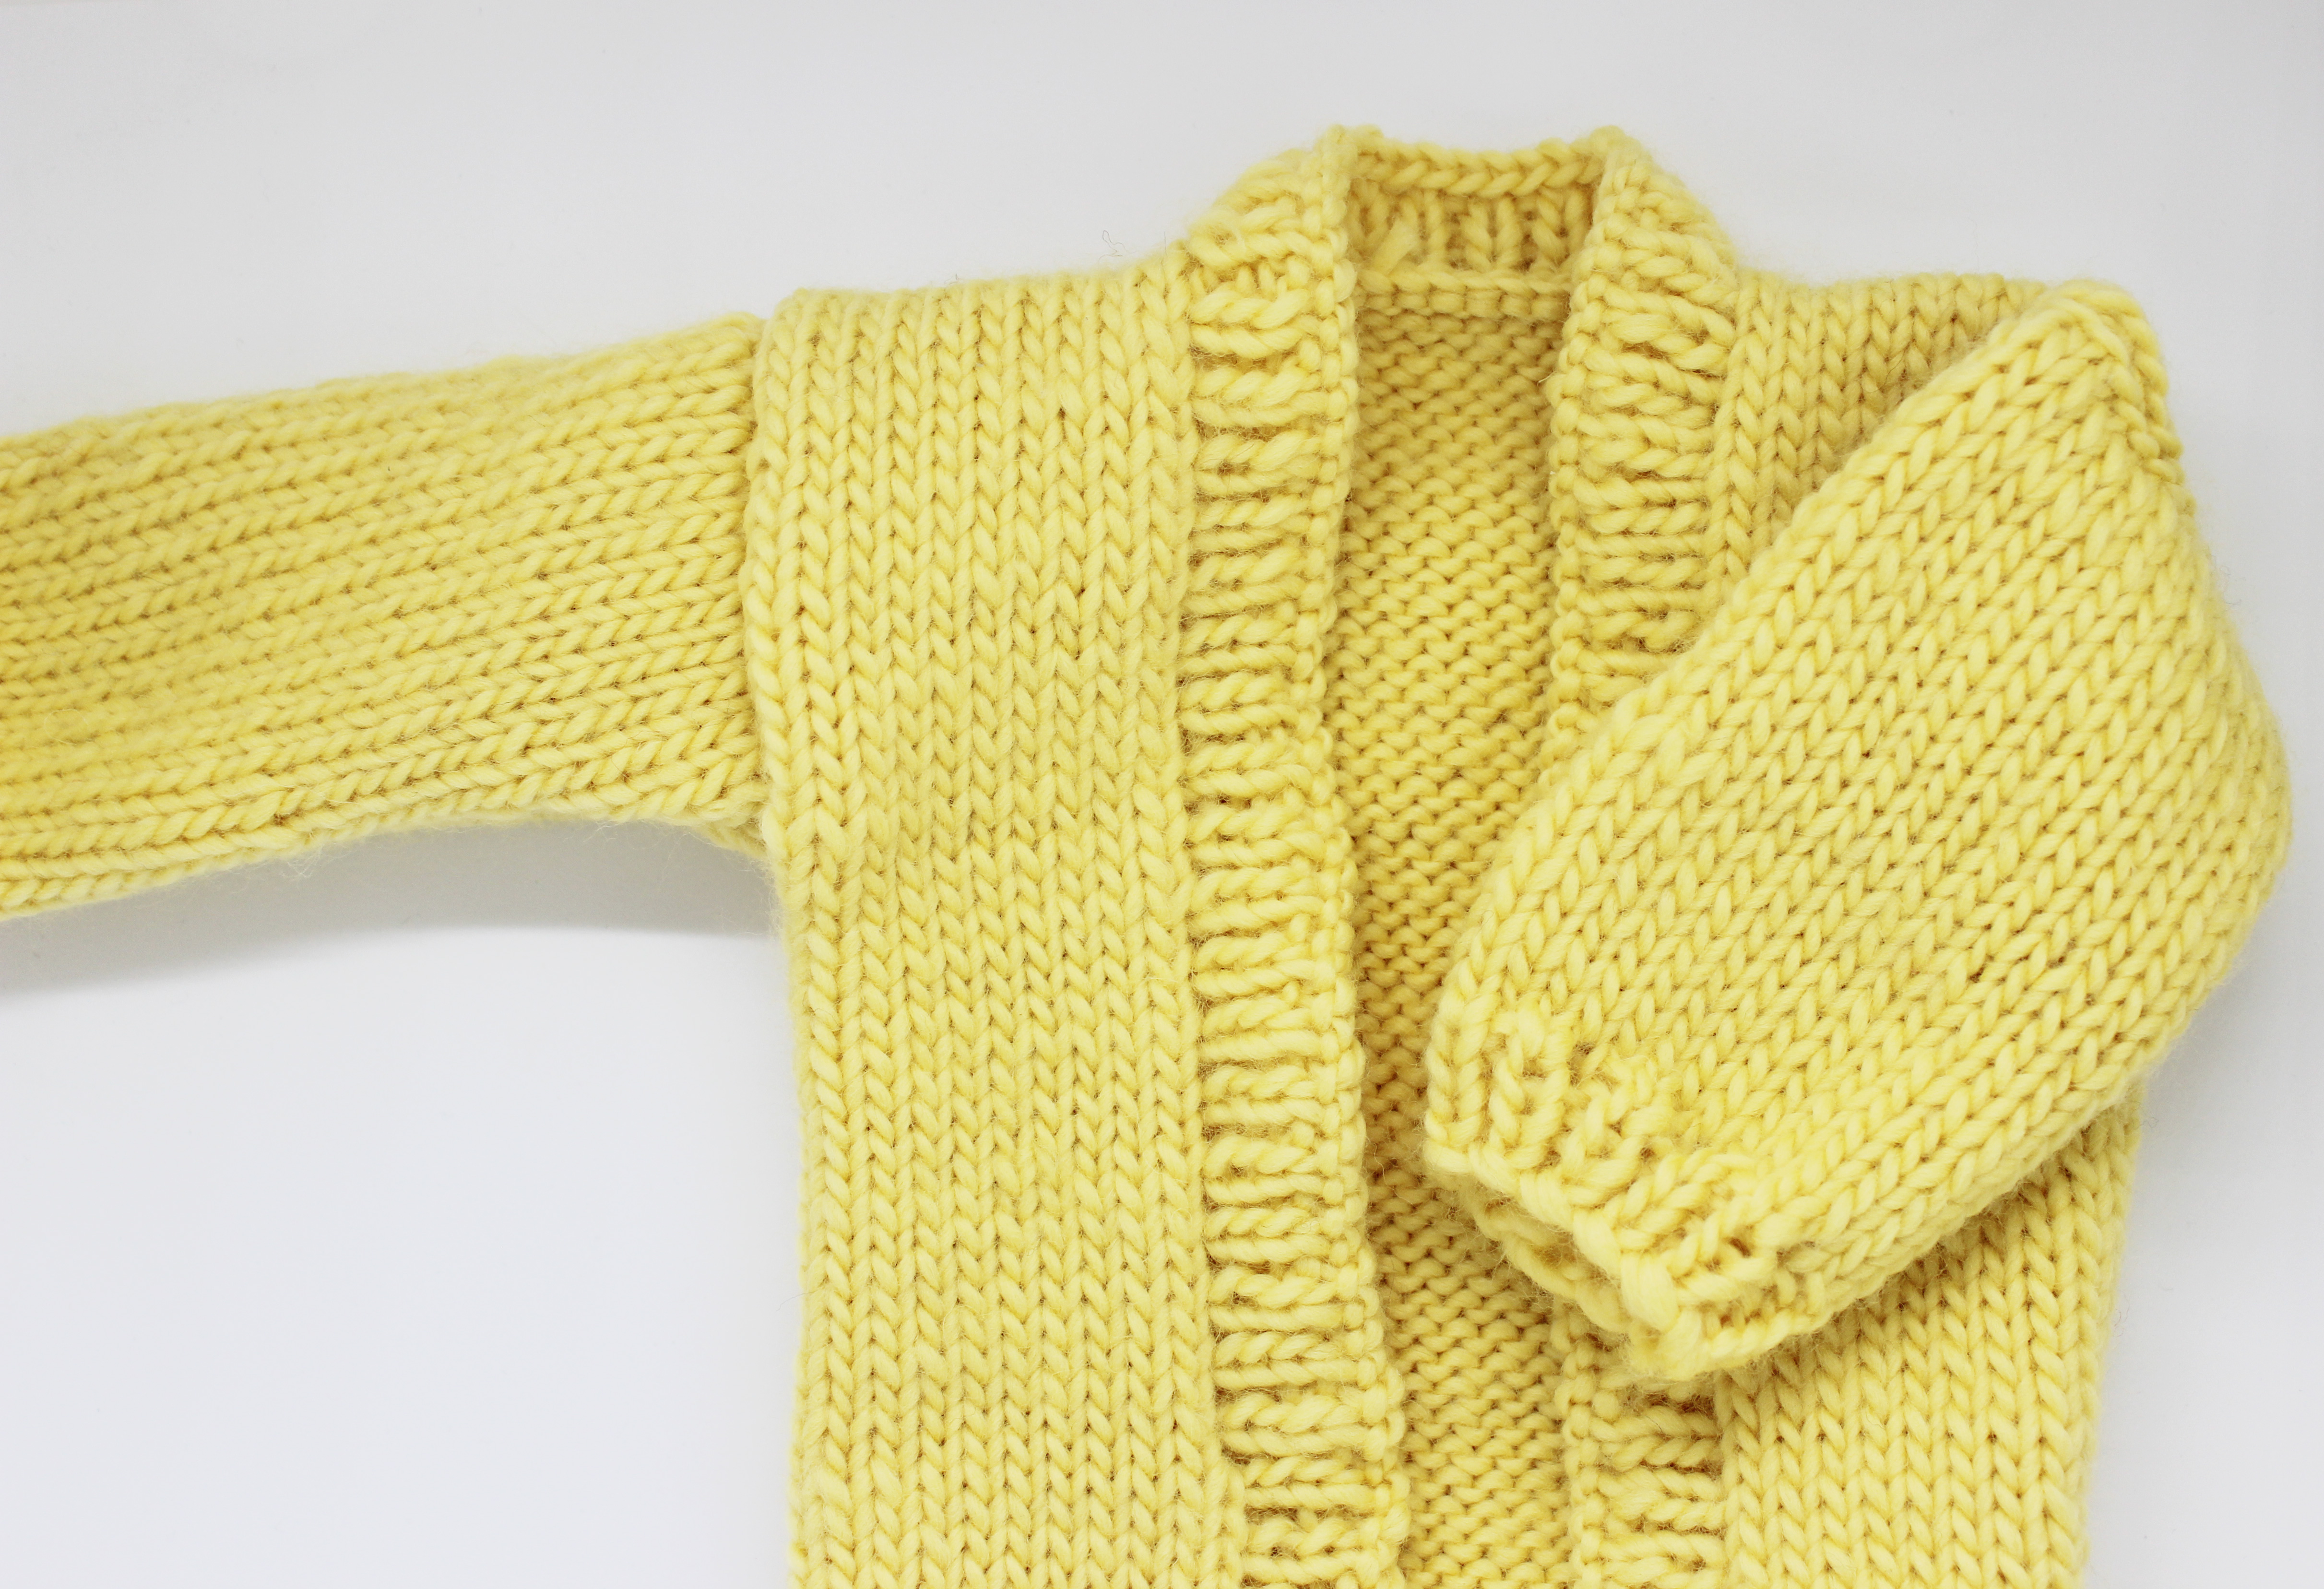
We’re going to use the Eva Vest pattern as an example.
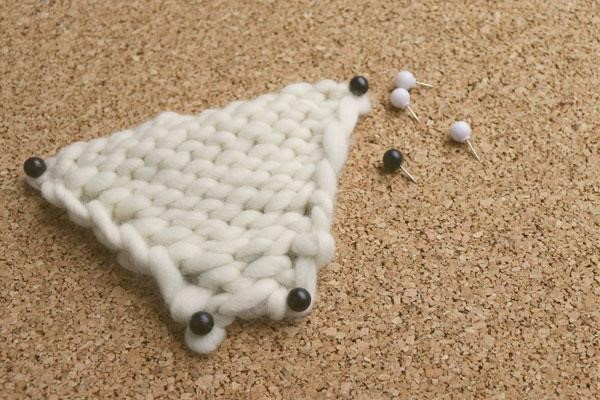
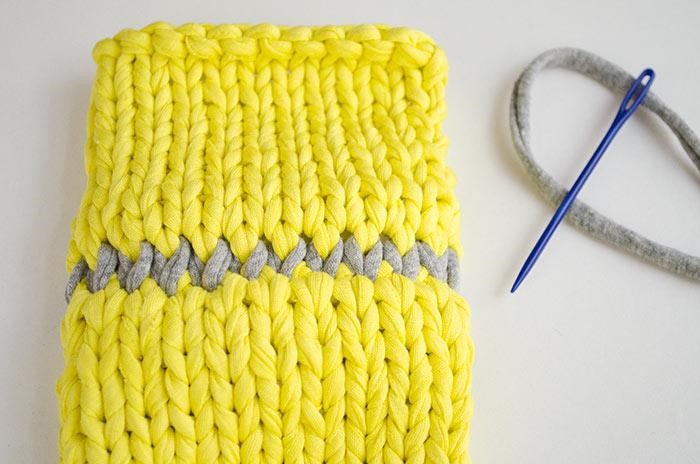
Firstly, you have to knit a sample with the yarn and the needles you will use. The measures for this sample have to be 12cm x 12cm, at least. That’s the best way to calculate the right measures, so you can get your adapted pattern.


These are the measures of the Eva Vest pattern (PIMA cotton):
15 stitches = 10cm
20 rows = 10cm
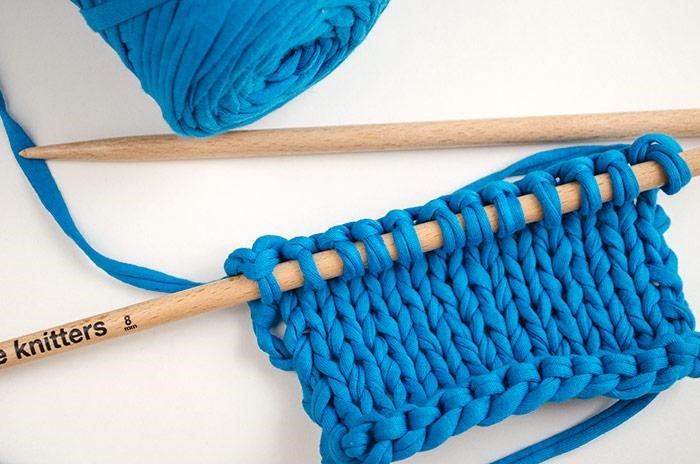
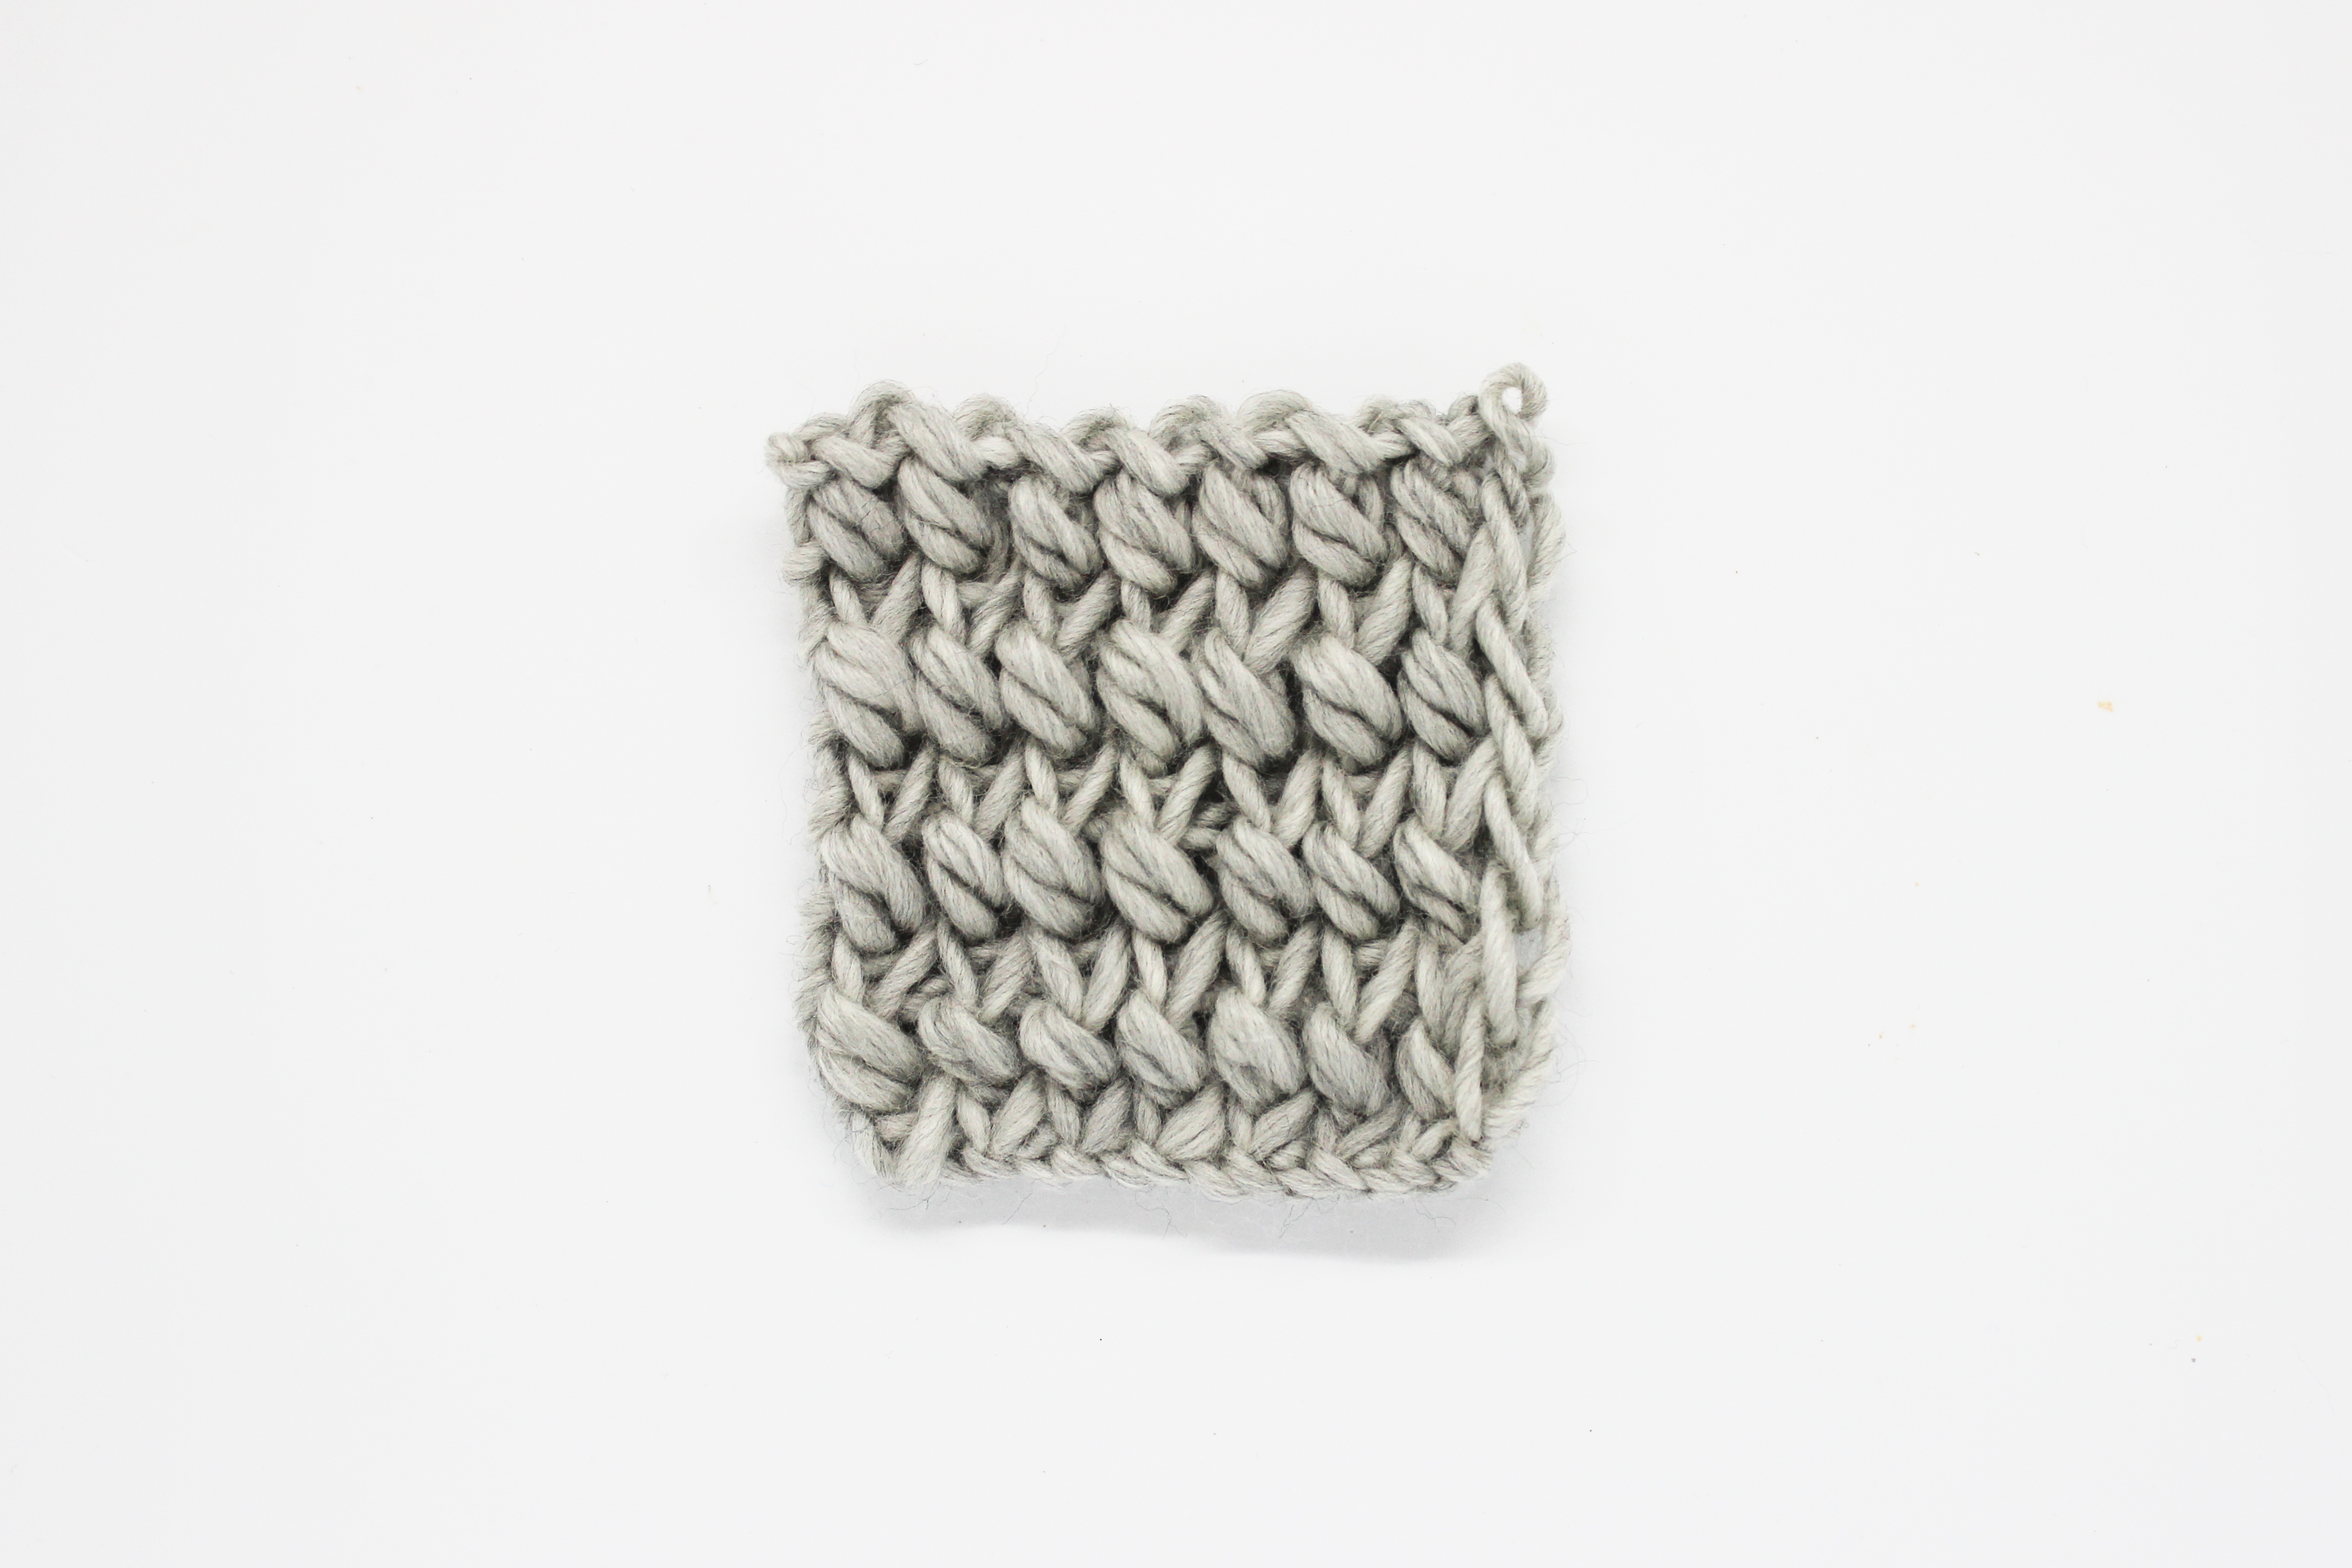
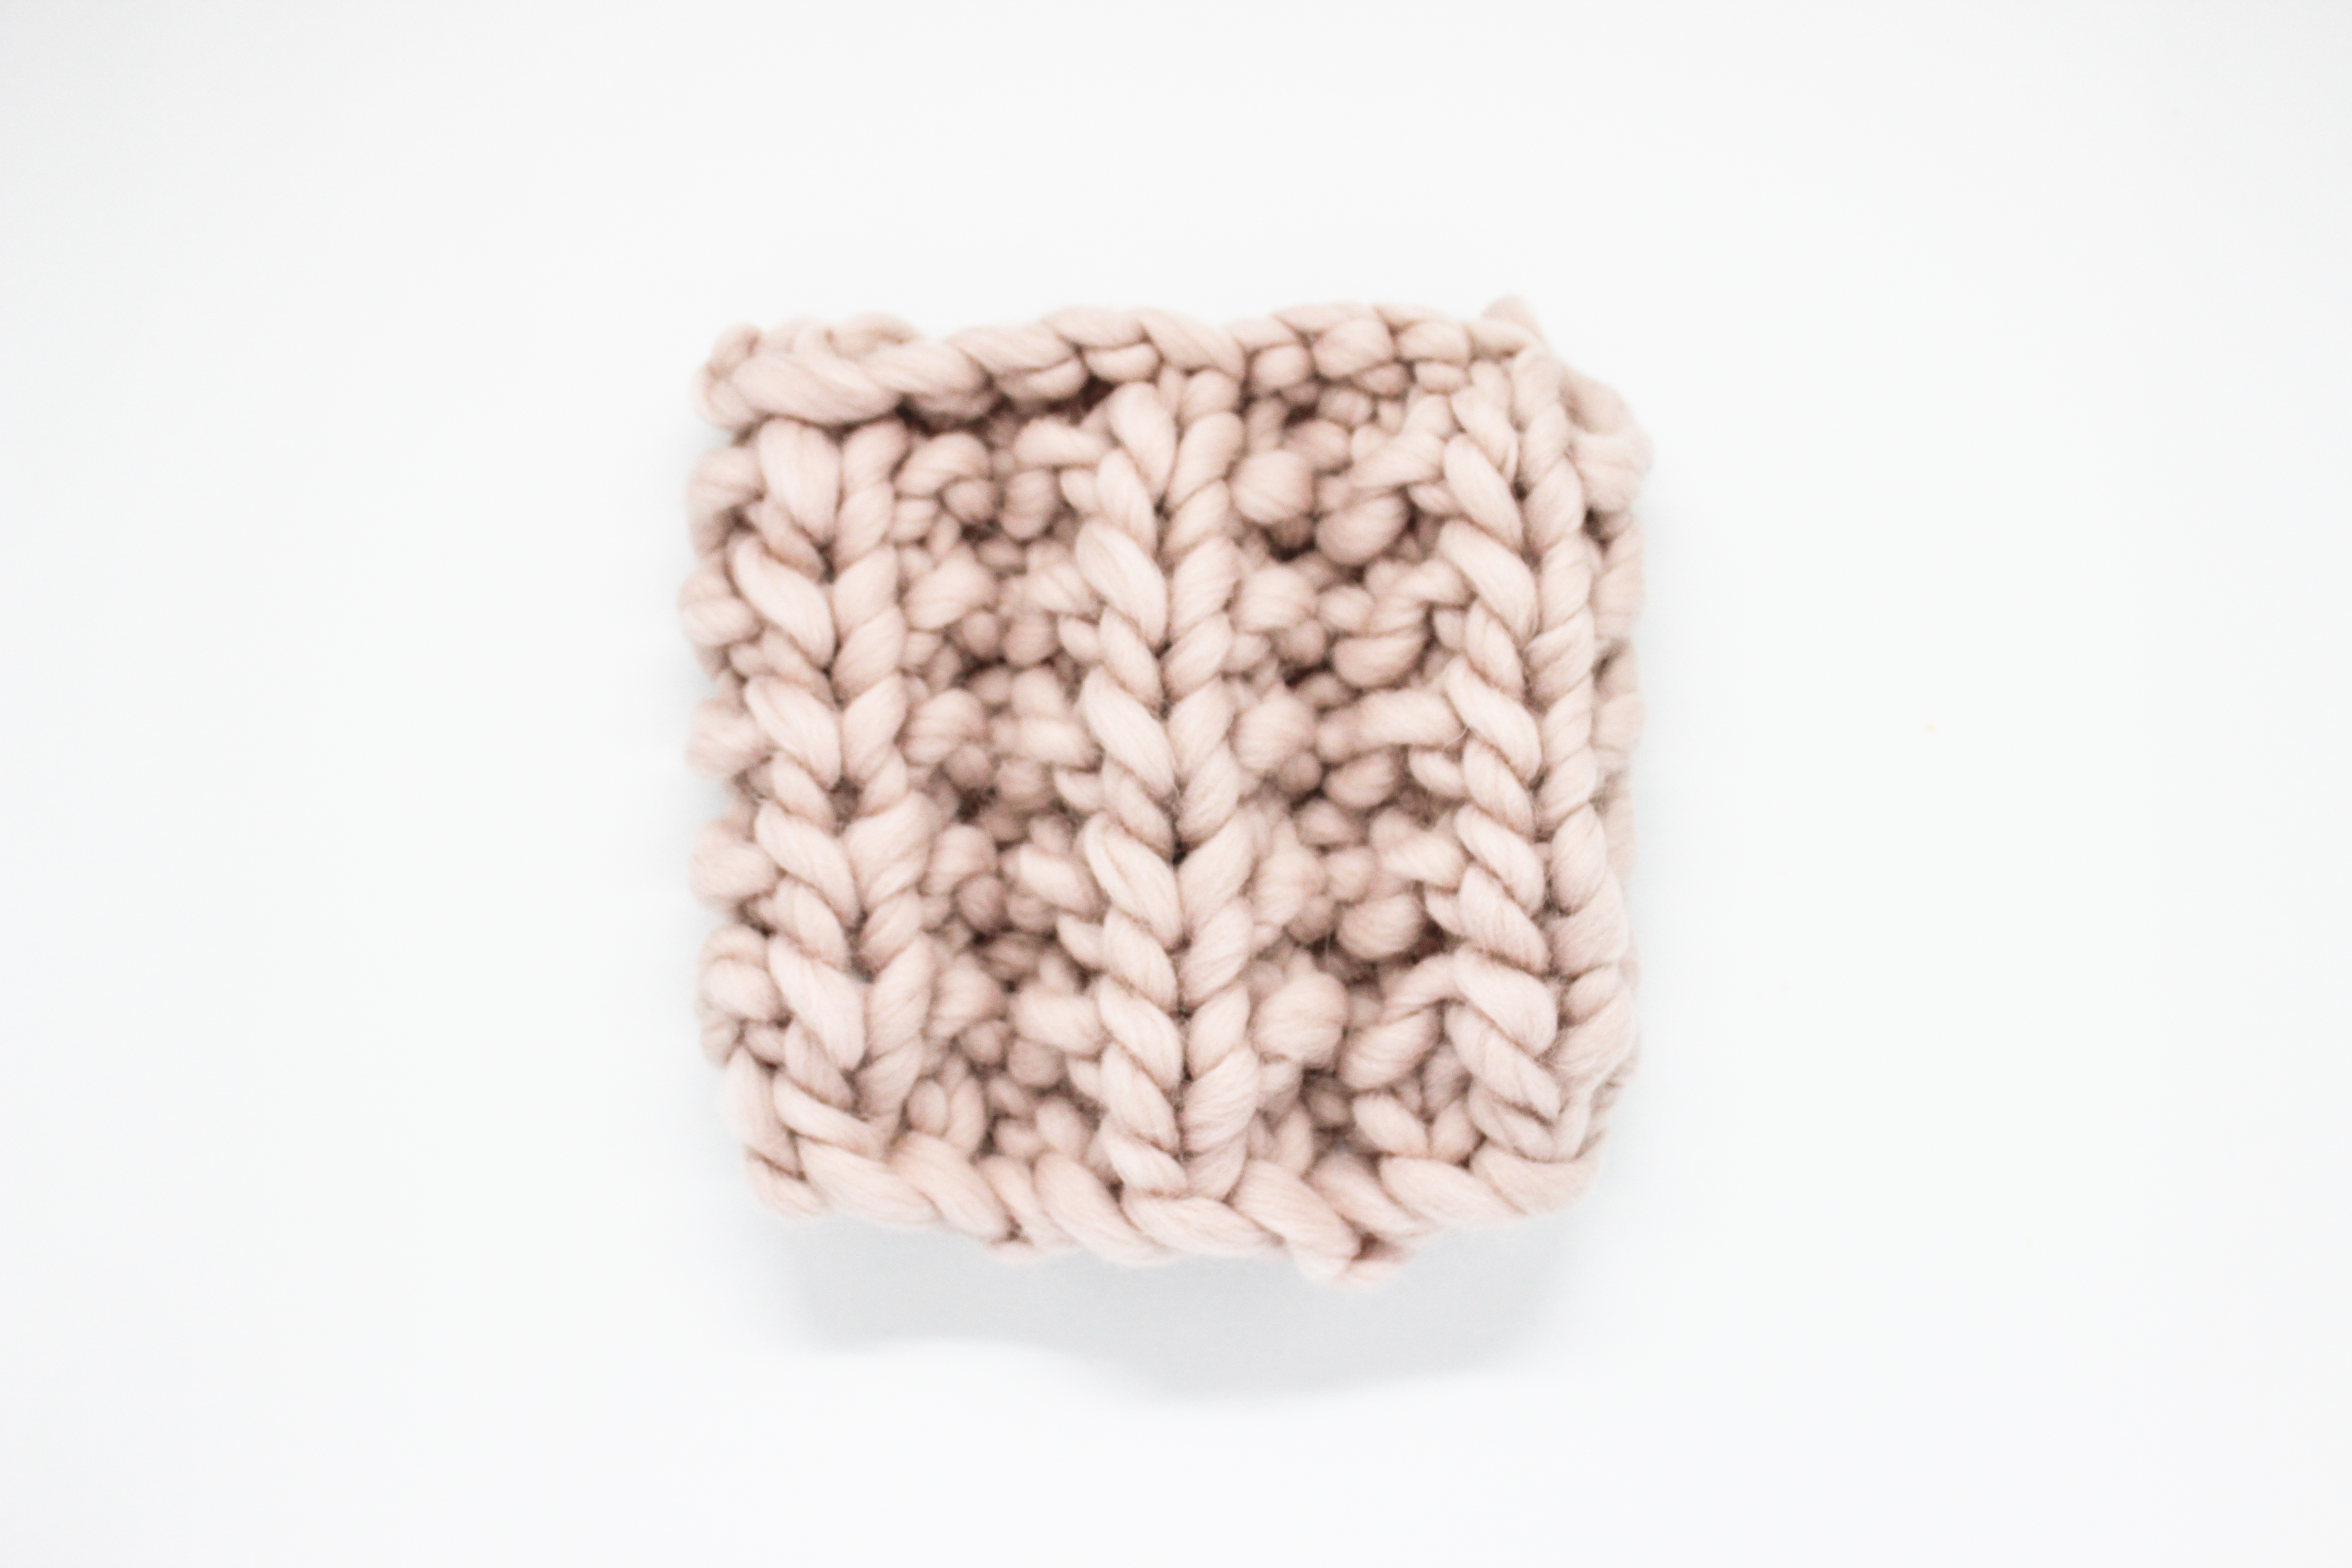
But these would be the measures of our sample (Chunky wool):
7 stitches = 10cm
8 rows = 10cm
Now you have the gauge, you have to use your math knowledge using a simple rule of three to adapt every measure of the pattern:
Example:
-Length of the garment: 38cm
10 cm — 8 rows
38cm — X rows
= 30’4 rows= 30 rows
-Width of the garment: 37cm
10cm — 7 rows
37cm — X rows
= 25’9 stitches = 26 stitches

Follow these rules with all the measures and stitches of the pattern!

Share your creations and knitted garments on Instagram with our knitters’ community, using the hashtag #weareknitters 🙂


4 comments
Could you please have a size quide us yanks who don’t have to convert centimeters into inches. Thanks
Hi Marianne,
Here are the measurements converted:
10cm = 3.93 inches
38cm = 15 inches
We’re working on getting everything into American versions out of metric, but if you see something else in centimeters, you can search in google for “# centimeters to inches” (replacing the # with the number) and it’ll convert it for you 😉
Hope that helps!
-Francesca and the WAK team
What if you have a pattern listed here and it goes to XL and you need a 1x how do you make it larger?
Hi Kimberly!
Thanks for writing, could you please rephrase your question?
Kind regards,
Francesca and the WAK team