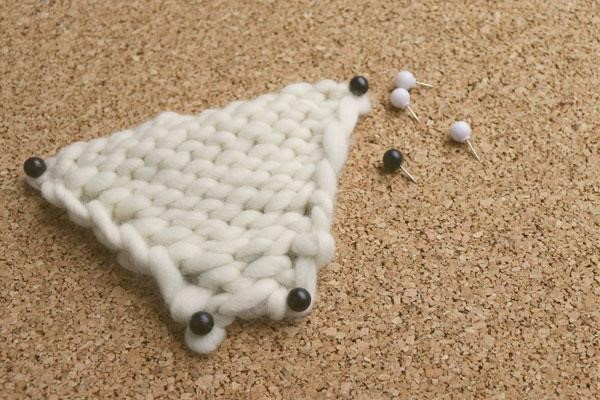
Have you ever knitted short rows before? It’s a technique which serves to knit pieces into certain shapes, triangular or cone-shaped pieces (for example when we want to knit the heel of a sock). It consists in knitting part of the row and then turning the whole project around to continue knitting on the other side. Knitting like that, the stitches that remain on the needle are not knitted and bit by bit we give the project the shape we want.

The advantage of short rows is, that it is neither necessary to sew anything nor to cut the thread… absolutely nothing of that sort. It is just as easy as wrapping stitches and then knitting them in a special way. Yes, it does sound quite complicated and maybe you will be a little confused in the beginning, but you’ll see, there’s really nothing to be afraid of when knitting short rows!
Knitting short rows

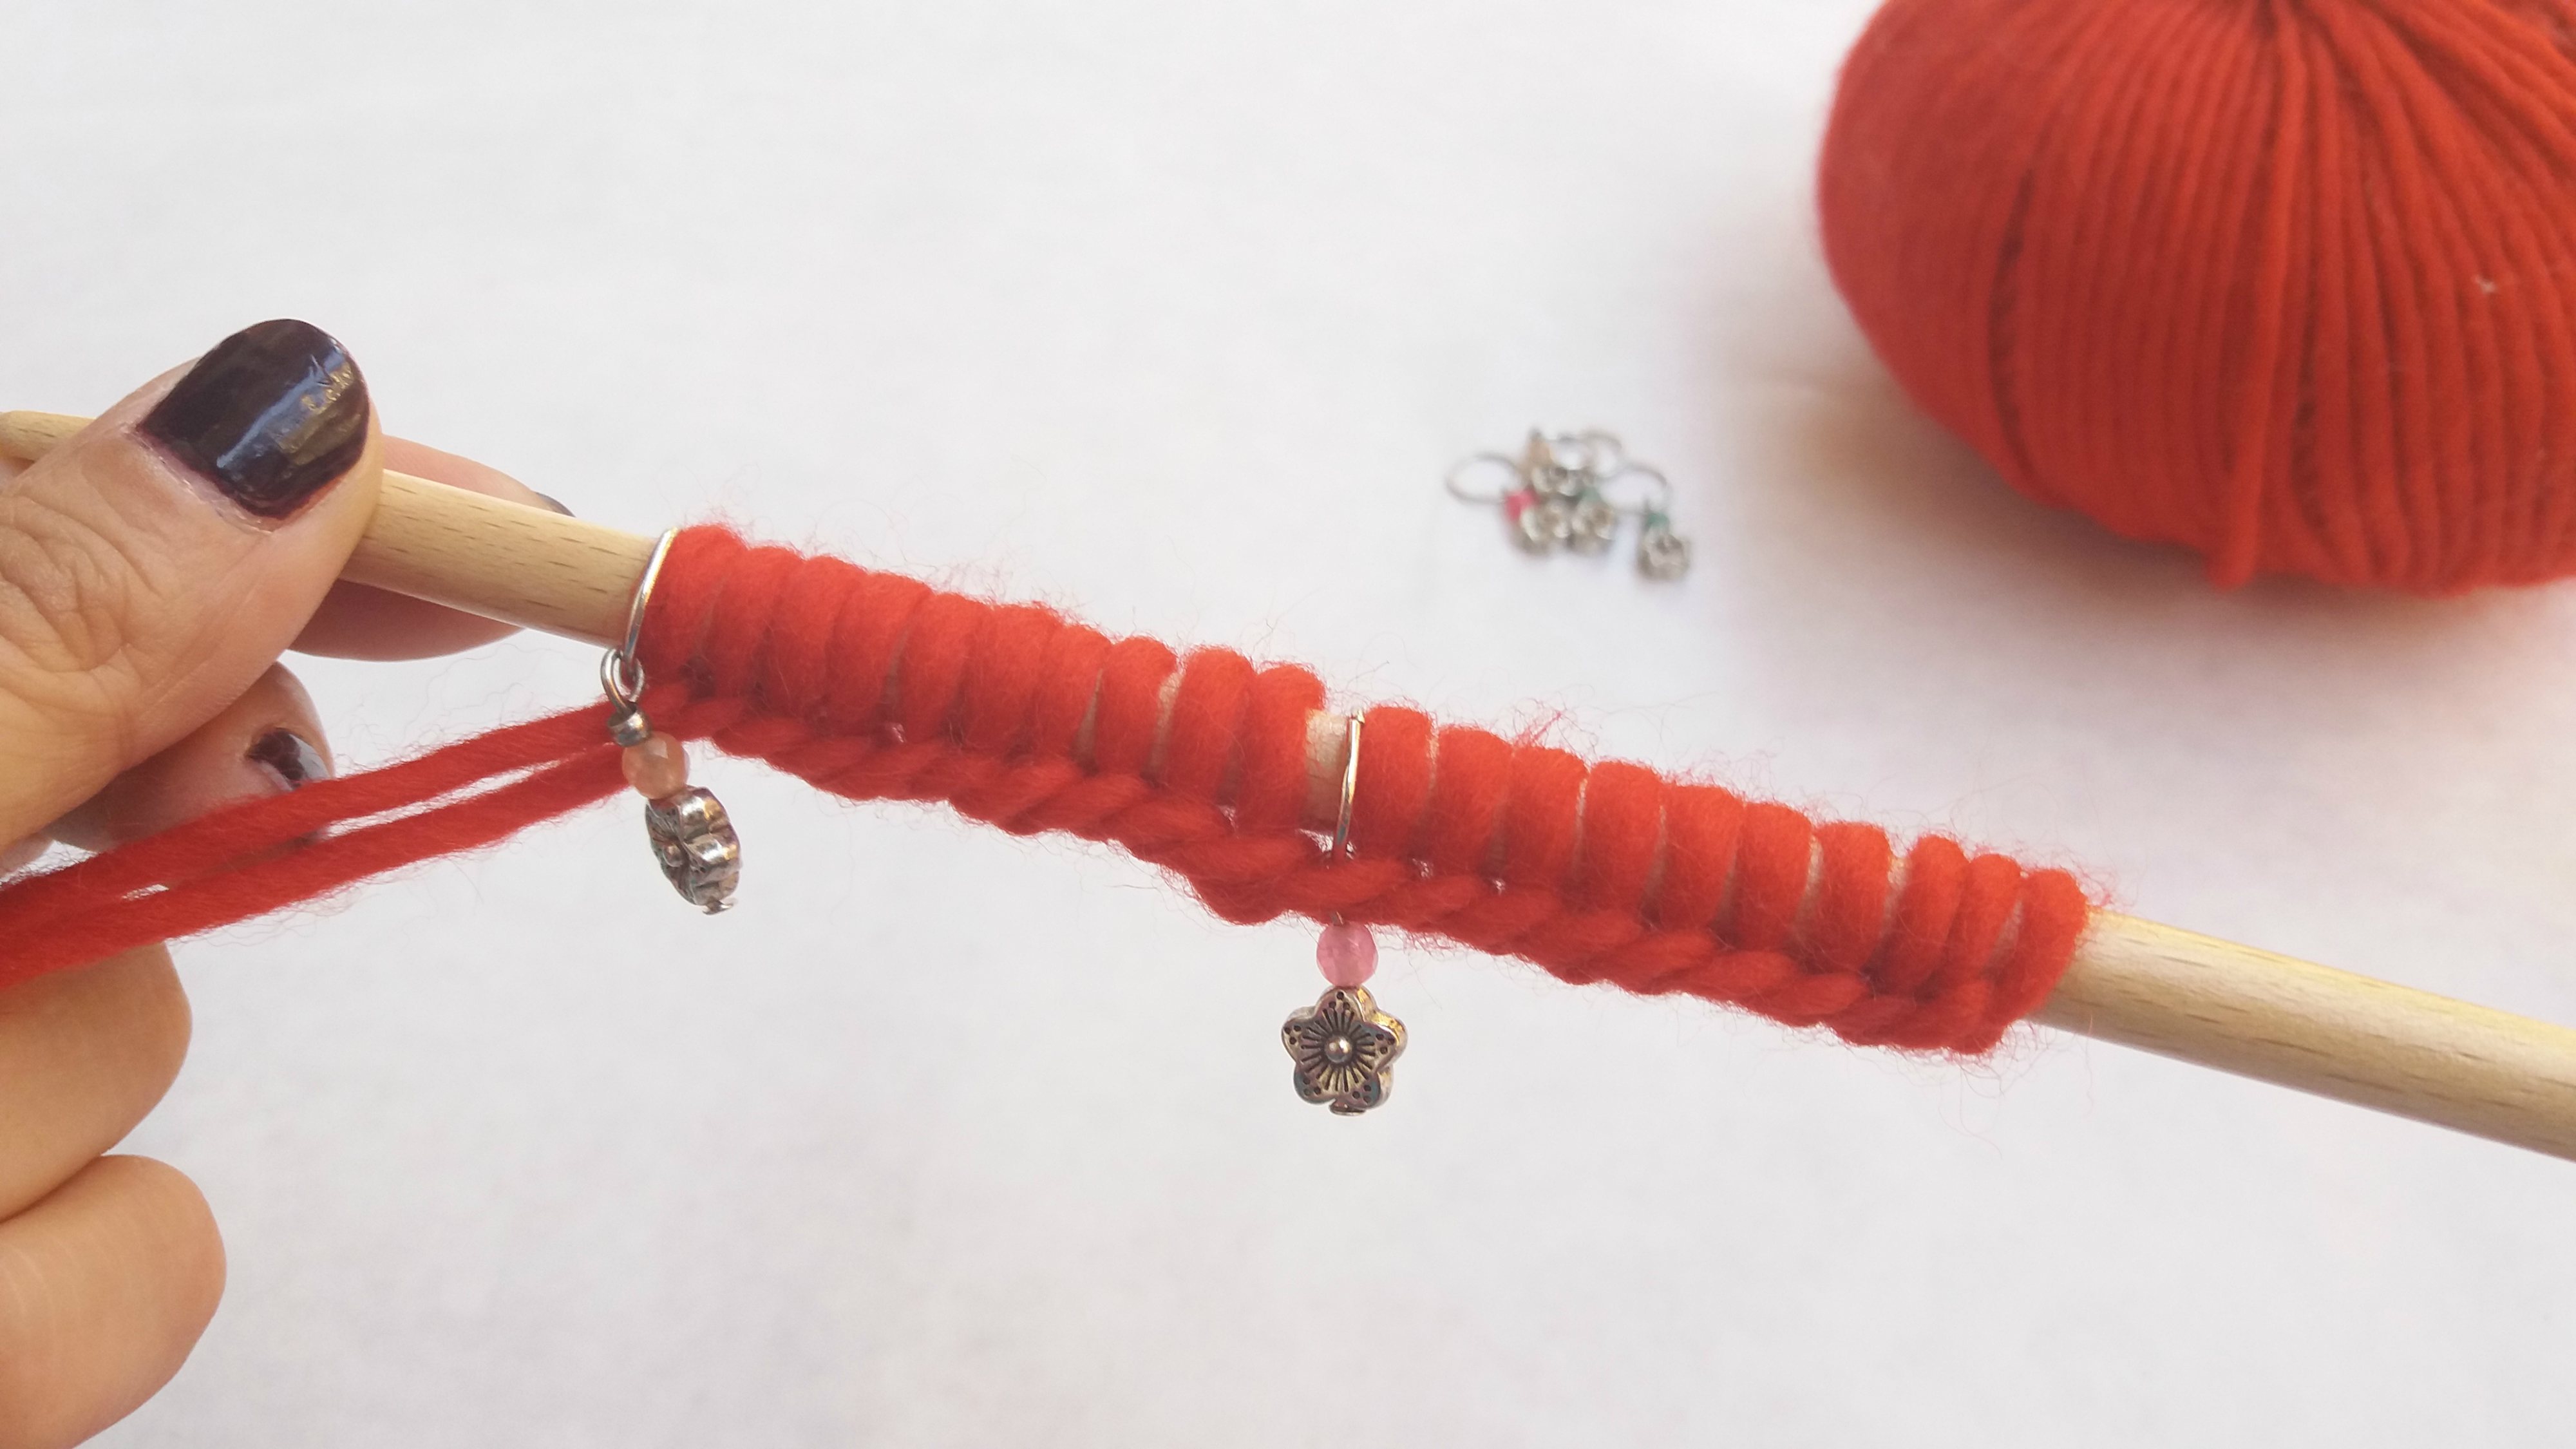
Knit normally until you get to the stitch where the pattern tells you to start the short rows, or where you want to start the short rows. Pass this stitch onto the right hand needle as if you wanted to purl it.

Now place the thread with which you are knitting in front of the project, as if you wanted to have it ready to purl a stitch.

Pass the stitch onto the left hand needle again.

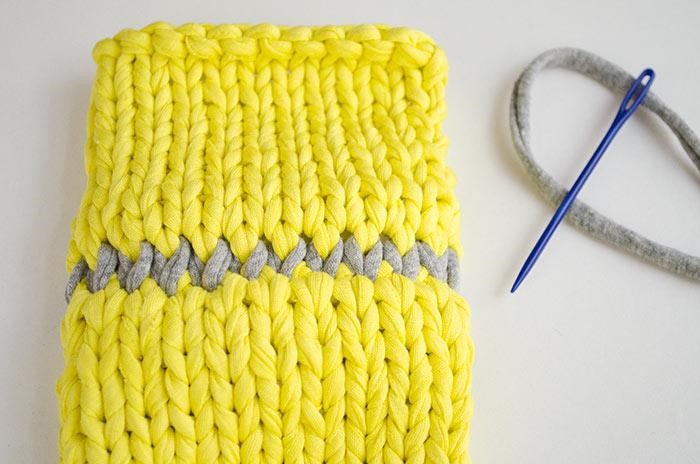
Finally, place the thread behind the project. When you look at it closely it seems like you wrapped the thread around the stitch.

Now you are ready to turn the project around, the thread is placed in the right spot to purl the next stitch. Don’t worry about the stitches that are still on the needle, you are going to knit them later on.
Purling short rows

Exactly as we did before, purl normally until you have reached the stitch where you begin knitting short rows. Pass this stitch onto the right hand needle as if you wanted to purl it.

Wrap the thread around the stitch so that the thread ends up on the back of the project.

Pass the stitch from the right hand to the left hand needle again.

The thread is now placed behind the project, ready for you to turn the project around and continue knitting on the outside.
It’s not that difficult after all, is it? Okay, so if until now you have been knitting the stitches the normal way, you will have noticed that there are little holes everywhere where we wrapped the thread around a stitch. In order to get rid of that problem, we are going to look at a special way to knit stitches in short rows:
How to knit stitches in short rows

Knit all stitches until you get to the wrapped stitch (you will easily recognize it by the thread crossing over it horizontally and because it is a little separated from the other stitches). Once you have reached that stitch, take up the thread with the right hand needle from below.

Then pass the wrapped stitch also onto the right hand needle as if you wanted to knit it.

Now you only have to knit the two stitches together. Done!
Depending on the pattern you are following you will either have to make another wrapped stitch and turn around the project or knit normally until you have completed the row.
How to purl stitches in short rows

Purl all stitches until you get to the wrapped stitch. Like on the outside we are going to take up the thread that crosses the stitch horizontally, this time inserting the needle from behind.

Pass the stitch you have just taken up onto the left hand needle.

Now, purl both stitches together. Ready!
As on the outside, continue as indicated in your knitting pattern, either making another wrapped stitch or purling the rest of the stitches.
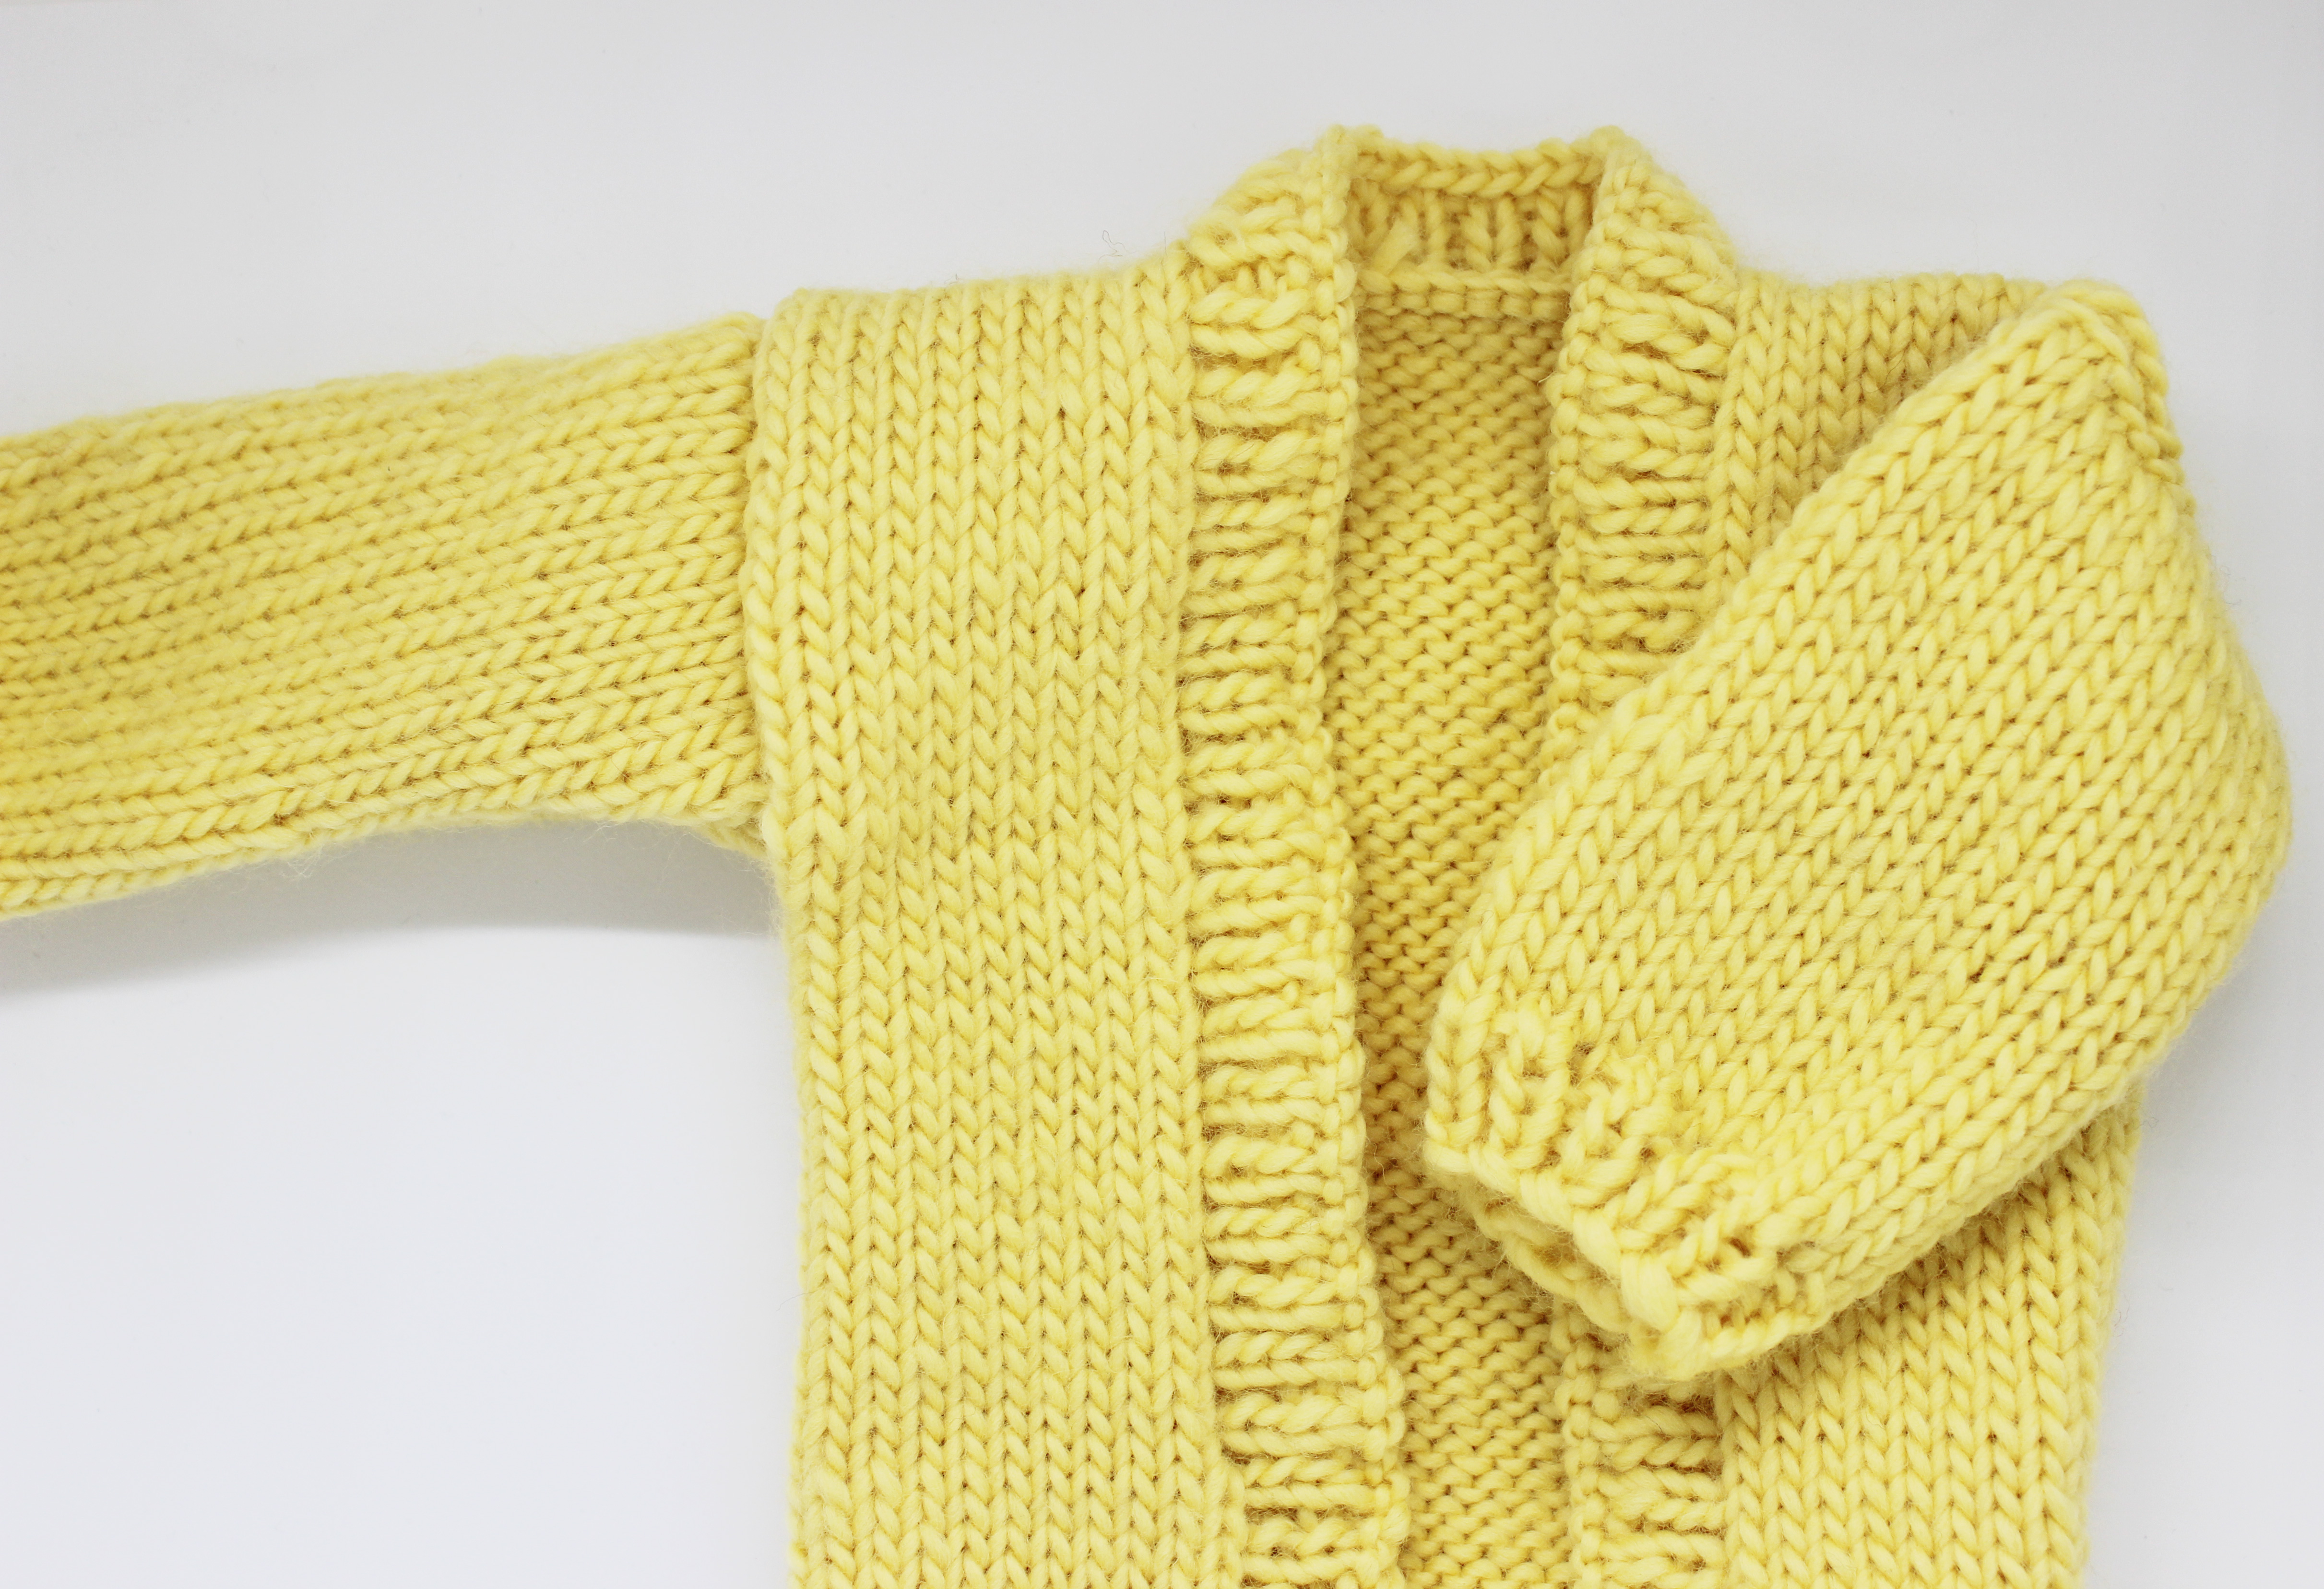
Now you see that it is really not that complicated to knit short rows and that it is very easy to distinguish the wrapped stitches from the ordinary stitches. Come on, try it out!
In our example we have used cotton in yellow, but you can of course use any color you like and 5MM wooden needles.
No matter whether you are already an expert in this technique or whether you have just started to use it, we are always interested in seeing your own creations. You can share them with us on Instagram with the hashtag #weareknitters.


2 comments
You are so fantastic! I looked up one of your emails to see if you had a question forum and lo and behold, I went to knitting tips and found EXACTLY WHAT I NEEDED! I am knitting two sweaters for my great grandsons on circular needles from the neck down and it requires short rows and ‘wrapping and turning’. If I had ever done this, my mind does not remember it–I’ve been knitting for 70 years! But your tip showed exactly how to do it. I just wish my printer was working so I could print it but I did get the basics of wrapping into my brain and parts of the tips to eliminate the holes. The first batch of short rows, I just stopped and turned around and purled back the other way. Thank you so much for being such a great source to inexperienced or forgetful knitters. Helen Barr
Hi Helen,
We love to hear that our tips are helping you!!! Enjoy your “wrapping and turning” and I am sure your great grandsons will enjoy the results this winter! 🙂 Please feel free to contact us if you need any more help.
-WAK