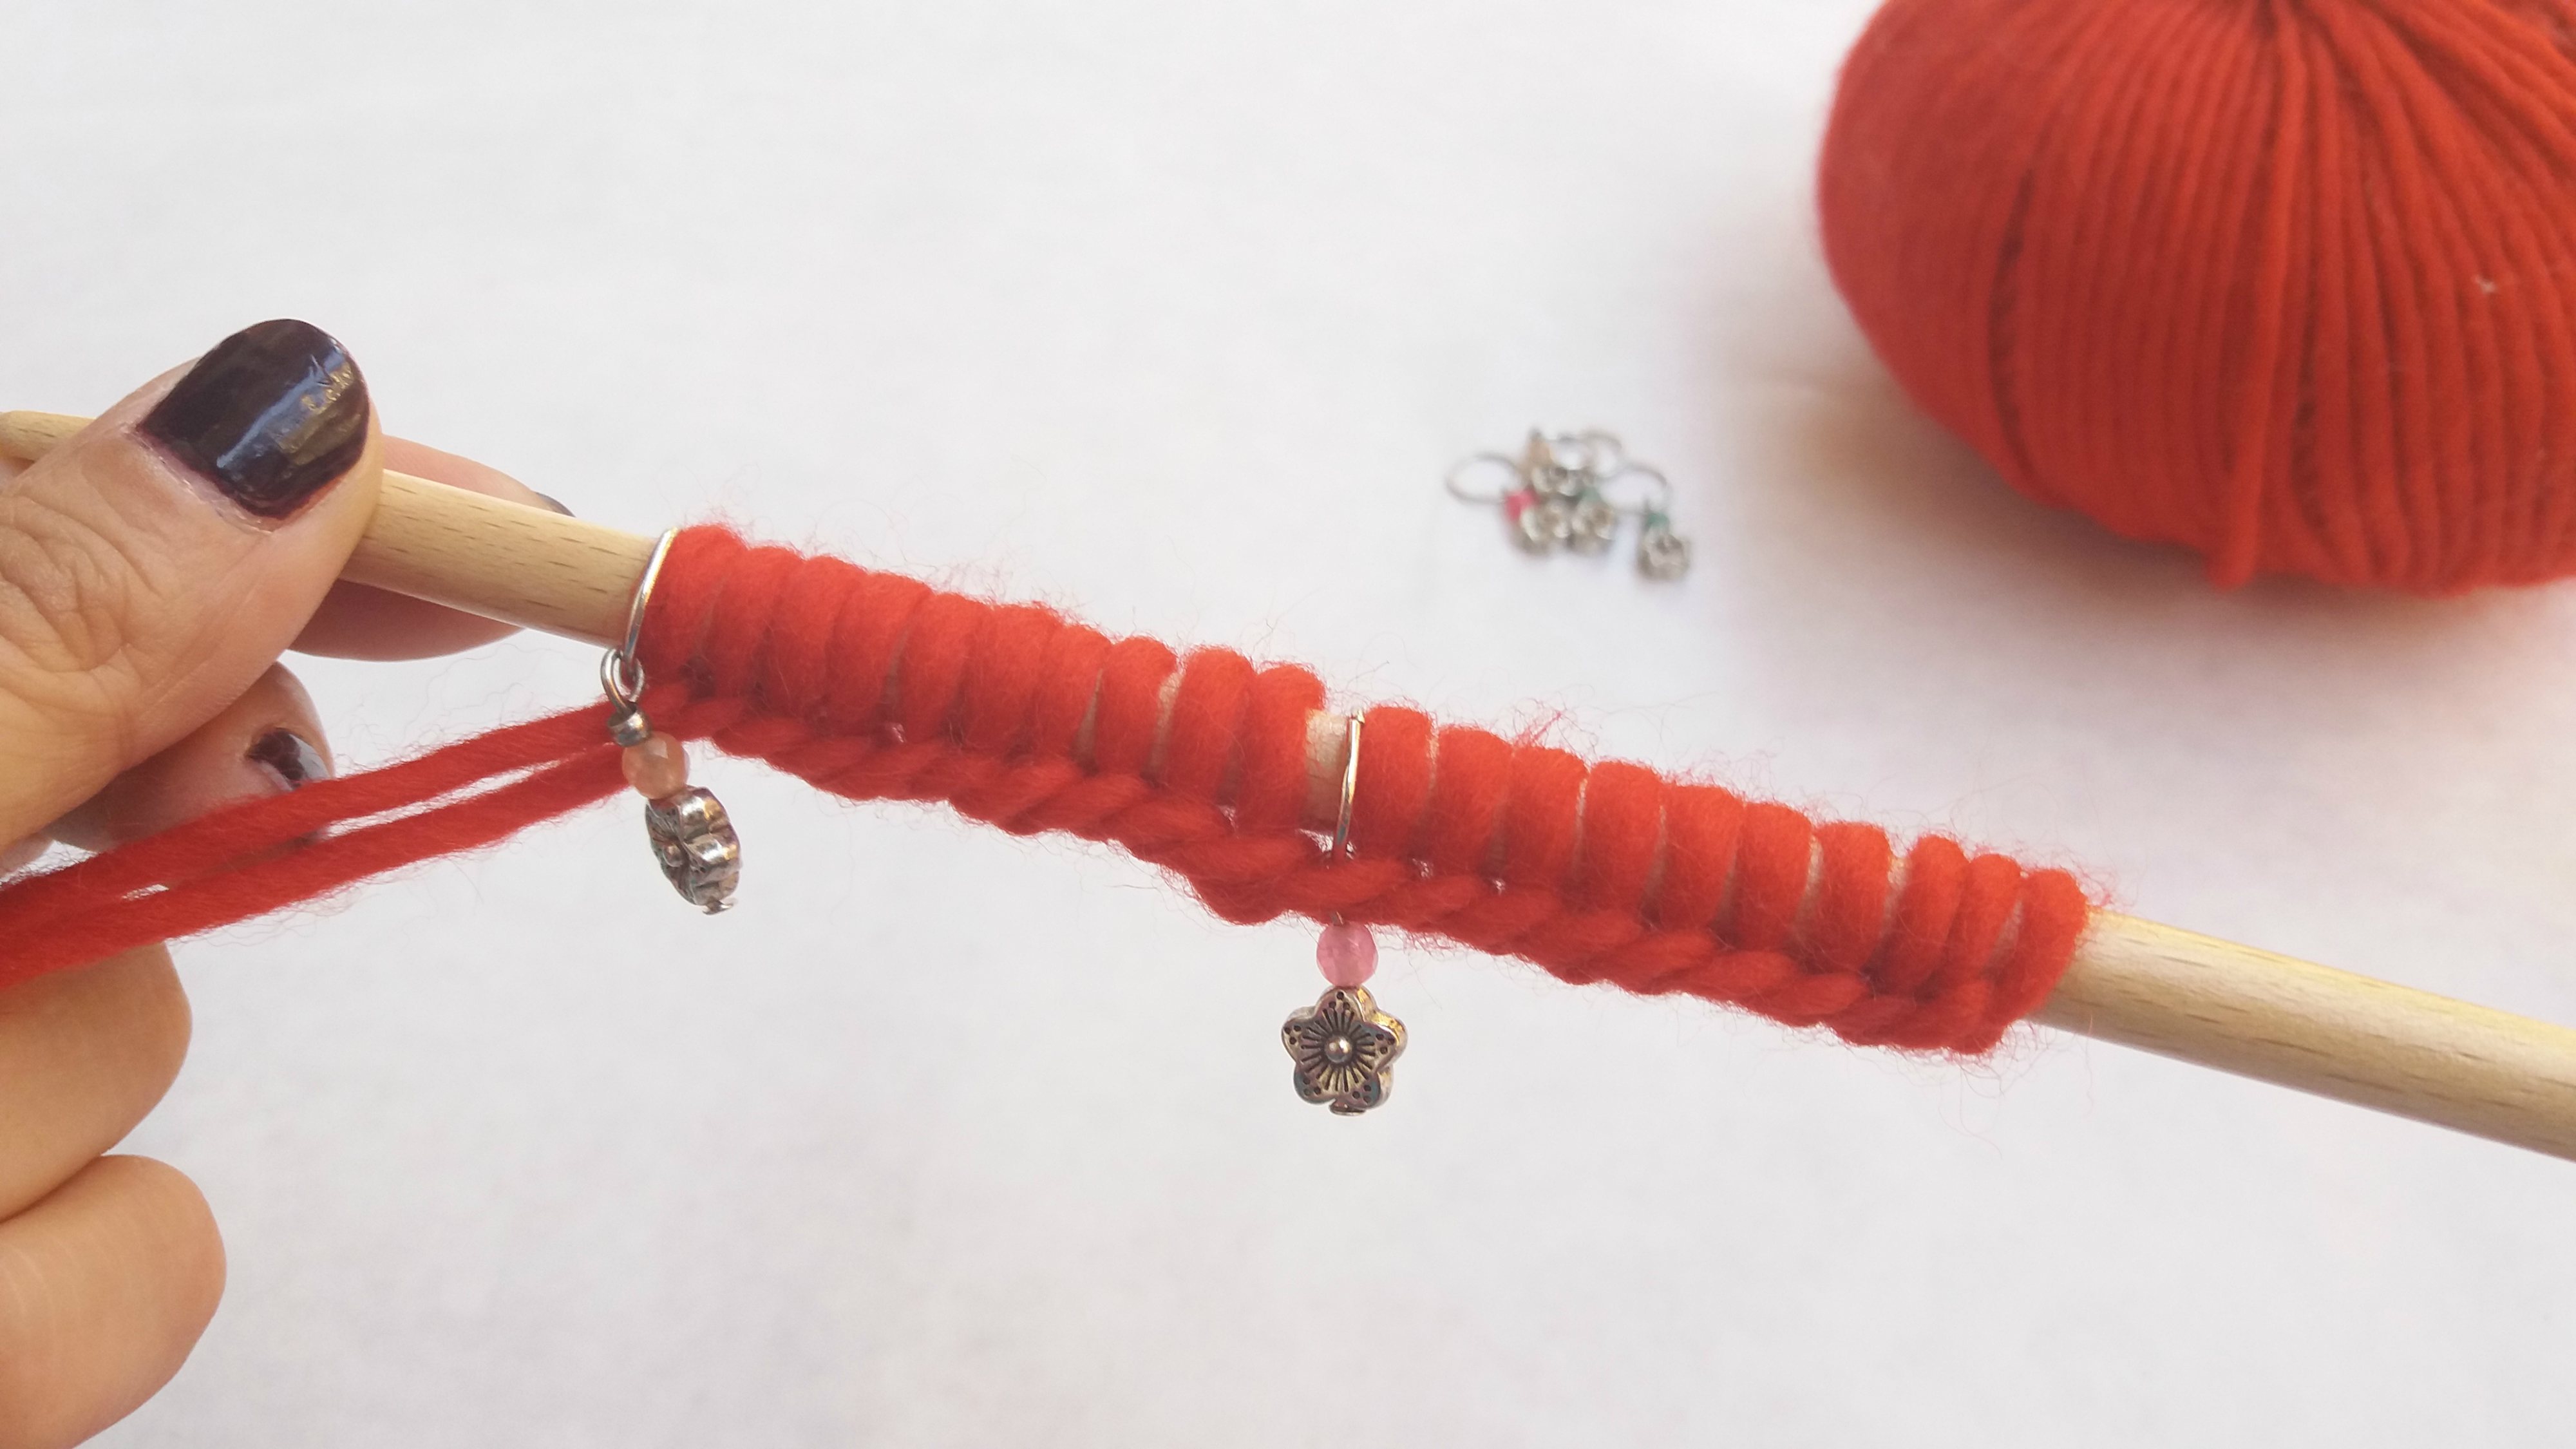
The way in which we cast off stitches has a huge influence on what our project looks like in the end. But, do you know what is the right way to do it? Every stitch has its own way to cast off the final stitches, depending on the direction of the stitch and the side of the project we are working on, etc.

In this post we are going to learn how to cast off stitches using the most basic method of knitting two stitches and then pulling the second one over the first. But we are going to do this the right way so that the rim looks perfect.
How to cast off knitted stitches

In almost all projects the manual indicates to cast off the stitches in a knitted row. If the stitches are knitted as well, like in the sample we will cast them off the normal way.
Knit 2 stitches, pass the second stitch onto the right-hand needle over the first letting it fall off the needle. You will have cast off one stitch.
The rest of the stitches:
Knit 1 stitch, pass the second stitch onto the right-hand needle over the first letting it fall off the needle. You will have cast off one stitch.
Continue knitting like that until you have cast off all stitches.
That way you will have cast off all stitches (in the upper part of the sample) in a knitted row:

How to cast off purled stitches

In a purled row, the stitches we have on our needle are purled as well. We are going to cast off the stitches in the same way: purling them.
Purl 2 stitches, pass the second stitch onto the right-hand needle over the first letting it fall off the needle. You will have cast off one stitch.
The rest of the stitches:
Purl 1 stitch, pass the second stitch onto the right-hand needle over the first letting it fall off the needle. You will have cast off one stitch.
Repeat these steps until you have cast off all stitches.
A sample where purled stitches were cast off in a purled row looks like that:

At first sight it might seem like there is no difference between the first sample and this but if you try casting off stitches by knitting them in a purled row you will see that it doesn’t look quite as nice.
Casting off stitches combining purling and knitting

The most basic example where we can see how to cast off combined stitches is the rib stitch. In the picture we can easily distinguish the different types of stitches: the purled stitches always have a little horizontal line crossing them.
To cast these stitches off correctly:

Knit 2 stitches, pass the second stitch onto the right-hand needle over the first letting it fall off the needle. (Just as we did when we cast off stitches the normal way before).


The following 2 stitches are purled stitches, so you have to place the thread in front of the project and purl 1 stitch. Pass the stitch you had on your right-hand needle over the stitch you just purled letting it fall off the needle. Cast off the next stitch in the same way.
To cast off the rest of the stitches, repeat the two steps before, meaning knit the stitches the way you find them (either knitting or purling them) and remember to always change the thread from behind to the front of the project! It takes a little more time than casting all the stitches off in the same direction but it’s worth it. The rim will be a lot more elastic and adapts itself to the different stitches:

We hope that this post was able to help you improve your skills as a knitter, you’ll see how helpful it is when you finish your next project, casting off stitches isn’t just a way to prevent the project from unraveling! If you knit various parts the right technique to cast off stitches will make the seam look better 🙂
In our example we have used the cotton in grey, but you can of course use any color you like and 8MM wooden needles.
We love seeing your projects, so don’t forget to share them with us on Instagram with the hashtag #weareknitters!


