
Knitting cables can help us incorporate different textures into our garments. There are many ways to make them, and if you need to learn how, you can check out our tutorials. If you are looking for something more advanced, we can also teach you to knit horizontal cables and cables without a cable needle.
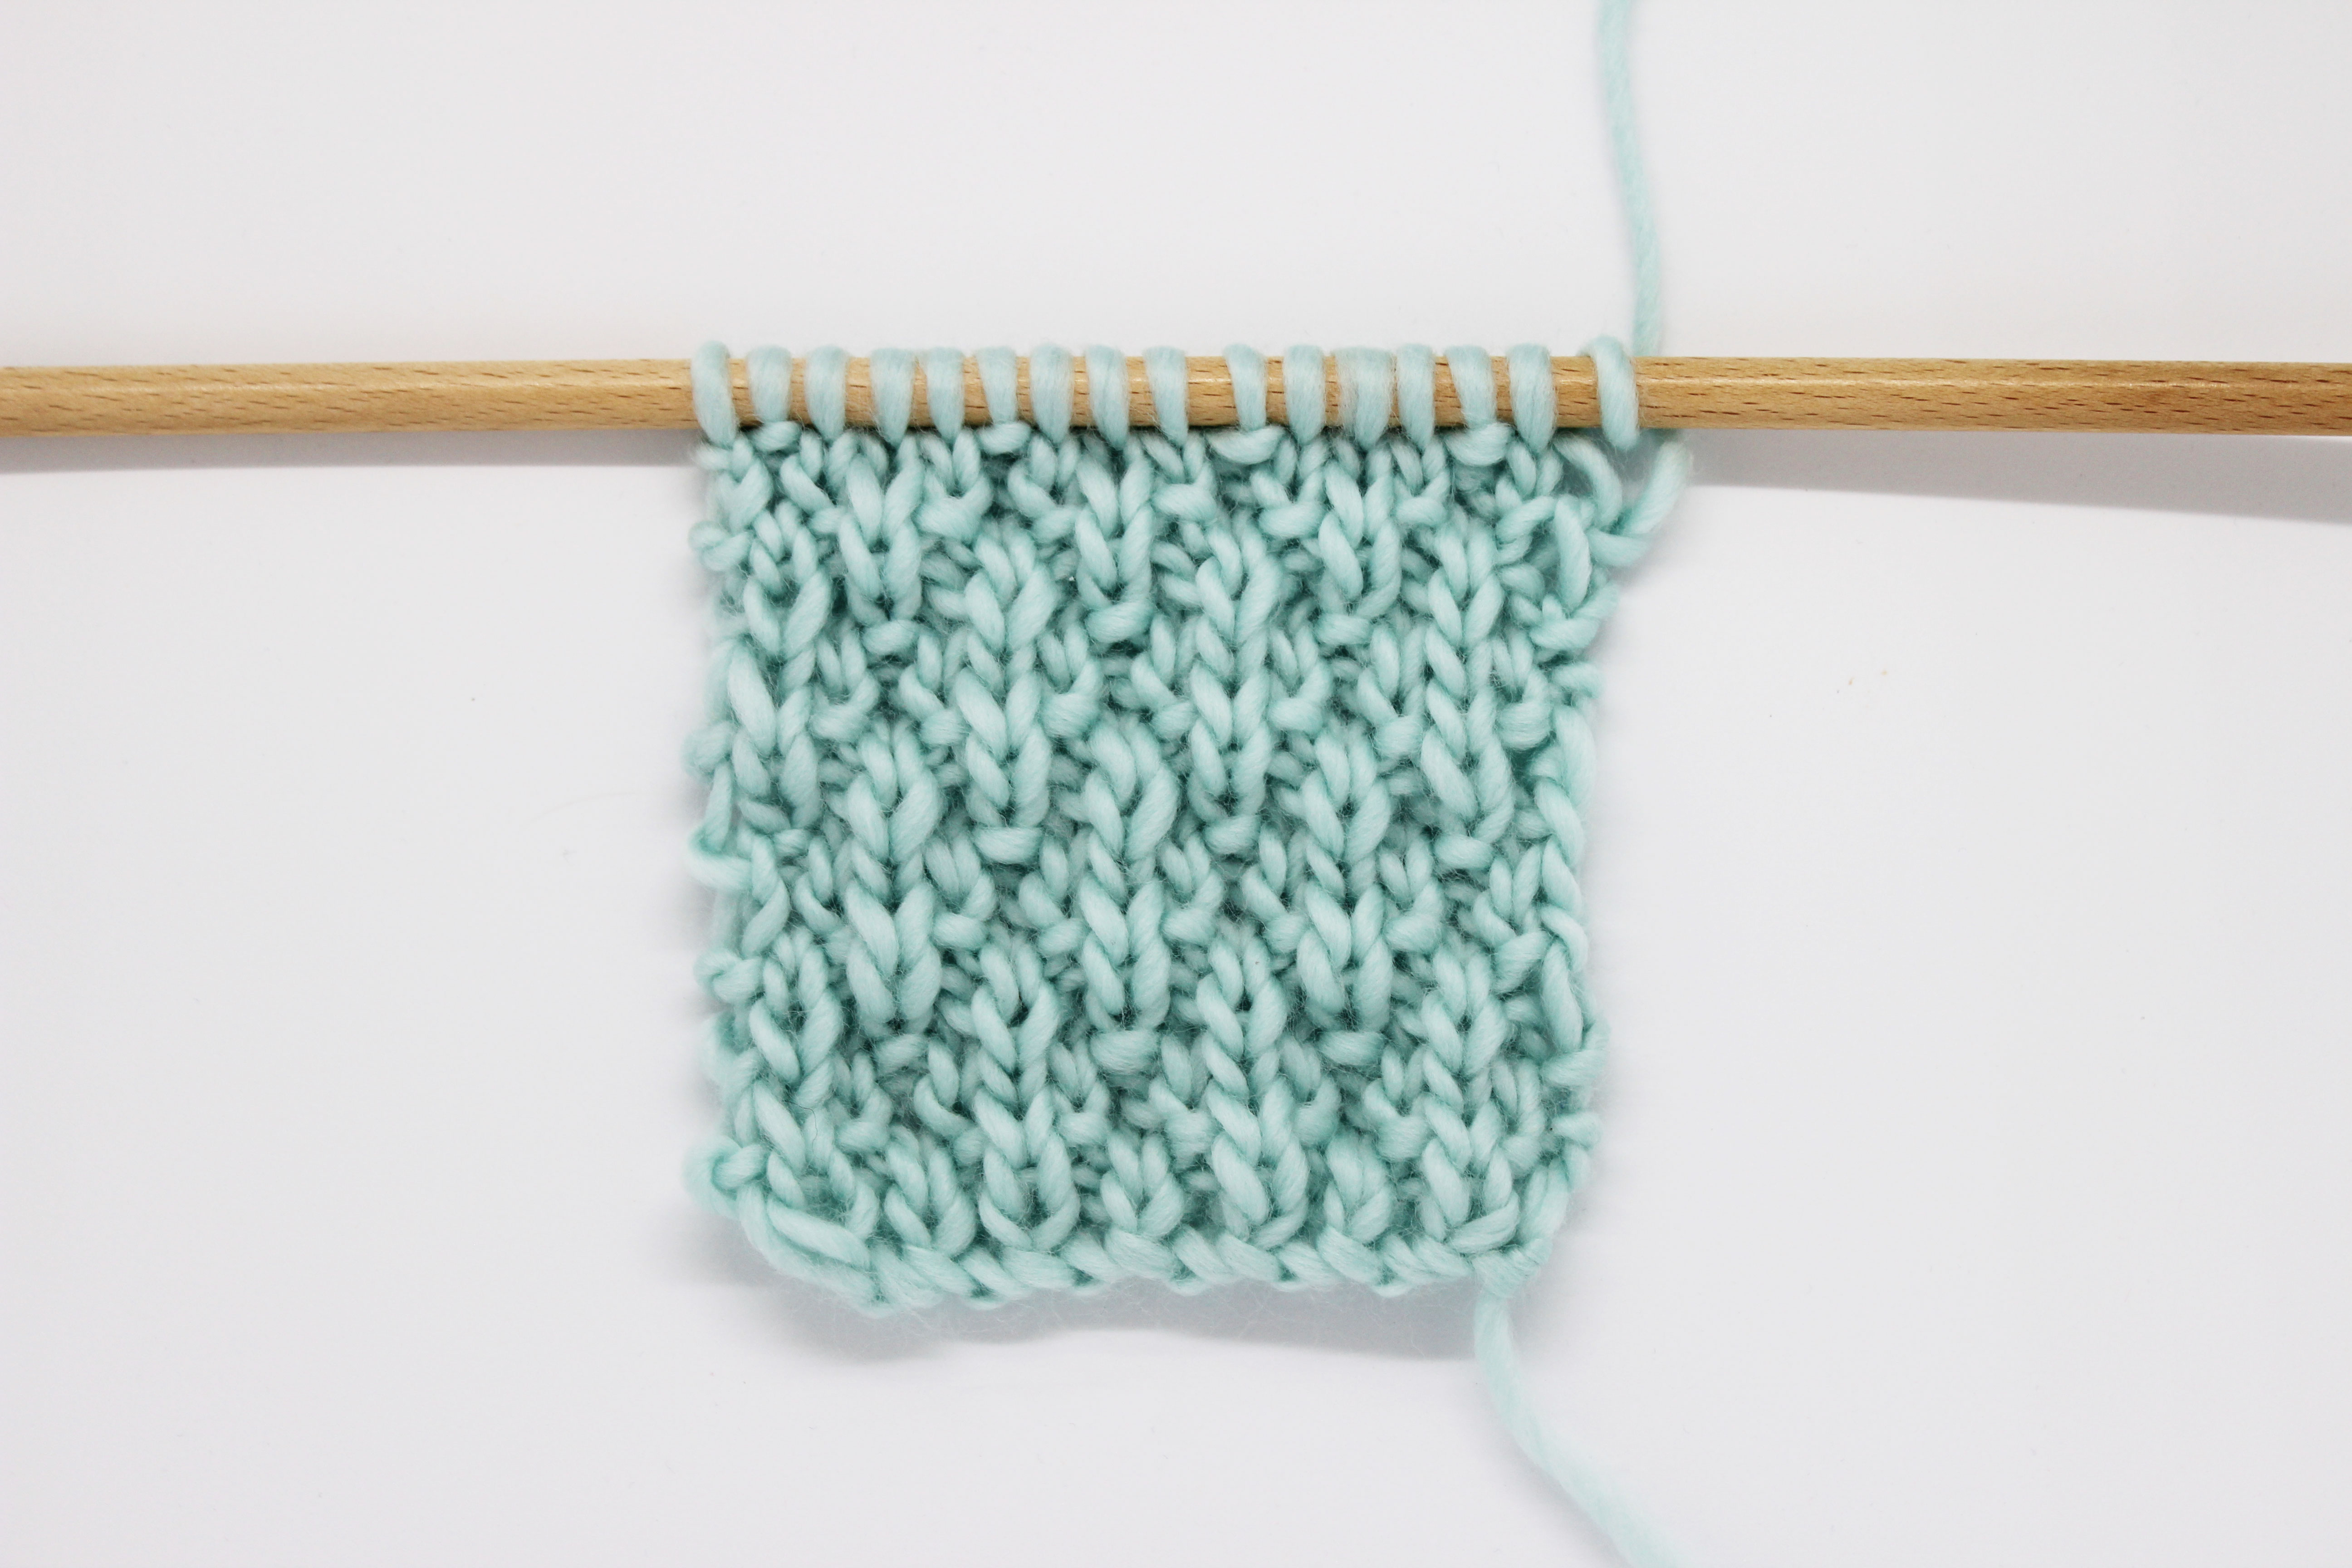
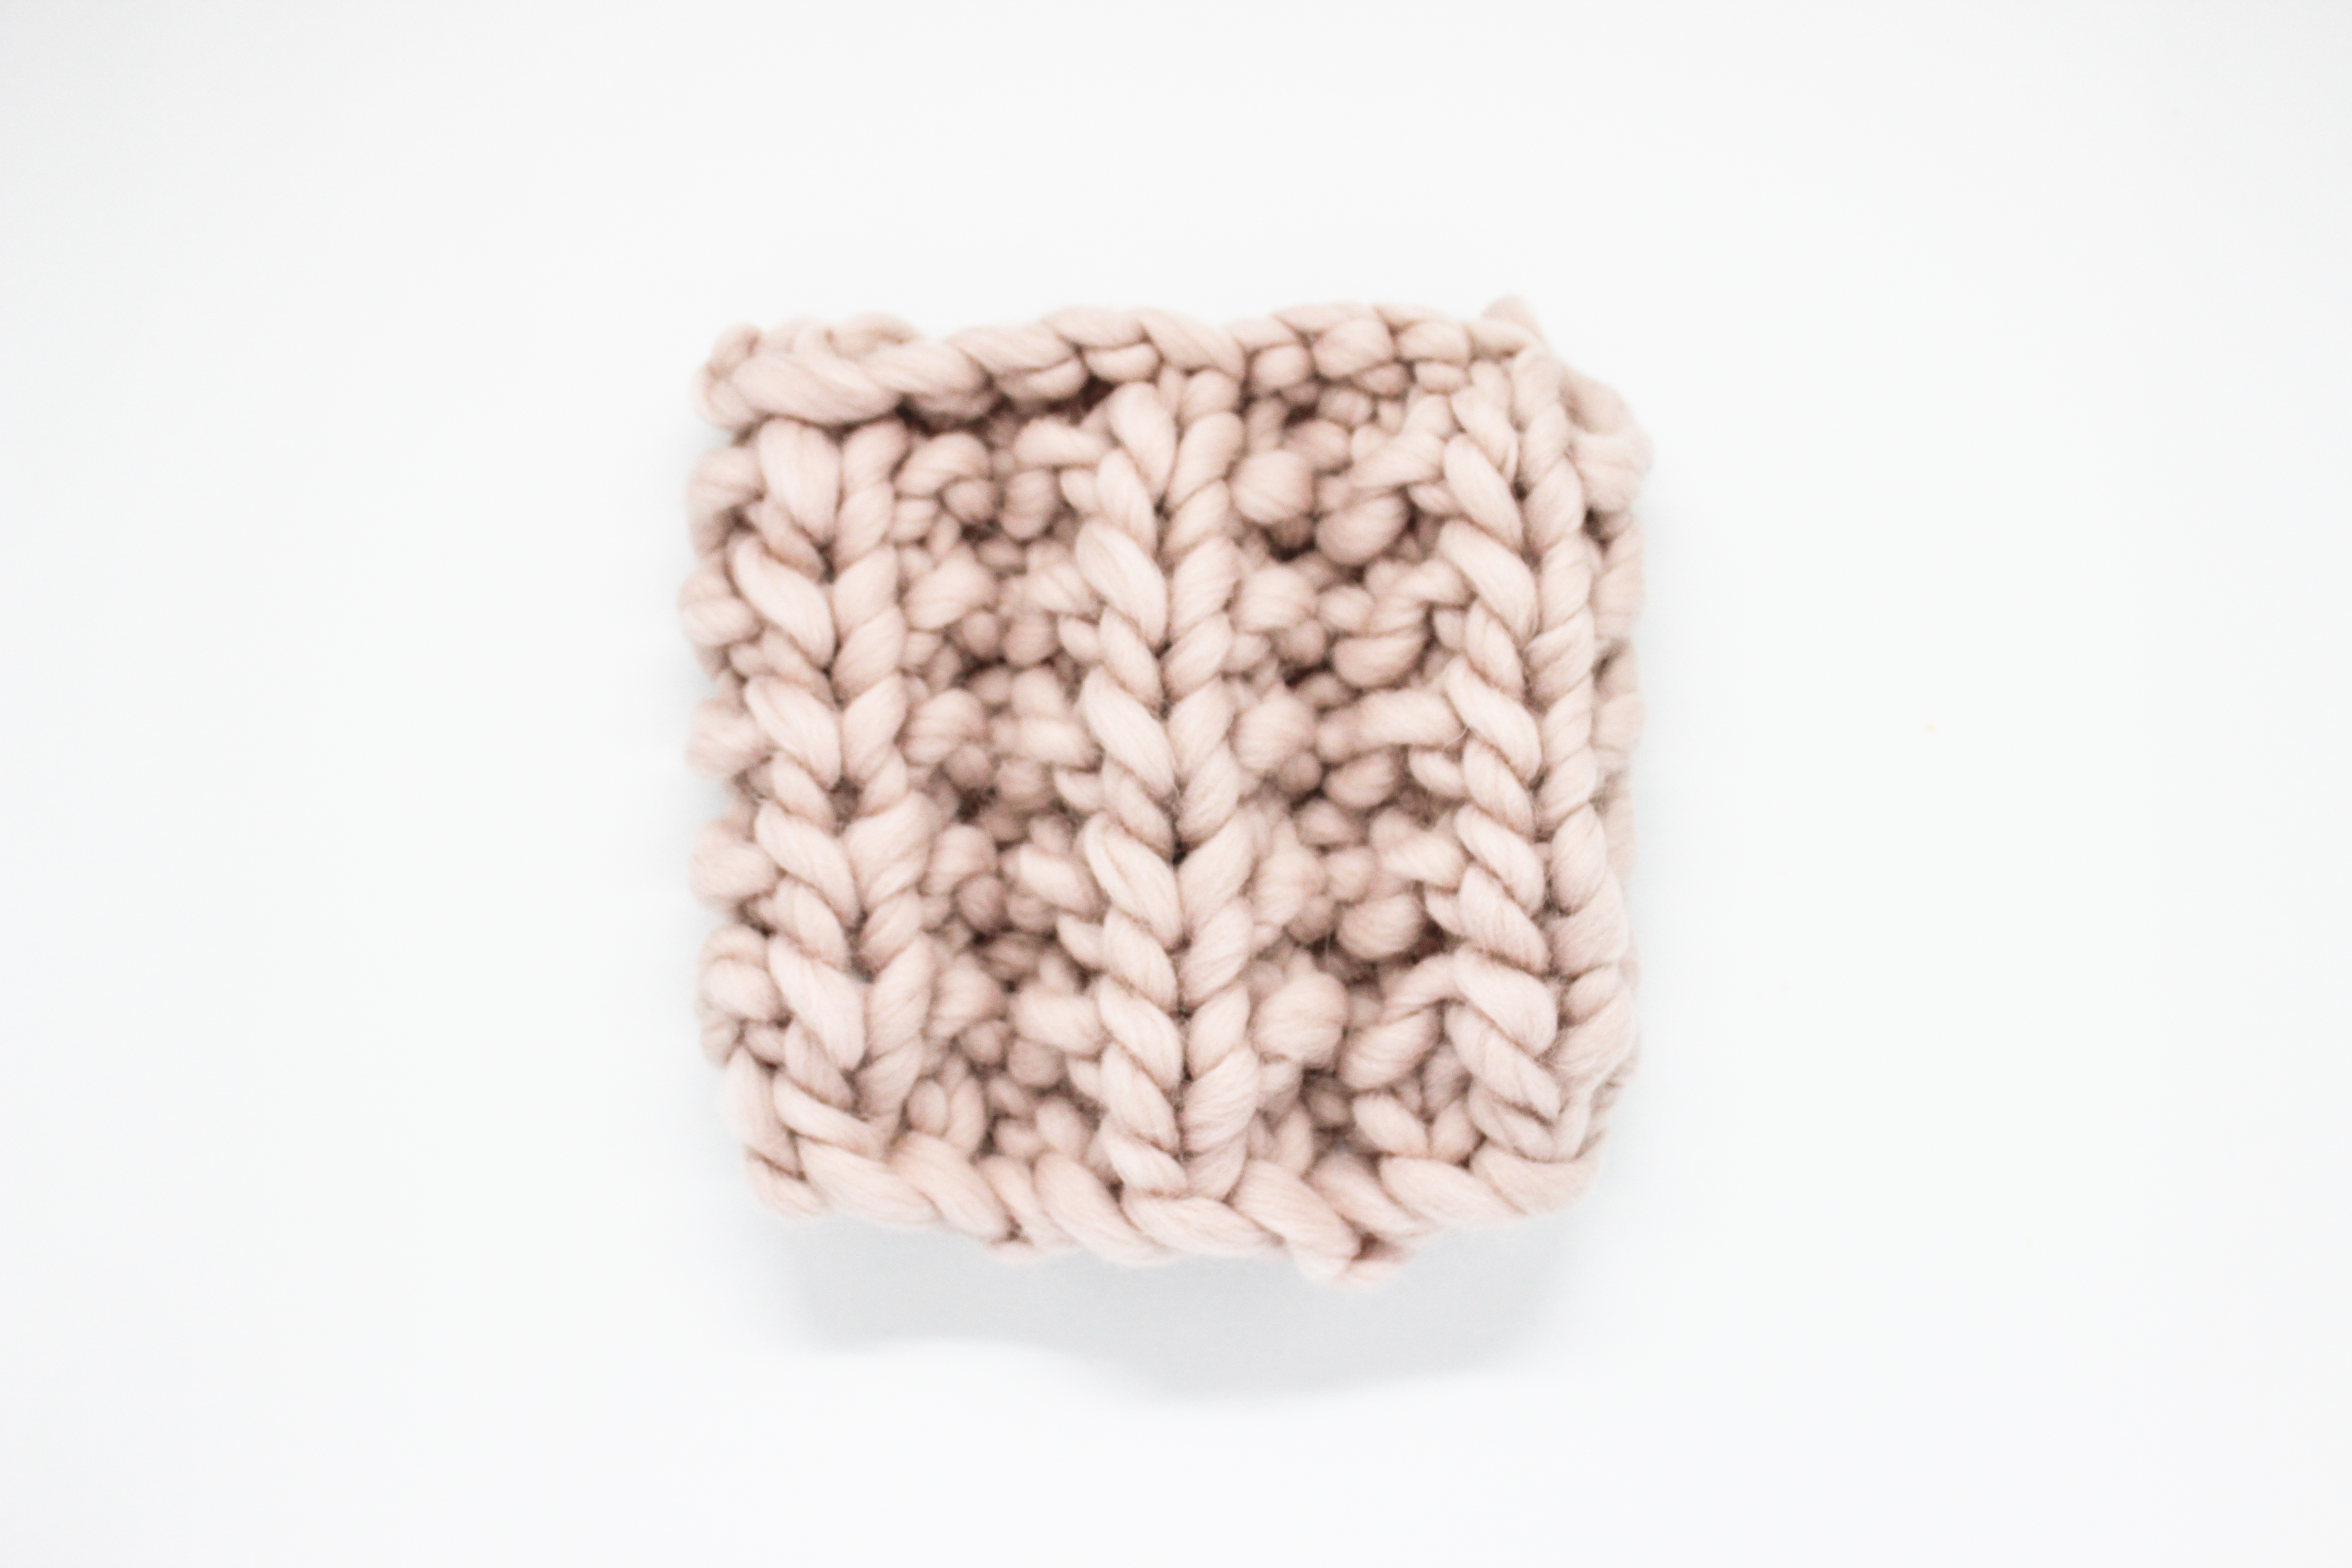
The cable design we suggest today wouldn’t be anything other than the shape of a heart. It’s tricky to knit, but follow the instructions and you will have no problem. 🙂

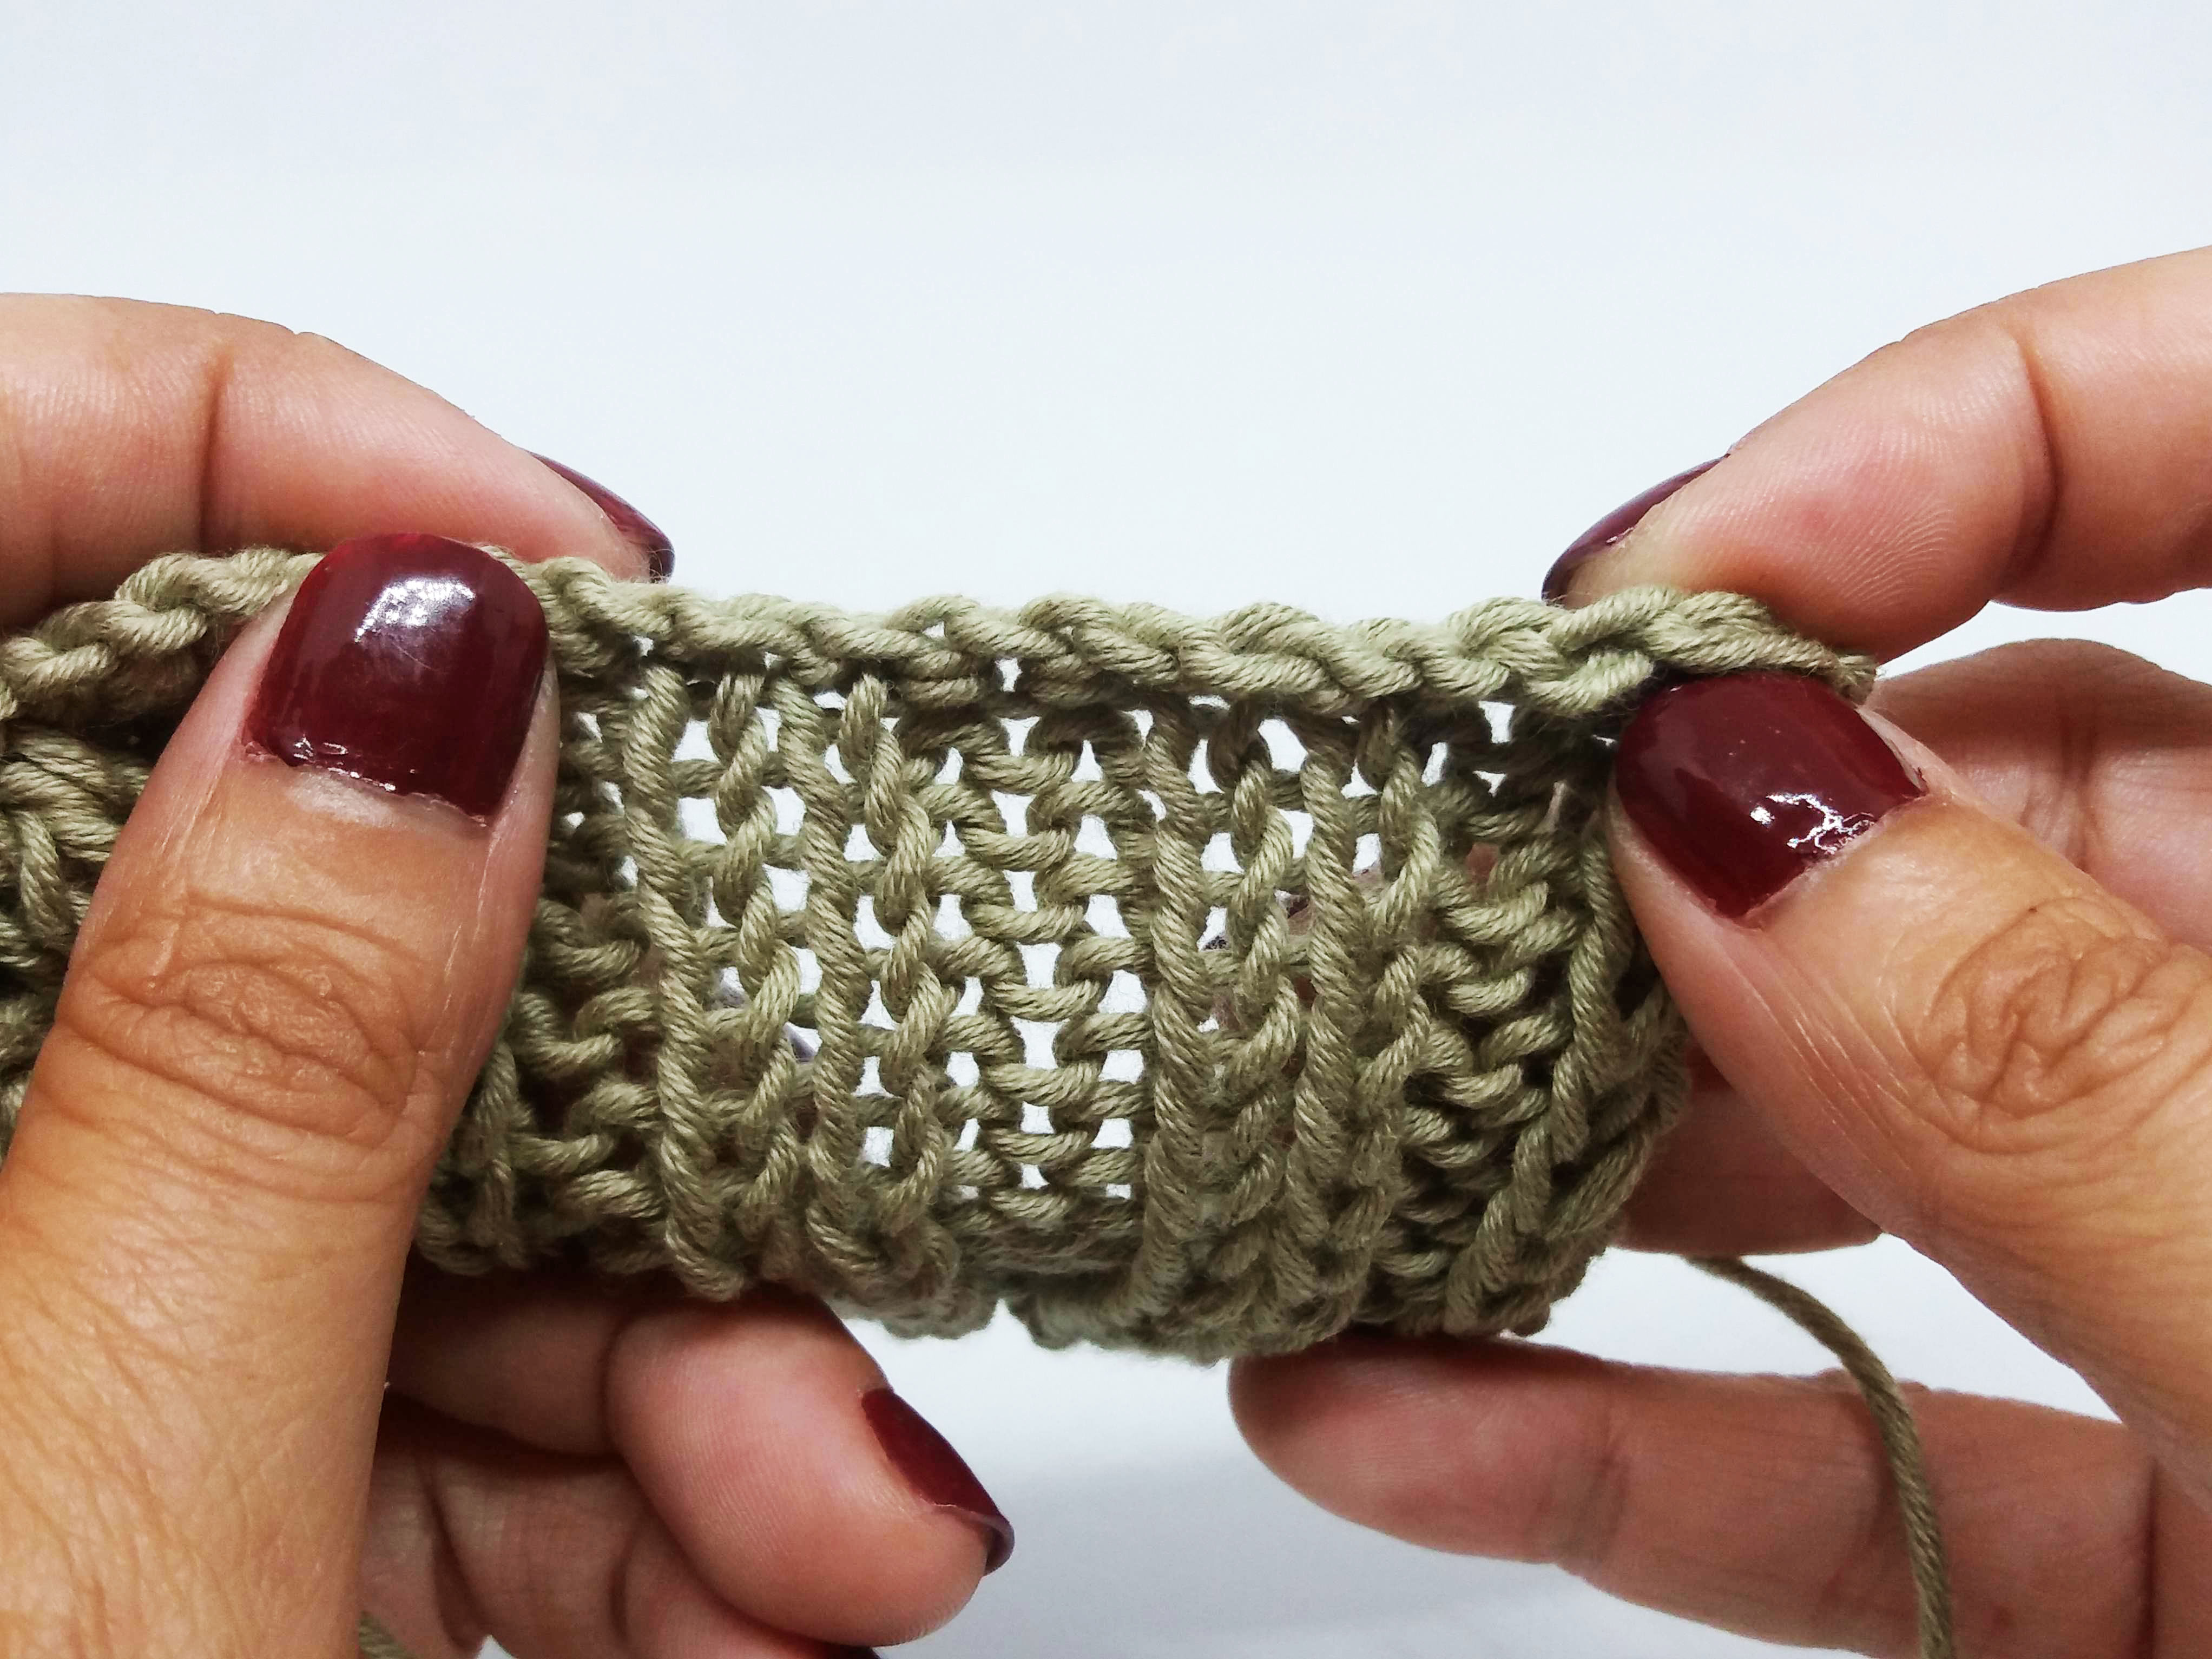
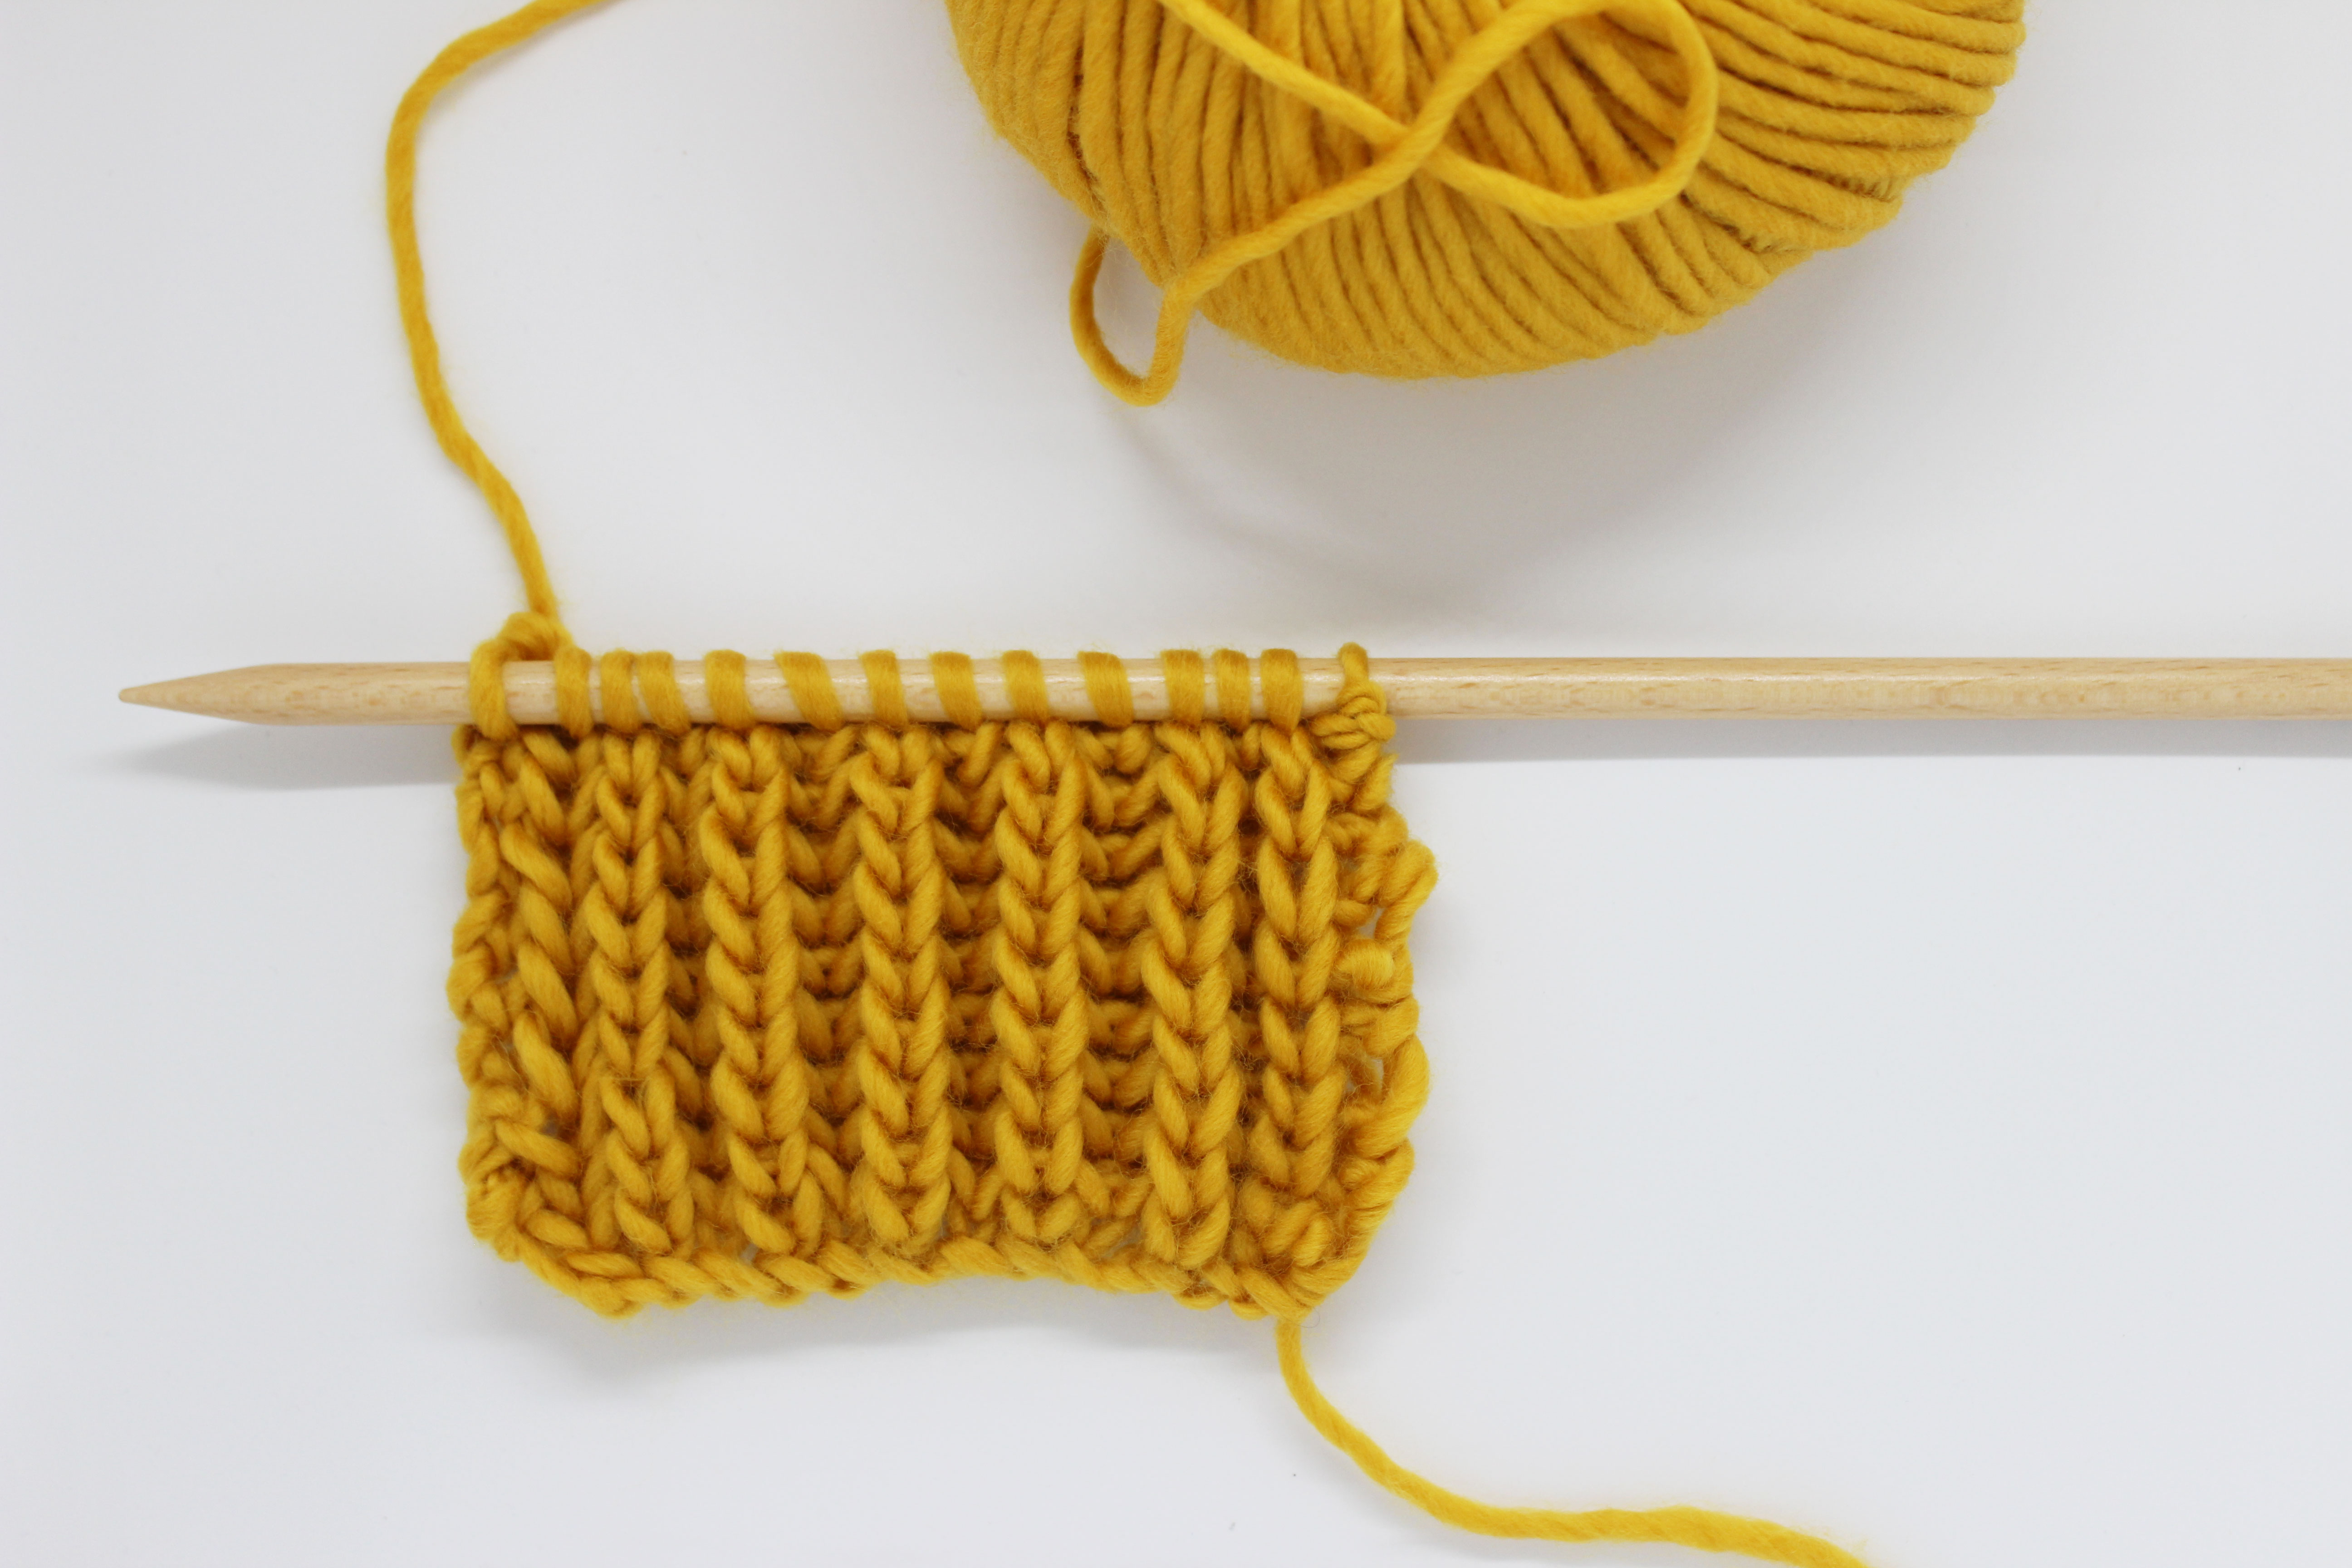
This cable is worked over 24 stitches, so you will need at least this many stitches on your needles. To work the cable, you will slip the stitches on to either a cable needle, a crochet hook, or a pencil.
Remember that the bottom of the second heart is the top of the first one, so in oder to have the heart shape you will have to make the repetition at least twice.
Set up row: Knit 2, purl 3, knit 4, purl 6, knit 4, purl 3, knit 2.
Row 1: Purl 2, knit 3, purl 4, slip the next 3 stitches onto the cable needle and place at the front of your work, knit 3, return the stitches on the cable needle to the left needle and knit them, purl 4, knit 3, purl 2.
Row 2 and all even rows: Work all stitches as they appear. This means knit the knit stitches, and purl the purl stitches.
Row 3: Purl 2, slip the next 3 stitches onto the cable needle and place at the back of the work, purl 1, return the stitches on the cable needle to the left needle and knit them. Purl 2, slip 1 stitch onto the cable needle and place it at the back of the work, knit 3, return the stitch on the cable needle to the left needle and purl it. Slip the next 3 stitches onto the cable needle and place at the front of the work, purl 1, return the stitches on the cable needle to the left needle and knit them. Purl 2, slip 1 stitch onto the cable needle and place at the back of the work, knit 3, return the stitch on the cable needle to the left needle and purl it. Purl 2.

Row 5: Purl 3, slip the next 3 stitches onto the cable needle and place at the front of the work, purl 1, return the stitches on the cable needle to the left needle and knit them. Slip 1 stitch onto the cable needle, and place at the back of the work, knit 3, return the stitch on the cable needle to the left needle and purl it. Purl 2. Slip 3 stitches onto the cable needle and place at the front of the work, purl 1, return the stitches on the cable needle to the left needle and knit them. Slip 1 stitch onto the cable needle and place at the back of the work, knit 3, return the stitch on the cable needle to the left needle and purl it. Purl 3.
Row 7: Purl 4, slip 3 onto the cable needle and place at the back of the work, knit 3, return the stitches on the cable needle to the left needle and purl them. Purl 4, slip 3 onto the cable needle and place at the front of the work, purl 3, return the stitches on the cable needle to the left needle and knit them. Purl 4.
Row 9: Purl 3, slip 1 onto cable needle and place at the back of the work, knit 3, return the stitch on the cable needle to the left needle and purl it. Purl 10. Slip 3 onto cable needle and place at the front of the work, purl 1, return the stitches on the cable needle to the left needle and knit them. Purl 3.

Row 11: Purl 2, slip 1 onto the cable needle and place at the back of the work, knit 3, return the stitch on the cable needle to the left needle and purl it. Purl 3, knit 6, purl 3. Slip 3 onto cable needle and place at the front of the work, purl 1, return the stitches on the cable needle to the left needle and knit them. Purl 2.
Repeat rows 1 through 12 until you reach your desired length.

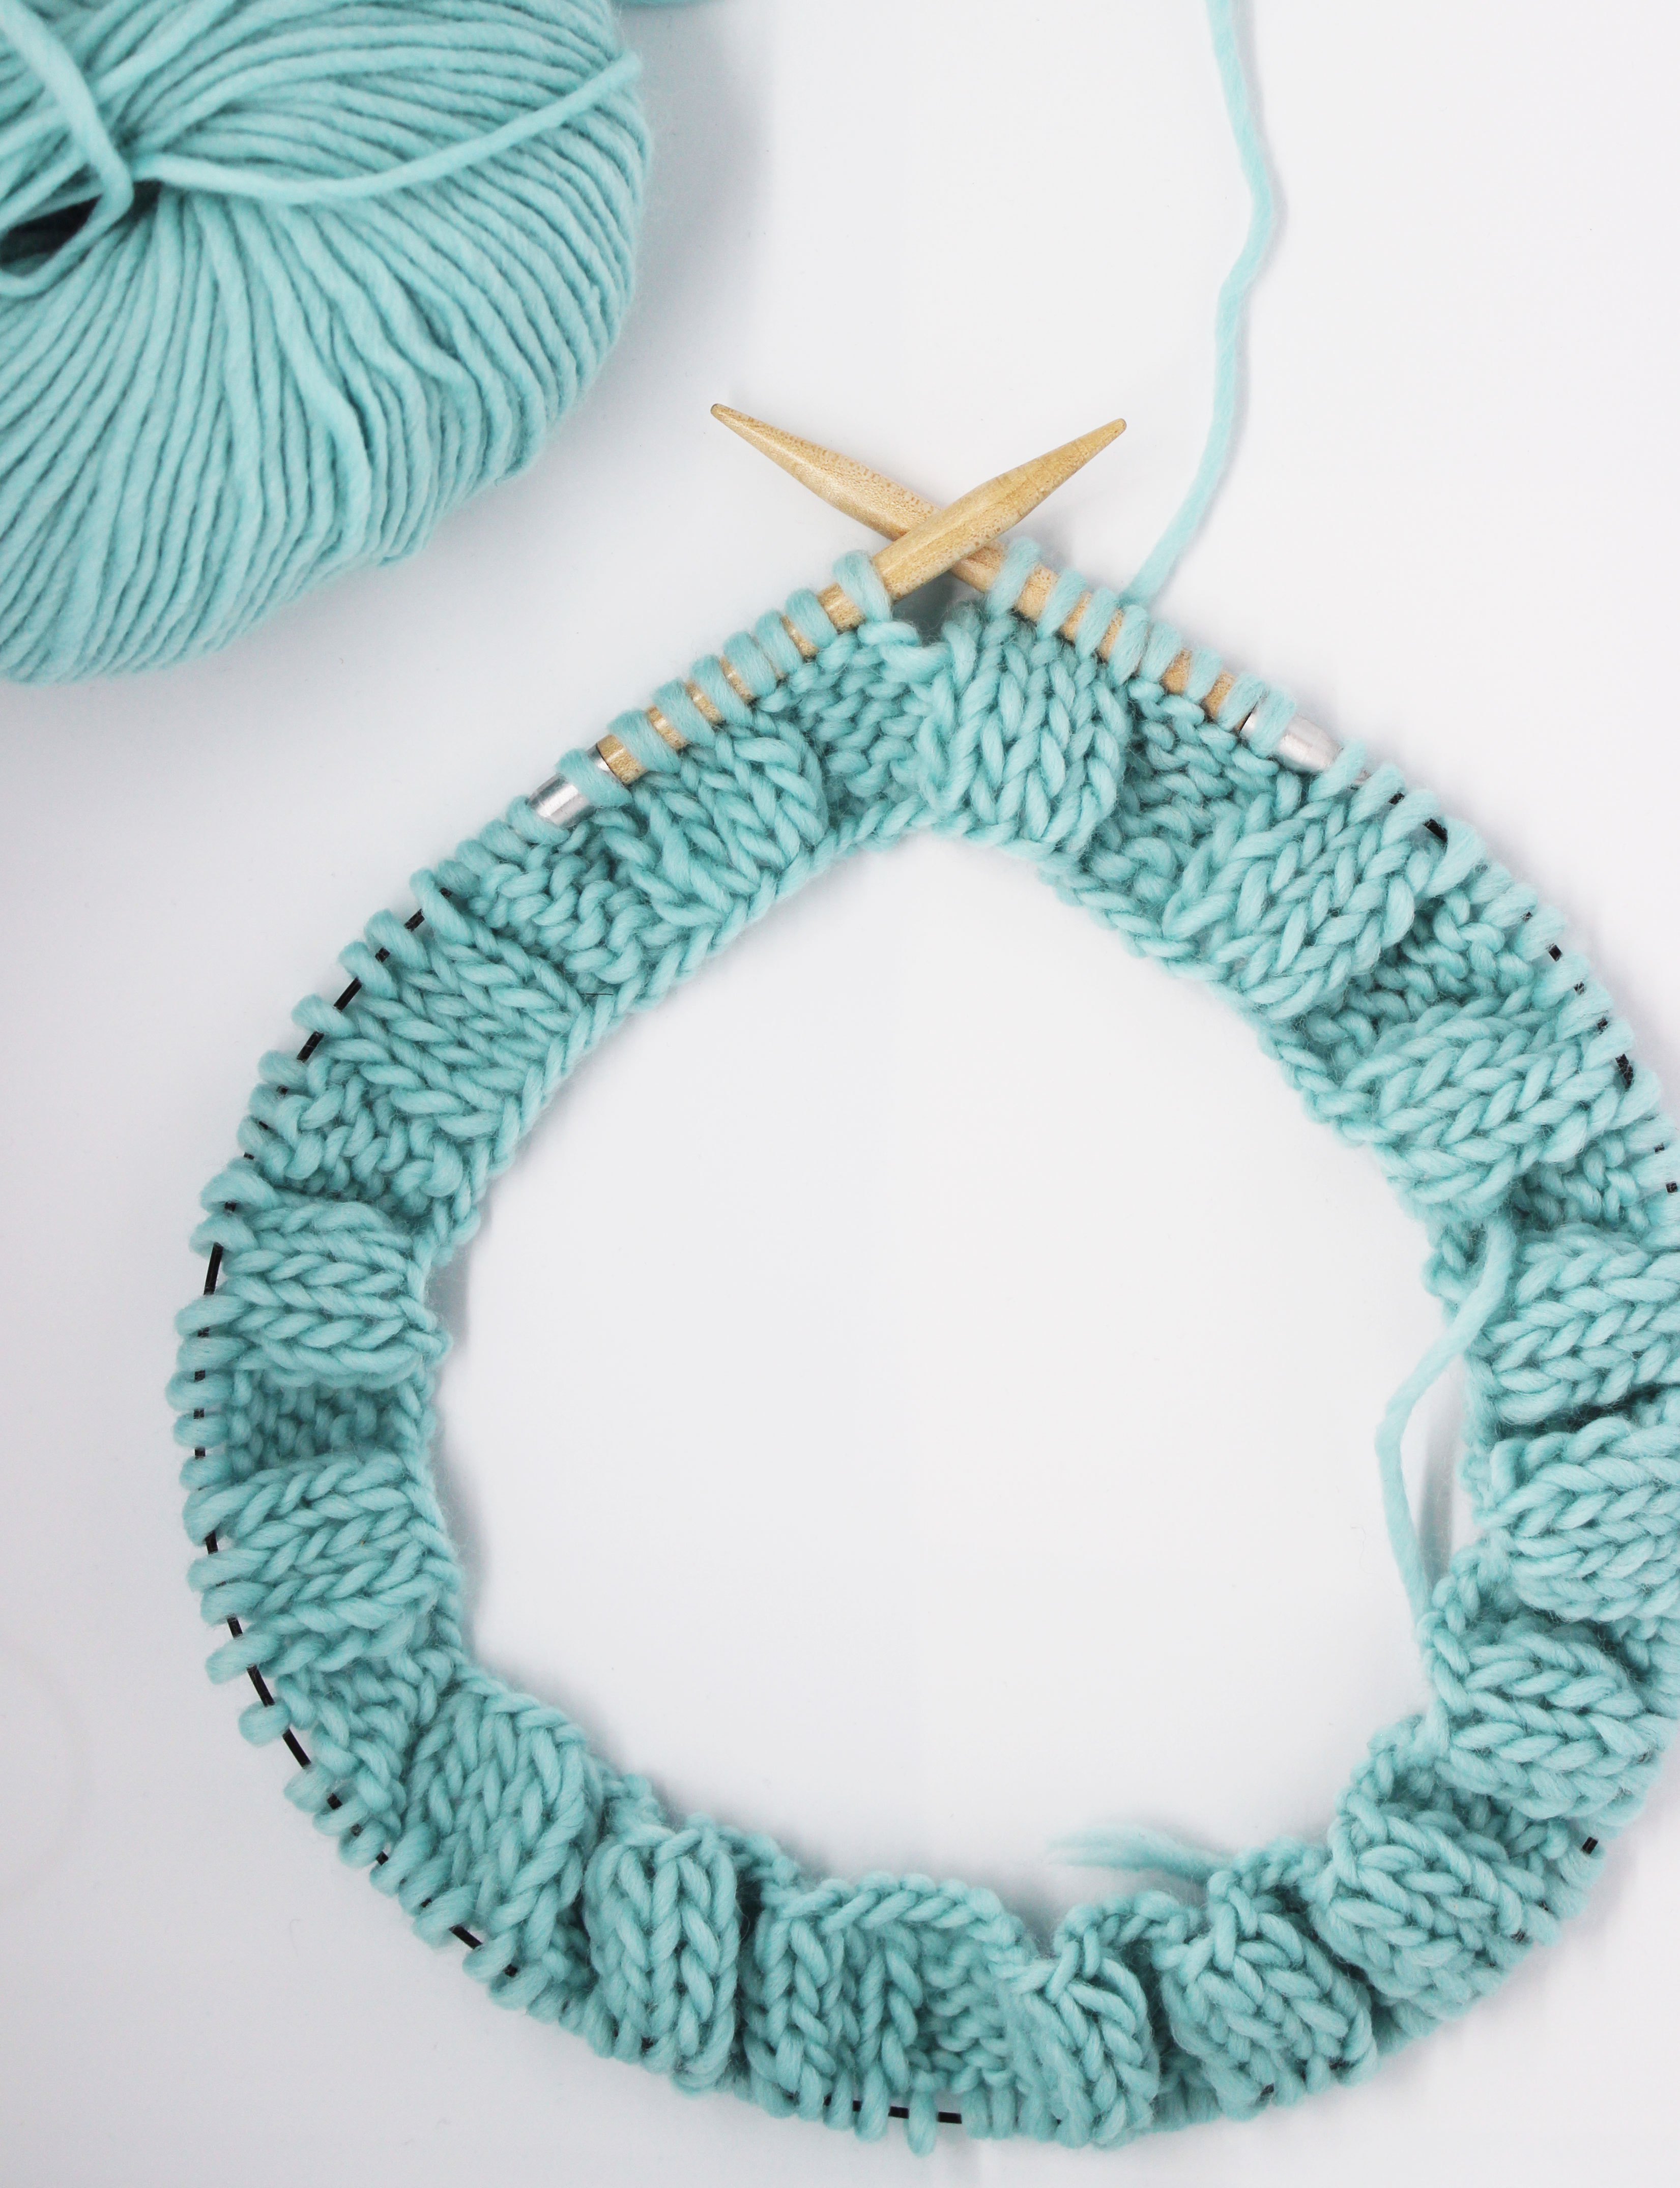
For this example we used The Petite Wool in the color pink and 8mm wooden needles. Choose your favorite color and check out all of our tutorials with different stitches to expand your knowledge.


1 comment
Such a cute idea, I would have never thought of this! Thanks for sharing this Valentine’s Day.